
We may earn revenue from the products available on this page and participate in affiliate programs. Learn More ›
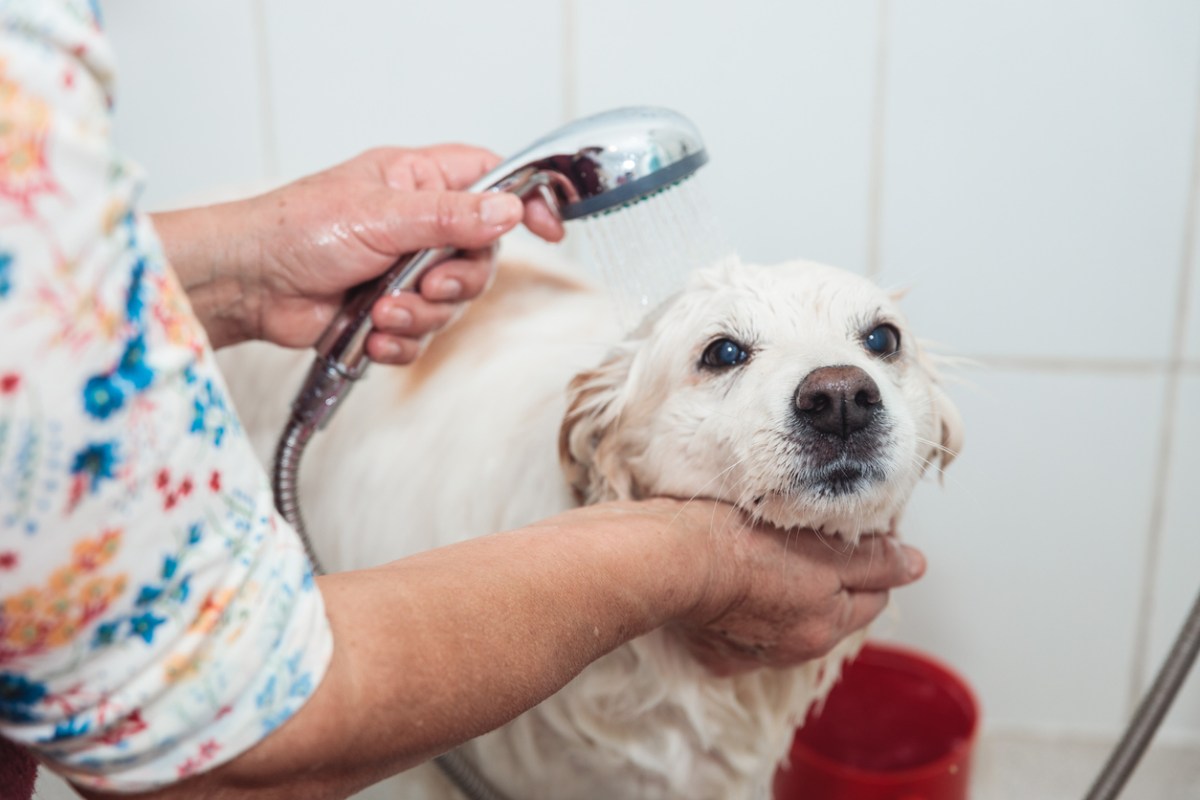
While we love our furry, four-legged friends, we don’t love it when they smell. Or when they’re tracking in mud. Or, when they’re covered in…whatever it is they rolled in outside. Yuck.
Rather than trying to keep your canine off the carpet and furniture, give them a bath in your own DIY dog wash station. This guide will explain how to build one using a premade shower pan, but note that some of the finer details in plumbing will vary from home to home.
Before You Begin
Even for a small dog, a DIY dog wash station is going to take up some space. For tighter homes or homes with small rooms, a bathroom or laundry room dog wash station might not be in the cards. If that’s the case, a trip to the local pet wash is well worth it, or consider buying or building an outdoor dog wash station on a pet-friendly patio.
Also, it’s a good idea to pick a spot near existing plumbing. You can convert an existing sink (which is the best idea in terms of plumbing ease) or tap into the water supply lines as they travel to a sink in the room.
STEP 1: Cut all the framing members.
Start by cutting all of the framing members for your DIY dog bath using a miter saw. You might be able to reuse the cut ends of the longer boards for some of the smaller boards, so don’t toss them away until you have all of the required framing boards cut. Separate them into piles to make them easier to sort through as you go.
STEP 2: Assemble the walls.
Build the back and side walls of the dog wash station using standard framing techniques. Space the studs 16-inches on center and fasten them in place by driving screws through the top and bottom plates and into the ends of the studs.
STEP 3: Attach the walls together to create a frame.
Carefully align the side walls so they’re even with the outside studs on the ends of the back wall. Secure the walls in place by screwing through the end stud of the side wall and into the studs in the back wall. Repeat this on both sides to create the freestanding frame.
STEP 4: Build the deck and attach it to the frame.
Assemble a deck that the shower pan will sit on. The shorter boards will be spaced differently than before, as they have to accommodate the drain in the shower pan. Fasten the end studs to the sides of the longer front and back plates to build a rectangle. Then, place the other studs 16-inches on-center, measured in from each end rather than just spaced across. Fasten these studs in place.
Choose the desired height for the dog cleaning station’s shower pan deck and secure it in place by driving screws through the deck frame boards into the back and side wall studs.
STEP 5: Place the frame and level it with shims.
Move the DIY dog wash station into place (remember, it should be near plumbing supply lines). If you’d like it to appear built-in, cut and remove the baseboard and any other trim where it meets the station.
Place a level on the deck and place shims under the framing until it’s level from side to side and front to back. Once level, cut the shims so they’re hidden from view. You’ll cover the gaps at the floor later in the process.
STEP 6: Add the plywood and shower pan.
Cut a piece of ¾-inch plywood to the dimensions of the deck. Use a jigsaw to cut a hole in the plywood to allow for the drain. Then secure the plywood to the deck with screws.
Squeeze a few thick beads of construction adhesive onto the plywood. Place the shower pan on top of the construction adhesive and add weights to hold it securely until the adhesive cures.
STEP 7: Install the faucet valve and showerhead elbow.
This step will vary greatly, depending on the placement of your dog wash station and the showerhead kit that you choose. Essentially, you’ll need to turn off the water to your home and run new flexible plumbing pipe to wherever you plan to install the faucet handle and shower head inside the dog wash station. Attach blocking between the studs at both locations.
Install the shower mixing valve, which should come with your handheld showerhead kit, and the elbow for the shower head to the blocking. Then attach the flexible plumbing pipe to both fittings.
STEP 8: Assemble and connect the drain.
Attach the shower strainer to the shower pan following the manufacturer’s instructions. Then secure the P-trap to the shower strainer. Connect the P-trap to the home’s drainage system by cutting the drain with a hacksaw and installing a sanitary tee in the drain line. Connect the P-trap to the sanitary tee with PVC pipe and fittings.
STEP 9: Install the cement backer board.
Cut and attach the cement backer board to the areas that will be tiled (at least on all three sides of the shower station above the pan). Use cement board screws to attach the backer board to the framing. Make sure to cut out the required holes for the shower valve and shower head.
Areas that will be painted can be covered with standard drywall, if desired. However, drywall shouldn’t get wet, so it’s best used for the outside of the shower station where the dog is less likely to splash and soak the walls.
STEP 10: Tile the walls and add and trim.
Tile and grout the walls; then install wood trim across the front of the shower station (both sides of the side walls, the tops of the walls, and across the front of the shower deck). Install baseboard trim to hide the shims and gaps at the floor as well as give the station a built-in look.
STEP 11: Install the faucet handle and shower head.
Attach the faucet handle to the mixing valve using the included instructions. Wrap the shower head’s threads with plumbing tape and secure it to the shower head elbow. Carefully tighten by hand to prevent scratching the shower head.
Turn on the water and test the plumbing to ensure it’s working as it should (hot should be hot, and cold should be cold). Be sure to check for leaks as well.
Final Thoughts
When building a dog wash station, make sure to adjust the size and design according to your dog’s particular breed and the space in your home. The best location is often close to existing plumbing lines, as it can save you time and money during installation. Now, how about a dog house to match?