We may earn revenue from the products available on this page and participate in affiliate programs. Learn More ›
Peel-and-stick trim is becoming a go-to solution for people seeking an affordable and low-effort way to add an elegant touch to their home interior. This innovative product with a sticky backing offers an easy method of installing trim without the need for professional expertise or expensive tools. It’s perfect for renters and owners alike since it can be removed easily without leaving any sticky residue or damage behind. Let’s delve into the world of peel-and-stick trim to give your home an upscale touch.
How to Install Peel-and-Stick Trim
Despite its high-end appearance, installing peel-and-stick wall trim is just as straightforward as the name suggests. But, as with any DIY project, taking precautions is a must. DIYers need to ensure that walls are clean and dry before beginning, since dust or dampness can hinder the adhesive from bonding properly.
Tools & Materials
Bobvila.com may earn a commission from purchases made through these links.
STEP 1: Measure the area where you want to apply the trim.

The first step in installing peel-and-stick trim is to measure the area where it will be applied. Start by taking accurate measurements of the length and width of the area to determine how much trim is needed. Consider any corners or unique shapes that might require precise cuts. Remember, having a little extra trim is always better than running short. Double-check your measurements before moving on to the next step to ensure a clean, professional-looking result.
RELATED: 5 Classic Wall and Trim Color Combinations—and 5 for Rule-Breakers Only
STEP 2: Cut the peel-and-stick trim to the appropriate size.
Once you’ve determined the correct measurements, the next step is to cut the peel-and-stick trim to size. This step requires a utility knife and a straight edge to ensure clean, straight cuts. Place the trim on a stable surface and align the straight edge along your measured points. Using the utility knife, carefully cut along the edge. This process might take some time, especially if you’re working with a large amount of trim, but it’s essential for a seamless fit.
STEP 3: Apply the trim to the surface.
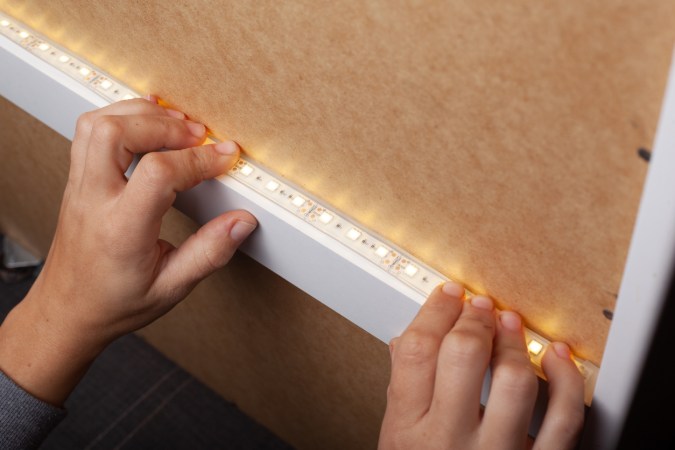
Start by peeling off the backing paper from the back of the trim, revealing the adhesive. Then, carefully align the trim with the premeasured section of the wall. Use a level to ensure the trim is straight. Once you’re satisfied with the placement, press the trim into place firmly, working from one end of the section to the other.
Smooth the trim as you go, pressing out any air bubbles that may have formed. This helps the trim adhere better and gives it a smoother finish. Take your time during this step; rushing can lead to mistakes and an uneven finish.
RELATED: How Much Does It Cost to Install Crown Molding?
5 Ways to Use Peel-and-Stick Trim Around Your Home
Peel-and-stick trim is simple to install, plus it can transform a wide variety of elements in your home. While defining baseboards and adding a chair rail are two of the primary uses, there are plenty of other potential ways to use peel-and-stick trim. This versatile product can help transform everyday features into aesthetic highlights that can dramatically alter the look and feel of any room. Below, we’ve outlined five creative ways to incorporate peel-and-stick trim molding into your living spaces.
1. Define Your Backsplash
Peel-and-stick tile trim can be the missing piece in perfecting your backsplash makeover. It provides a refined finish to peel-and-stick backsplash tiles, creating a unified and polished appearance that rivals a professional installation. A peel-and-stick backsplash trim elegantly frames your backsplash while adding depth and definition to your kitchen space.
2. Create Architectural Interest
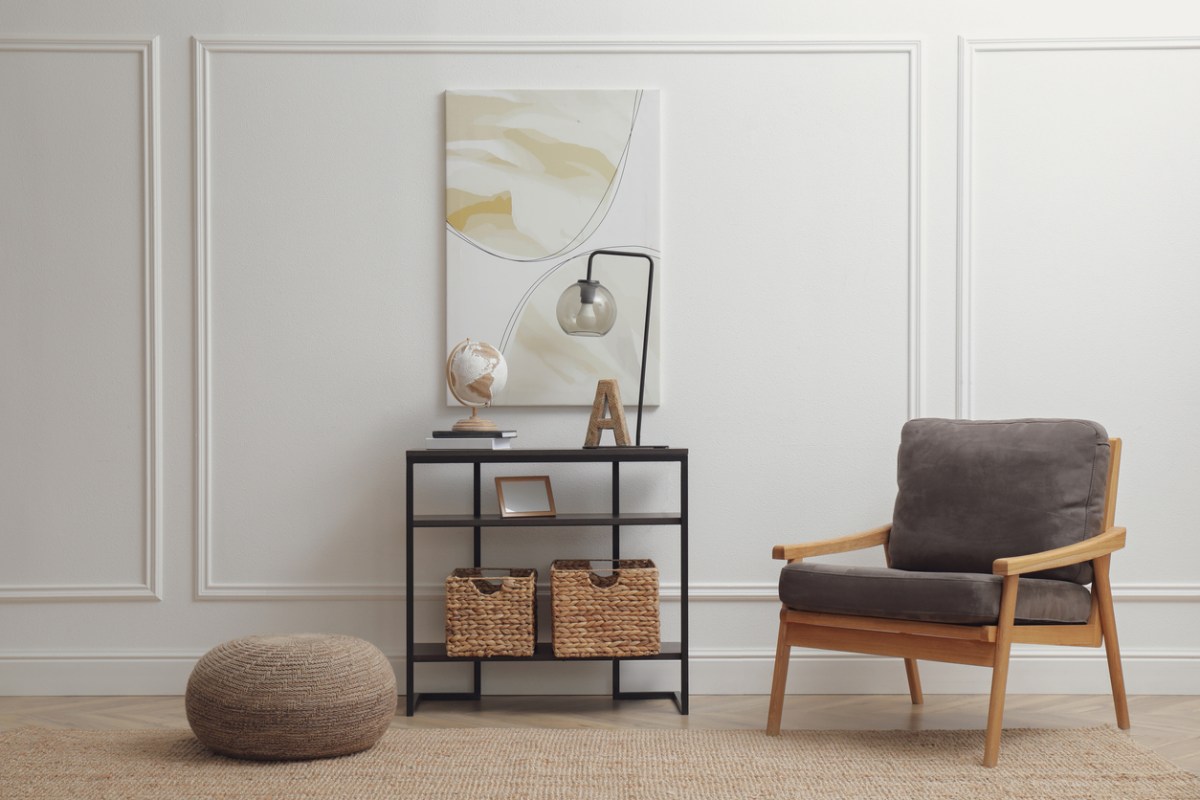
Peel-and-stick trim can replicate the look of traditional wall moldings, letting you bring a touch of classic architectural charm to your interiors. Whether your preference leans towards the grandeur of Victorian wainscoting, the clean lines of Shaker-style paneling, or the geometric creativity of art deco designs, the possibilities are endless. Peel-and-stick trim offers an affordable way to execute your vision, achieving the look and feel of custom wall moldings without the hefty price tag or laborious installation process.
RELATED: Solved! Which Comes First: Painting the Wall or Trim?
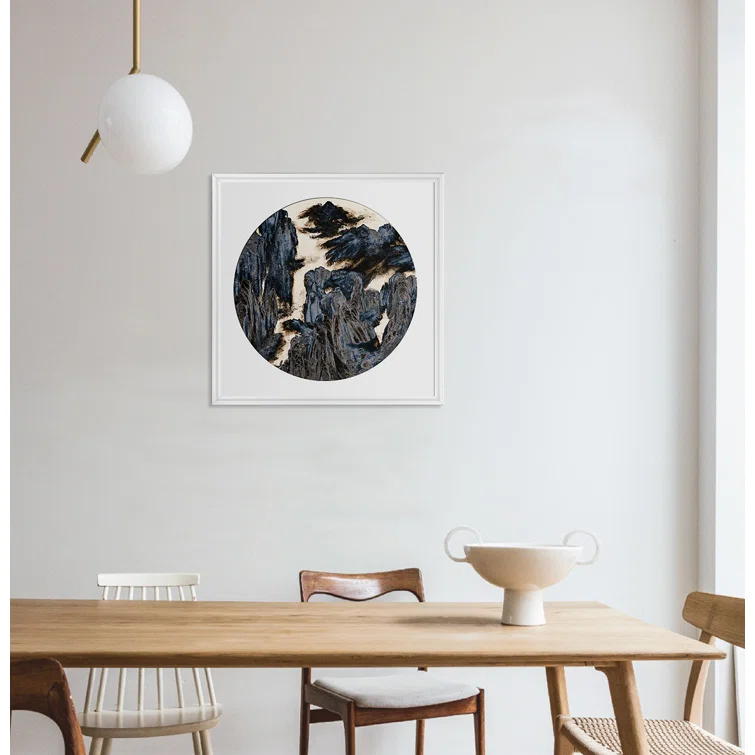
3. Frame a Mirror or Wall Art
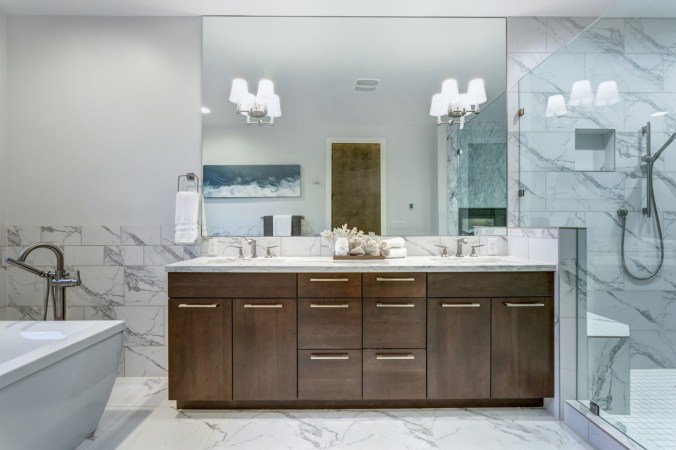
Framing a mirror with decorative peel-and-stick trim is a simple yet impactful way to upgrade a bathroom or vanity space. This do-it-yourself project can turn a standard, unframed mirror or a simple print into a stunning focal point, adding depth, dimension, and a touch of luxury. It’s an affordable and accessible way to bring an element of custom design into your space, enhancing the overall look and feel with minimal effort.
4. Accent Doorways or Windows
Adding accents to doorways and windows using peel-and-stick molding trim is a clever and elegant way to bring architectural interest to your home. This subtle enhancement can redefine these functional elements, providing a polished, custom finish that complements a room’s overall aesthetic. Whether you opt for a minimalist, modern design or prefer intricate, classic detailing, the wide variety of molding trim available can cater to your taste.
5. Revamp Your Cabinets
Upgrade dated cabinets by using peel-and-stick trim to mimic cabinet molding. It’s a budget-friendly and surprisingly simple way to give your cabinetry a custom, high-end look. Using peel-and-stick border trim on cabinets is about more than just aesthetics—it’s also an economical and sustainable choice, breathing new life into dated cabinets instead of resorting to expensive replacements.

