We may earn revenue from the products available on this page and participate in affiliate programs. Learn More ›
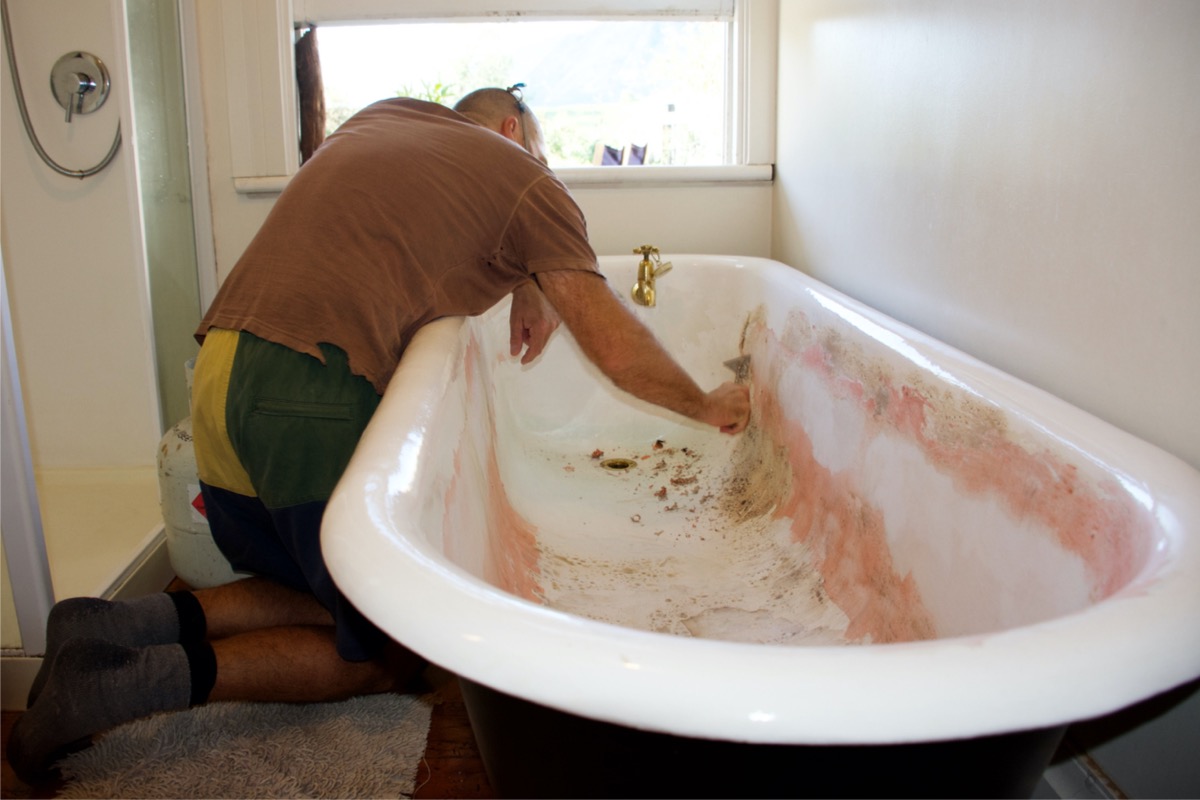
Want to replace your vintage cast iron bathtub? You may be surprised that a comparable antique tub, or even a period-style reproduction, can easily cost thousands of dollars. A better, more economical option to getting a fresh-looking bathtub is to refinish it yourself.
Refinishing kits cost about $30 at the local home improvement center, which may sound like too good a deal too good to pass up. However, bathtub refinishing is no modest undertaking. Before jumping into the project with both feet, it’s important that you’re ready for the tasks involved in refinishing, feel comfortable working with chemicals, and commit to the time it takes to complete the project. DIYers with the skills and time to devote can transform an old stained bathtub into a new version of itself over the course of a weekend. We’ll walk you through how to refinish a bathtub, and when it’s done you can soak in the glory of a job well done.
Before You Begin Your Bathtub Refinishing DIY
It’s important to read all of the instructions involved with this DIY project before you begin. You’ll also want to make sure the work area is well ventilated, and review what’s included in the bathtub refinishing kit before heading out to buy other tools and materials.
Be Ready for Surprises
You never know when a straightforward bathtub refinishing job can turn into an elaborate bathroom overhaul. When caulking is removed from around the edges of an old tub, you may find hidden areas of damp in the walls, prompting you to replace the water-damaged material. Indeed, older homes are full of surprises, so be ready for anything.
RELATED: How Much Does It Cost to Replace a Bathtub?
Set Up a Safe Workspace
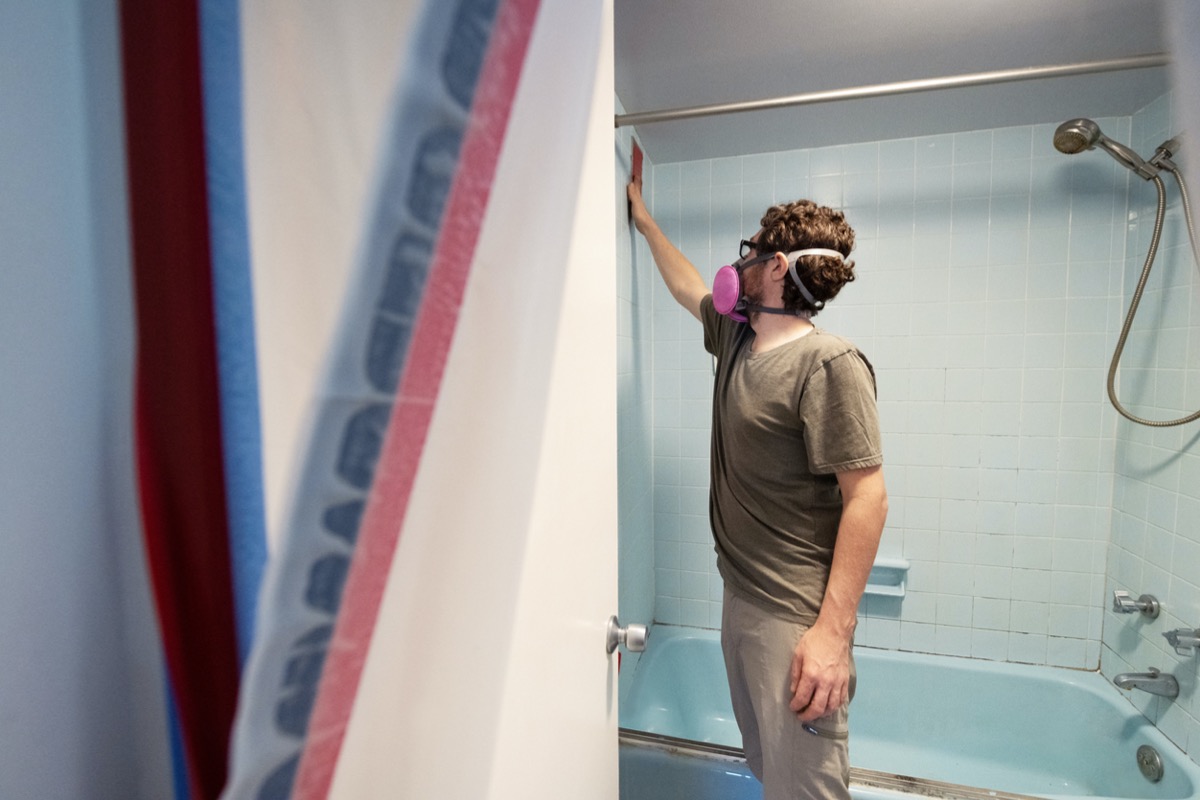
When you take on any home DIY project, it’s important to educate yourself on the risks involved so you can take necessary steps to stay safe while you work. Refinishing a bathtub will typically involve using paint, primer, and sometimes paint stripper. Using these materials in an enclosed space is dangerous and has been known to lead to death on several occasions, according to the CDC.
While most DIY refinishing kits do not contain powerful stripping agents, it is still of the utmost importance that you ventilate the bathroom you’re working in by opening the windows, turning on the exhaust fan, and setting up at least one additional fan that can blow air directly out of the window or door. Keep in mind that some chemicals are heavier than the air, so they can actually sink into the tub and become trapped instead of rising up to the height of a window.
It’s also recommended that DIYers wear protective gloves, safety glasses, a long-sleeve shirt, long pants, closed-toe shoes, and a full-face respirator. Avoid leaning directly into the bathtub, as low-lying gas could put you at risk.
Inventory Your Bathtub Refinishing Kit
Next, unpack your refinishing kit and see which tools and materials are included. If the kit comes with paint and only paint, you will have to purchase other essential project materials yourself. These include but are not limited to painting tools, protective gear, and cleaning supplies.
While it’s possible to achieve a satisfying finish with a brush and roller, a paint sprayer will provide the most professional-looking result. The following are the tools and materials needed for this project.
Tools & Materials
Bobvila.com may earn a commission from purchases made through these links.
- Screwdriver
- Putty knife
- Utility knife
- Abrasive pad
- Bleach
- Sponge
- Cloth
- Gloves
- Respirator
- Safety glasses
- Painter's tape
- Drop cloth
- Box fan
- Bathtub refinishing kit
- Tub repair putty
- #400 to #600 wet/dry sandpaper
- Paper towels
- Paint roller and tray set
- Paintbrush
- Paint sprayer
- Caulk gun
- Shower caulk
11 Steps to Refinishing a Bathtub
Once you have a clear understanding of the project’s steps and risks, and your tools and materials are within easy reach, you’re ready to start the bathtub refinishing process.
STEP 1: Remove the tub hardware and caulking.
The first step is to remove any tub hardware and scrape off the caulking surrounding the edges of the tub. Use a screwdriver to loosen the drain cover, lever plate, spout, and handles. Many bathtubs are combined with showers, so the spout and handles may be protruding from the shower wall instead of attached directly to the tub.
Use a putty knife to scrape away the caulking from the edges of the tub. All of the caulk needs to be removed before the bathtub can be refinished, so while most of the caulk will come off with a putty knife or a utility knife, you may also need to use an abrasive pad to scrub away any remaining caulking.
STEP 2: Clean the bathtub thoroughly.
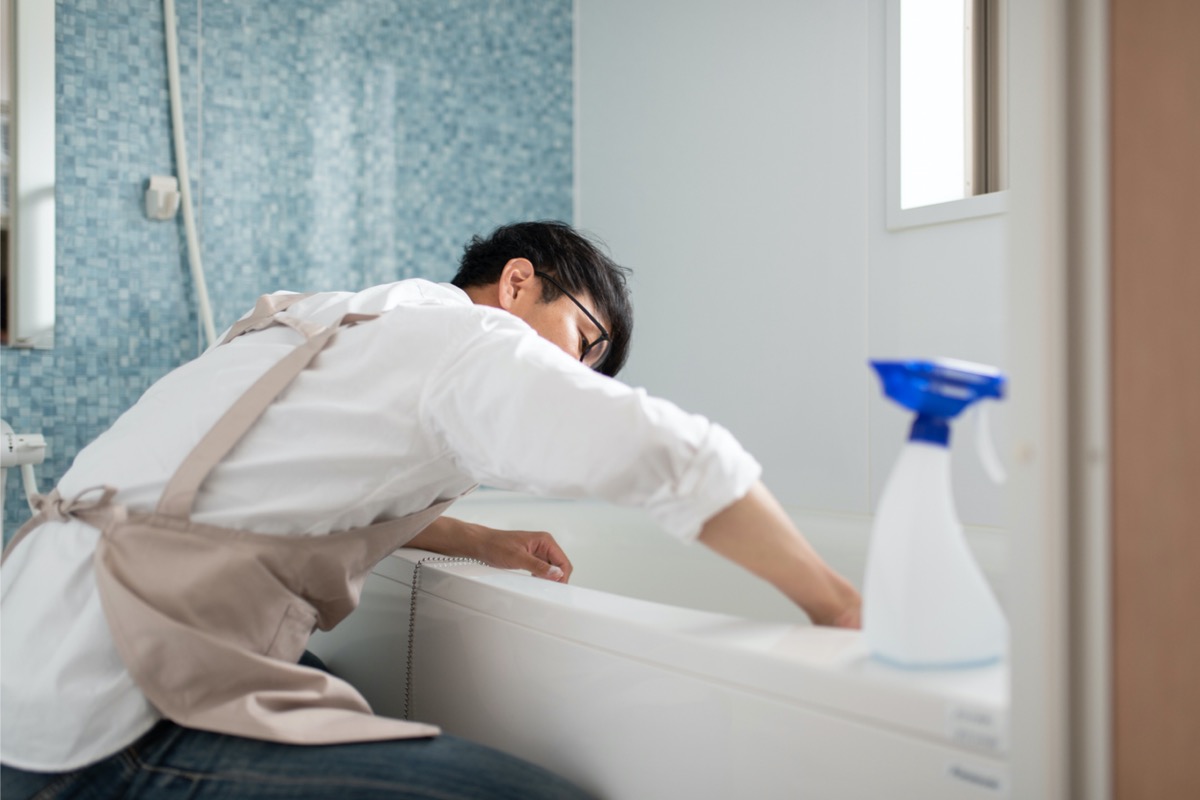
After the tub hardware and caulking have been removed, the bathtub will need to be thoroughly cleaned with a chemical bathroom cleaner and a cloth or sponge. This will ensure that soap scum and built-up grime are removed, so that the refinishing agent can bond directly to the surface of the bathtub.
Dry the tub with a clean cloth and inspect for any leftover caulking, soap scum, grime, or any other debris. Clean away any debris still found in the tub, then dry the bathtub and prepare your personal protective equipment (PPE).
STEP 3: Don protective clothing and gear.
The chemicals that are used to etch the bathtub’s surface, prime the tub, and reglaze the bathtub are hazardous. While DIY bathtub refinishing kits typically use low-odor products, experts still advise wearing personal protective equipment (PPE) while working on this project.
According to the CDC, DIYers should wear closed-toe shoes, long pants, a long-sleeve shirt, protective gloves, and breathing protection, like a full-face respirator. Safety glasses or goggles are also useful for protecting your eyes while you work. Do not undertake this project without using appropriate PPE.
STEP 4: Tape off areas around the bathtub.
Similar to painting a room, when you are refinishing a bathtub, tape off the edges of the wall surrounding the bathtub with painter’s tape. This will prevent the walls from being splashed or sprayed with primer or reglazer. If the bathtub is freestanding, you will just need to slide a drop cloth under and around the base of the bathtub to protect the floor.
Any plumbing fixtures, shelves, or any other parts of the shower that are in close proximity to the tub should be wrapped in plastic and secured with painter’s tape to avoid accidentally spraying these items. If you aren’t confident about your paint-spraying skills, consider taping loose plastic or masking paper to the shower walls for more adequate protection.
STEP 5: Ventilate the bathroom.
Compared to other rooms in the house a bathroom is a relatively small space, which is why it’s important to ventilate the space properly before etching, priming, or glazing the bathtub. Some people believe that simply turning on the exhaust fan and opening the door and window is sufficient, but we recommend taking further precautions. Heavy gasses may sit deep in the bathtub instead of escaping through a ceiling exhaust fan or rising to the height of the window.
To properly ventilate the space, set up at least one box fan in the window or door of the bathroom, so that the air in the room is being actively exchanged during the entirety of the project. Always follow the exact directions provided in the bathtub refinishing kit and don’t cut corners on safety.
STEP 6: Etch the tub’s surface.
Etching the tub’s surface involves applying an etching powder to the bathtub that will dull the finish on the existing coating, so that it’s easier for a new coating to bond to the bathtub. Not all refinishing kits come with an etching powder because this isn’t a mandatory step in the process, though it will improve the results.
If the kit you bought comes with etching powder, apply the powder to the surface of the bathtub and use an abrasive pad to scrub the tub and dull the finish. During this process, you may find some chipped or pitted areas in the tub. Fill the chips and pits with putty and allow it to dry. When the putty is dry and the tub’s surface is etched, rinse the tub with water to remove the etching powder.
RELATED: The Pros and Cons of Free-Standing Bathtubs
STEP 7: Scrub the tub down with sandpaper.
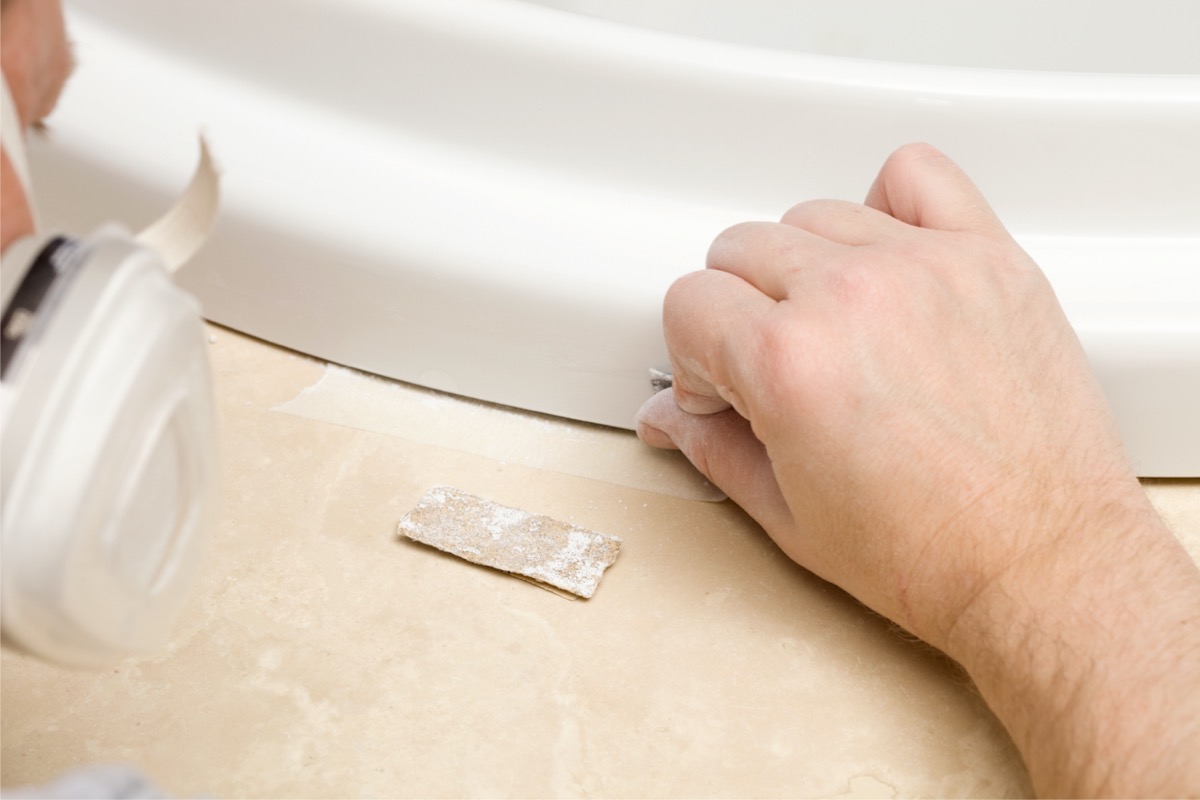
The surface of the bathtub will need to be sanded to scuff the finish and allow the glaze to bond properly. This step is crucial if you didn’t use an etching powder.
If you did use an etching powder to chemically prepare the surface of the bathtub, then focus on sanding the putty used to fill any chips or pits found in the bathtub. Sand the putty until it is flush with the surrounding bathtub surface, then rinse the tub and allow it to dry.
After the bathtub dries, wipe it down with paper towels to ensure any moisture or debris is removed before proceeding.
STEP 8: Prime the tub.
With the surface adequately scuffed and prepared, most kits require applying a primer or bonding agent. If the kit does include a primer, then use a small roller, paintbrush, or a paint sprayer to apply the primer to the surface of the bathtub. Bathtubs that are made of iron will typically require a bonding agent unless otherwise specified by the refinishing kit instructions. Apply the bonding agent to the surface of the iron tub to help the glazer stick and bond to the bathtub.
Not all refinishing kits require a primer or a bonding agent, so it’s important to check your refinishing kit to see what it contains. If the kit only comes with a reglazer, then it does not require a primer. Do not use regular paint primer on the bathtub, only use primer included with a refinishing kit.
STEP 9: Mix the reglazer.
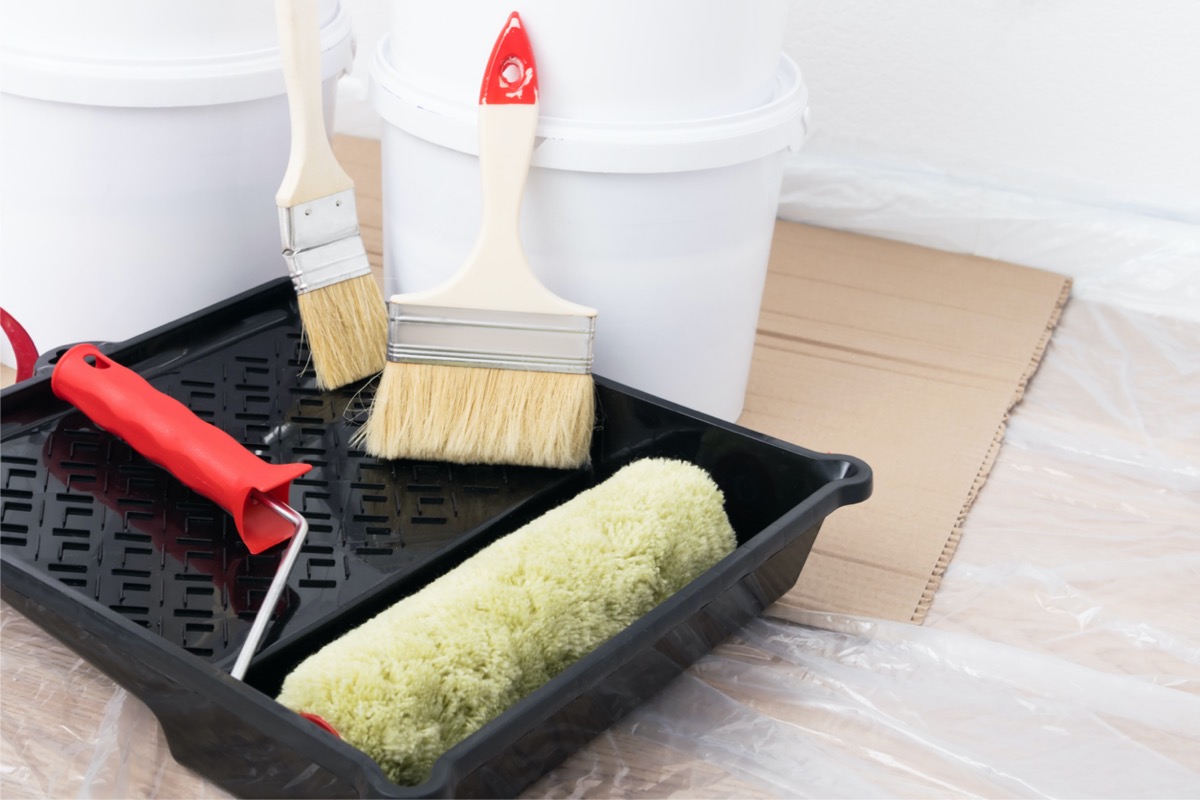
Depending on the type of refinishing kit you purchased, you may not need to mix the reglazer. Some kits come with a premixed can that can be sprayed onto the surface of the bathtub. If your reglazer does need to be mixed, it’s best to follow the directions in the refinishing kit regarding the proper way to mix your kit’s particular reglazer.
Note: Not every reglazer has the same set of instructions or mixture of components, so it’s important to read the directions carefully in order to get the best result.
RELATED: 9 Types of Bathtubs Every Homeowner Should Know
STEP 10: Apply the epoxy.
Use a roller, paintbrush, or paint sprayer to apply the epoxy reglazer to the surface of the bathtub. After applying the first coat, allow the reglazer to dry for 30 minutes to 1 hour before moving on to the next coat. A bathtub can typically be refinished with just two coats, but if you are concerned that the layers are too thin, consider applying a third coat.
Epoxy reglazer usually takes 24 to 48 hours to fully cure, though some products can take more than 3 days, which is why it’s necessary to check the drying and curing times on the directions included with the refinishing kit. Make sure that the room remains well ventilated while the bathtub cures.
STEP 11: Finish the job by caulking and installing hardware.
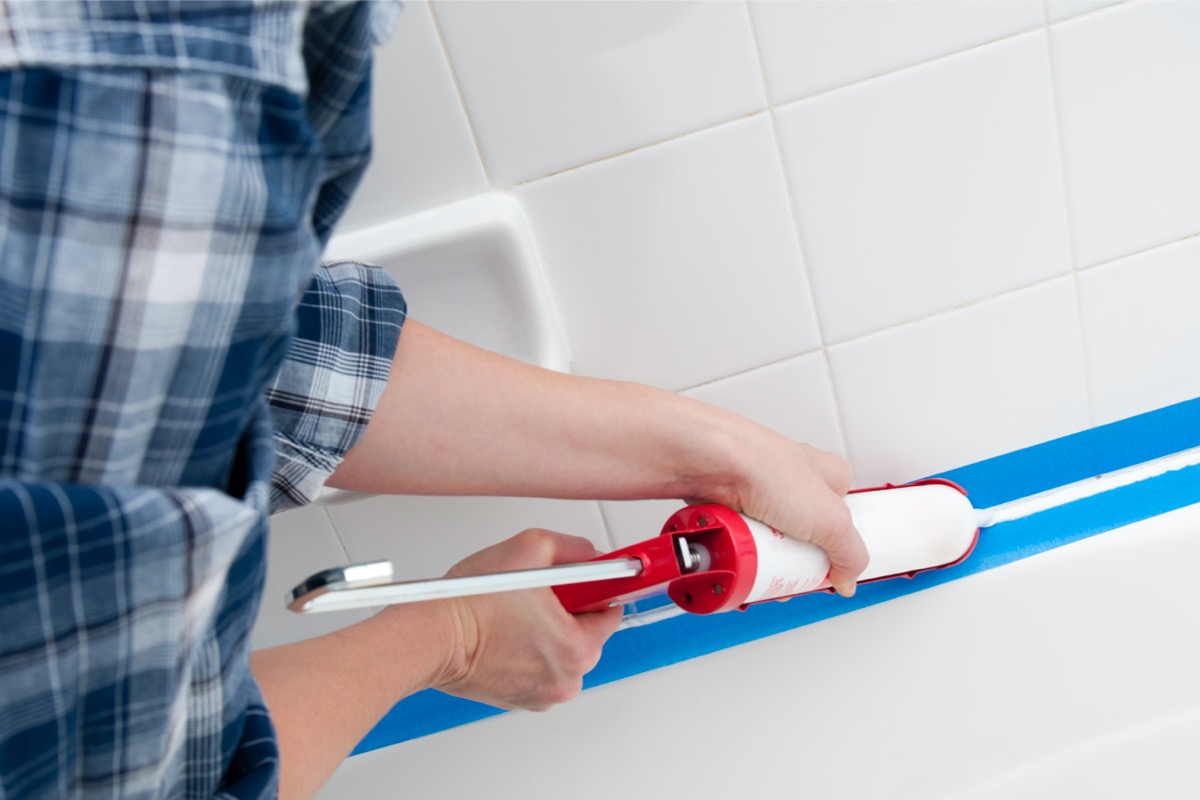
When the reglazer is finished drying and it has fully cured, reinstall the drain cover, lever plate, tub spout, and handles. Remove the tape around the edges of the bathtub and seal the joints with silicone caulking that is rated for use in bathrooms. Go slowly to help ensure an even application of caulking, then allow the caulk to cure for about 24 hours before using the bathtub.
Hiring a Professional Bathtub Refinisher
If you do not want to take on the task yourself and the budget allows, professional bathtub refinishing is an option in most areas. In your search for a local refinisher, it’s important to discuss your budget and don’t forget to ask whether additional expenses (e.g., travel) are included in the estimate. Expect to pay between $335 and $629 for a pro to refinish a bathtub, according to Home Advisor.
Final Thoughts
Creating refurbished bathtubs is an excellent way to save money and avoid waste. Instead of simply replacing the entire tub when the exterior begins to wear out, the bathtub can be revitalized. With some time and effort into cleaning, preparing, and refinishing the bathtub, you can update the appearance of the entire bathroom. Just make sure that you are working safely in a well-ventilated space with the appropriate personal protective equipment to avoid accidental injury or death due to the inhalation of harmful fumes.
FAQs About How to Refinish a Bathtub
Learning how to resurface a bathtub can seem simple at first glance, but the process takes time, patience, and a clear understanding of the desired result for the old bathtub. Make sure you know how to reglaze a tub correctly with a bathtub refinishing kit before taking on this project. For more advice, take a look below to find the answers to several commonly asked questions about refinishing bathtubs.
Q: Can you paint a plastic bathtub?
It is definitely possible to learn how to paint a bathtub, even if it is made of plastic. The key difference when you are working with plastic is that it’s important to use an acrylic enamel for the tub resurfacing. Otherwise the project is essentially the same as refinishing a porcelain or fiberglass bathtub.
Chemically clean the surface, then fill any cracks or chips, sand the filled spots smooth, and then apply the acrylic enamel glaze to finish the bathtub DIY project.
Q: How long does a bathtub refinish last?
It depends on how frequently the bathtub is used and the level of maintenance involved to keep the bathtub clean and safe from corrosive elements. Ideally, bathtub resurfacing will last for about 10 to 15 years before the glaze begins to wear and fade.
Q: What is the difference between reglazing and refinishing a bathtub?
The terms “reglazing” and “refinishing” are often used interchangeably, but they mean different things. Bathtub reglazing is the specific step of applying a bathtub paint to the prepared surface of an older bathtub. Tub refinishing is the entire bathtub refinishing process including, cleaning, surface preparation, and reglazing.

