

We may earn revenue from the products available on this page and participate in affiliate programs. Learn More ›
Painting is perhaps the easiest of DIY home upgrades, but tackling the ceiling can be a daunting endeavor, particularly since it requires a bit of elevation and contortion. Here are some pointers on prep and techniques for how to paint a ceiling that will help you accomplish the job easily and successfully, just like a pro.
Project Overview
Working Time: 4 hours
Total Time: 14 hours
Skill Level: Intermediate
Estimated Cost: $150
Before You Begin
To ensure the best outcome for both your ceiling and your own wellbeing, take a few steps to ensure you’re fully ready to get started on your project.
First, carefully peruse the supplies list below and gather all the necessary equipment. You don’t want to be dashing out to the garage every 5 minutes, climbing up and down a ladder each time, to see this project through.
Second, stretch your body. It may sound crazy, but when you paint a ceiling you’ll probably be twisting your body into unfamiliar and unusual positions. At the very least, you’ll be craning your neck at odd angles, and your arms will be stretched overhead for long periods of time. If you do some stretching before you get started, you may need less ibuprofen when the job’s done. Of course, it’s always a good idea to open windows to allow for adequate ventilation.
Tools & Materials
Bobvila.com may earn a commission from purchases made through these links.
- Canvas drop cloth
- Paint roller
- Paint roller cover
- Extension pole for paint roller
- Paint roller tray
- Step ladder
- Paint brush comb
- Painter’s tool
- Paint brush
- Roller spinner
- Ceiling paint or interior latex paint
- Interior latex primer
- Painter’s tape
- Dish detergent
- Paper towels
STEP 1: Clear the room out, and cover the floors with drop cloths.
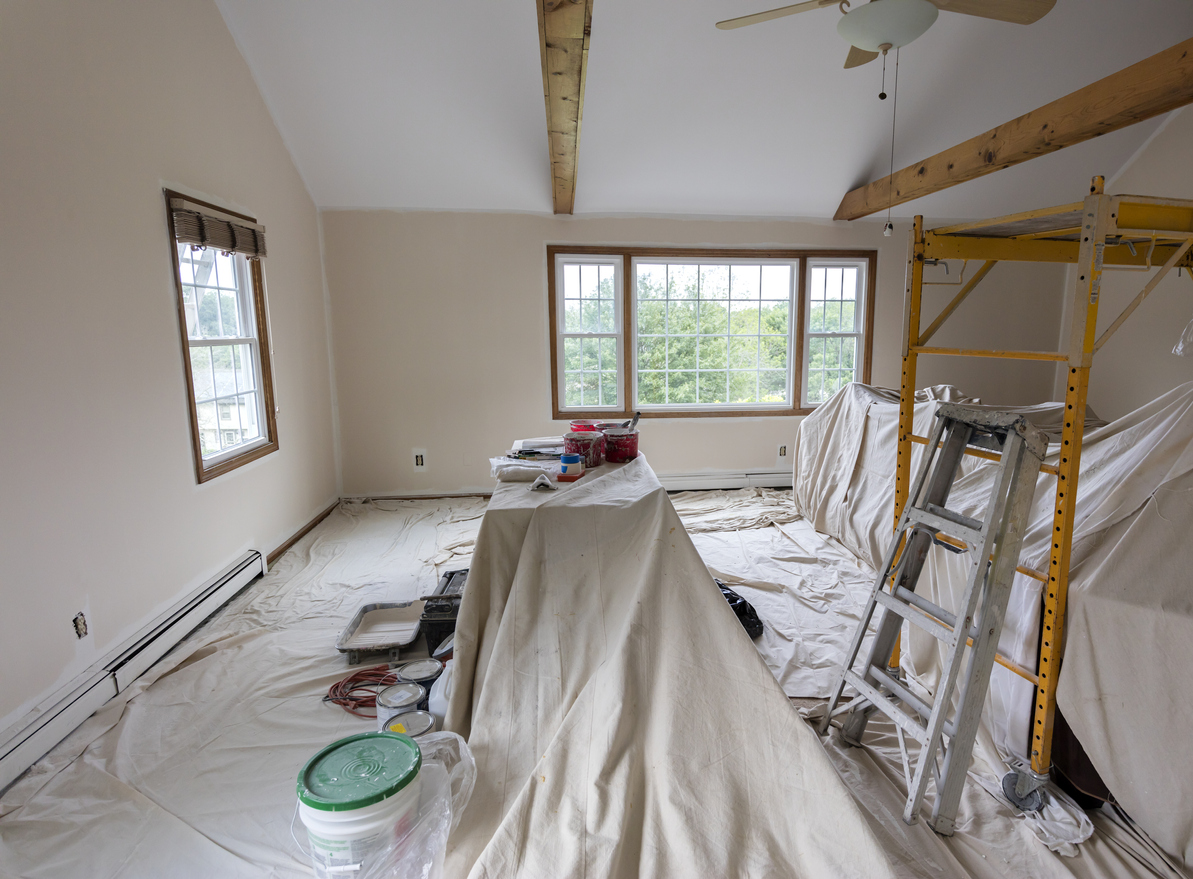
Before you begin painting the ceiling, remove as much of the furniture from the room as possible; doing this will make it easier for you to maneuver through the space where you’re working. Use drop cloths to cover any furniture that’s too cumbersome to move.
Spread additional canvas drop cloths over the floors to protect them from paint splatters and mishaps. (Canvas will be less likely to cause you—or your step ladder—to slip.)
RELATED: 13 Top Tips to Make Any Paint Job Go Faster
STEP 2: Mask tops of walls and crown molding with painter’s tape.
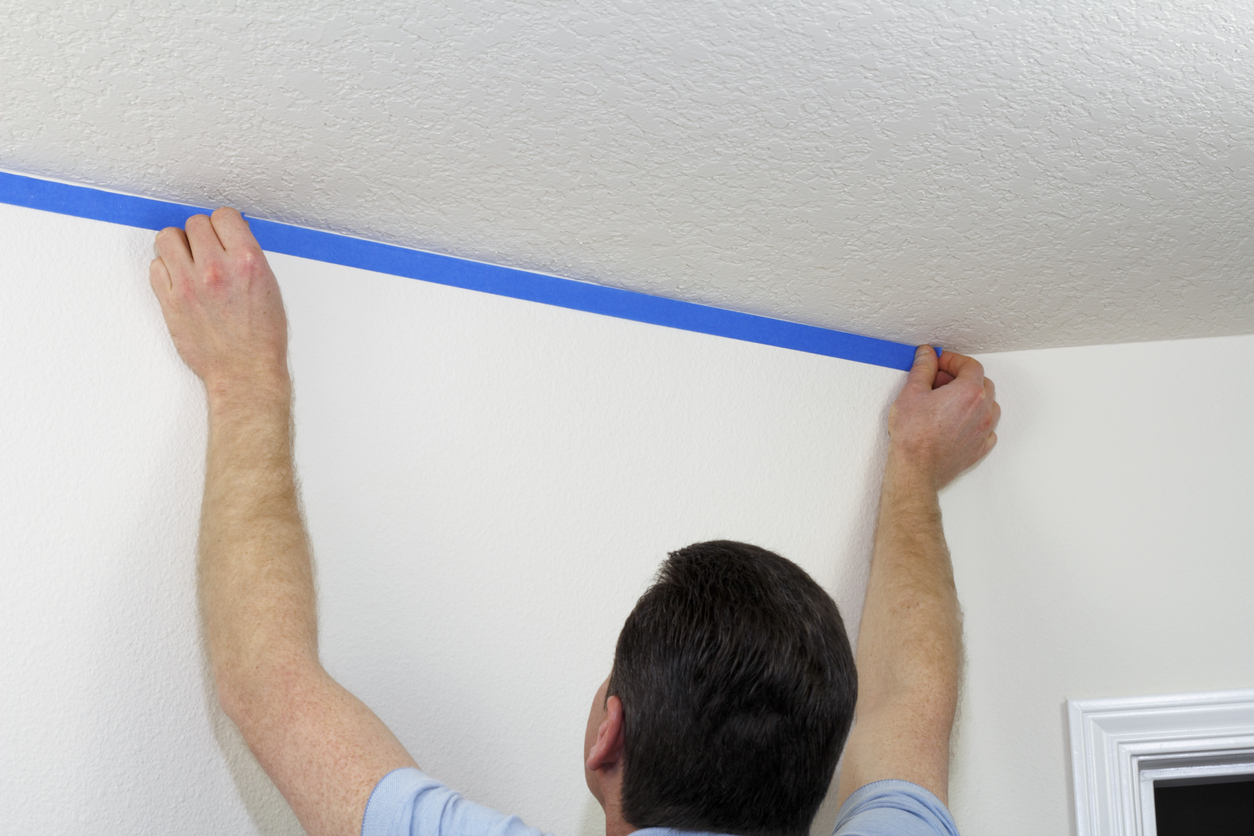
If you are just painting the ceiling and not the walls, use quick-release painter’s tape where the walls meet the ceiling. Painter’s tape should also be applied around any moldings that decorate the ceiling’s edges.
If you plan to redo the whole room, the ceiling is where you should start! In this situation, taping off is less necessary—you can paint over any errant brush strokes when you get to the walls.
STEP 3: Prime the ceiling.

Using a roller with an extension pole, apply a coat of interior latex paint primer. Don’t cut corners and skip this step. The primer will provide a stain barrier and, in most cases, will make it possible to use only one coat of paint to finish.
The specific primer you use depends on the texture of your ceiling.
- A smooth or lightly textured drywall ceiling benefits from an interior latex drywall primer that’s a color that’s close to that of the paint.
- On ceilings with deeper textures (for example, popcorn ceilings), use a high-build primer, like Zinsser Peel Stop Triple Thick High Build Binding Primer. This product not only prepares the surface to receive a smooth coat of paint but also fills in grooves and imperfections in the ceiling.
Allow the primer to completely dry according to the manufacturer’s instructions before you continue. In some situations—say, you’re painting new drywall or you’re painting a lighter color over a darker one—it’s a good idea to paint a second coat of primer before painting.
RELATED: The 8 Best Paint Primers for Indoor, Outdoor, and General Use
STEP 4: Cut in around the ceiling’s edges using an interior latex paint with high viscosity.

Now, switch to paint, either one that is labeled as ceiling paint or an interior latex paint with high viscosity. Viscosity is measured in Krebs Units (KU); you’re generally looking for a viscosity of 106 KU or more. You’ll find the KU measurement in the manufacturer’s specs for any given paint if it’s not located on the back of the paint can itself. The slightly thicker paint sticks better to the ceiling and stays there until it’s fully dry.
Standing on a step ladder, paint a cut-line 2 to 3 inches wide along the edge of the ceiling. Start in a corner, and use a 2-inch trim brush to paint about 3 feet along one wall, and then move on to the adjoining wall.
While the cut-line is still wet, continue with the next step and begin painting the ceiling with a paint roller. Painting the ceiling while the cut-line is wet will help reduce visible lines. The same will be true for paint applied from section to section with the roller.
STEP 5: Load your roller with ceiling paint right away.
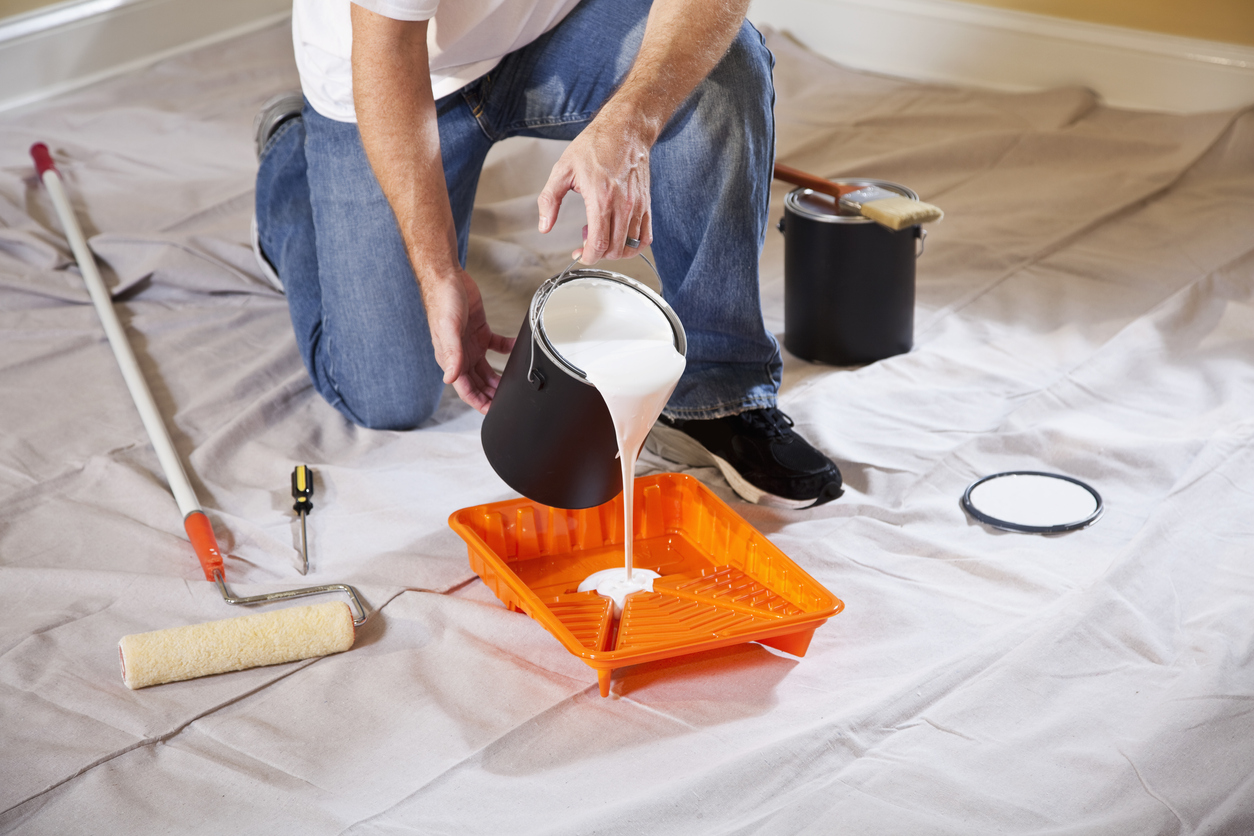
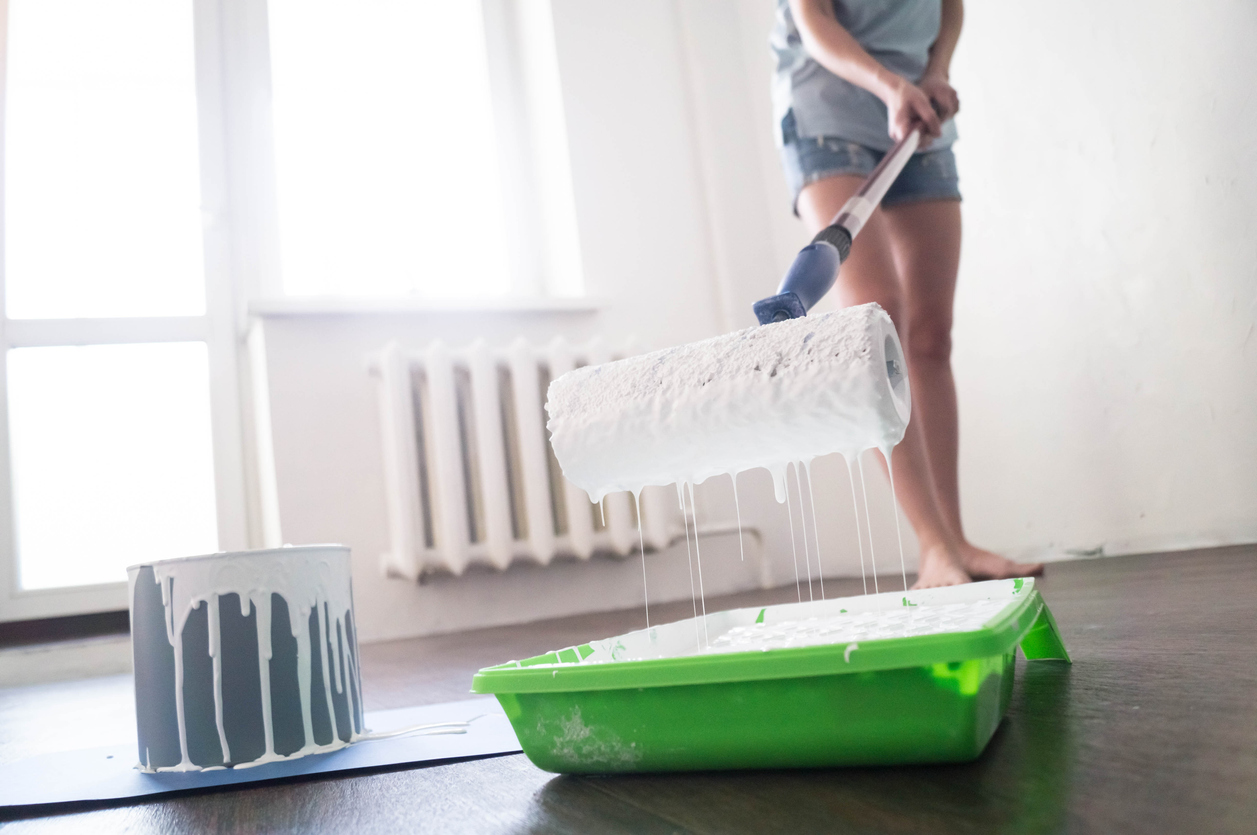
To use a roller, fill the deep portion of a roller tray with paint and roll the apparatus over the paint until the nap is covered. (Depending on your ceiling’s texture, certain roller covers work better than others; get the scoop in our guide to the best paint rollers and make sure you choose the right one.) The key is to avoid submerging the roller in the paint. Instead, glide it over the paint, gently working it back and forth in the shallow part of the tray until the nap is completely covered and paint drips are minimal.
RELATED: 17 Easy Fixes for a Botched Paint Job
STEP 6: Attach the extension pole to the roller and apply the first coat.
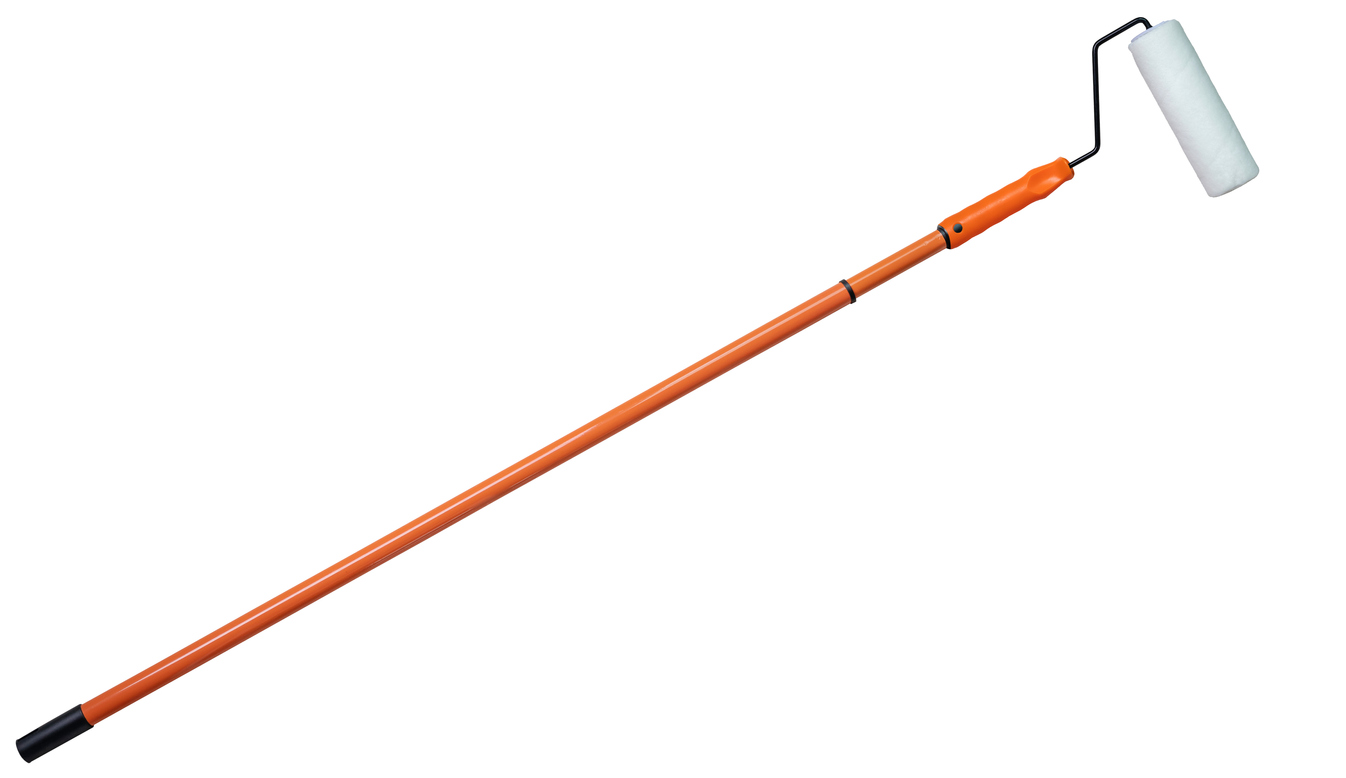
To paint the ceiling, use the fully extended, paint-filled roller to create a zigzag pattern measuring 3 to 4 feet square. Next, go over the same area using straight, controlled strokes to even out the paint. Avoid leaving paint lines from the edge of the roller. Since you need to work while the paint is still wet, tackle smaller sections and be sure to feather the edges to reduce distinct, visible lines between sections.
STEP 7: Apply a second coat of paint if needed.
Wait for the first coat to dry thoroughly for the amount of time recommended on the can. Depending on paint and coverage, you may need to repeat the process, from cut-lines (Step 4) through painting (Step 6).
RELATED: Solved! How Long Does It Take for Paint to Dry?
STEP 8: Clean your tools.

Be sure to clean your paint brushes, roller, and paint tray with warm, soapy water. A paint brush comb and a painter’s tool with a notch for cleaning rollers should help pull and squeeze out any last paint. Then, rinse with clean water until you’ve removed any lingering soap.
Shake, blot, and squeeze out any excess water, or consider speed-drying with a brush and roller spinner!
Final Thoughts
Painting a ceiling can be a pain in the neck, literally. That said, the ceiling should never be ignored or given short shrift in a painting job—it’s an important element of an updated paint job! Careful adherence to the stops outlined above will ensure that the project goes smoothly and the outcome is spectacular.
