We may earn revenue from the products available on this page and participate in affiliate programs. Learn More ›
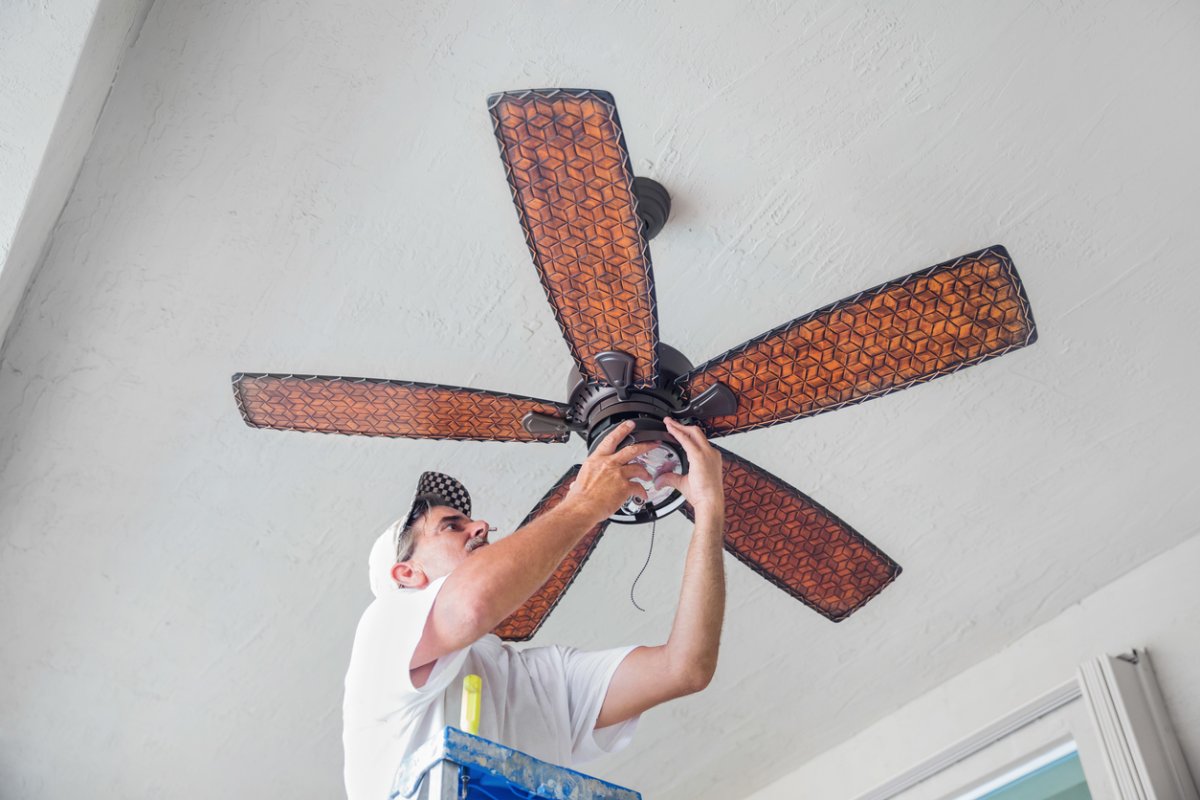
A ceiling fan can cut energy costs all year round. It helps circulate cool air in the warm summer months, but it can also help push heated air back down from the ceiling in the winter, making the temperature feel warmer and allowing you to dial down the thermostat. It’s also a perfect weekend project for a homeowner, since many DIYers can usually accomplish the task in a few hours and enjoy the investment immediately.
Keep reading to find out how to install a ceiling fan to replace an existing overhead light fixture. If additional wiring is necessary for installation, consult an electrician, as all wiring must follow local codes.
Tools & Materials
Bobvila.com may earn a commission from purchases made through these links.
- Dust mask
- Ceiling fan kit
- Ceiling outlet box (approved for ceiling fan)
- Expandable brace bar (if no access from above) or 2×8 framing lumber and screws
- Wire connectors (if not included with the ceiling fan kit)
- Electrical tape
Safety Considerations for a Ceiling Fan Box Install
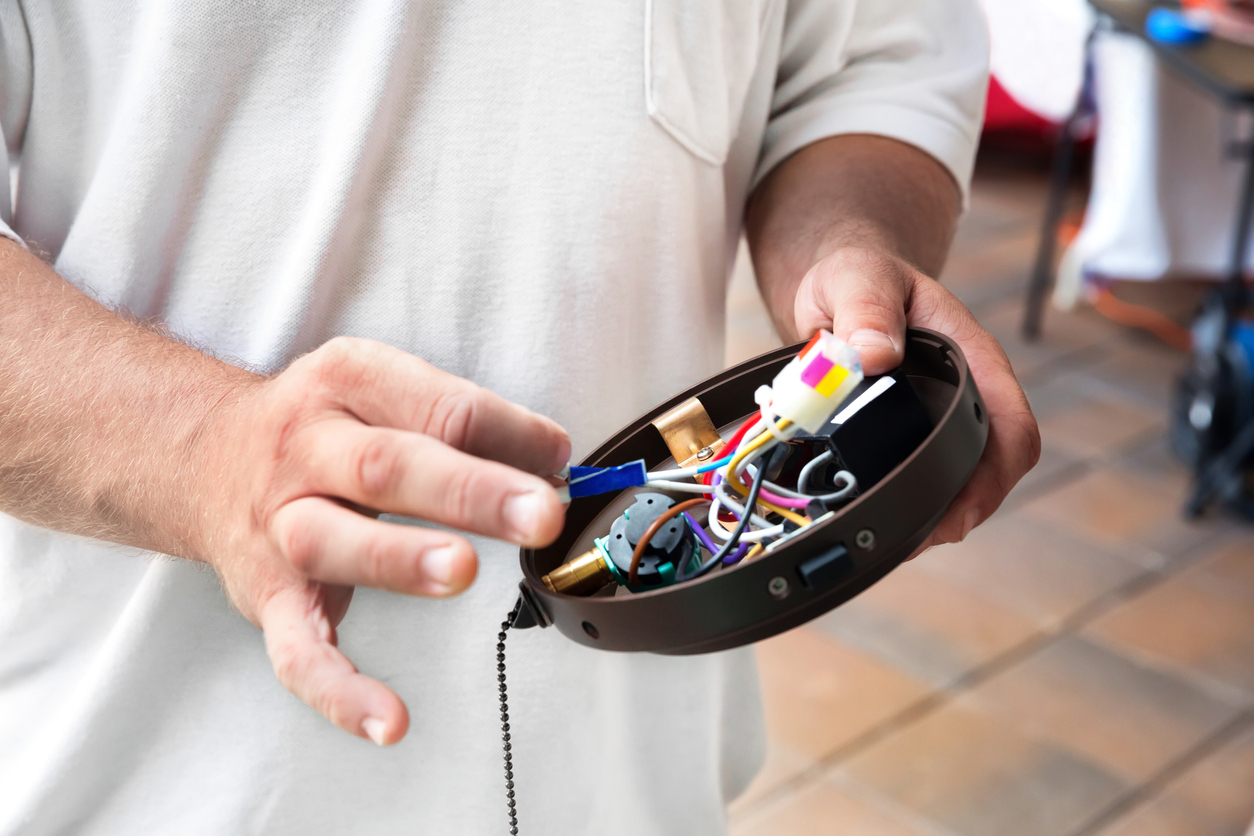
Whenever electricity and ladders are involved in a project, safety is of the utmost importance. To limit risks and prevent injury when replacing a light fixture with a ceiling fan, follow these ceiling fan wiring safety precautions.
- Always turn off the power source at the breaker box before starting a project that involves home wiring. Then, check that any wall switches are in the “off” position, but do not rely on just a wall switch for turning off the power as it presents some degree of risk.
- Always double-check that the wires are not live. While the electrical power to a switch or outlet can be turned off at the breaker box, it’s important to then use a voltage tester to make sure the breaker box was labeled correctly.
- When working on a ladder, make sure it is placed away from door openings and is placed on a secure and level surface.
- Keep your hips centered within the ladder frame when on a ladder, and climb down to move the ladder if something is beyond your reach.
STEP 1: Select a ceiling fan that suits the size of the room.

When choosing a fan, note the size of your room. The blades need to be at least 18 to 24 inches away from all walls, a minimum of 7 feet from the floor, and 10 inches from the ceiling. Use the following figures as a guide to selecting the right size ceiling fan for your space:
- 36-inch fan if the room is less than 144 square feet
- 42-inch fan if the room is between 144 and 225 square feet
- 52-inch fan if the room is more than 225 square feet
Our researched guide to the best ceiling fans offers terrific fan options at a variety of price points. After selecting the fan, select a ceiling box that’s approved for fans. Boxes for overhead lights are not strong enough to support the weight of a fan; your best bet is to choose a metal box that can support a fan’s weight. If you have access from an attic above or have open ceiling framing, you can add framing between joists to attach the box. If not, use a brace bar. A brace bar can be screwed into the joists, and the ceiling box and fan will hang from the newly added support.
STEP 2: Remove the old unit and cut a new hole.

Make sure that the electricity at the breaker box is turned off, and then use a voltage meter to check that the wires are not live. Before beginning to remove the old light fixture, decide where the old fixture will be placed. If it is a large or heavy fixture, you may need the help of a friend to hold the fixture while you detach it from the ceiling.
Carefully remove the light fixture, and then detach the wires connecting the old fixture to the wires in the ceiling. Next, remove the old light fixture’s ceiling box with a screwdriver. Make sure the wiring is in good condition, and consult an electrician to evaluate it or replace it if necessary.
Check the ceiling hole to determine if it is the right size for the new ceiling box and fan by tracing the outline of the ceiling box onto the ceiling. Next, cut out the shape needed using a keyhole saw. The hole cut is usually about 5 inches in diameter.
STEP 3: Mount the ceiling fan brace bar.
Insert the ceiling fan brace bar into the ceiling hole. Position the ceiling brace box so it is centered above the hole and perpendicular to the ceiling joists. Next, twist the outer bar until it locks into the foot. Continue turning until the foot is fastened. Next, turn the inner bar to secure the other foot.
If you are renovating the room and are lucky enough to have open framing, there is the option to use lumber and a ceiling fan box instead of a brace bar with an attached box. Measure the distance between the ceiling joists, and then cut a 2-inch-by-8-inch piece of framing lumber to span the distance. Secure the wood block with three 3-inch deck screws to each joist. Then secure the ceiling fan box to the block using the recommended fasteners from the ceiling box manufacturer.
STEP 4: Connect the ceiling fan wires.
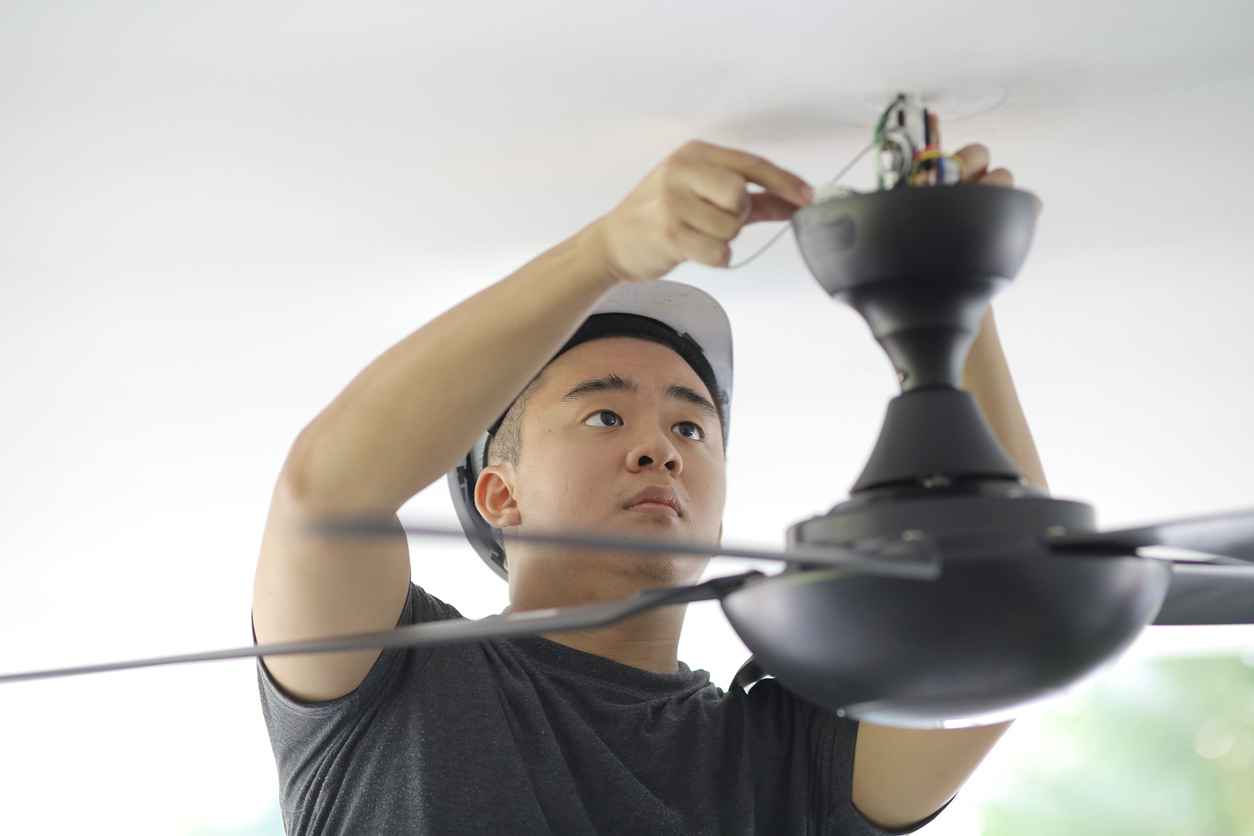
Carefully pull the wires through the knockout hole in the receptacle box. A handy pair of needle-nose pliers can help. Then, attach the fan’s mounting bracket with the hardware included. Attach the fan’s down rod with the ball end toward the ceiling, and secure (usually with an included cotter pin).
Next, connect the fan’s wires to the circuit wires: white to white, black to black, and the grounding wire to the green lead wire of the fan or a grounding screw. Secure all connections with wire connectors, and tuck them into the ceiling box.
STEP 5: Hang the ceiling fan.
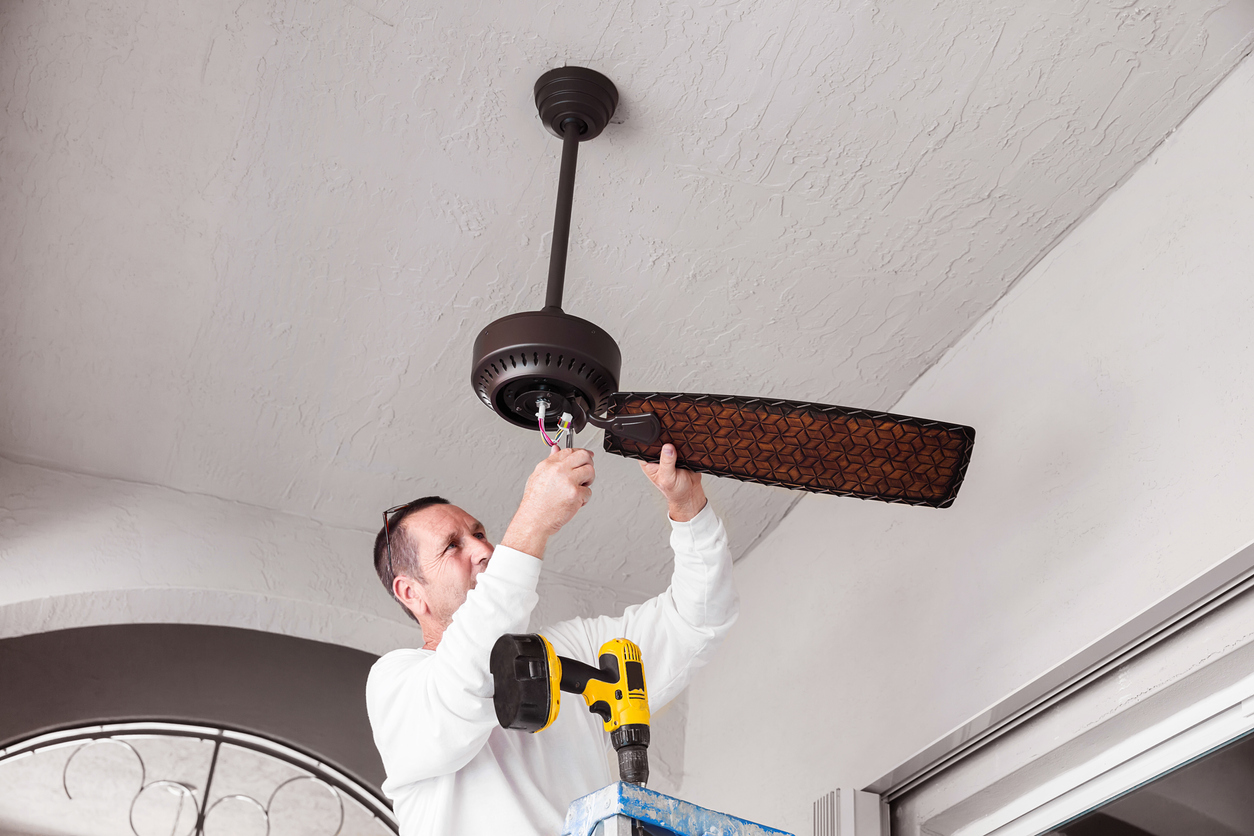
The next step involves hanging the new ceiling fan. Depending on the size and weight of the fan, you may want to ask someone to help with this step.
Attach the canopy or medallion using the screws included. Install the blades using the supplied hardware. Make sure all screws are tightened securely to the blade irons to prevent wobbling. Manually rotate the blades to check that they are secure.
STEP 6: Follow the installation instructions for the light kit.
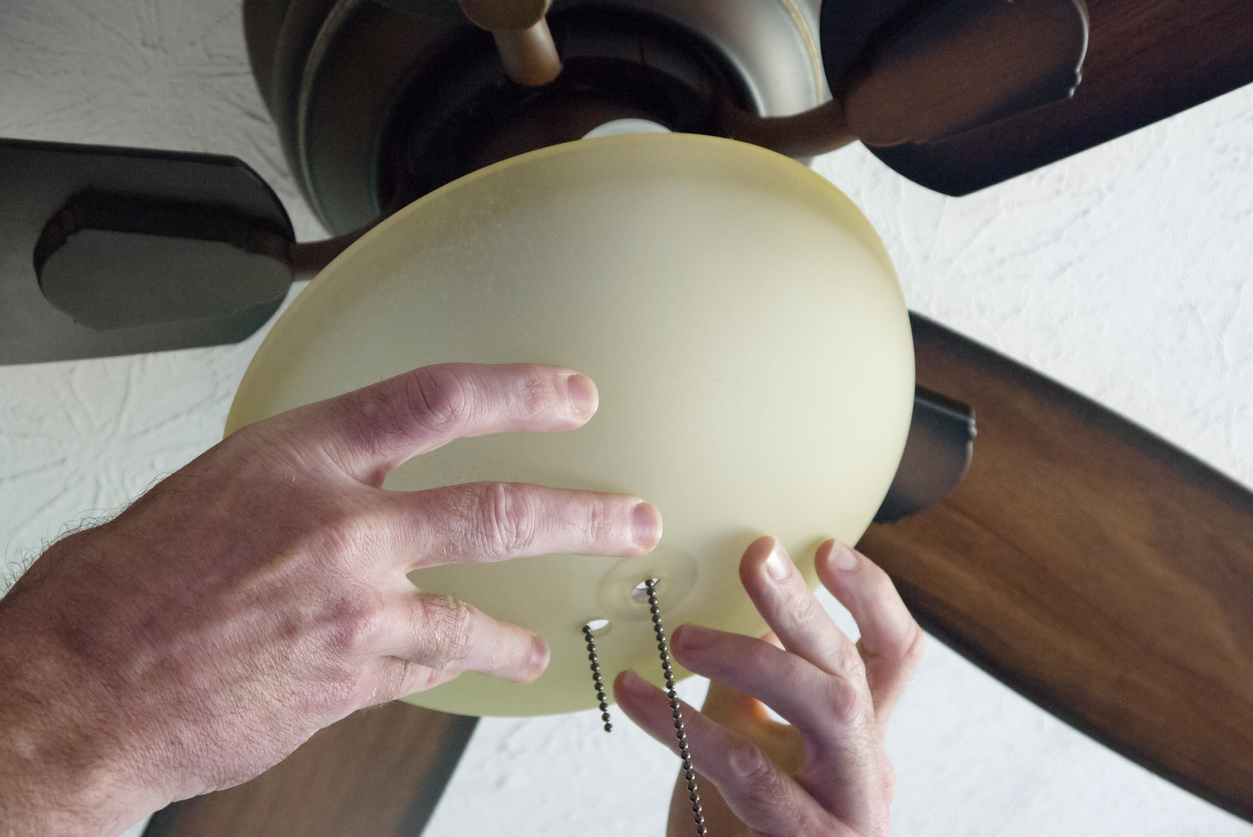
If your fan has a lighting kit, there will be a blue wire for the light. Follow the manufacturer’s instructions for wiring the lighting kit: white to white, and blue to black. Secure the wires with connectors or electrical tape and tuck the wires into the switch housing. Attach the lighting kit to the fan using the screws supplied. Install any shades and bulbs.
STEP 7: Ensure everything is secure, then test the fan.
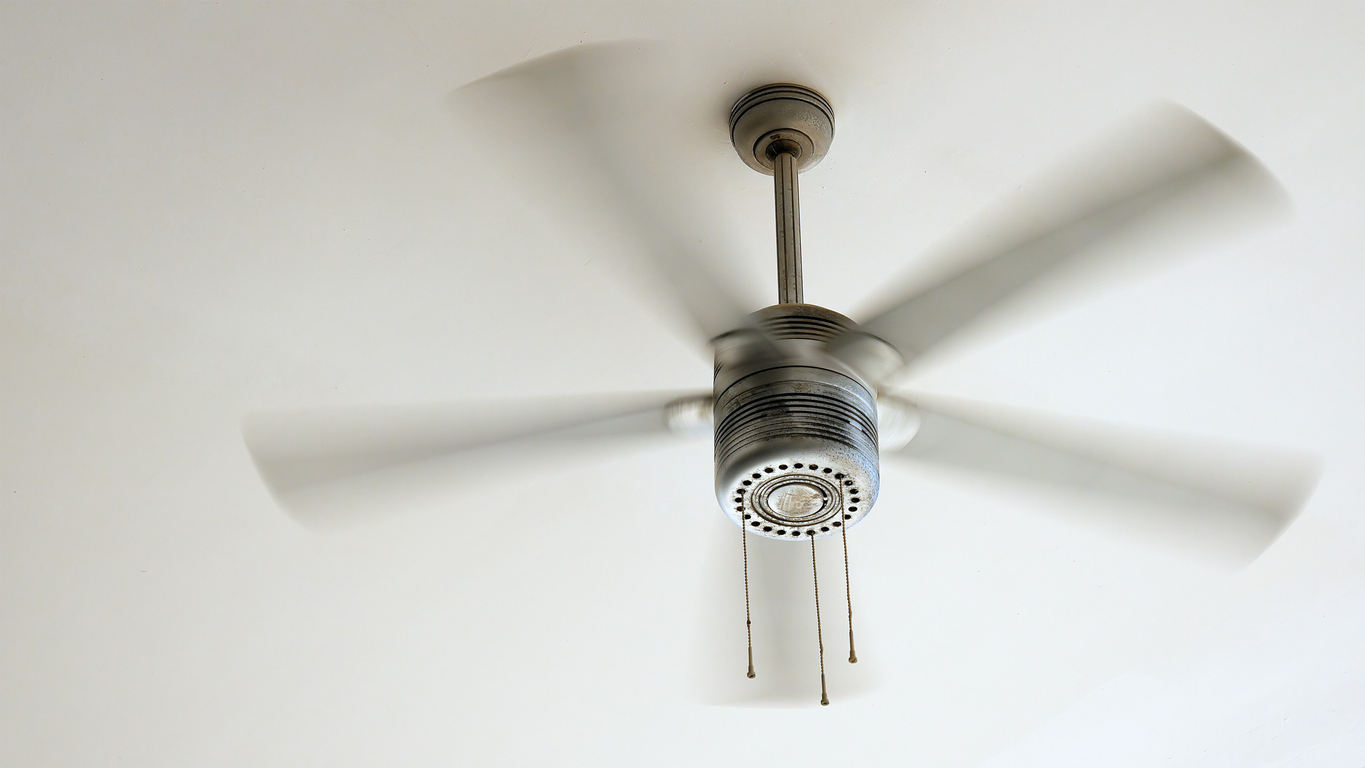
Do a final check to make certain the fan and its components are secure before turning the power back on at the breaker. Turn on the wall switch, and then slowly test out the fan at its lowest speed to make sure it operates properly.
Final Thoughts
Replacing a ceiling light with a new ceiling fan is a fairly easy DIY project. After selecting the new ceiling fan based on the room’s size and design preferences, and then gathering all of the needed supplies and tools, it’s an interior design update that can typically be completed in an afternoon.
FAQs About Hanging a Ceiling Fan
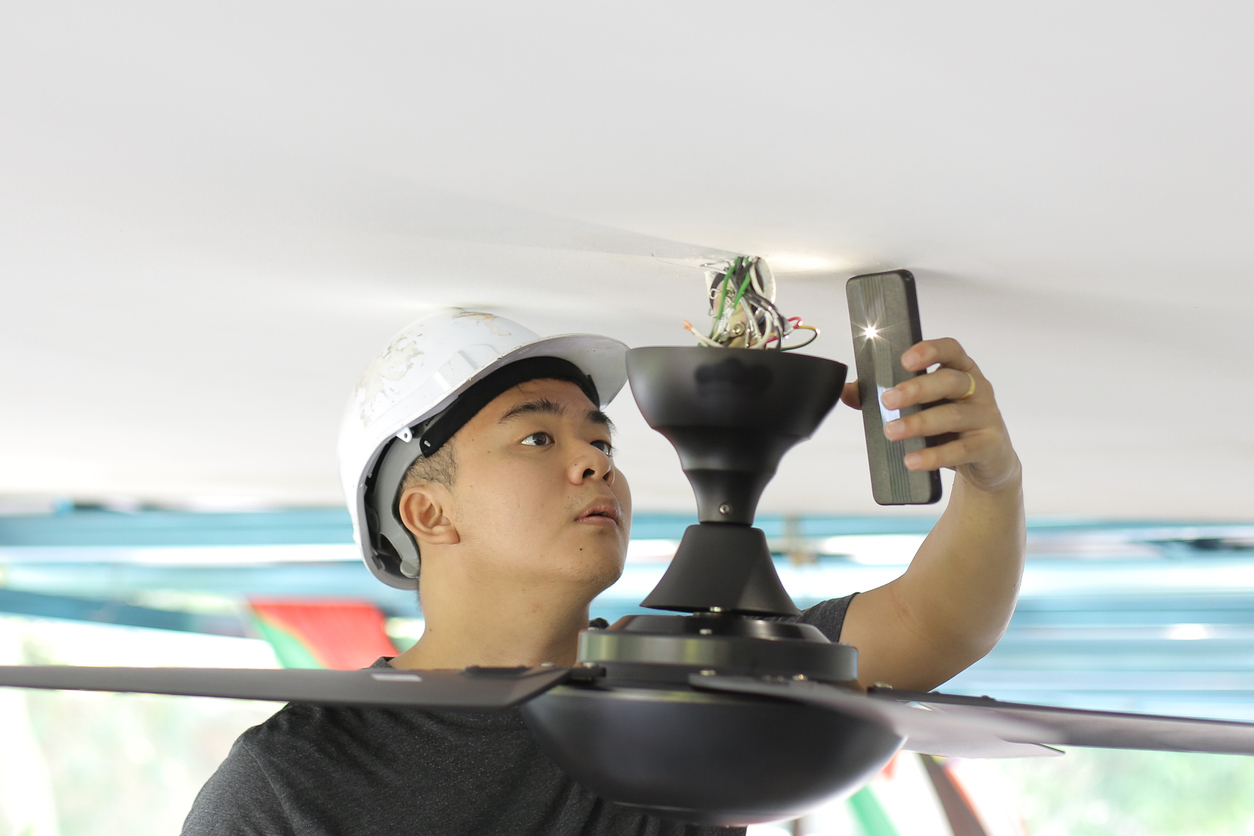
While the above steps for how to install a ceiling fan can apply to most home situations, there are often unique circumstances that bring up additional questions and concerns. Below are answers to some of the most popular questions about how to install a ceiling fan.
Q. How long does it take to install a ceiling fan without existing wiring?
If the house has functioning wiring and the ceiling fan is an addition to a current modern electrical plan, a professional electrician can usually install a new ceiling fan and wiring in a few hours.
Q. How do I know if my junction box will hold a ceiling fan?
One easy way to tell that a ceiling box can’t hold a ceiling fan is by checking its material. If it’s thin plastic, then it probably won’t be strong enough for a fan. If there isn’t a label indicating that it is rated for a ceiling fan, then it’s best to replace the box with a new box rated for ceiling fans.
Q. Can you hang a ceiling fan where a light was?
Yes, a ceiling fan can replace an existing ceiling light fixture.
