We may earn revenue from the products available on this page and participate in affiliate programs. Learn More ›
Sealing your driveway may seem like a bothersome chore, but its benefits are significant. First, a regular coat of sealer can extend the life of your driveway by protecting it from damage caused by sun, oil and gas spills, wind, rain and snow. Second, it is a great way to enhance the overall curb appeal of your home and landscape.
If you haven’t sealed your drive in the past two years, you can do the job easily enough in a weekend (provided you choose a weekend with no rain in the forecast).
Tools & Materials
Bobvila.com may earn a commission from purchases made through these links.
Sealing a Driveway in 8 Steps
1. If there are gas and oil spills on the driveway, clean them with a mild detergent. Not doing so will only result in the stains “bleeding” through the sealer.
2. Remove any grass that might be growing through cracks in the driveway, and use an edge trimmer to reduce grass along driveway edges.
3. Repair cracks and fissures with an asphalt driveway crack filler or patch compound.
4. Use a broom to sweep the driveway clean of dirt, and hose it down with water. Let dry for 24 hours.
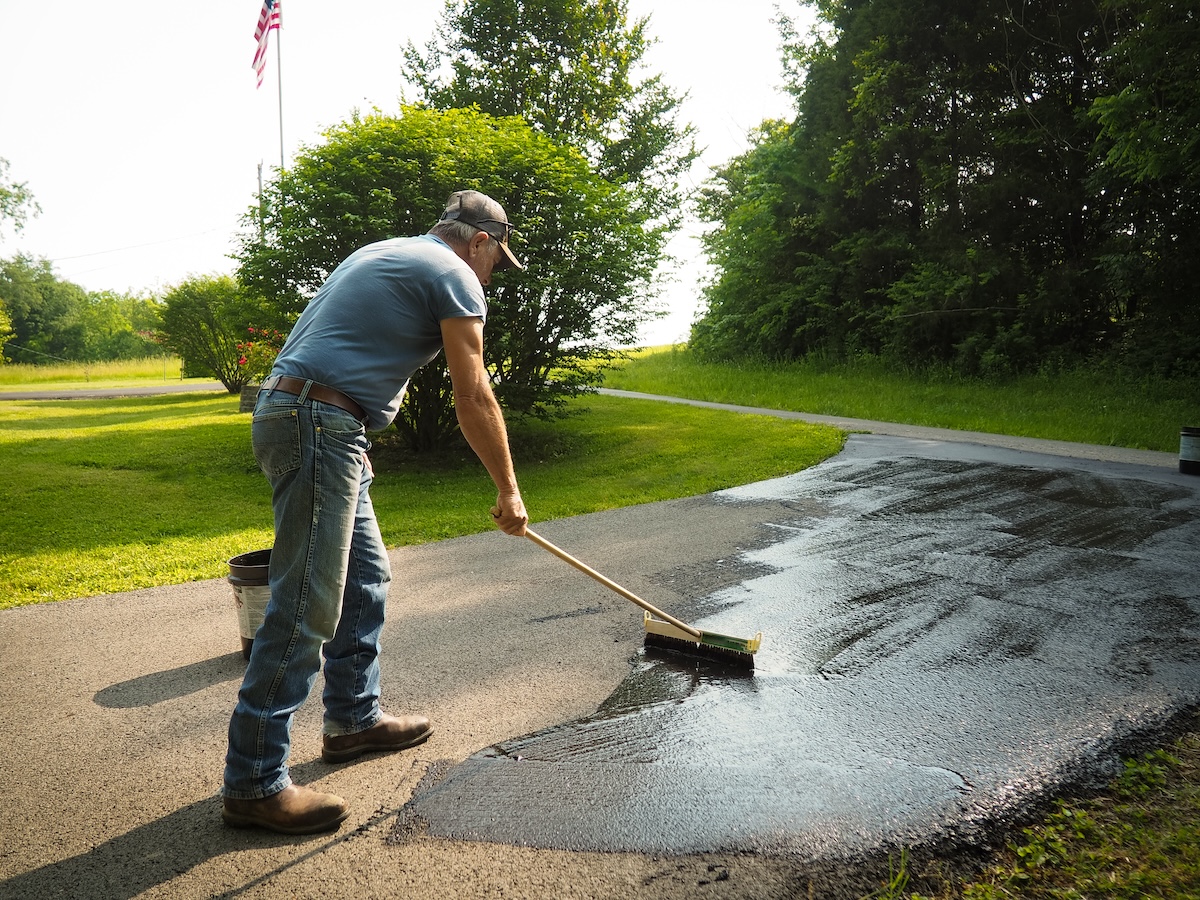
5. Open the container of asphalt sealer and stir well. Be sure to read and follow manufacturer’s directions and precautions. Pour enough sealer onto the driveway to cover an area of about 4 x 4 feet. (Working the sealer in smaller sections will give you the time necessary to apply an even, overall coat.)
6. Use a squeegee or a broom to apply the sealer, whichever you find easier to use. Push the tool back and forth through the sealer until you have a good, even coat.
7. Feather the edges of the sealer to avoid ridges or evidence of a patchwork application process.
8. Soap and warm water should be all that’s required to clean tools when the job is complete. Refrain from walking on or using the driveway for at least 24 hours. Block the entrance to the drive with the inverted sealer containers.

