We may earn revenue from the products available on this page and participate in affiliate programs. Learn More ›
Successful tile jobs are a direct result of good planning and a methodical approach. Double check every step; measure at least twice!
Clear and clean the room.
Wallpaper, loose plaster, flaking paint, peeling tiles, or unsecured sheet flooring must be removed from the walls or floors that are to be tiled. Make sure your tiling surface is flat, rigid, and dry.
Assess the underlayment.
The underlayment—the surface that the tile will be installed on top of—is just as important as the tile itself. A flexing floor or a wall that is uneven can lead to broken tiles and failed grout.
Water-resistant backer board, not drywall, should be used under the tile that will get wet. Whether it’s backer board, plywood or concrete, the substrate needs to be sound, clean and dimensionally stable. Surfaces need to be level or plumb and true to plane, as the pros say. That means no bumps.
Pre-plan the orientation and location of tiles.
When you install tile, you want the finished surface to appear symmetrical, even if it isn’t. To accomplish this, you need to find the center of the surface first, measuring in from the sides. This is especially important when tiling small areas, where wide tiles at one edge and slender ones at the other will make the whole job look out of balance.
Particularly in a house of a certain age, you may well discover that the floor area isn’t square. That makes the job a bit more complicated. Most often, the best strategy is to use as a baseline the wall that is most obvious. Then when your guests walk into the room, they’ll see tile lines that are parallel to that wall, and you’ll get credit for a nice even job.
If their first view is of lines that aren’t aligned, the whole job may look cockeyed, even if it isn’t.
Mark out installation guide lines with chalk.
Once you’ve identified the center and baseline from which you will work, snap a pair of perpendicular chalk lines. These will divide the room into roughly equal quadrants. You’ll want to work outward from the center point in each of the four sections.
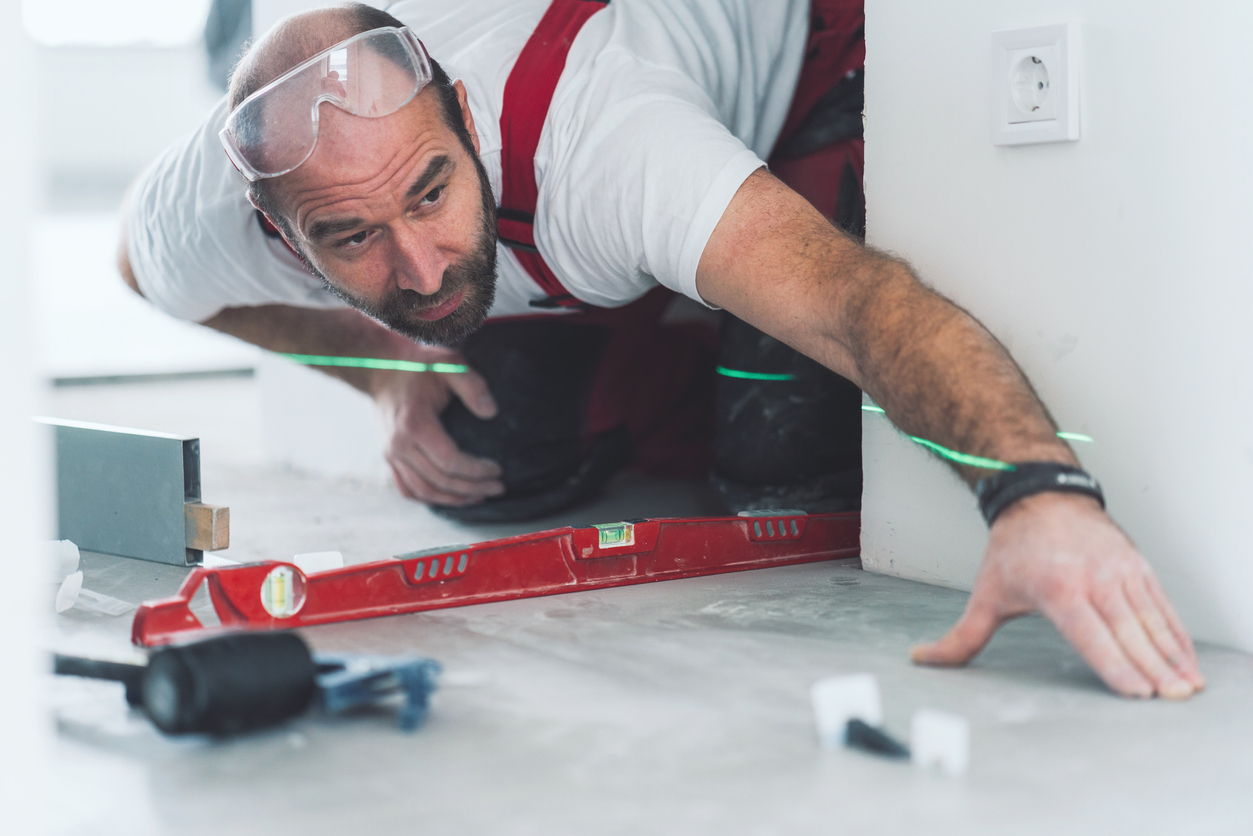
When tiling a wall, your first concern is not a center point; you’ll want to establish a top line that is level. Few walls are truly plumb (or floors truly level) so use a level to mark the top line.
Establish its height so that you won’t have to cut very thin tiles (or cut very thin shards from nearly full tiles) to come flush to the floor. Snap a top line on your walls, and then snap a center line, too, just as you would for the floor. And be sure to lay out all the walls you plan to do before you begin tiling.
Dry lay rows of tile to test your approach.
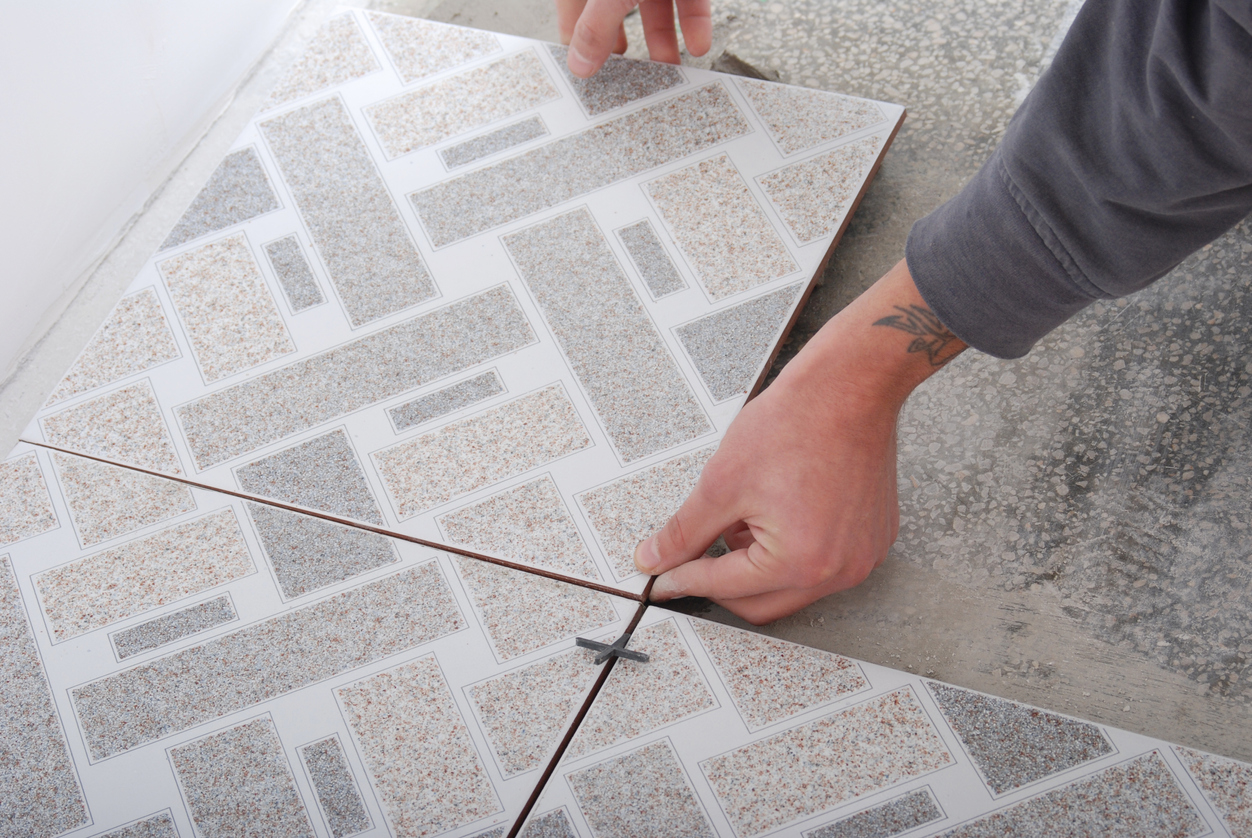
One further prep step: After you’ve found the center point, squared the room and are ready to go, position rows of tiles (do it dry, before you mix the adhesive or mortar) within each quadrant of the grid. Take the rows to each wall. This last step should warn you of any trouble to come.
Follow the same procedure for the walls, too, stepping off horizontal and vertical distances.
One problem you might encounter, for example, is if you made an arithmetical mistake and your center line isn’t your center line at all. This can easily be corrected at the layout stage but could create major headaches later on.
You might discover that the tiles you laid to butt to the wall (or floor) are so narrow as to be impossible to cut. For example, cutting a ceramic tile to a width of less than about three-quarters of an inch is difficult and should be avoided if at all possible. You could decide to go back and cheat the whole grid an inch or so one way or another, even at the cost of losing your perfect symmetry. Only you will know.
You may also opt to make a variation on the story pole that is called a jury stick. If you mark on a straight piece of plain wood stock the width of a particular series of tiles (and don’t forget the grout joints, too), you can hold it to the surface to be tiled and identify potential difficulties easily without having to set whole areas of tile in place. When it comes to the actual tiling, work across to the outside edge of one quadrant, then to the top or bottom one row or course at a time. Fill in as you go.
Cutting Tile
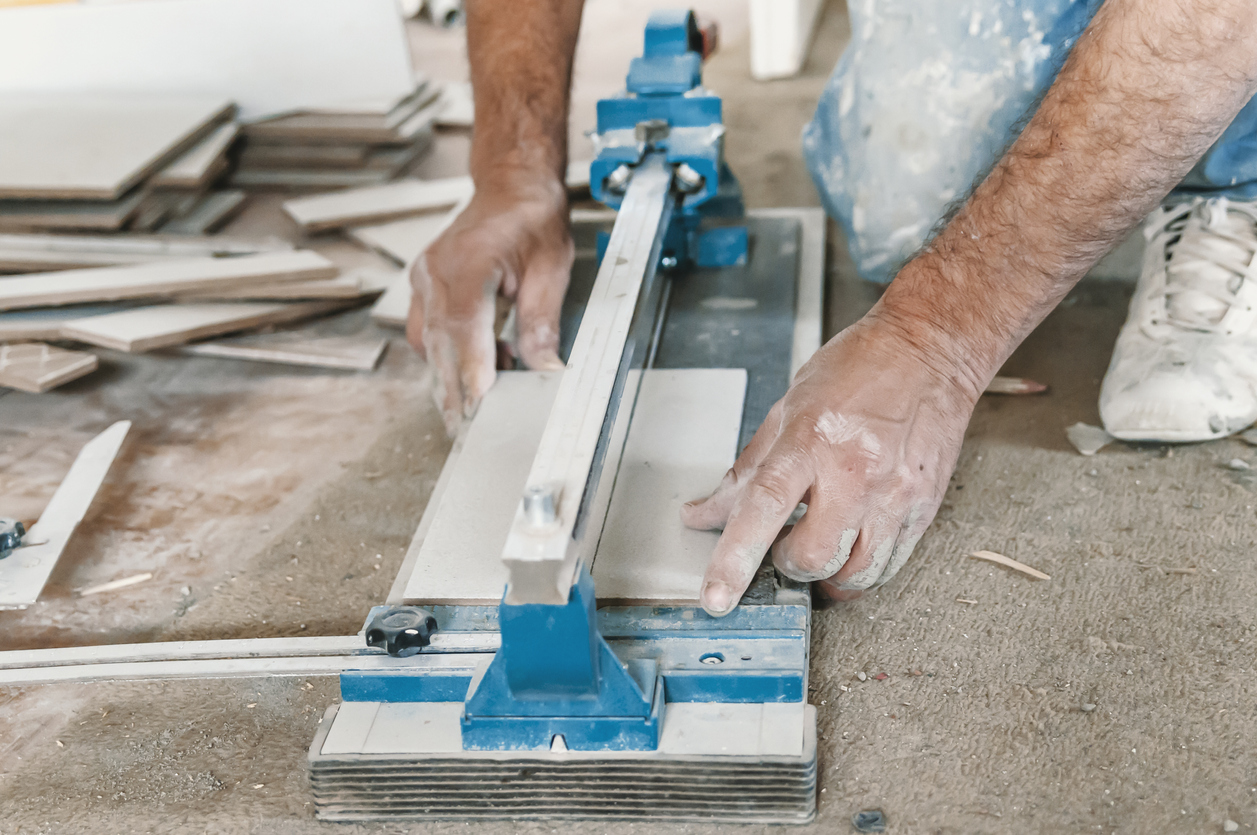
A little patience, along with a little practice and a score and a snap, and you’re a tile cutter. Here’s how you do it:
- Measure and mark the tile.Measure the size of the tile you need to cut, and transfer the dimension to the glazed surface of the tile using a felt-tip marker. Position the tile on the tile cutter, aligning the center line of the cutter with the axis on which the tile is to be cut. The top of the tile should be held flush to the fence at the top of the cutter to keep it square to the cutting wheel.
- Score the surface. Using the lever to which the cutting wheel is attached, draw the cutter across the surface of the tile, exerting a firm, even pressure to cut through the glaze. Make only one pass with the cutter.
- Snap the tile. Different snap cutters have different means of snapping tile. Some have a heel at the rear of the lever that has the cutting wheel at its toe; others, the reverse. Whatever the design of your cutter, use the surface to apply pressure to the score line. In combination with a bead built into the base of the cutter, the pressure will cause the tile to snap in half.
Use waterproof adhesive where appropriate.
If you are using tile, chances are that it’s to be in a setting where moisture is a given, whether it’s a kitchen, bath, or entryway. Make sure you use a waterproof adhesive. You can use a premixed adhesive or a mortar, but if you choose the latter, make sure it’s a thin-set variety. The thick-bed mortars require some practice and skill at smoothing to get the tiles to sit flat, and the additional mortar isn’t necessary for a water-tight finish.
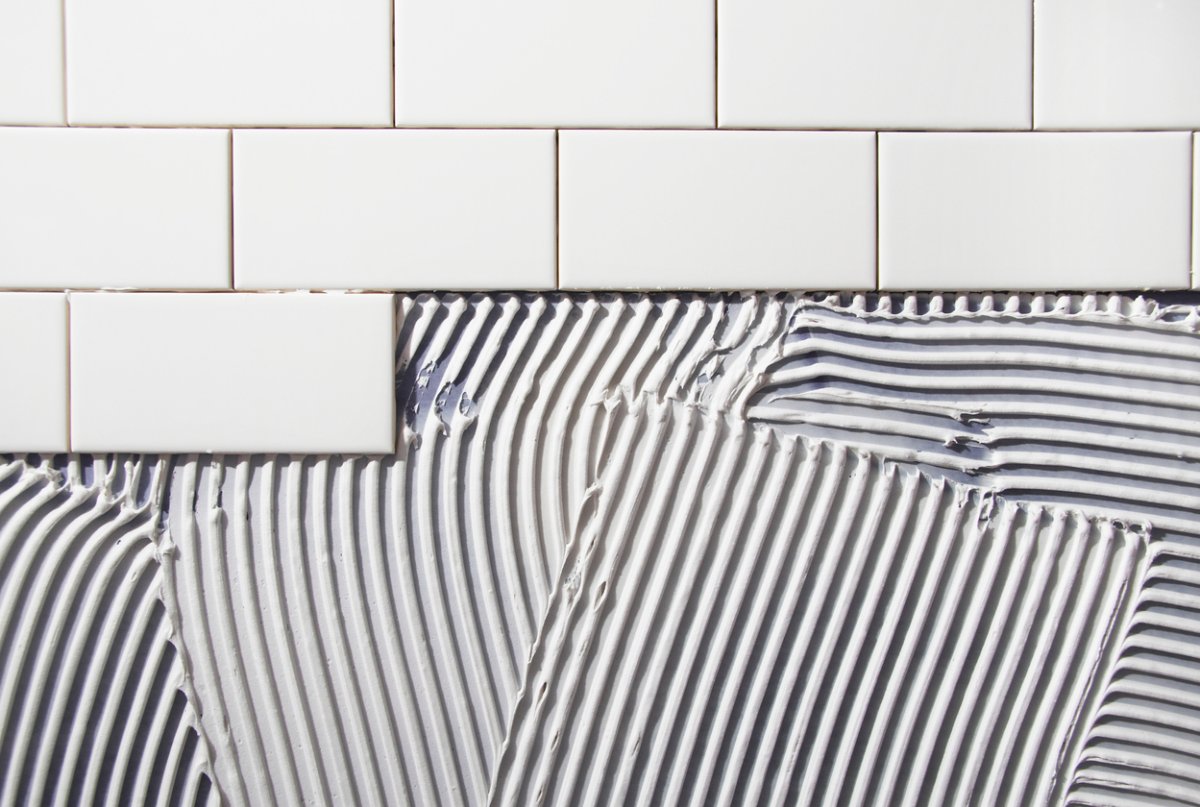
Any cracks or voids can compromise even the best tile job. The only way to be sure the tile sticks fast is to use a notched trowel to apply adhesive to the substrate.
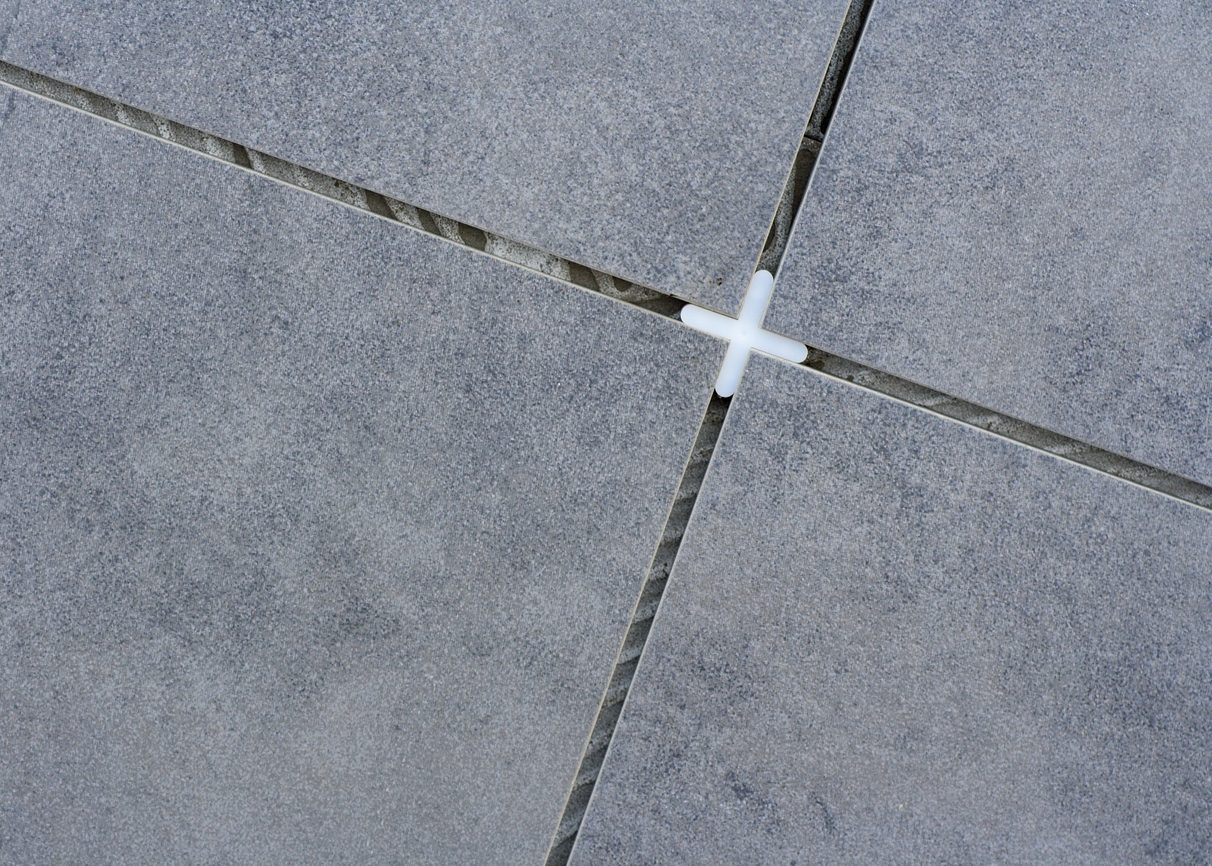
Using spacers to ensure a uniform look.
The space between the tiles should be uniform, so use spacers if your tiles don’t come on mesh sheets. The larger the tile, the larger the space should be between them. Some do-it-yourselfers will make the mistake of pushing tiles too close together to reduce grout lines. Without enough surface area, grout won’t bond well and can fail prematurely, leaving room for leaks and water damage. It’s also very important to let the adhesive cure fully.
Grout to complete the installation.
Make sure all tiles are fully set and spaced as you’d like before grouting. Use a grout float (or in a pinch, your putty knife) to press the grout into the space between each tile.
Note that grout is usually purchased as a powder, then mixed with water or a recommended additive. Read the instructions on the package, or ask advice at the tile store to be sure the grout type is advised for your purposes.
Remove grout haze before it dries.
Make sure you sponge off the residue on the surface of the tiles before it dries. This step will require several passes over a period of an hour or more. It’s a critical element when you’re working with tiles that have a porous or variegated surface. Dried grout can prove almost impossible to remove from the indentations.

