We may earn revenue from the products available on this page and participate in affiliate programs. Learn More ›
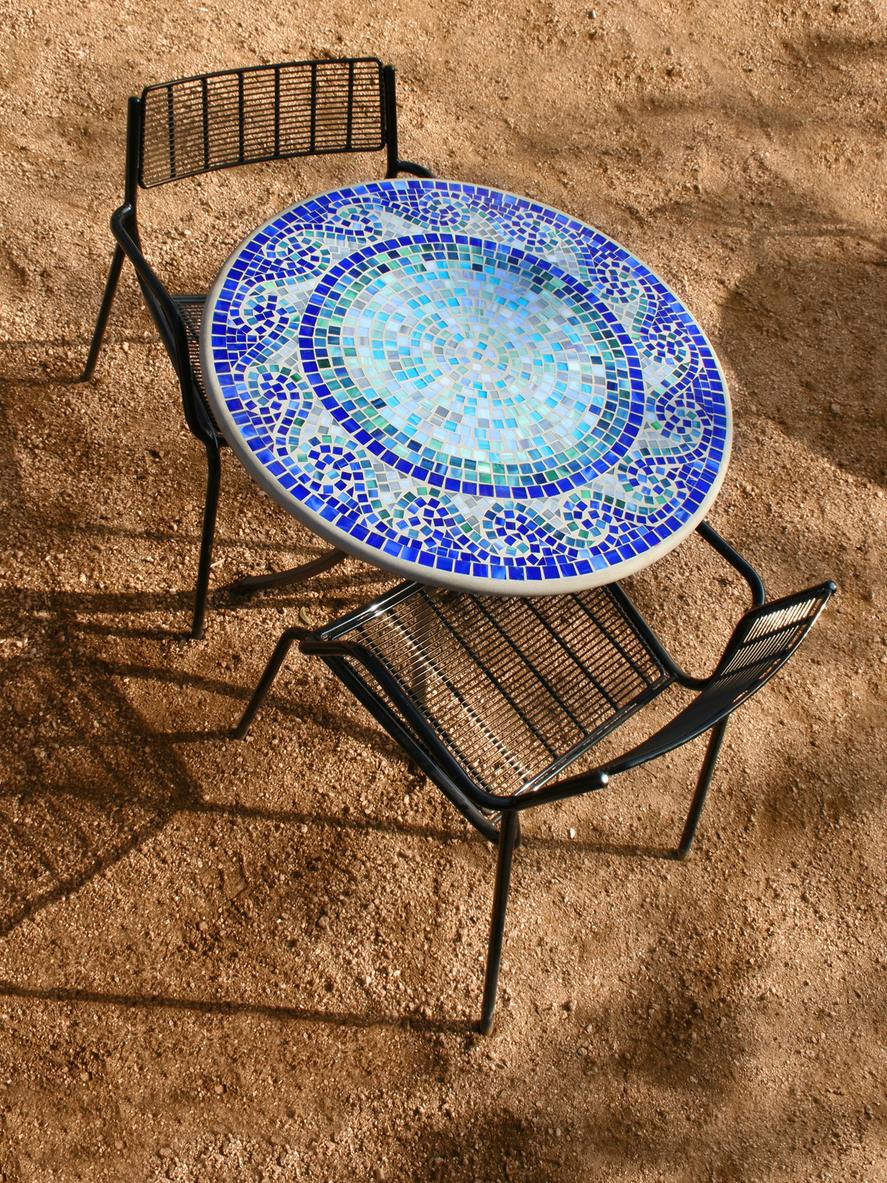
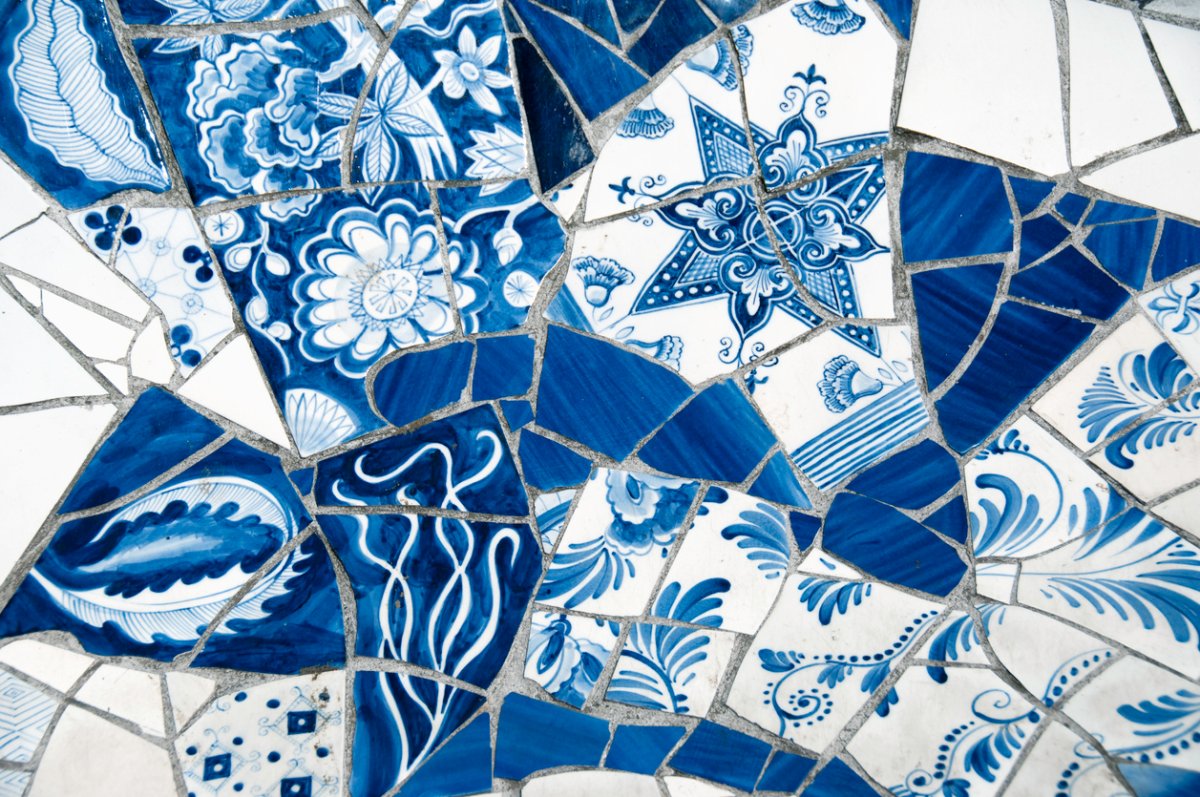
Have you ever been in a cafe or restaurant and admired the mosaic tile on the tabletops or walls? Well, it’s not that hard to bring that look into your own home. Anyone can create a real tile mosaic on almost any surface top, using broken tile of any color or type, sea glass, shells and china fragments. The technique is much easier than it sounds.
Where’s a good place to add a mosaic in your home?
Kitchens and bathrooms are the obvious choices, but anywhere you want to add a decorative accent is fine. For example, consider embellishing an unfinished corner table purchased. This is a great little project. All you have to do is add a coat of paint and then make a small mosaic on the tabletop using some different size tiles. This same technique works equally well for a larger area, such as a countertop, as for a small space, such as an accent table.

Before starting this project, what should you do first?
Take some time researching what you want to do before you start laying tiles down. There are tons of books on ceramic tiles at your bookstore. A recommendation is to just thumb through them to get some inspiration for your design. Once you have a basic idea of what you want to do, it’s a good idea to draw a sketch of your design.
Then you’ll want to place the actual tiles on the countertop, starting from the center and working outwards, to make sure you’re happy with the design. Try working with some diamond shapes, border the edges, and fill in the rest with a simple mosaic. Once you have everything in place, take a magic marker and mark the tiles’ location.
How do you actually cement the tiles to the surface?
Before you cement the tiles in place, you have to prepare the tiles for the mosaic sections. How do you do that? This is where you can get some aggression out. Take a mix of tiles, wrap them in a towel, take a hammer and give them a good whack. This is the simplest way to get the broken pieces of tile you’ll need for the mosaic sections.
Next, prepare the surface, making sure the tile will adhere to the surface. You do this by scoring the surface with a utility knife, then coating the surface with a mixture of watered-down white glue.
To cement the tiles in place:
- Spread a thin, 1/8″ coating of tile cement (commonly known as thin set or mortar) over the surface.
- Use the edge of the trowel to score the mortar.
- Take the different pieces of tile and arrange them however you like. Try to keep the spaces between tiles to 1/8th of an inch.
- After the cement has set, fill the gaps between the tiles with tile grout. (Most people think grout is available only in white. If you look in a hardware store you’ll find many different colors of grout available.)
- Use a trowel to apply the grout over all of the seams between the individual tiles.
- Wipe away the excess with a sponge.
- Let dry overnight.
How much does a project like this cost?
Tiles can cost from $2 to $50 per square foot. The cost of the project is up to you. Your cost will depend on the size of the project and the cost of the tiles you select. The technique is the same for all tiles.

