We may earn revenue from the products available on this page and participate in affiliate programs. Learn More ›
Everyone knows drywall and you can’t beat its cost. But almost no one loves drywall, a leading cause of contractor callbacks for problems like popped screws and nails, dents and dings, visible joints, and paint problems—quality issues that are addressed by blueboard.
Blueboard Advantages
Blueboard has many similarities to regular drywall gypsum board: Like drywall, it comes in 4-foot-wide boards at lengths of 8, 12, or 16 feet; it cuts with a knife; and it fastens to wood or steel wall studs with screws or nails. It also has the same core material: Gypsum, known to chemists as calcium sulfate.
The difference is in the paper covering: blueboard’s characteristic blue face comes from the special paper on the board’s surface, which is treated to bond well to a skim coat of specially formulated plaster.
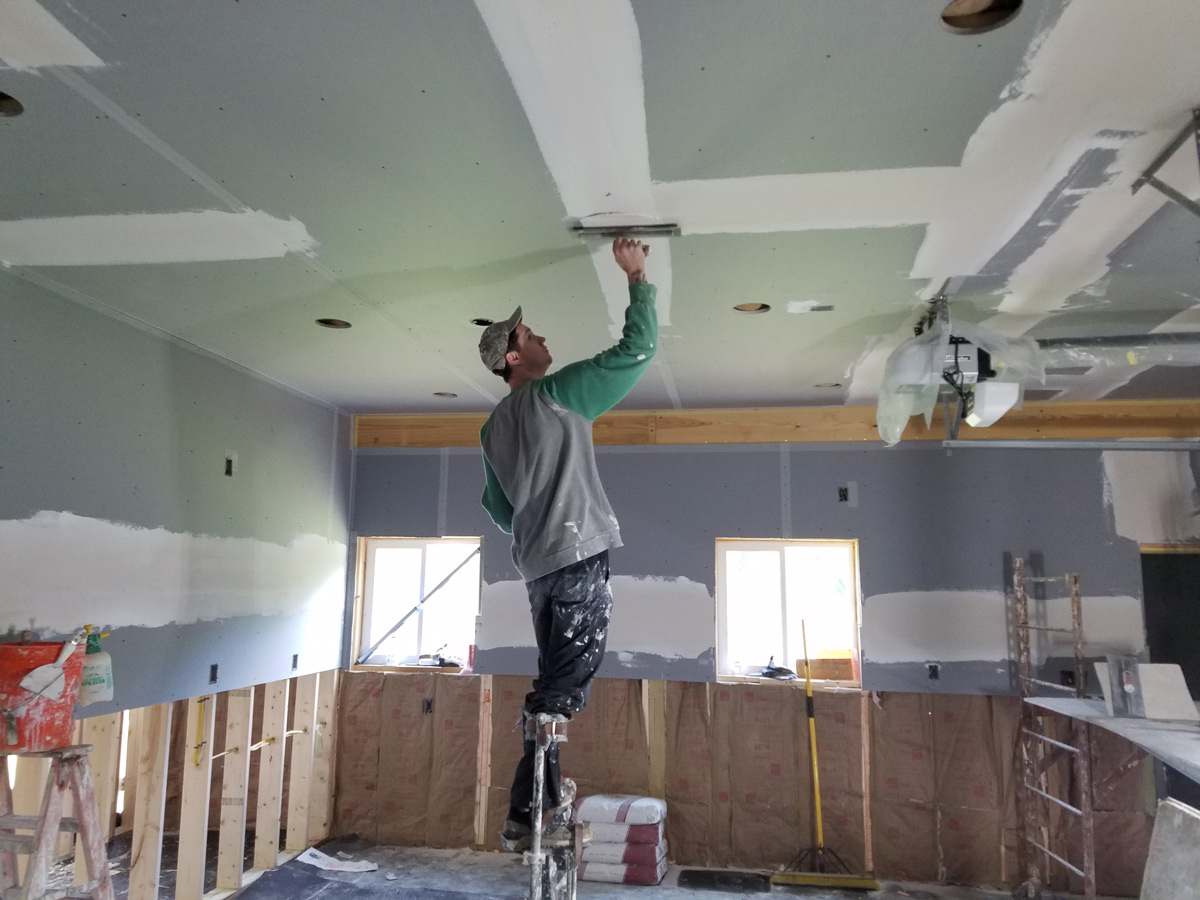
When finishing blue board drywall, instead of applying several coats of joint compound to the seams between boards, a quick tape-and-plaster treatment to the joints is applied, and then the entire wall surface is covered with one or two thin (1/8 inch thick) coats of plaster.
A skim coat of plaster can be applied to regular drywall or an existing traditional plaster surface, but first the wall must be painted with a specially formulated orange-colored primer.
Veneer Plaster Advantages
Blueboard drywall and veneer plaster offer two advantages over ordinary drywall—quality and convenience.
- Veneer plaster is much harder than a regular drywall surface, making it less likely to get unsightly dents and scratches.
- The top surface of plaster veneer is continuous over the whole wall, so joints almost never show at all—and certainly never leap out at the eye the way drywall joints commonly do.
- Veneer plaster’s continuous surface is also a better base for paint. On a drywall surface, paint can dry differently on the paper surface than on the joint compound base at drywall seams. Even the most skillfully made drywall joints may show up in certain lights. Veneer plaster is much less likely to display any sort of visible shading difference.
- Painting veneer plaster is not required. Some people are happy with the plaster’s own natural off-white color, and consider the plaster’s smooth surface sufficient.
- It’s also possible to colorize the plaster coat itself, either by adding a high-quality paint to the plaster at the mixing stage, or by using proprietary coloring systems.

Applying Veneer Plaster
Veneer plaster application is typically a one-day operation. Plastering immediately follows the joint treatment, and a second (if needed) plaster coat is applied over the first after a brief period. In remodeling, this convenience becomes apparent. There’s no three-day disruption for the occupants of the home; and because there’s no sanding, there is no irritating and messy dust.
A typical drywall job takes three or four days: One day to hang the boards and apply a first coat of joint compound, which then has to dry; a second day to sand the first coat and apply a second coat (which also has to dry); then a third day to sand again, and, for a quality job, an extra day for a third coat of joint compound.
Cost Considerations
Convenience and quality increase the cost of a veneer plaster installation. Veneer plaster, including blueboard and plaster, can run anywhere from 20 to 30 percent more than a drywall installation. In addition, choosing a one-coat or two-coat veneer system can affect the final cost, reflecting the greater skill needed to apply veneer plaster. In some regions, prices for veneer plaster are becoming more competitive with drywall, due to the savings of two days on the job schedule and the avoided cleanup costs

