We may earn revenue from the products available on this page and participate in affiliate programs. Learn More ›
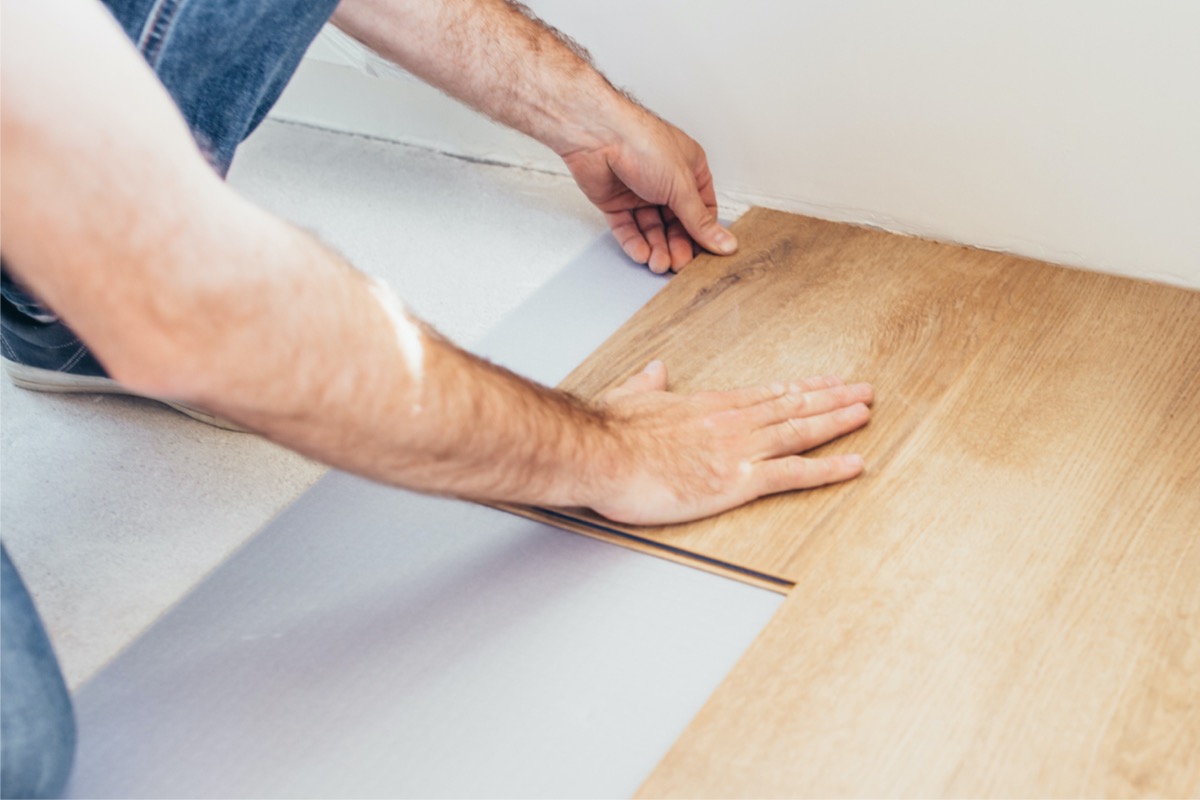
Laminate flooring enables homeowners to get the look of wood for less, and it’s easy to install. In fact, tongue-and-groove or snap-and-click joinery makes the installation of laminate flooring ideal for the average DIYer. Anyone who is at least moderately handy, owns some basic tools, and is able to follow directions can learn how to install laminate flooring.
Tools & Materials
Bobvila.com may earn a commission from purchases made through these links.
Before You Begin
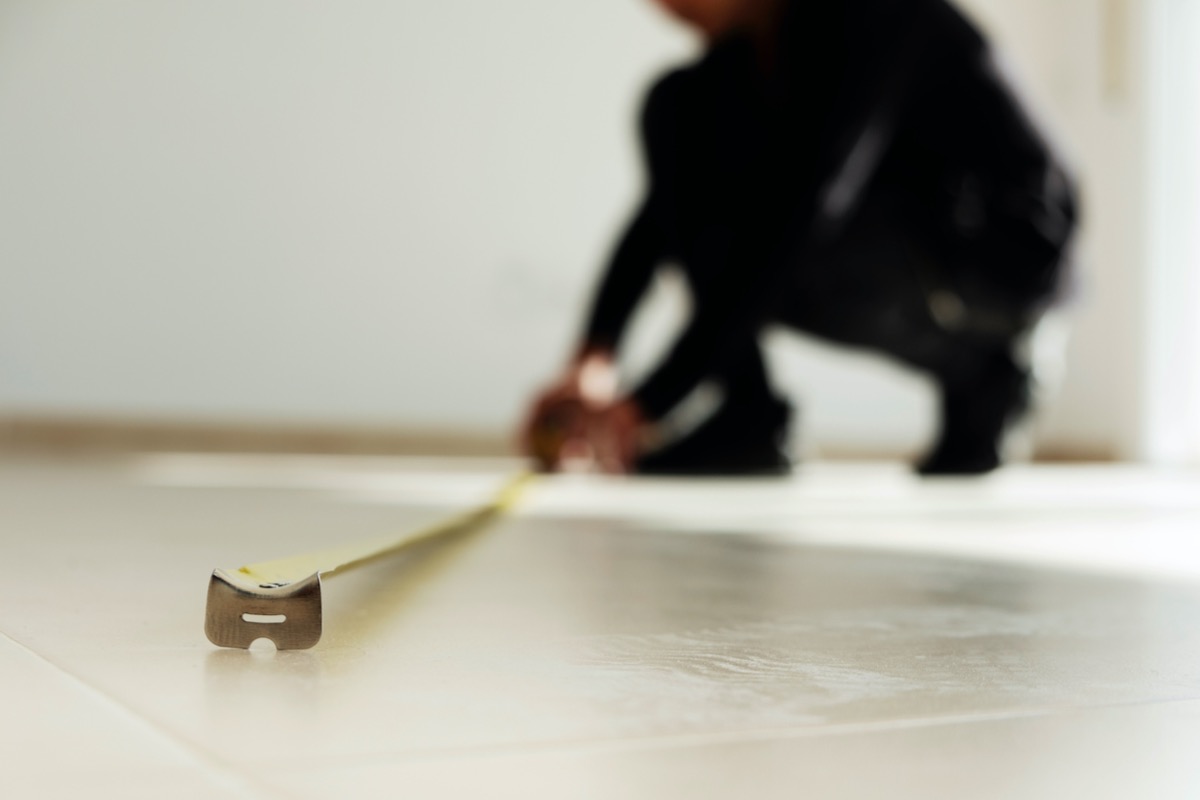
Before you get started, there are a few things you need to know about buying and installing laminate flooring. First, you’ll need to calculate the square footage of the room so you know how much product to purchase. To do so, multiply the linear footage of the width of the room by the linear footage of the length of the room to find the area, then add 10 percent for mistakes and waste. Laminate flooring typically comes in boxes of 22 to 24 square feet, so divide the area plus 10 percent by the square footage in each box to determine how many boxes you need to buy.
After purchasing the laminate flooring, open the boxes and let the product acclimate to the atmosphere of the house. Leave it for 24 to 48 hours before installing it.
Also, understand that even the best laminate flooring products require an underlayment to act as cushioning, support, and a moisture barrier. For optimal results, buy the best laminate underlayment possible.
Finally, understand that the condition of the subfloor matters. If the subfloor is uneven or missing large chunks, these defects need to be addressed before installing layers on top of them. Laying a few sheets of ¼-inch lauan over the floor should take care of unevenness, but missing chunks of subfloor might require patching.
STEP 1: Collect materials and confirm measurements.
Before tearing out the old flooring, make sure you have the necessary tools and materials for the project. Once you’ve started laying the floor, having to rush out to the home center will only cause stress and delays.
Again, plan on purchasing at least 10 percent more flooring than you need in order to account for boards that will be cut for end fittings.
STEP 2: Acclimate the new flooring to the space.
Floors shrink and expand as temperatures and humidity levels change, so at least 24 to 48 hours prior to installation, acclimate the flooring to the conditions of the space. Lay it flat or stack the boards in the room where they’ll be installed. Don’t forget to remove the flooring from plastic packaging; doing so promotes air circulation, which aids the acclimation process.
STEP 3: Prepare the subfloor for laminate installation.
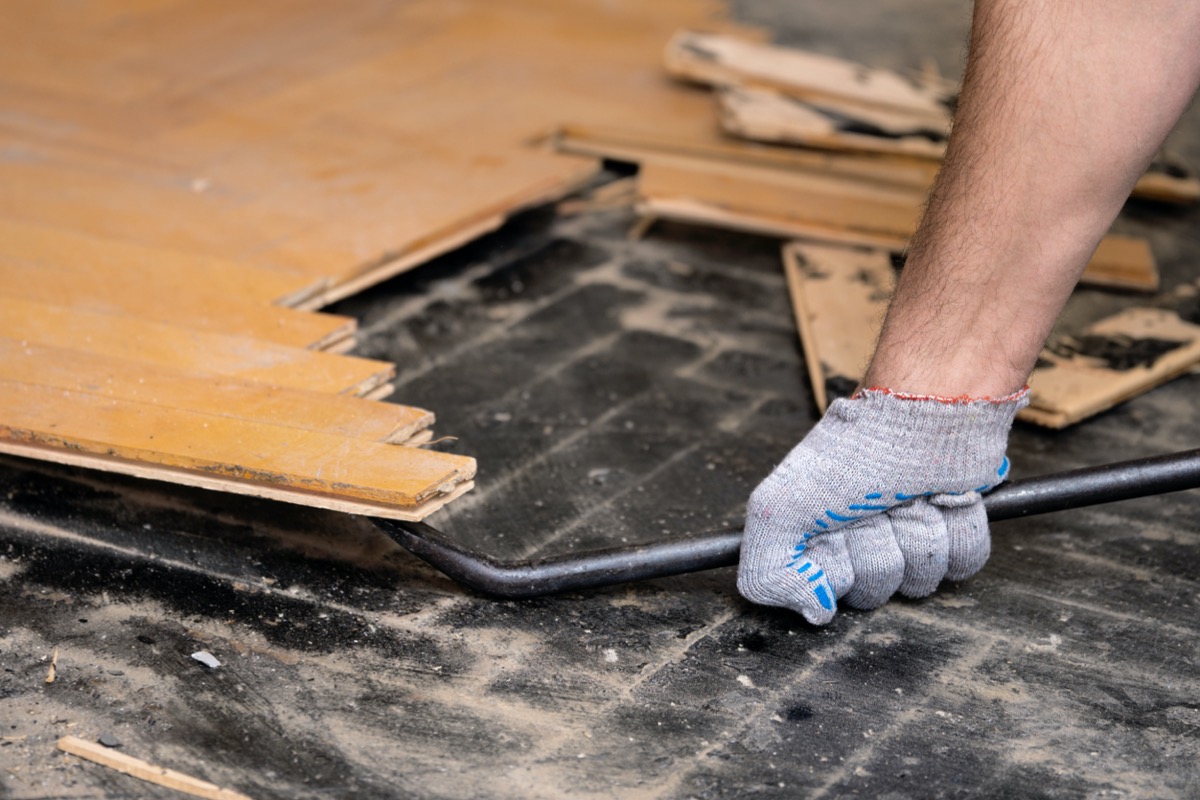
Remove and stow base moldings before doing anything else. You may then want to remove the existing floor, particularly if it is damaged or if the room has exceptionally low ceilings. Working from the edge of one wall, carefully start lifting up the old flooring. Remove nails and staples (or tack strips, if the job involves pulling up carpeting). Clean up debris and inspect the surface of the subfloor for areas in need of repair.
If you’re installing laminate floors over concrete, it’s very important to install a vapor barrier. Concrete is porous and will absorb moisture. Your best course of action is to seal the floor with a concrete sealer, allow it to cure, and then install a high-quality underlayment over the concrete before laying the laminate floor.
STEP 4: Install the underlayment.
Some laminate flooring is sold with preattached foam underlayment (also known as a vapor barrier). Otherwise, purchase underlayment separately and install it one strip at a time, starting with the longest wall. Follow the manufacturer’s directions on forming butt edges and sealing seams.
STEP 5: Trim the door jambs.
Once the underlayment is down, there’s one additional preliminary step to undertake: trimming the door jambs. To accomplish this, lay down one plank so that its edge runs along the side of the jamb. Mark the board and using a handsaw, cut parallel to the floor, creating a cutout that allows the board to fit neatly under the jamb for a clean, professional look.
STEP 6: Install the first row.
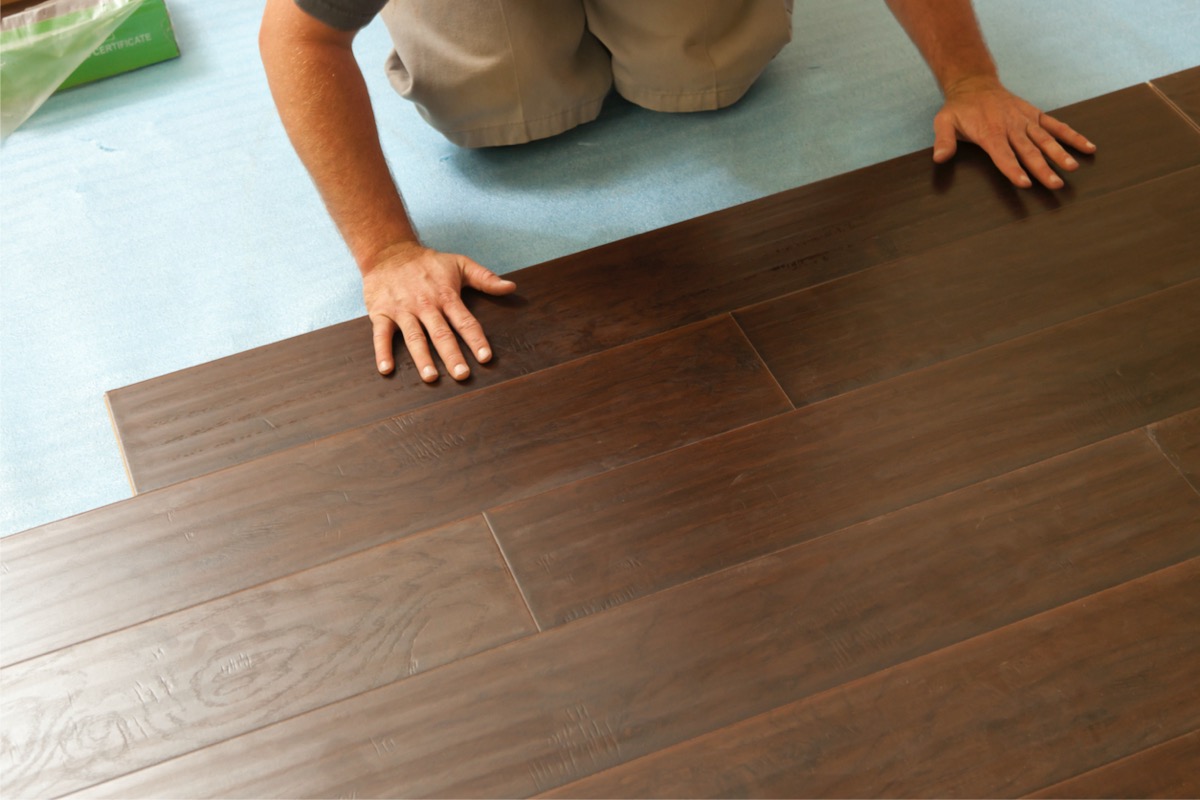
The most important row of the entire flooring project is the first one. It should be installed parallel to the longest wall, starting at one corner and working toward the other. Take care that this first row is straight, so subsequent rows will fit correctly and look professional.
Position the first plank with the groove facing toward the wall and flush to a corner of the room. To allow for natural expansion and contraction, place 1/4-inch spacers between the board and the wall at intervals of 12 inches. Install the remainder of the first row, placing one plank at a time and matching tongues to grooves, gently tapping for a snug fit. When you get to the end of the row, use the pull bar to help tap that last plank tightly into position.
STEP 7: Install the rest of the flooring.
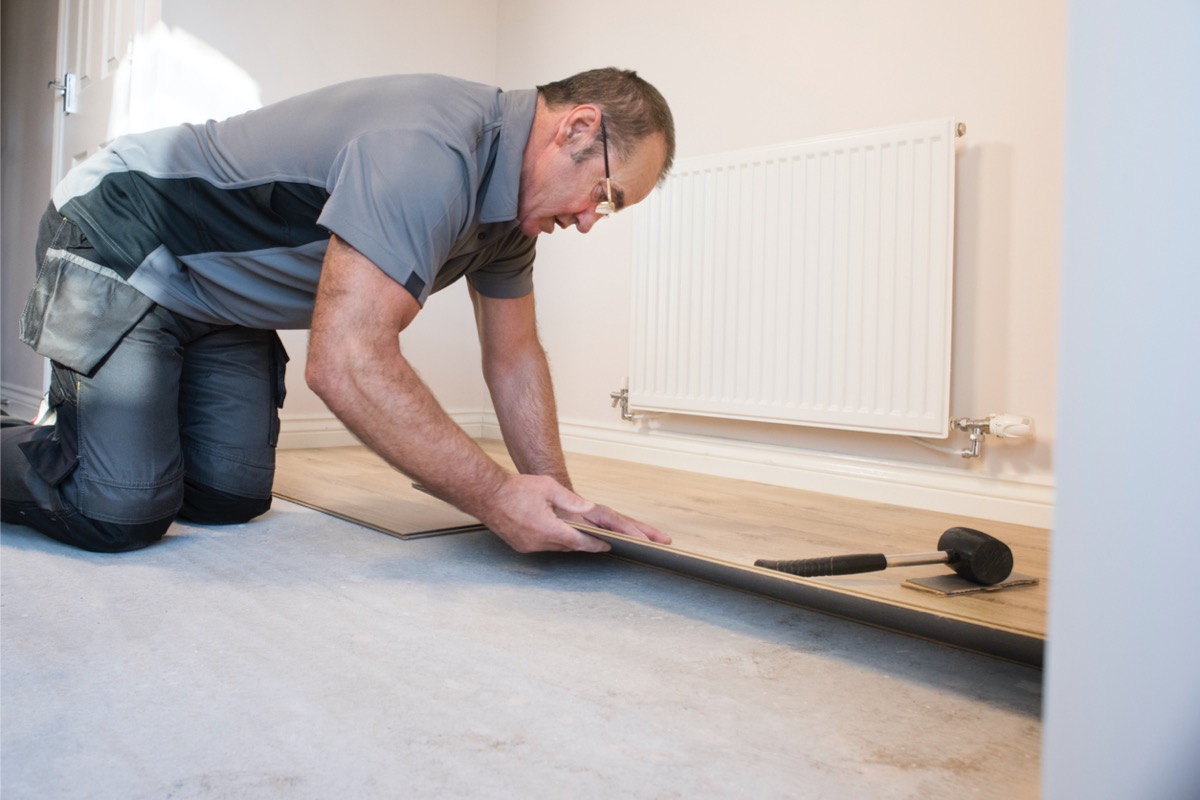
With the first row done, proceed one plank at a time, matching tongues to grooves. Use the flooring cutter to cut the first and last piece of each row as necessary. Gently tap each plank snugly in place with the hammer and tapping block. Be careful not to hammer too hard as it’s possible to damage the laminate surface or tongue.
For a lasting, attractive installation, be sure to stagger the end joints of adjacent boards by at least 6 inches. This also prevents the floor from separating and keeps close seams from buckling.
STEP 8: Install thresholds and baseboard molding.
Installing the last plank can be somewhat of a pain. It may be necessary to trim the board, or at least the tongue, to ensure that it’s flush. Complete the job by putting in thresholds anywhere there is a door, or wherever the laminate meets another flooring material. Finally, take out the spacers and reinstall the base molding. Now sit back and admire your handiwork.

Carpet, hardwood, vinyl, and tile flooring.
Bob Vila has partnered with Empire Today to help you easily get beautiful new floors at a great price.
Free In-Home Estimates
The Benefits of Laminate Flooring
Laminate flooring is a favorite among DIYers. Because it is light-years better than it was just a few decades ago in terms of quality and selection, there’s good reason to love it. Beyond those points, there are other significant benefits of laminate flooring:
- Laminate floors will last years, but they are temporary. This makes them easy to swap out when tastes or styles change.
- Apartment dwellers who aren’t able to undertake major renovations can appreciate a laminate floor. When they move out, these floors can be easily pulled up, leaving the landlord none the wiser.
- Anyone wondering how hard it is to install laminate flooring should know it’s fairly straightforward. Armed with a tape measure, a saw of almost any type, a tapping block, and a hammer, just about any DIYer can tackle laminate flooring installation.
- In most instances, DIYers can install laminate flooring on top of existing floors, which means they can get an entirely new look without doing any heavy demolition.
- High-quality laminate floors are scratch resistant and very easy to clean. This makes them a much more attractive option than either hardwood floors or carpets.
Final Thoughts
With these steps for installing laminate flooring, homeowners can give any space a new look without having to commit to it long term. The techniques required to install laminate flooring are easy to learn, and the project goes quickly once the first row is installed correctly.
FAQs About Laminate Installation
After reading this tutorial on how to install laminate flooring, you may still have a few questions about the process. The following are some of the most frequently asked questions about installing laminate floors.
Q. Where do you start when laying laminate flooring?
As a general rule, it’s best to start laminate installation with the first row along the longest wall. Lay the first plank in the corner, maintaining a ¼-inch gap from the walls, then continue that row along the wall and up to the other corner.
Q. Do you need to put anything under laminate flooring?
Yes, putting down laminate flooring requires a layer of underlayment below. Underlayment helps support the floor and creates a vapor barrier to keep moisture from penetrating the laminate floor. Some laminate flooring products have built-in underlayment.
Q. Is it hard to install laminate flooring?
It’s easy to learn how to lay laminate flooring, and this popular DIY upgrade has an outsize impact on the look of a room. Laying a laminate floor doesn’t require nails or adhesives, and the planks are easy to install and adjust as necessary. Simply be sure to tap the seams snug and maintain a gap around the edge of the floor.
Q. Do you glue or nail laminate flooring?
It’s best to let laminate flooring float on top of the subfloor or existing floor, but there are some products that are able to be glued down. Beware that the adhesive will damage the existing floor underneath, so it’s best to avoid this method when installing laminate plank flooring in apartments or other spaces where the floor may need to be temporary.
Q. How soon can you walk on laminate flooring?
After laying down laminate floors, you can walk on them right away. There are no glues or other adhesives holding the floor down, so it’s ready for walking as soon as the project wraps up.
Q. What is the best tool to use to cut laminate flooring?
A laminate flooring cutter is the best product for cutting laminate flooring. These devices slice easily through the flooring and create clean, precise cuts. However, you may also use a handsaw, a miter saw, or even a utility knife in some cases.

