
We may earn revenue from the products available on this page and participate in affiliate programs. Learn More ›
Wood stain can bring new life to old or unfinished furniture. Staining wood furniture offers an opportunity to update and alter the appearance of favorite wood pieces to suit your room’s decor without losing the character of the wood grain. It’s a relatively low-cost DIY way to upcycle or refresh old pieces around your home.
The process of staining wood furniture is not daunting. If you have to remove any paint before staining the piece, though, there will be more steps, tools (and perhaps chemicals) involved. The steps below explain how to stain wood furniture, and can help DIYers potentially rescue and refurbish a prized table or buffet.
Types of Wood Stain
Before gathering tools and materials for wood staining, consider the types of stains on the market and which is the best wood stain for your material, skills, and preferences. All stains should be clear enough to reveal the natural grain of the wood while adding natural color and some degree of protection. Most stains labeled for indoor use contain light pigment to enable visibility of the natural wood. Most also offer some color range varying levels of transparency.
Water-based wood stain
With water as a main ingredient, these stains dry quickly, contain fewer chemicals or fumes than other types, and are more eco-friendly. They do not penetrate as deeply as oil- or gel-based stains, however, and can dry too quickly in some conditions, so this type of stain is best for interior furniture only. Brushes clean easily.
Oil-based wood stain
These popular products penetrate more deeply than water-based stains and take longer to dry. They offer more protection from wear and tear than water-based stains because of their penetration. Oil-based wood stains typically are the choice for staining outdoor wood furniture. They tend to have more fumes and are harder to clean up than are water-based stains.
Gel-based wood stain
These wood stains are thicker than others and are almost jelly-like in texture. They do not run as easily but can require multiple coats and a long drying time (24 hours or more) between coats. A gel stain can produce a consistent look but might not highlight the wood grain as well, offering a coverage that lies between paint and stain. This might not be desirable for staining gorgeous natural wood but can come in handy for hiding underlying colors or to help create a wood grain appearance on manmade materials.
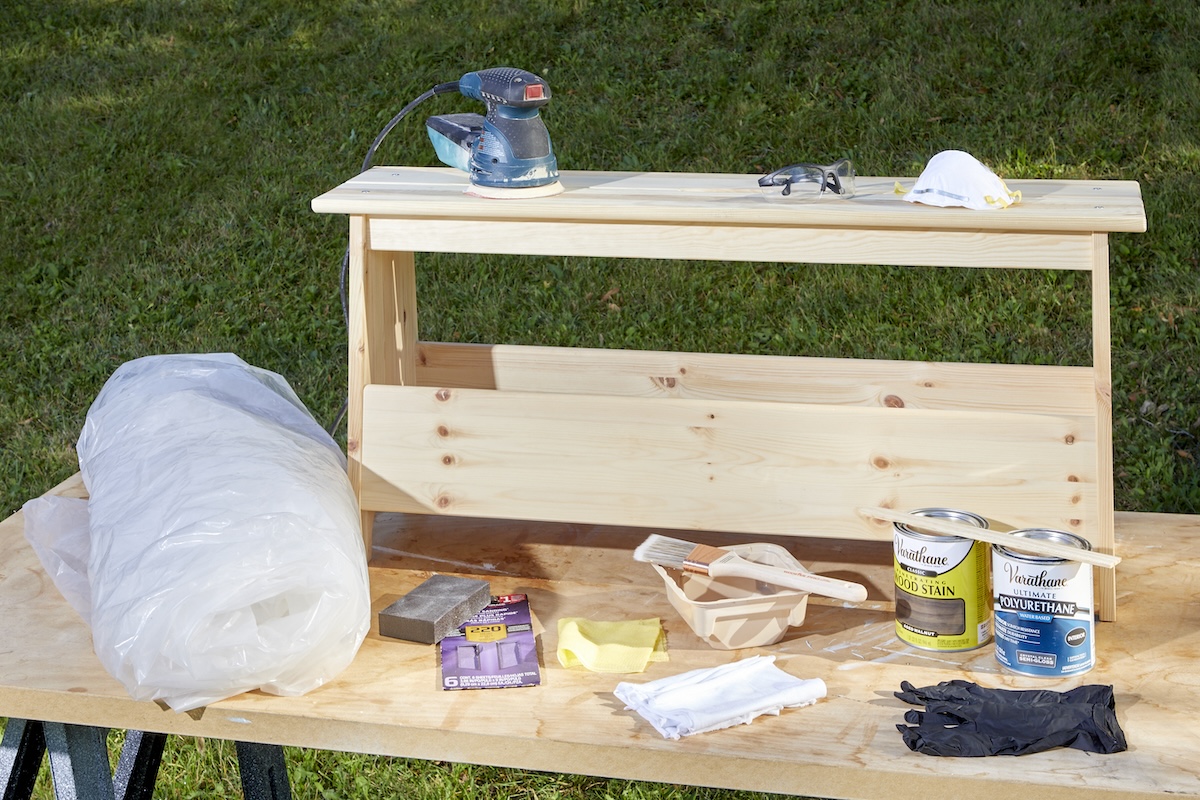
Tools & Materials
Bobvila.com may earn a commission from purchases made through these links.
Project Overview
Working time: 30 to 60 minutes
Total time: 24 to 72 hours
Skill level: Beginner
Estimated cost: $15 to $50
Before You Begin
Remove the furniture’s doors and drawers and hardware—its legs, too, if they are removable. (Staining wood is much easier when you are working with parts of manageable size). Next, clean the furniture to eliminate dust, dirt, and grime, any of which could inhibit paint stripping if you need to remove the old wood finish.
The paint stripping process depends on the original paint or finish type, and there are many nontoxic leave-on varieties of paint stripper from which to choose. In most cases, a stripper is applied with a paintbrush and must be allowed to sit for a time before scraping away paint layers with a paint scraper. Read and follow the manufacturer’s directions.
If you are staining a chair with a fabric seat cushion, either remove the cushion or protect it with plastic and painter’s tape. Be sure to cover the floor with a drop cloth, tarp, newspapers, or plastic. Make certain the work area is well ventilated and out of the way of your family’s typical traffic flow before wood staining begins.
Instructions for Staining Wood Furniture
Once you have prepared the furniture piece and work area, it’s time to rebuild and stain. Inspect the furniture carefully, especially if it required stripping, to assess the need to repair if necessary and the level of sanding that it likely will require as part of step-by-step wood staining.
Step 1: Repair damaged wood with wood filler.
If wood already was damaged or marred by the paint-stripping process, repair any damage to the wood before proceeding with staining. If you are using wood filler, be sure to select a stainable formula that will help the repaired area better match the rest of the surface. Typically, water-based wood fillers are stainable and fine for indoor furniture. Apply with a putty knife, pressing into the hole, and smoothing with a clean putty knife.
Step 2: Sand the wood piece.
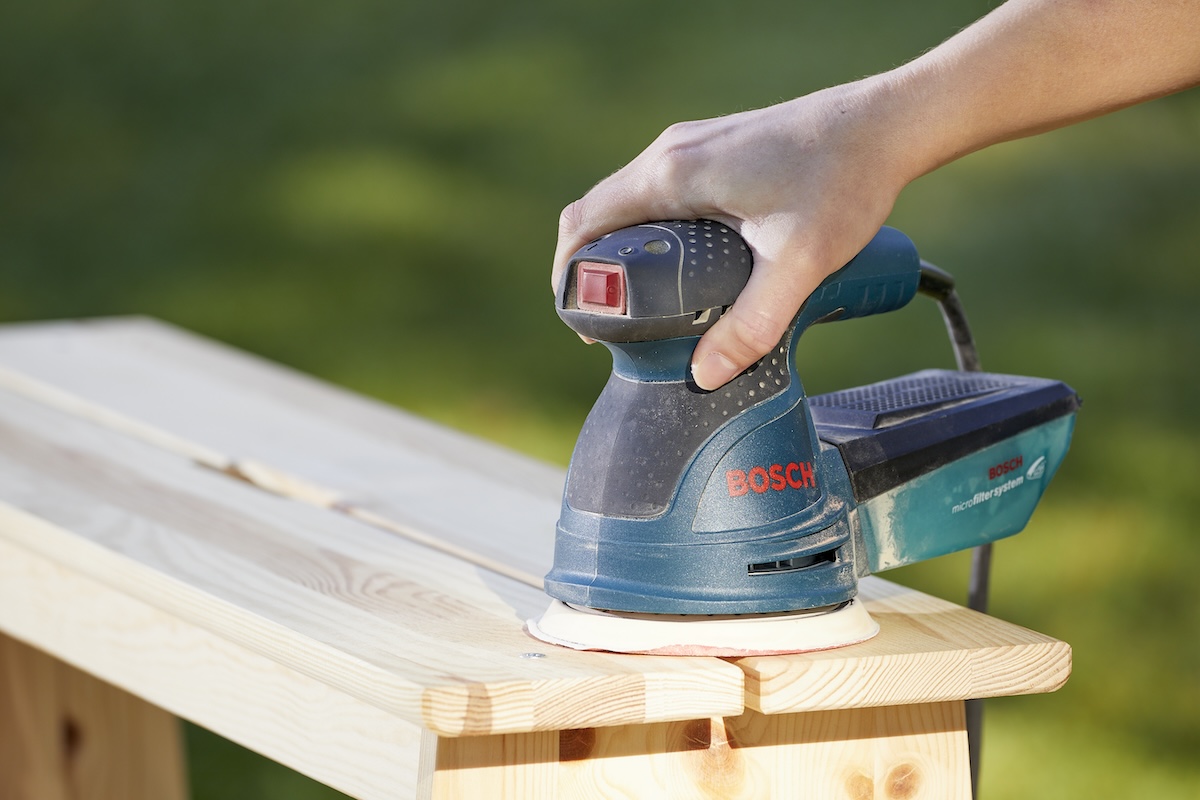
If you had to strip or repair the furniture, be sure that the wood filler and any products used have dried before moving on to sanding and staining wood. This part of the project can take some time, but is critical before staining to ensure the wood grain shows, the surface is smooth, and the wood is porous enough to allow the stain to penetrate. Choosing sandpaper coarseness depends on the surface. Begin with a coarse-grit paper (P120) to remove any small paint chips or marks.
Don safety glasses and a dust mask before sanding. Sand in the direction of the wood grain, maintaining steady pressure. Move to a finer grit (P220)—or an ultra-fine paper like P320 for a glass-like finish—for a final pass. For small pieces, you can use folded paper or a sanding block. For larger jobs, borrow, rent, or buy a power sander. Although these power tools save time, they can be aggressive, so it helps to know how to use one before sanding a prized furniture piece.
Step 3: Clean the wood and work area.
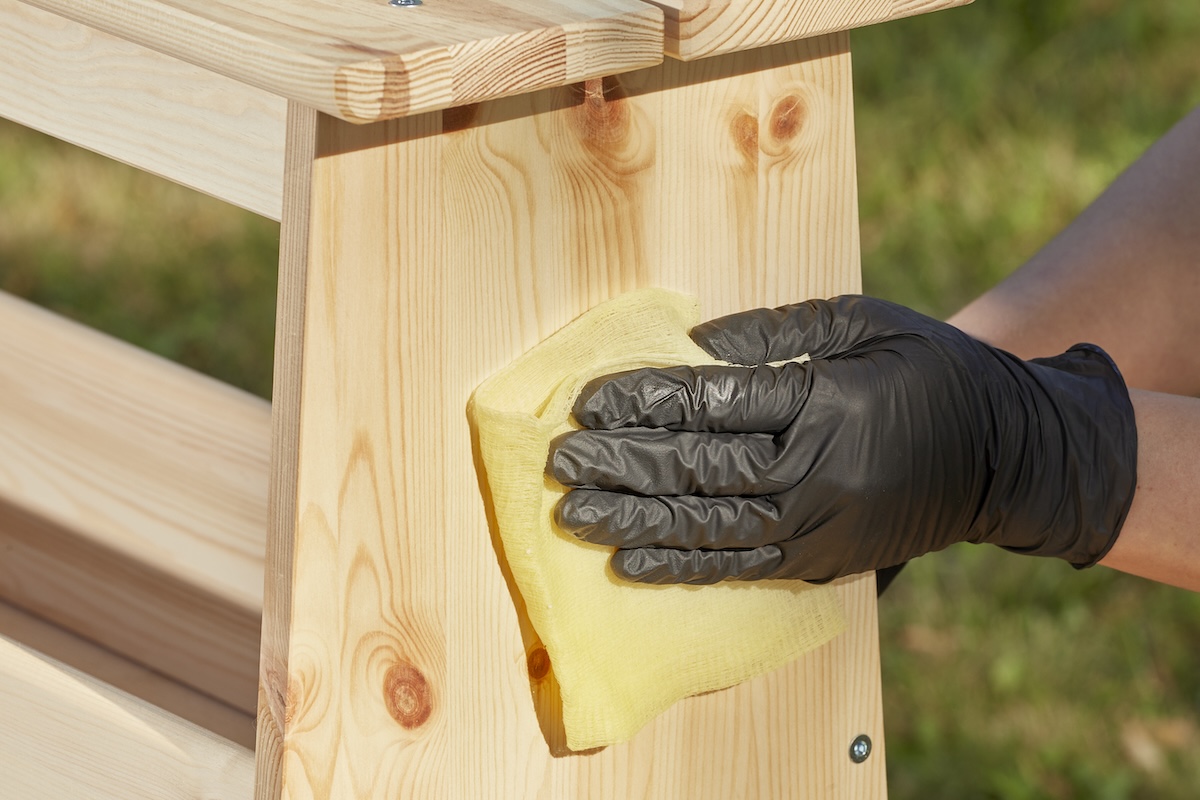
Because sanding creates dust, remember to wipe down the piece with a dry microfiber rag or a tack cloth; also, vacuum the area in which you are working. If you have laid down a drop cloth or tarp, it might be filled with dust, so pull it out and empty the sawdust if necessary to keep the tiny particles from floating back up onto your piece. Once you’ve cleaned up the area, feel free to wipe the piece again with a clean and damp lint-free cloth.
Step 4: Stir or mix, and then test the stain.
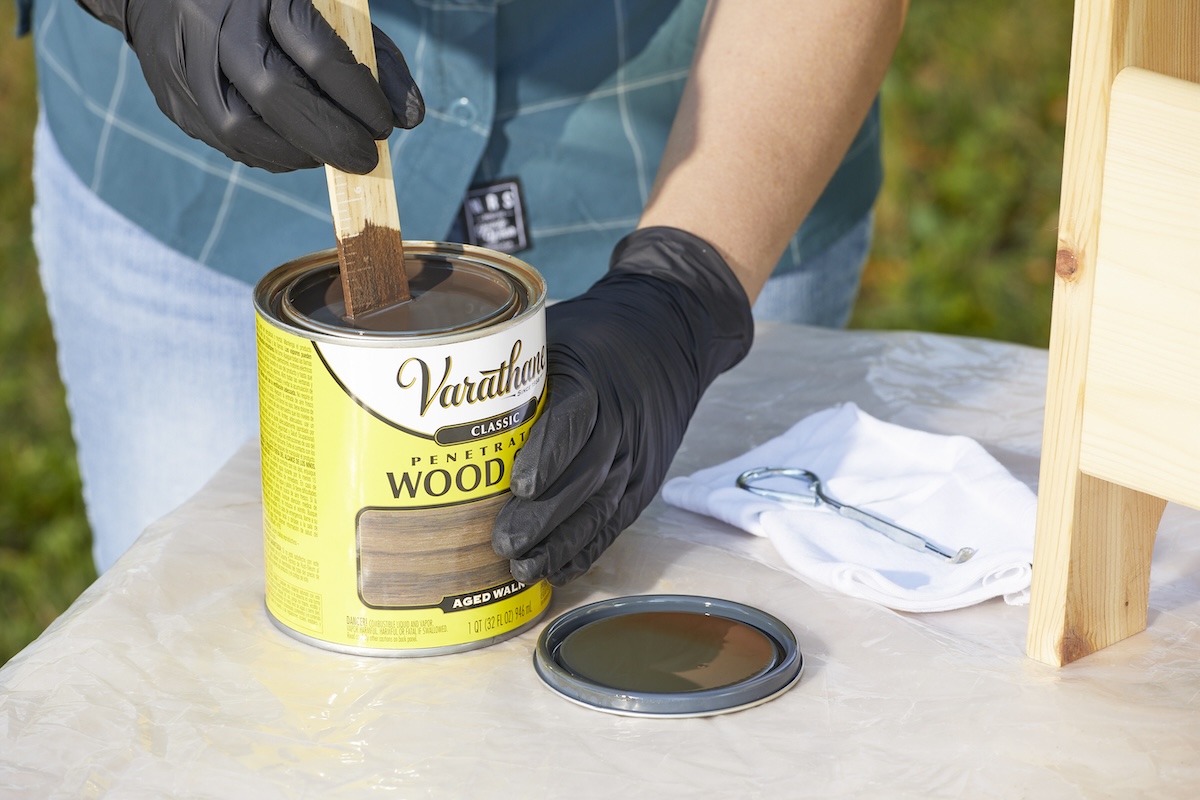
Be sure to put rubber gloves on to keep stain off of your hands. Follow the directions on the product for stirring or mixing each time you open the can. Oil-based stains may require mixing of the oil and pigment to combine them completely. Most stains just need stirring; be sure to stir gently with a wooden stick that can reach the bottom of the can; don’t shake the can.
Test the stain on either a similar piece of wood or a small, inconspicuous section of the furniture. Because stain reacts differently to different types of wood, you might find that the color you loved on the sample ends up looking altogether different once applied. As for how to change stain color on wood, it is easier to add a darker stain over a light one than the opposite.
Step 5: Apply the stain.
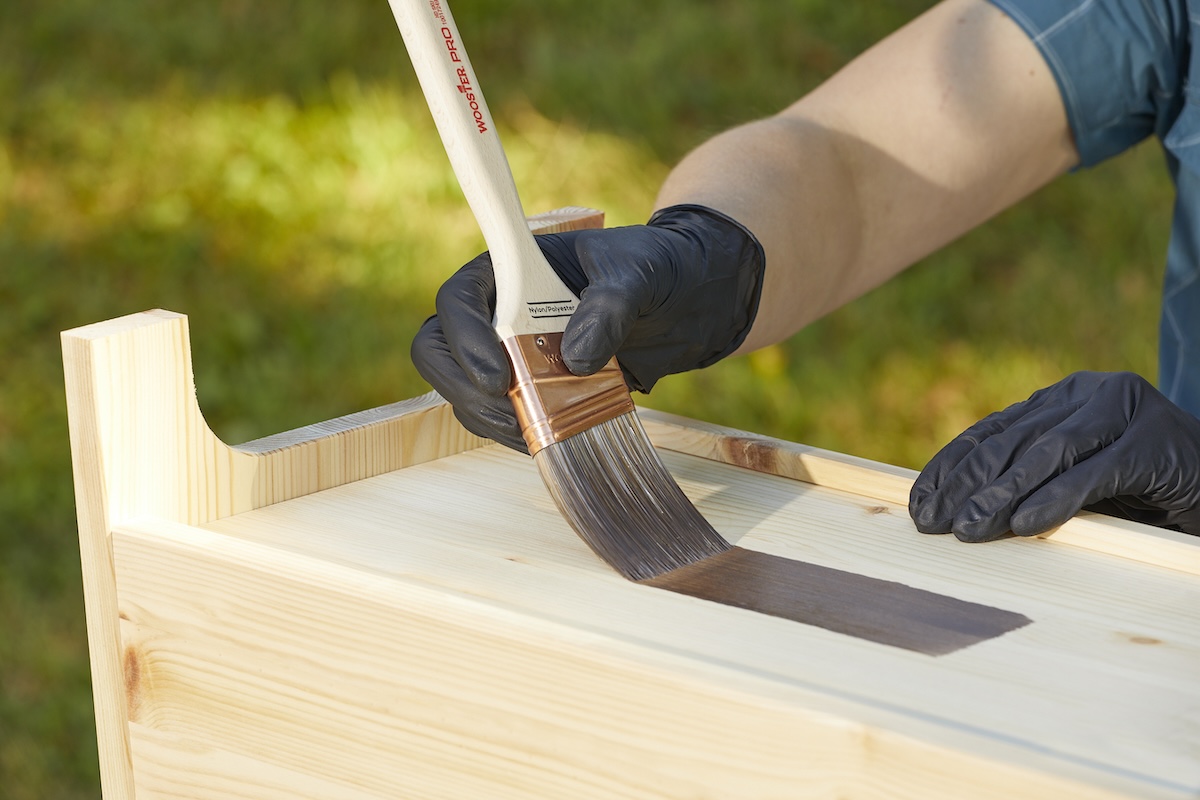
Check the manufacturer instructions for how to apply the stain to wood, the type of brush to use, and typical drying time. Application and drying can vary widely depending on the type of furniture stain. In general:
- A soft synthetic brush usually works best with water-based stain; use a natural bristle for oil- or other solvent-based products. A rag or staining pad also can work for small jobs, especially to prevent quick-drying water-based products from staining a favorite paint brush.
- First, brush the surface lightly with a dry paint brush to make sure no more dust or debris has settled on the surface.
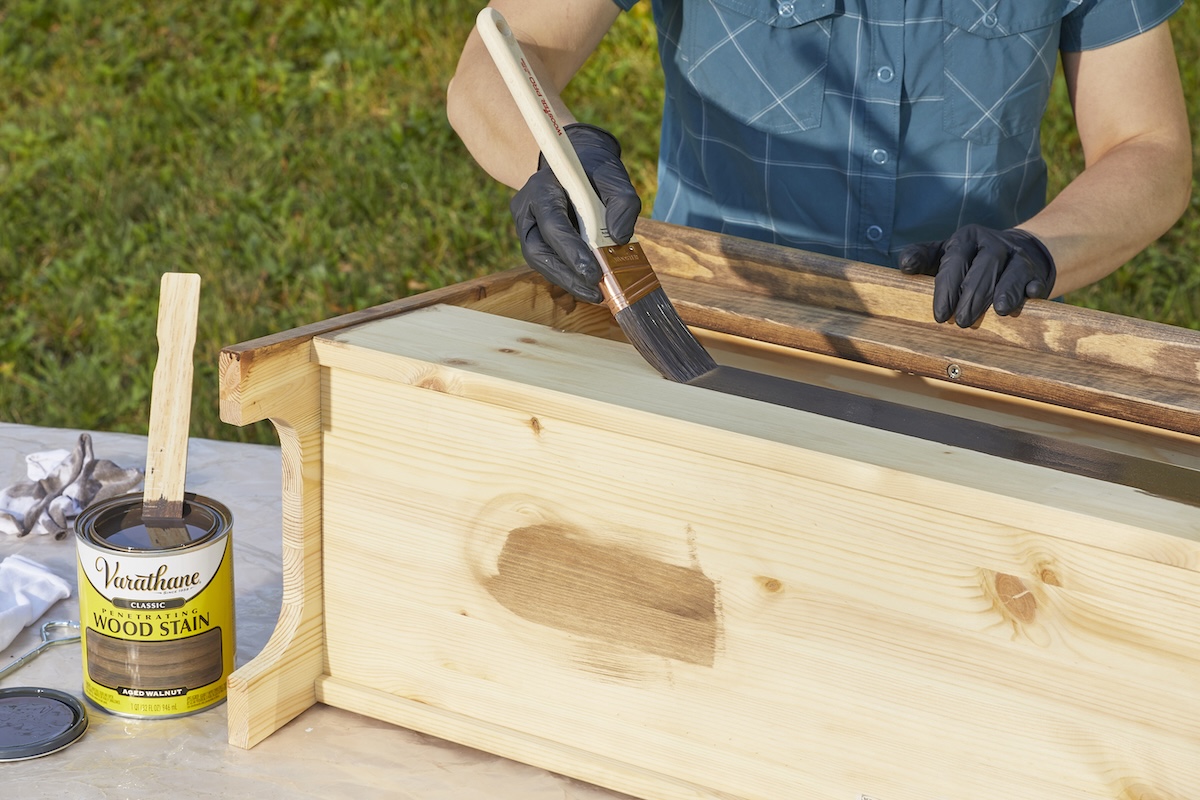
- Brush stain on in a light, even coat using a paint brush or microfiber staining pad, always moving in the direction of the grain.
- If the color seems dark, use a clean lint-free rag to wipe away some of the excess before it soaks in. Wipe away any areas of pooled or excess stain as needed for a consistent, blotch-free color.
Step 6: Allow the stain to dry.
You can move your furniture piece to a dry and warm place to assist in drying, but make sure the area is dust-free. Allow the stain to dry according to directions; it can take from less than 10 hours to nearly 72 hours. If the color appears too light, wait until the stain has dried, then apply a second coat.
Step 7: Apply sealant (optional).

After staining furniture, finishing the wood can help protect it and enhance the appearance of the wood stain. Often called simply “varnish,” these types of protective coats offer a few variations in their ingredients that affect how to stain and seal wood. Varnishes might come in glossy, flat, or satin finishes to match the desired look. If unsure about the need for a finish coat, check the wood stain product label and consider the amount of wear the furniture piece will need to endure, such as when staining a wood table or kitchen cabinets.
Varnish: Typically transparent, varnish helps prevent wear and tear on stained furniture surfaces and is considered a durable finish. Natural varnishes have an oil base (like linseed or tung) or polyurethane, a synthetic option that might be oil- or water-based and often is used for outdoor furniture. Some wood stains contain varnish, which can save time by staining and protecting with a single product but they dry very hard and can be difficult to apply.
Lacquer: Popular for use as a finish on high-end furniture, lacquer dries quickly and remains clear (not yellow) as it ages. Lacquer typically produces a high-gloss look. It cures well and is durable, but can be more difficult to apply; often it requires use of a sprayer. Lacquer also produces off-gas fumes while it’s applied.
Shellac: Although shellac provides an excellent seal, it does not stand up well to typical tabletop wear. This classic finish has been largely replaced by lacquer finishes.
Final Thoughts
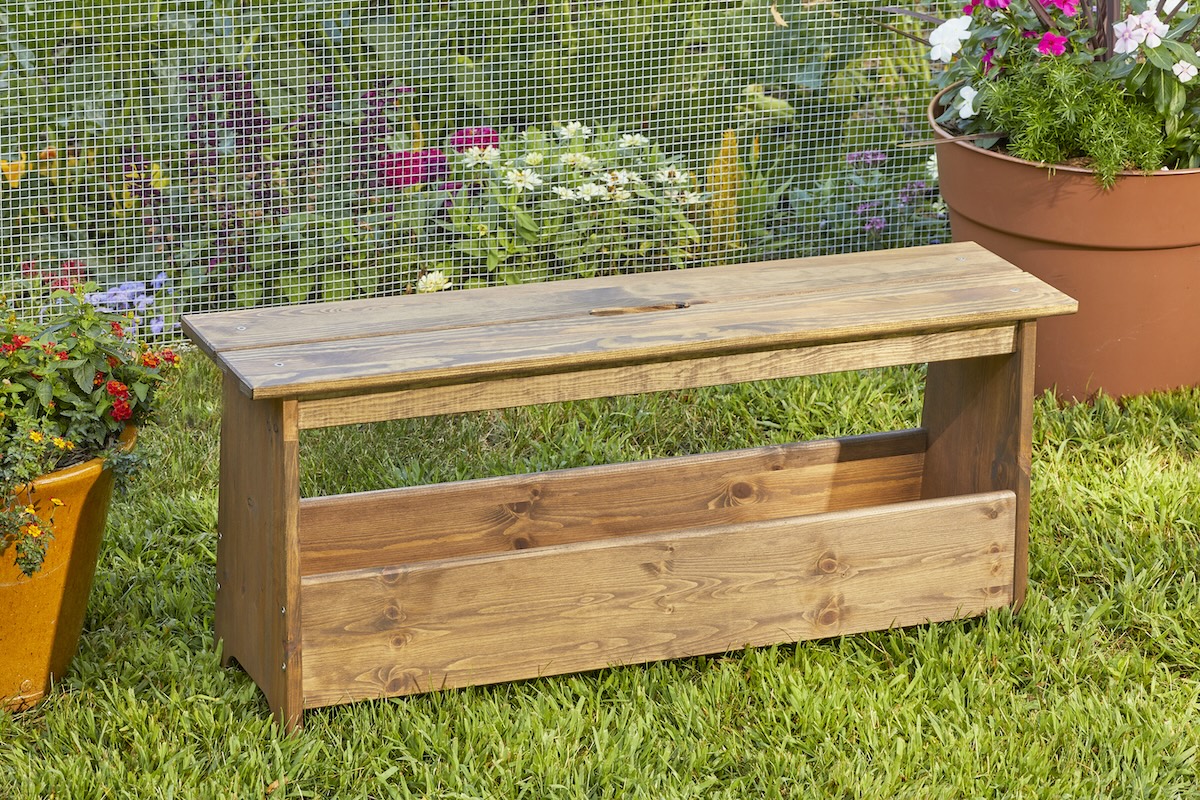
While there are many reasons to select quality wood furniture for your home, the natural beauty of wood grain is often chief among them. Knowing how to stain wood furniture helps you not only show, but show off, the wood’s natural look. Unlike paint, which hides wood grain, stain comes in a variety of coverages, including transparent and semi-transparent. If, however, the wood has imperfections, painting wood furniture might be a better option.
If seeing the natural grain of wood furniture is important, the options are staining or whitewashing, with wood stain topping all finish types for how to stain furniture while retaining wood’s natural beauty. In general, applying stain is a simple process, once you select the best stain for your needs and prepare the wood to take the stain. The stain can help protect the wood without hiding its natural appearance; adding a finish or protective coat goes further in protecting wood furniture from stains, water damage, and even scratches.
