We may earn revenue from the products available on this page and participate in affiliate programs. Learn More ›
Many houses contain a weak link in the connection of the roof sheathing to the rafters or roof trusses, making them vulnerable to loss of roof sheathing in severe winds, but solutions to this problem are available to the homeowner.
The problem exists because nail sizes and spacing used to attach the sheathing to the roof’s structural members (rafters or trusses) do not provide enough strength to keep the sheathing on during an intense windstorm. Before Hurricane Andrew devastated South Florida in 1992, roof sheathing was generally attached using 6d nails spaced at 6 inches along the edges of the sheathing and at 12 inches along interior structural members.
Now, however, experts almost universally recommend using 8D common nails. “Your roof will be more resistant to heavy winds if you use the right nails to secure the sheathing,” according to James Bedford of Fort Collins Roofing in Fort Collins, Colo. 8D nails are about 2 1/2 inches long and 131/1000 inch in diameter, he adds.
“The nails should be placed no more than 6 inches apart and fastened 3/8 inch from the sheathing panel ends and edges,” says Nora Robinson of B&M Roofing in Long Beach, Miss. And if you live in a particularly windy area, ”a few extra nails must be used for added support,” adds to home remodeler Joseph Scaduto.
Everything You Need to Know About Roof Sheathing
Unless you’re in the construction industry, roof sheathing isn’t typically a topic that enters everyday conversation, but it’s an essential component in protecting your family’s health and safety. As a homeowner, you should be familiar with this vital component of your home’s structure and the role it plays in your home’s security.
What Does The Roof Sheathing Do?
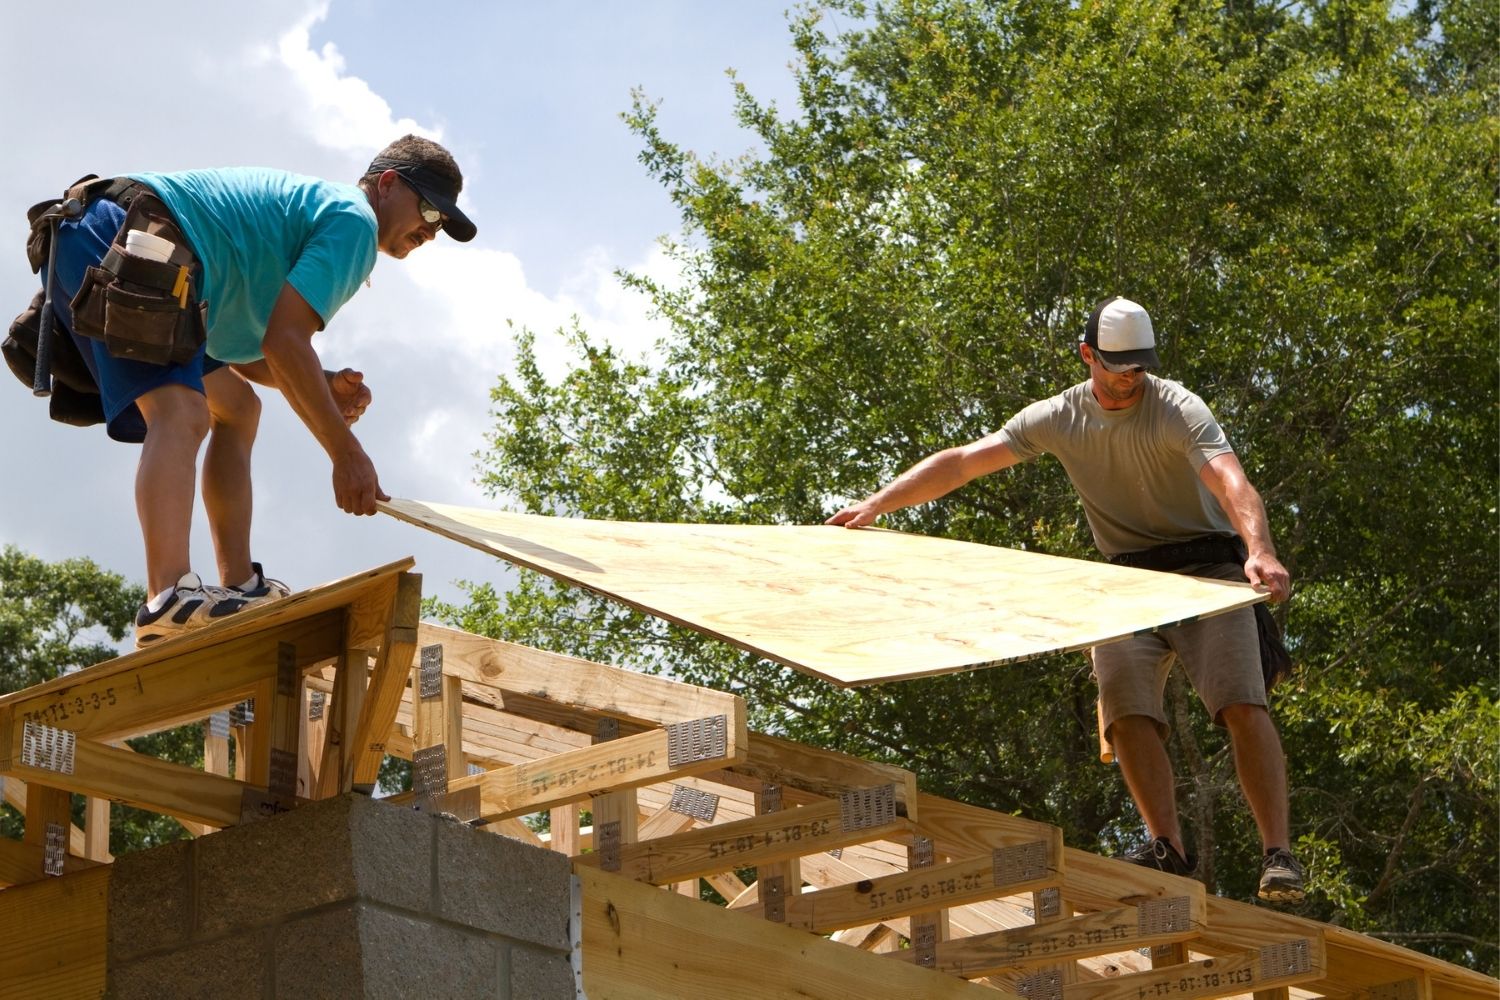
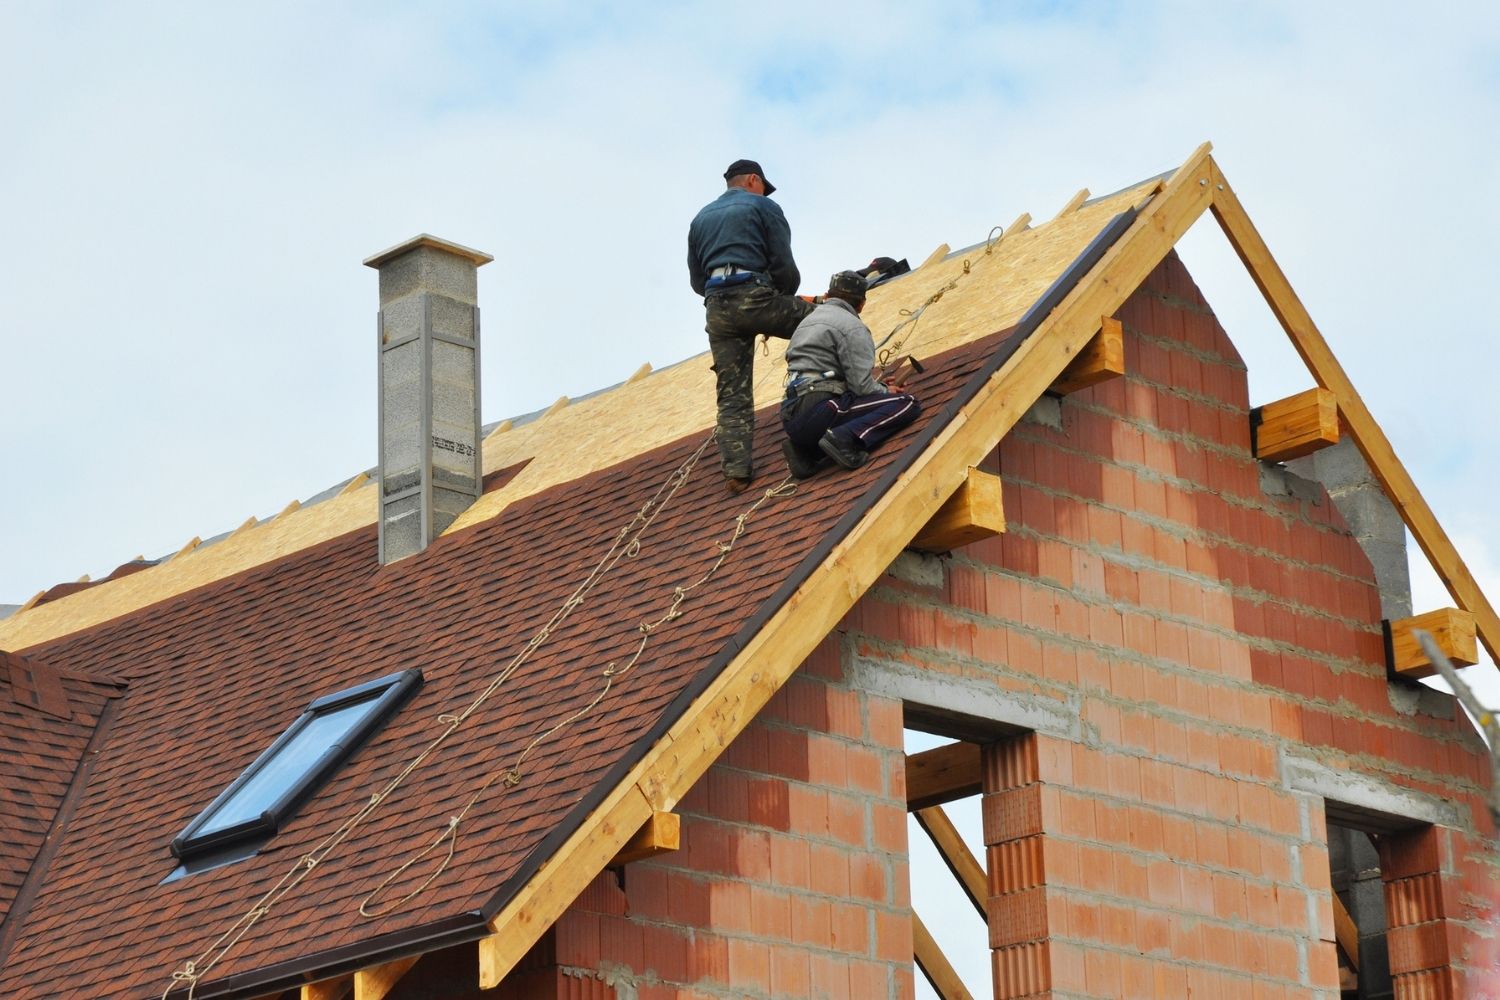
Attached to the roof’s support beams—joists and trusses—roof sheathing helps make sure heavy loads such as snow don’t cause sagging or bowing. The sheathing distributes weight evenly across the entire roof. Sheathing also provides a surface to which shingles are attached.
What Is Roof Sheathing Typically Made Of?
Plywood or oriented strand board, which is a type of engineered wood that’s similar to particle board, are the materials most typically used for sheathing, according to Bedford. Plywood is heavier and more durable, but oriented strand board, sometimes called waferboard, is less expensive.
What is the Standard Roof Sheathing Thickness?
The standard roof sheathing thickness for OSB is ⅝ inch. If you’re using plywood, ½-inch thick is sufficient.
How Can You Tell When You Need New Roof Sheathing?
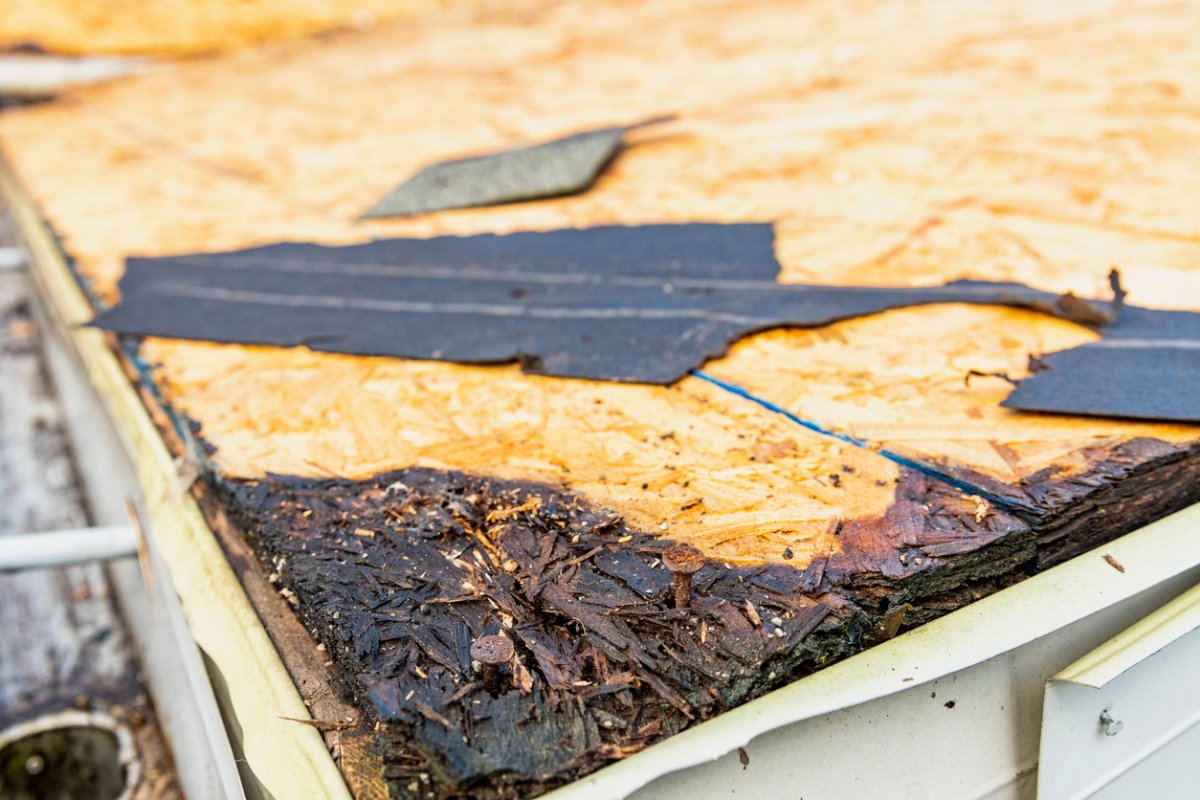
“If your roof sheathing has been damaged by water or the weather and is beginning to deteriorate in many locations, you should replace it,” says Bedford. This should be done as soon as you see damage because if you leave it alone, the condition of your roof sheathing will only grow worse, adds Robinson.
Current Roof Sheathing Strength Ratings
An important factor to consider when contemplating a sheathing upgrade is location. Homes in areas where hurricanes or tornadoes are common certainly need extra care paid to the sheathing’s ability to withstand heavy winds. Homes in less windy areas, on the other hand, might not need the same reinforcement.
Tests at Clemson University’s Wind Load Test Facility show that the sheathing can be pulled off the rafters or trusses with a 40 pound per square foot uplift pressure when it is attached using the older nailing patterns. While use of 8d nails has become more common in recent years, this only increases the typical failure pressure to about 70 pounds per square foot. In contrast, a strong hurricane, like Hugo in 1989, could exert uplift pressures as high as 100 pounds per square foot in critical areas of the roof if your house is in an exposed location.
Stricter building codes were adopted by most entities in hurricane-prone regions after Hurricane Andrew devastated Florida and Louisiana in 1992. However, many existing houses were built using the older standards and may need shoring up to meet or even exceed newer requirements.
Key Considerations When Strengthening Roof Sheathing
Before beginning such a project, make a survey of your attic to get a sense of working conditions and the feasibility of the project.
- Is there a floor in the attic?
- Is there adequate lighting and ventilation?
- Do you have enough access to get adhesive out to the edges of the roof?
- Does attic insulation obscure the roof sheathing connection near the eaves or is there insulation between the rafters or trusses?
What You’ll Need to Strengthen Roof Sheathing
Next you’ll need to assemble the supplies that you will need to complete the job.
- Boards for the floor
- Caulking gun for 30-ounce tubes of adhesive
- AFG-01 rated adhesive in 30-ounce tubes
- Lengths of quarter round or 6-inch blocks of 1×2 lumber
- Cleaning supplies, such as rags and paint thinner
- Fan and/or light
- Utility knife and long screwdriver to open tubes
- Safety items, including glasses or goggles and possibly protective wear to ward against fiberglass insulation, and a bicycle helmet or hardhat for protection from roofing nails
- Caulk gun extension if you have a shallow pitch roof or problems with access to the eaves
How to Strengthen Roof Sheathing
The attachment of roof sheathing can be improved in one of two ways. The cheapest and easiest is to re-nail or, better yet, screw down the sheathing when you replace your roof covering. The other approach is applying an AFG-01 rated adhesive to enable the roof sheathing to withstand pressure to 250 pounds per square foot or greater.
Step 1: Prepare Your Work Area
Pick a cool day and preferably start in the morning when the attic will be cooler. Prepare the work area with boards, lights, and ventilation. Consider wearing protective clothing to avoid coming in contact with fiberglass insulation, which can be a severe skin irritant.
Step 2: Re-nail if Necessary
“Check every single sheath and re-nail those that need reinforcement,” says Zach Reece of Atlanta-based Colony Roofers. “You can also add additional nails if you notice some areas that look weak.” Especially if it is an older property, you’ll want to re-nail it with 8D common nails, adds Ray Brosnan of Bronson Property Solutions, which serves areas throughout Ireland.
Step 3: Apply AFG-01 Rated Adhesive to Rafters and Trusses
Install construction adhesive with strips of wood embedded in the glue along the last rafter or truss at any gable end. Joints made using quarter round strips are about 50 percent stronger than those formed using only a bead of adhesive.
You can also use 6-inch-long blocks of 1×2 lumber to join the sheathing to the rafters. Apply adhesive to two adjacent sides of the blocks and firmly affix one side to the sheathing and the other to the rafter. Space blocks every 6 inches.
FAQ About Roof Sheathing
What is standard roof sheathing thickness?
The standard roof sheathing thickness for OSB is ⅝ inch. If you’re using plywood, ½-inch thick is sufficient.
Is OSB or plywood better for sheathing?
It depends. OSB is less expensive, but plywood is more durable and might be better at withstanding severe weather or heavy shingles.
Does roof sheathing go over fascia?
No, according to Bedford. “The sheathing will not project over the subfascia or real fascia,” he says. Be sure to install a drip edge, which deflects water away from the sheathing and fascia to prevent damage.
Does roof sheathing need to be pressure treated?
Experts say that if the roof is properly constructed, pressure treated sheathing is unnecessary. However, in some parts of the country pressure treated sheathing is preferred because of its resistance to termites. And some contractors appreciate the extra peace of mind its superior water resistance and durability offer.

