We may earn revenue from the products available on this page and participate in affiliate programs. Learn More ›
A cold frame is one of the most valuable accessories for the northern or mountain gardener. With a cold frame, gardening doesn’t have to be restricted to summer, even in colder climates. While your plants may not normally welcome crisp, cool temperatures of fall or the winter days that dip below freezing, you can help them weather the changing seasons.
By spending just a weekend building a cold frame, you can start your garden earlier and grow later into the fall. Heed these guidelines for your DIY cold frame for the best chance at success.
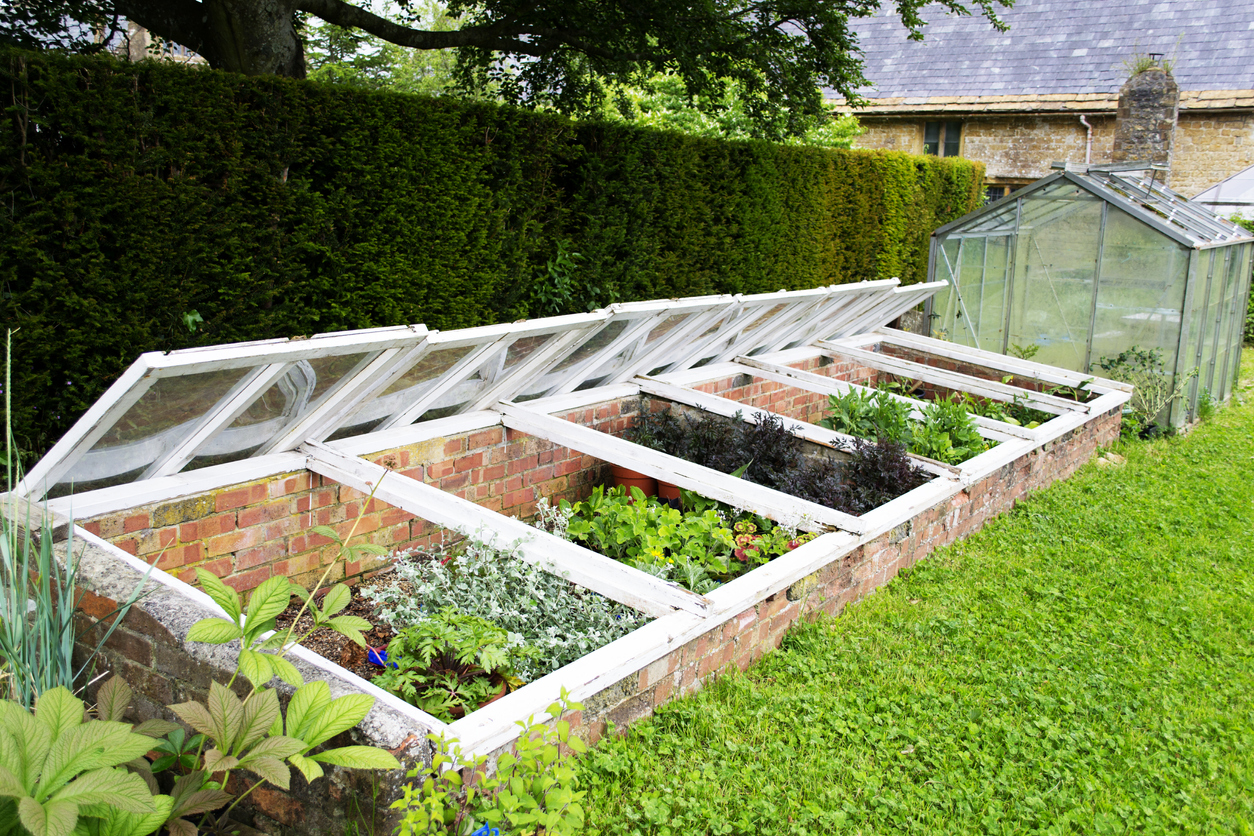
What is a cold frame?
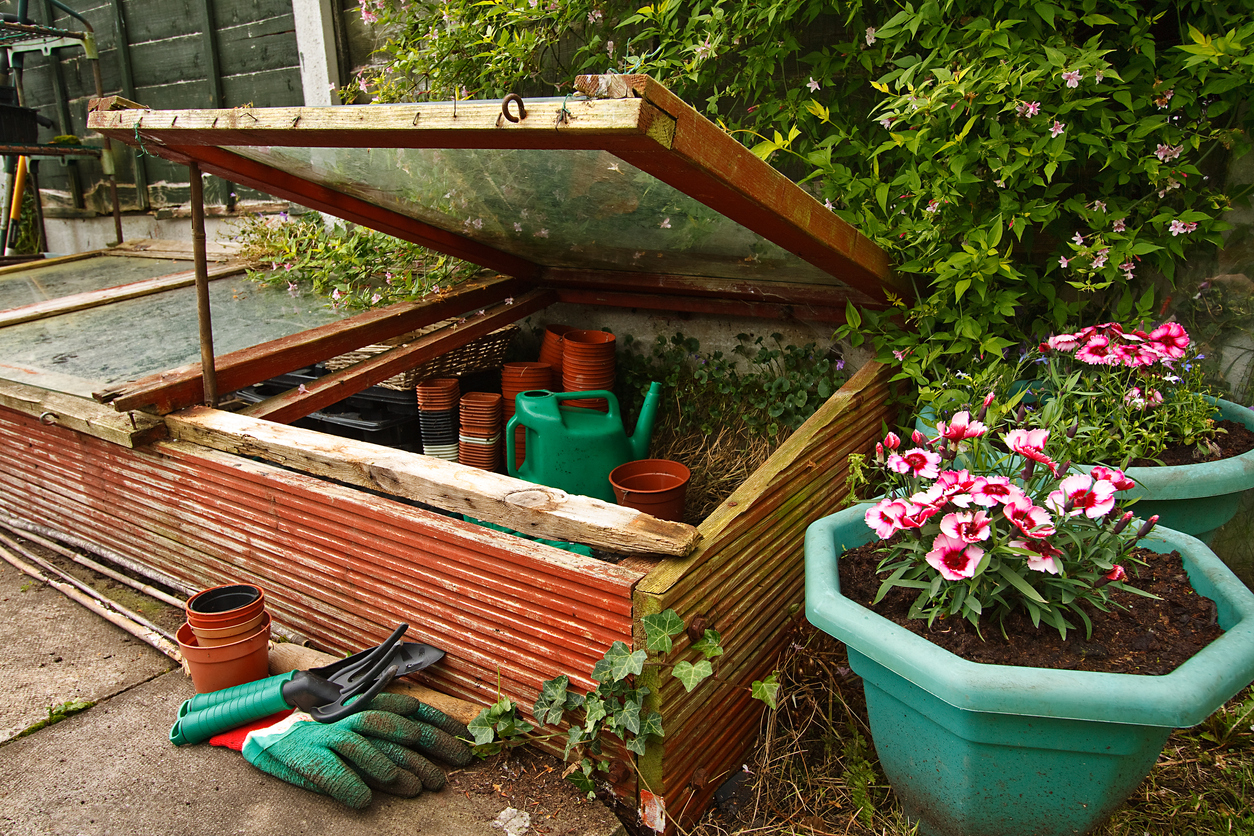
By design, a cold frame is just a see-through 5-sided box that covers the garden to protect it from the elements. Its transparent roof invites sunshine, then traps the sun’s heat and the earth’s moisture, keeping the environment 5 to 10 degrees Fahrenheit warmer than the outdoor temperature. A flip-top door grants access to the gardener for tending to his or her plants.
Simple versions of these structures have been used for centuries to start cold-tolerant plants in the early spring, harden off seedlings before transplanting, shelter tender perennials, and even overwinter plants and cuttings.
What grows in a cold frame?
You can grow just about anything in a cold frame. You can even use it year-round, provided you prop it open in hot weather.
In the spring, a cold frame is a perfect spot for starting seedlings.
Use it to plant out tomatoes and other heat-loving edibles earlier than usual. While tomatoes, eggplants, and peppers are susceptible to frost, putting them out in a cold frame might lead to an earlier harvest.
And because a cold frame can help warm the soil even when outside conditions are still freezing, you can direct-seed cool-season crops earlier. This is especially useful in regions with a short spring season. In USDA zone 5, for example, it can be tough to grow spinach because the weather changes so rapidly from freezing to cool to sweltering hot.
In late summer and early fall—timing depends on your specific USDA hardiness zone—you can plant under a cold frame and harvest well into the winter. The key is to put out seedlings or direct-seed early enough to give plants time to mature before days get too short. That’s because plants grow exponentially slower in the dead of winter, even when protected from frost under a cold frame.
When to Install a Cold Frame
The growing season will depend on the types of plants your cold frame contains and their preferences. Cold frames will generally keep the garden 5 to 10 degrees warmer than the outdoor temperature. So, if your plants are hardy enough to grow in 40-degree weather, you might be able to start them while there’s still frost out.
Hotbeds do one better to extend the growing season. Electric cables or a bed of manure (which will release enough heat to warm the soil a few degrees as it decays) located just below grade with the cold frame above will heat things up well enough to keep nearly any plant alive year-round.
Cold Frame Dimensions
The ideal dimensions for a cold frame depend on your needs. There’s no right or wrong size!
If you want to add protection to an existing garden, make sure your DIY cold frame can fit right over the top. Otherwise, sizing depends on how much you want to plant and where you want to place your cold frame.
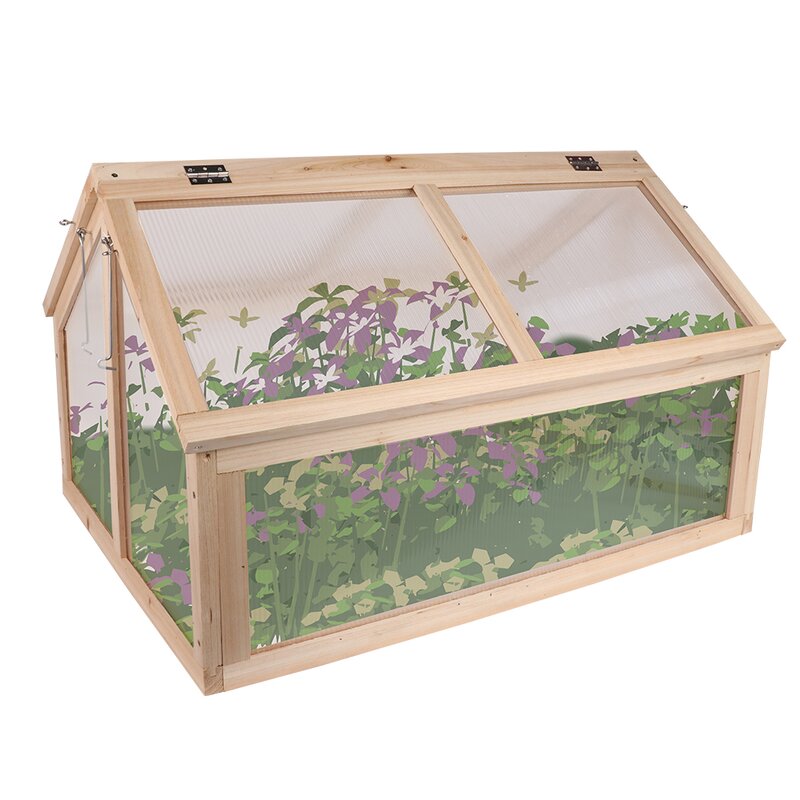
The shape is important, though. Ideally, a cold frame will have a sloping design. This ensures all plants get enough sun and prevents snow from piling up on top, potentially damaging the cold frame. With a sloped frame, snow should slide right off.
Gardeners new to season extending should consider starting with a small cold frame—maximum 4 feet by 4 feet—to get the hang of gardening in cold weather. Once you’re confident that you love off-season gardening, expand to your heart’s content.
The Best Location for a Cold Frame
The best location for a garden is also the best spot for a cold frame. Choosing a south- or southwest-facing area on your property will ensure plants get plenty of morning and midday sun. It should be nearby so you can check on it often. In areas that get a lot of snow in the winter, avoid placing the growing area so far from the house that you need to shovel your way to it on a regular basis.
Keep the cold frame away from obstructions and large trees—especially if you’re using glass to build your season extender! Falling branches can potentially damage your cold frame. And buildings or large evergreen trees might shade it too much in winter.
You don’t need a yard to build or use a cold frame. You can use cold frames anywhere there’s enough light exposure, including a patio, balcony, or porch.
What is the optimal temperature inside a cold frame?
Spring and fall plants do best at about 60 degrees Fahrenheit, while summer plants thrive at around 75 degrees Fahrenheit. Invest in a pair of simple outdoor thermometers, placing one inside and one outside of the DIY cold frame to help you keep tabs on the growing conditions.
Plants will wither if they get too hot, though, so you’ll want to start making adjustments in early spring.
- Once the outdoor temperature goes above 40 degrees Fahrenheit, prop the lid open about 6 inches.
- When the temperature reaches a consistent 50 degrees Fahrenheit, you can remove the lid altogether during the sunny hours and replace it on those chilly spring nights.
- When temperatures consistently surpass 60 degrees Fahrenheit, you can disassemble the cold frame entirely and store it until fall.
How to Build a Cold Frame
Cold frames are a relatively simple DIY project. Building one yourself is also a lot cheaper than buying a prebuilt frame. Quality premade cold frames are few and far between.
So, grab a hammer and get ready to build!
Supplies
- Something to use as a lid. Options include:
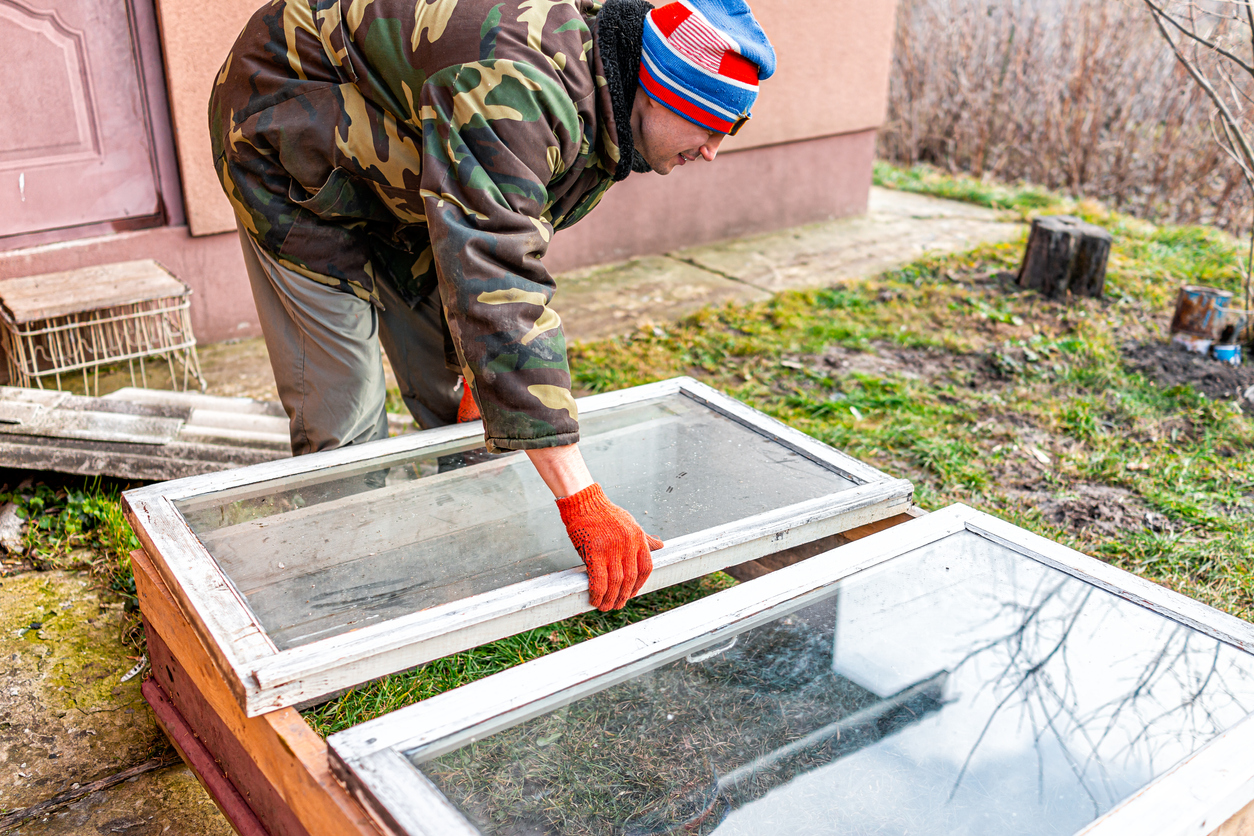
- An old window
- A sheet of glass (requires framing)
- Tough polycarbonate (requires framing)
- A see-through door
- Plywood
- Lumber
- Wood screws or nails
- Hinges
- A drill, screwdriver, or hammer
- Miter saw
STEP 1: Design and plan your cold frame.
Figure out how big you want the cold frame to be before heading out to the hardware store. First-timers should start small. If you’re using a sheet of polycarbonate or glass, you’ll need to hold these with a simple wooden frame.
If you have the room, plan to build the cold frame outside.
STEP 2: Assemble the base of the frame.
Measure your lid. The long part of your lid is the size of lumber you’ll need for the front piece and two back pieces of the cold frame. The sides will be on a slope, so they’ll be shorter.
If you’re building a 4-foot by 4-foot base:
- Your back piece could be 4 feet wide and 12 inches tall.
- Your front piece could be 4 feet wide and 7 inches tall.
- Your two side pieces will be 4 feet wide, 7 inches tall at the front, and 12 inches tall at the back.
Notice how the front is lower than the back. If you’re expecting a lot of snow, make the slope more pronounced.
You’ll also use four pieces of lumber for securing the corners of your cold frame base. Assuming you’re working with the dimensions outlined above, the front lumber pieces should be 6 inches long—and longer for the back, at 11 inches. Make them shorter than the box, so they don’t mess with the opening and closing of the lid.
STEP 3: Assemble and attach the lid.
When you’re done measuring your base and cutting the lumber and plywood to size, screw or nail everything together.
Use hinges to secure the lid to the back of the cold frame.
STEP 4: If you like, add finishing touches to your new cold frame.
Other things you can add to your cold frame include:
- A hydraulic or automatic opener. This is a more advanced DIY, but it can save you time (and potentially plants!) in the future. You won’t need to worry about rushing outside to vent the cold frame on hot days.
- A thermometer. Secure a thermometer to the inside of the cold frame to keep tabs on how hot or cold it gets inside. If there’s something off with the temperature, you’ll know to vent more often or add mulch around the base to conserve heat.
FAQs About Building a Cold Frame
If you still have questions about how to use or build a cold frame that were not addressed above, read on to learn more about these handy garden accessories.
Q. Can you start seeds in a cold frame?
Yes! A cold frame is a great way to get ahead of the game in the spring. Because a cold frame is like a little greenhouse, the soil underneath warms up significantly faster than elsewhere in your garden, allowing you to start seeds early.
Q. Does a cold frame need to be airtight?
Nope. It’s better if there’s some airflow in your cold frame. You want to protect plants against the harsh elements, but cutting off airflow can harm them. And even in the dead of winter, it’s important to vent a cold frame. On sunny winter days, it can get mighty hot in there!
Q. What is the difference between a cold frame and greenhouse?
The main difference is size. A cold frame is much smaller than a greenhouse. And unlike some greenhouses, cold frames don’t have heat sources. Cold frames are used to keep plants shielded from harsh weather. Greenhouses do the same, but some advanced greenhouses also allow gardeners to control other environmental variables like humidity and lighting.

