We may earn revenue from the products available on this page and participate in affiliate programs. Learn More ›
Great interior design is in the details—details like that splash of silver, glint of gold, or glow of copper. Metals, whether they blend into the background or take center stage, can add style and warmth to a space. Best of all, they don’t even need to match. This means that the gleam of gold is welcome in practically any room. But that doesn’t mean it’s time to start replacing fixtures. A few well-chosen gilded accents can go a long way in adding elegance.
There’s no need to spend a lot on gold-finished items. Instead, get crafty at home and turn everyday objects like lamps, vases, bathroom fixtures, and bookends into beautiful, shimmering accent pieces. Adding a gold finish, or gilding, is an age-old technique that dates back thousands of years to the ancient Egyptians. They believed that gold was the color of the gods and often used gold leaf to adorn tombs as well as wood and metal objects.
Getting started with gold finishes isn’t as complicated as it might seem. Continue reading for ideas and techniques.
RELATED: The Best Gold Spray Paints
1. Spray Paint

Turn an everyday object into something special by applying metallic gold spray paint. A favorite among DIYers, Rust-Oleum offers several options, including its American Accents 2X Ultra Cover Metallic Spray Paint, which is a combined paint and primer for both indoor and outdoor projects, and its Metallic Gold Spray Paint, which incorporates real metal leafing flakes. Best of all, using spray paint to give small objects a lovely gold finish takes practically no time at all. Simply set up in a well-ventilated area, give the item a light spray of coverage, let it dry for 5 minutes, and apply a second coat. Note that faucets and other fixtures near water as well as high-use spots such as doorknobs will hold up best with a clear sealant. Also, before you try to transform bathroom fixtures, cabinet pulls, and other metal objects, bone up on how to spray paint metal.
RELATED: The Best Spray Paints for Your DIY Projects
2. Metallic Wax Finish

This crafter’s favorite metallic wax finish from Rub ’n Buff at Amazon can be used on just about any surface. A tiny bit will instantly breathe new life into tarnished knobs, vases, and lamps, or try it on desk legs for a gold-dipped look. Simply put a dab on a rag, rub it in, and watch the finish turn shiny. Multiple shades of gold are available, and a clear sealant can be added for high-traffic spots.
3. Imitation Gold Leaf Application/Gilding Kit
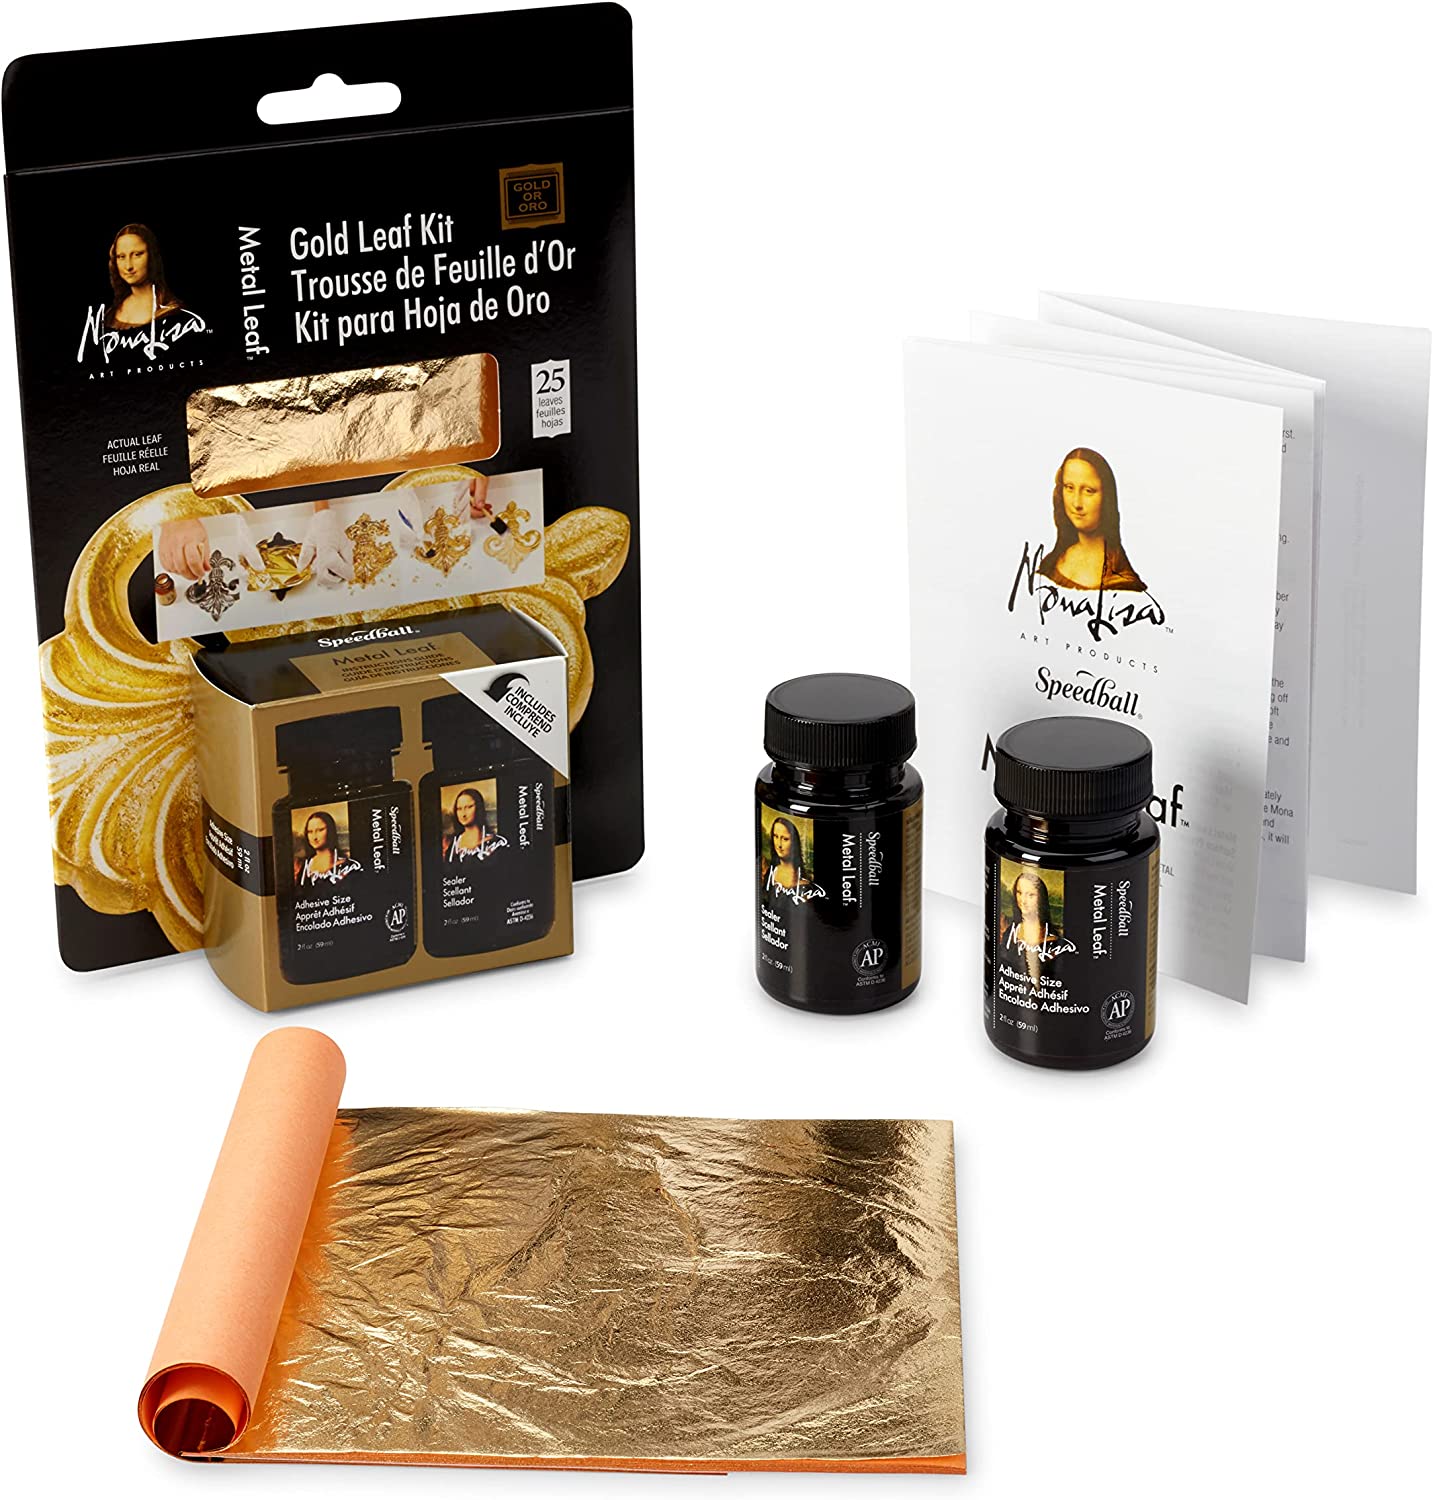
Ideal for small details such as the bottoms of glasses or parts of a statue, gold leaf gilding requires a bit more care than the previous options. The Speedball Mona Lisa gold leaf kit at Amazon comes with an adhesive, protective varnish and 25 sheets of imitation gold leaf made of copper and zinc. The gilding process involves cleaning the item, applying the adhesive with a brush, pressing in the gold leaf and refining it with an additional brush, and then finishing with the varnish.
4. Genuine Gold Leaf
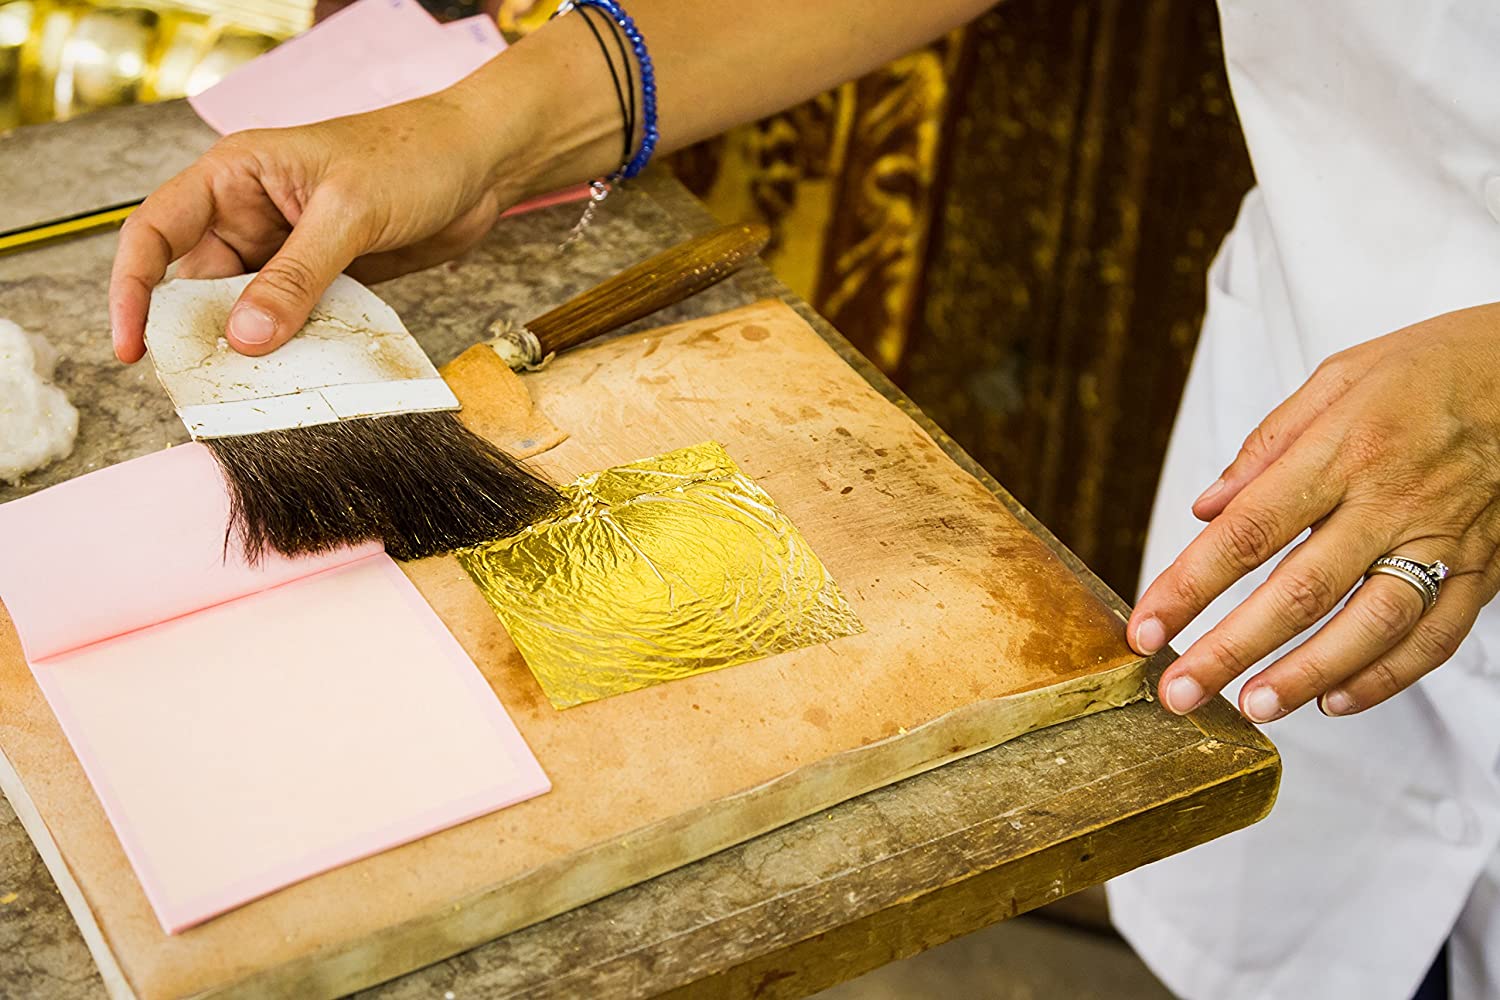
Genuine gold leaf looks similar to imitation but is much more fragile to manipulate. Although more challenging to work with, it looks stunning on artwork and other small details around the home. Professional-grade Genuine Gold Leaf Sheets by Barnabas Blattgold are applied in the same way as an imitation gold leaf, albeit more carefully. The same manufacturer also sells gilding adhesive and a sealer for finishing off gold-leaf projects.
5. Gold Paper Decoupage
Decoupage is the process of gluing paper to an item using several layers of adhesive. It can be done on any surface, including wood, glass, plastic, metal, and fabric. Using metallic papers like this handmade vintage Lokta paper by MysticHimalaya at Etsy for decoupage is an excellent way to give home objects a golden flair. The process is fairly simple: Brush the surface with glue such as Mod Podge, add the paper, brush on more adhesive, and smooth with a firm flattening tool. This Mod Podge decoupage starter kit at Amazon comes with both glossy and matte finishes and three brushes.
RELATED: 7 Classic Decoupage Projects for the Home
6. Gold Mineral Paint
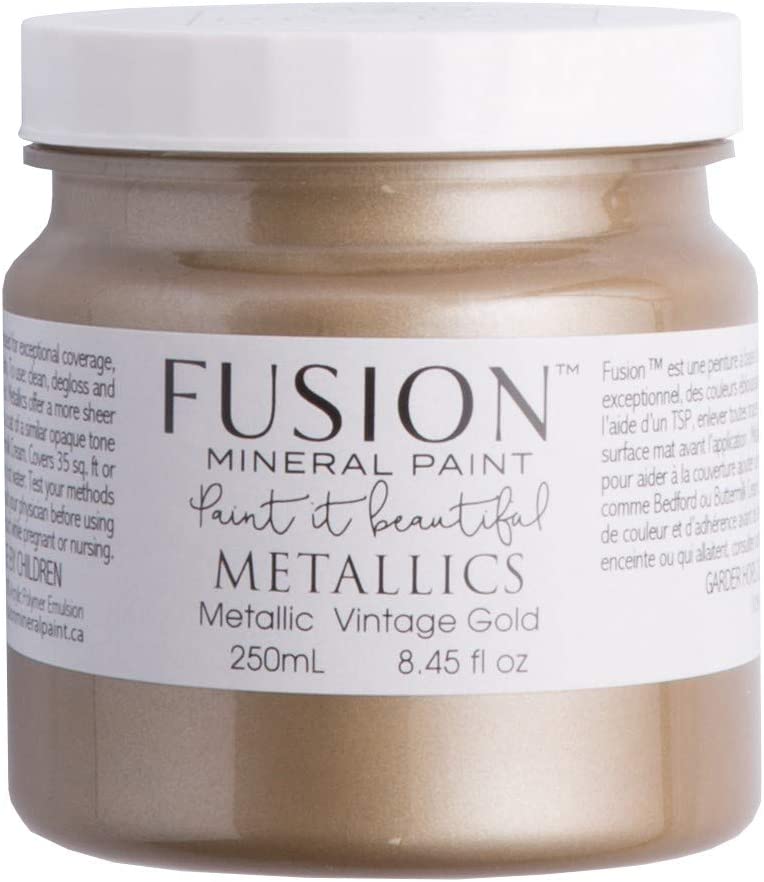
Mineral paint, as the name implies, uses natural minerals to achieve different shades. The color generally goes on smoothly without the need for a base primer. Wood surfaces, however, still need to be sanded down before application. Try a product like Fusion Mineral Paint at Amazon on furniture trim or a small wooden nightstand to create a beautiful gilded accent piece. Users love that this product is made without toxic chemicals and has low odor and VOCs.
RELATED: 11 Insanely Easy 60-Minute Paint DIYs
7. Acrylic Paint
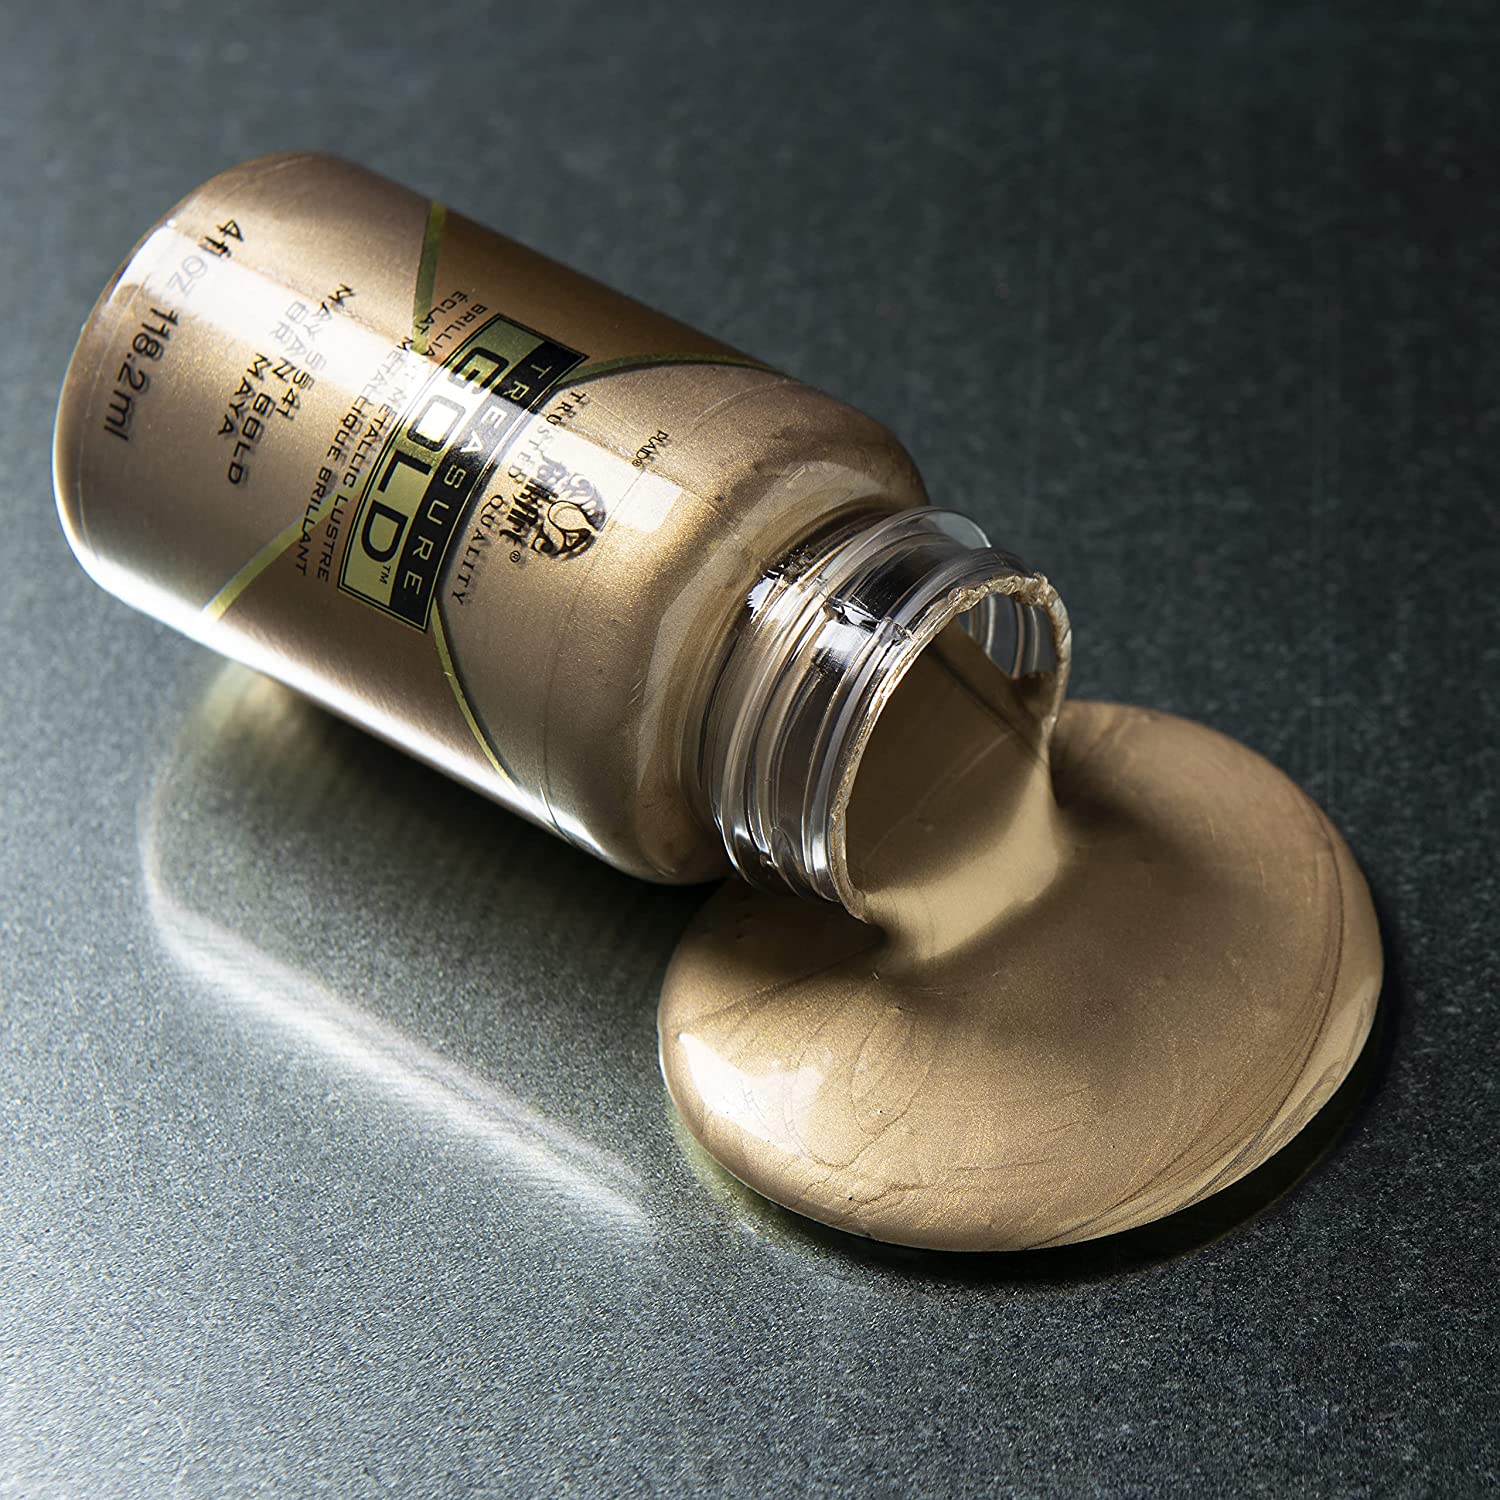
Traditional acrylic paint can do the job too. Add a metallic sheen to decorative objects with water-based, nontoxic FolkArt Treasure Gold Paint, which reviewers on Amazon praise for its great coverage and shiny gold finish. Acrylic paint can be used on wood, canvas, paper, metal, terra cotta, and more so you can have fun with it on vases, frames, furniture trim, and all sorts of accessories. For knobs, pulls, and other high-use objects, make sure to apply a clear sealant.
RELATED: 9 Ways to Decorate With Your Crafts and Put Your Hobbies on Display
8. Shiny Contact Paper
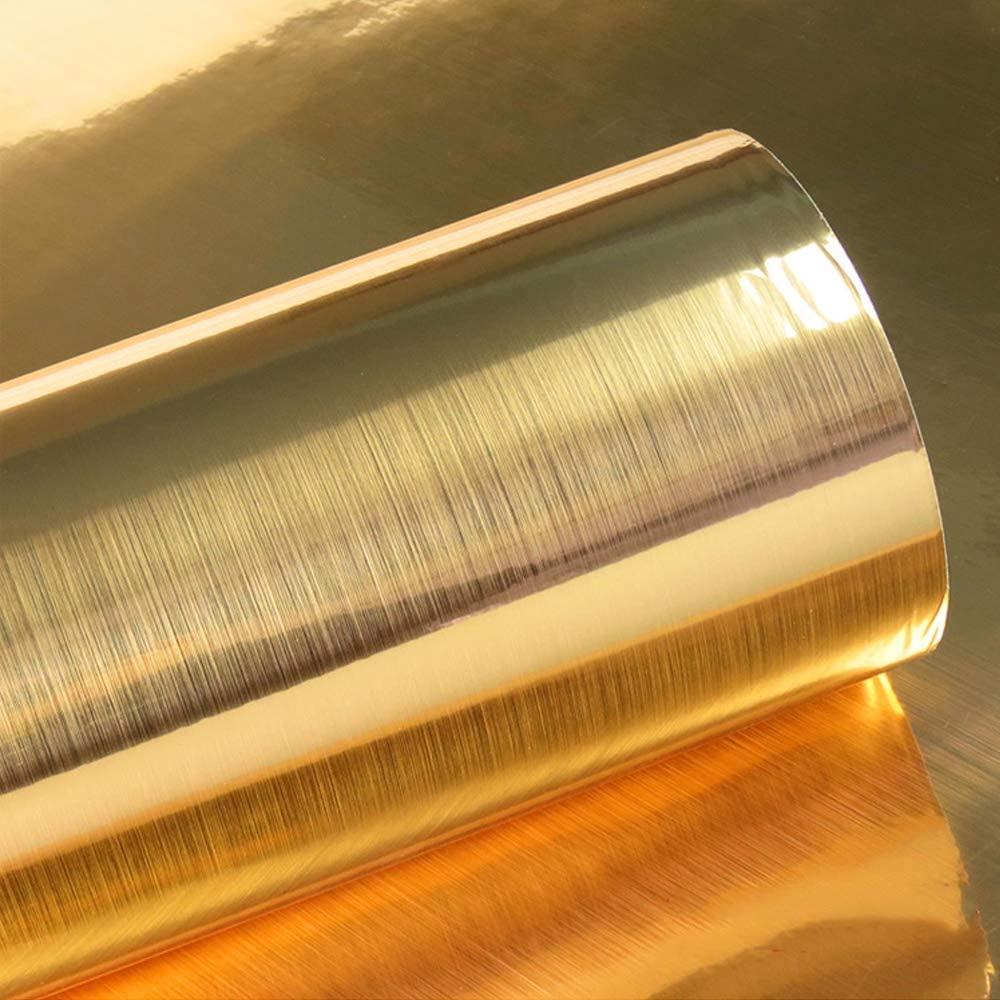
Contact paper like this gold self-adhesive contact paper at Amazon is a simple way to quickly transform plain surfaces with a metallic look. It comes in a roll similar to wallpaper and includes a self-adhesive film so it goes on super easily once the design or shape has been cut out. It’s great for covering smooth, flat surfaces and ideal for use on glass or painted surfaces.
RELATED: 13 Unexpected Ways to Use Contact Paper Around the House
9. Foil Transfers
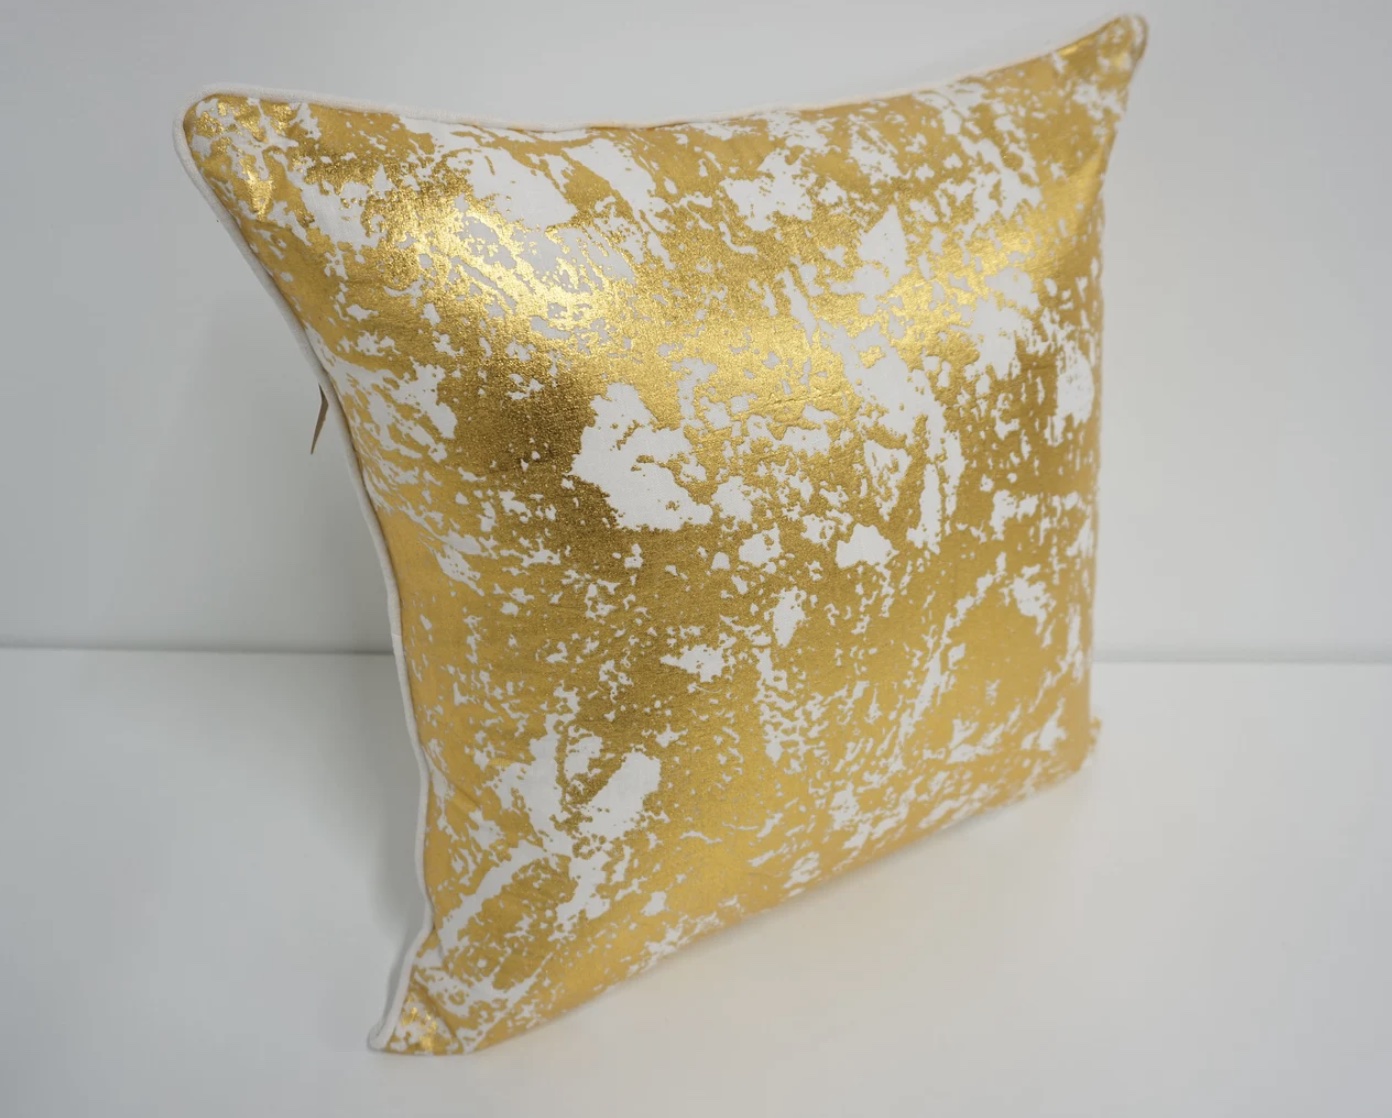
Don’t forget to add golden touches to textiles as well. Throw blankets, pillows, and curtains are great places to start, and foil transfers like this Firefly Craft elastic heat transfer vinyl by FireflycraftStore at Etsy are an easy way to make it happen. Transfers work similarly to gold leaf sheets, except heat is needed for the transfer. The process used depends on the product you’re working with. Some transfers come mounted on a backing and have heat-activated adhesive, while others require applying adhesive separately. Either way, once the foil is in position, apply heat with an iron. Give it time to cool before peeling back the foil to reveal the finished design.
RELATED: The Best Heat Transfer Vinyl
10. Antiquing Gel
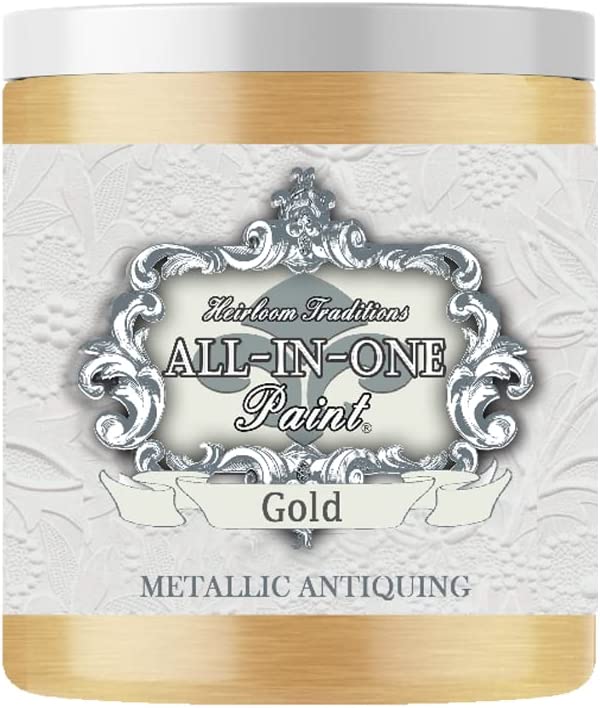
For a more aged, antique look, try a gold metallic antiquing gel from All-in-One Paint by Heirloom Traditions. It’s essentially a glaze with a built-in top coat. Unlike a glaze, however, the thick gel doesn’t drip. The gel comes with a brush and is applied like traditional paint, but it’s then rubbed with a dry cloth to create the antique gold look. It stays wet for 12 hours, so mistakes can be fixed by spraying the item with water and manipulating the paint to achieve the desired result.


