We may earn revenue from the products available on this page and participate in affiliate programs. Learn More ›
A water heater is an essential part of most homes, providing hot water for cooking, cleaning, and personal care. With proper maintenance, a quality water heater typically lasts about 15 to 20 years, but if the water heater anode rod is not regularly inspected and replaced, the tank might rust out before it reaches 10 years of service.
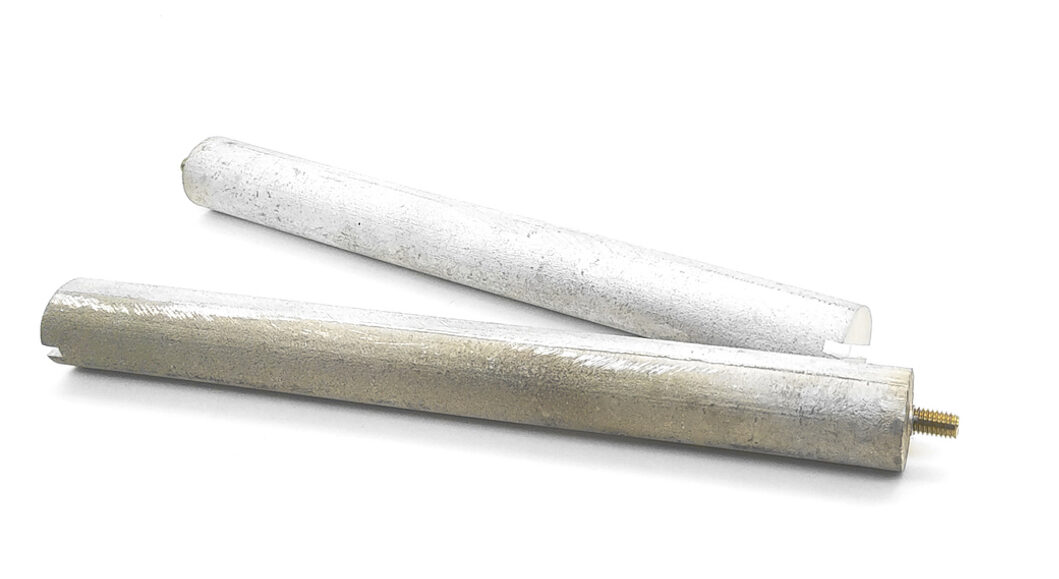
An anode rod is a long metal rod, generally made of magnesium or aluminum. Its purpose is to attract iron, limestone, and other minerals in the water that would otherwise rust the inside of the water heater’s steel tank. Instead, the anode rod gradually corrodes in place of the steel tank, extending the water heater’s lifespan. In most cases, owners will need an anode rod replacement only about once every 3 to 5 years.
Those who hire a plumber to replace an anode rod can expect to pay about $200 to $300. However, most anode rods only cost about $20 to $50, so DIYers with even moderate plumbing experience can save money by performing their own water heater anode rod replacement. Follow the steps below to find the water heater anode rod location and learn how to take on this anodizing rod water heater repair.
Tools & Materials
Bobvila.com may earn a commission from purchases made through these links.
Project Overview
Working Time: 30 minutes
Total Time: 60 minutes
Skill Level: Intermediate
Estimated Cost: $30 to $90
BEFORE YOU BEGIN
Deciding on the right type of anode rod for your water heater is an important first step. Generally, magnesium anode rods are the best option for protecting the tank because magnesium bonds more freely to the metals and minerals present in the water. However, if your water is very soft or has low pH levels, then magnesium will corrode much faster than an aluminum anode rod.
Consider the hardness of your water to determine whether magnesium or aluminum is the best option for your electric or gas water heater anode rod replacement. Some aluminum anode rods have a small amount of zinc added to their construction. A corroded aluminum or magnesium anode rod can produce a rotten-egg smell, but zinc in the anode rod can help to reduce any sulfur smells in the water. Weigh these pros and cons when picking the right type of anode rod for your water heater.
RELATED: Which Type of Water Heater Is Best for Your Home?
STEP 1: Shut off the water heater’s water and fuel supply.
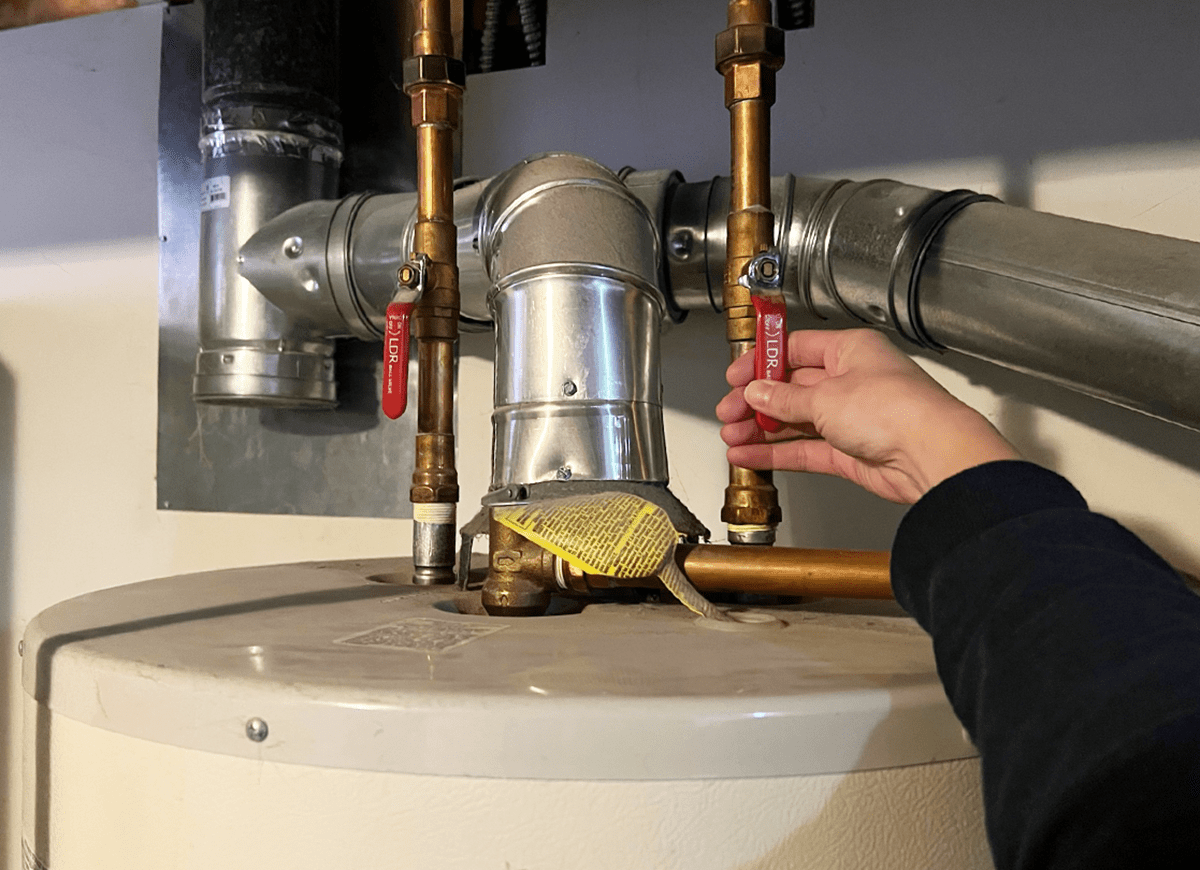
Before trying to access the anode rod, turn off the water supply to the tank. This valve is usually located at the top of the water heater. You also will need to turn off the electric circuit breaker for an electric water heater. For a gas water heater, either turn off the gas or set the gas control valve to the vacation setting to ensure that no gas runs while you work.
STEP 2: Drain the water heater.
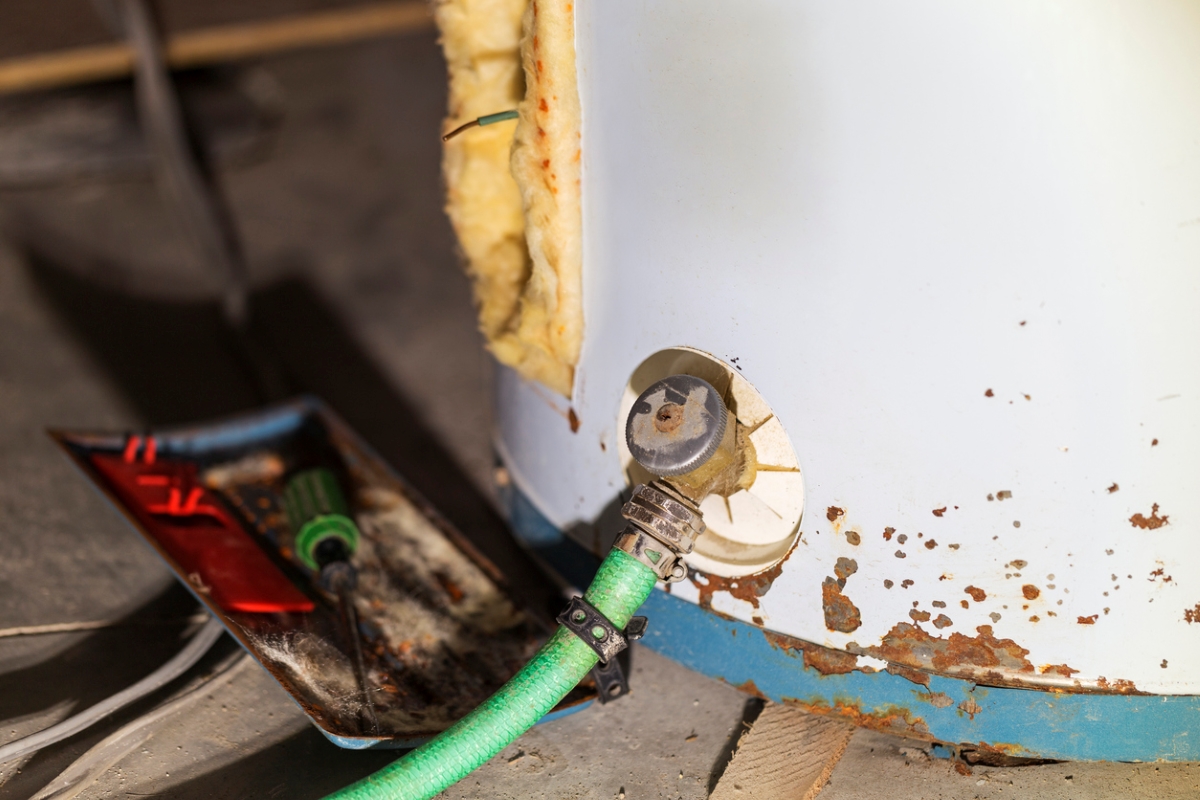
After turning off the flow of water into the heater, connect a garden hose to the drain valve at the bottom of the tank. Run the hose outside or to a nearby drain. Keep in mind that the hose will drain hot water, so be careful of where it empties and when handling the hose itself.
Find the faucet closest to the water heater in the home and open its hot water valve. This will relieve pressure inside the tank, making it easier to drain the water. It also helps prevent the anode from rocketing out of the water heater when you try to loosen it.
To replace the water heater anode rod, you only need to drain about a gallon of water, but this is a good opportunity to flush the water heater tank. If you want to flush sediment out of the tank’s bottom, drain the entire tank before opening the cold water valve to remove any leftover debris. When water coming out of the garden hose runs clear, turn off the cold water valve, close the drain valve, and remove the hose from the water heater tank.
STEP 3: Locate the anode rod.
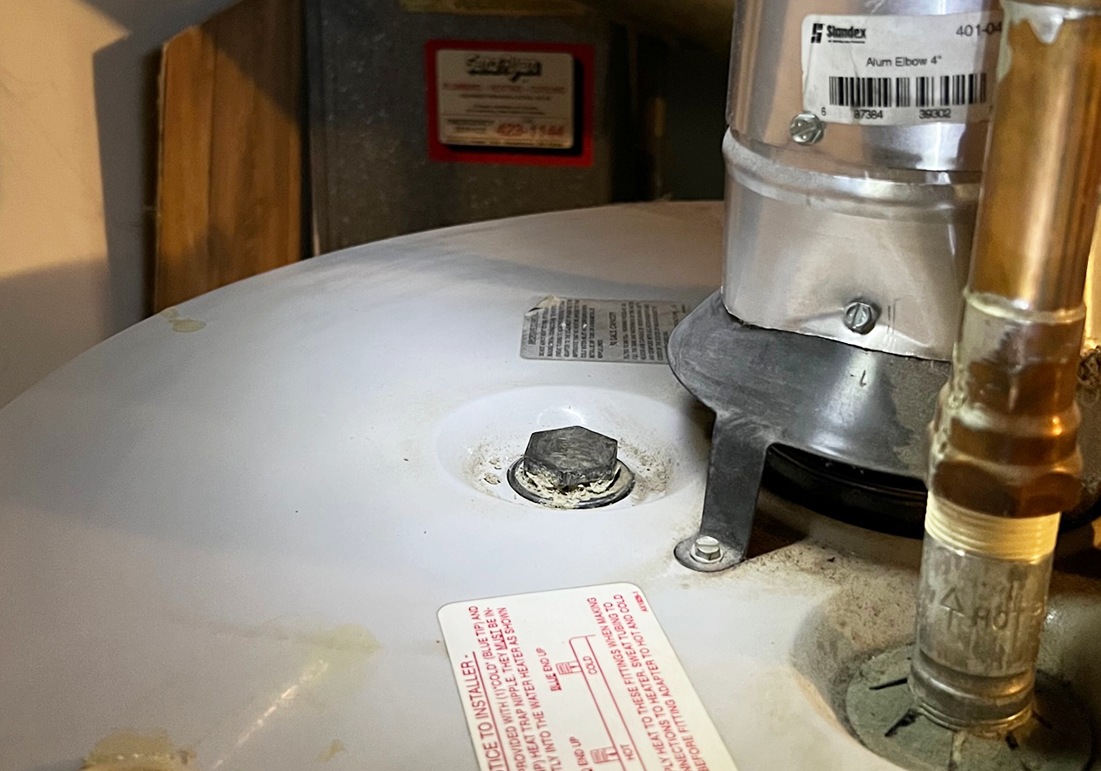
The anode rod is typically located on the top of the water heater, though some models may come with the rod installed on the side of the tank. Look for a hexagonal plug screwed into the water heater, and refer to your model’s user manual to confirm the anode rod’s location.
STEP 4: Remove the old anode rod.
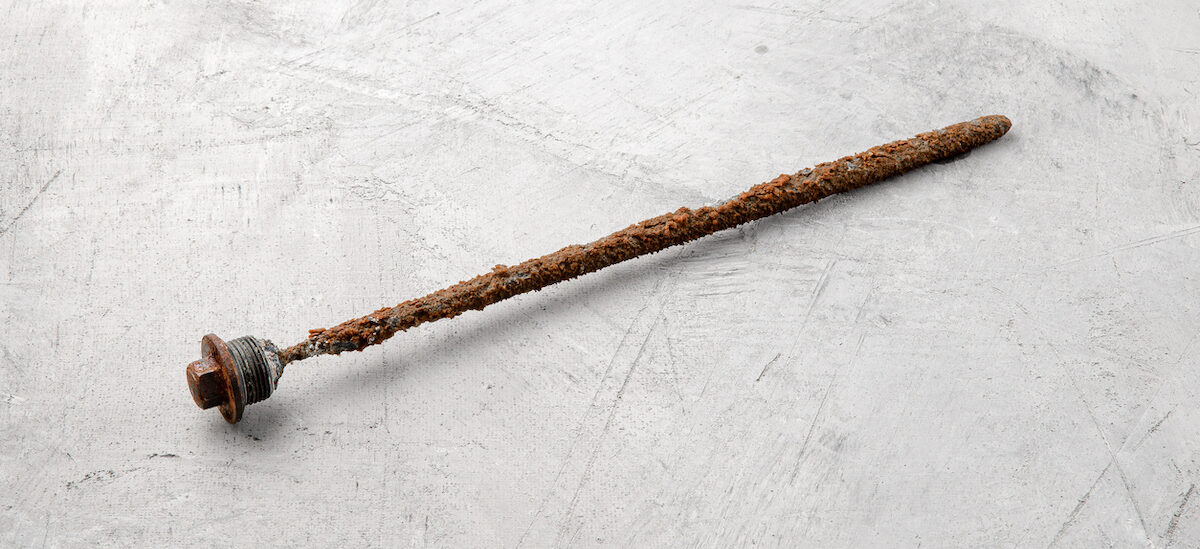
After locating the anode rod, use a pipe wrench or a socket wrench to loosen the anode rod. This is often more difficult than it initially appears because the anode rod has likely been in position for at least a few years. If removing the anode rod is difficult, do not bang on the anode or the tank. Water heaters have a glass lining that could be damaged by the heavy impacts. Instead, try using a breaker bar to gain better leverage.
Once the anode rod is loose, lift it out from the water heater. If you don’t have a lot of clearance above the water heater, you may need to bend the anode to remove it. This shouldn’t be a problem, since the anode rod will have corroded and broken down over the years. However, if you find that the rod is still too thick to remove, then there likely is enough of the anode material left that the rod does not need replacing just yet. In this case, simply reinstall the existing anode rod.
STEP 5: Install the new anode rod.
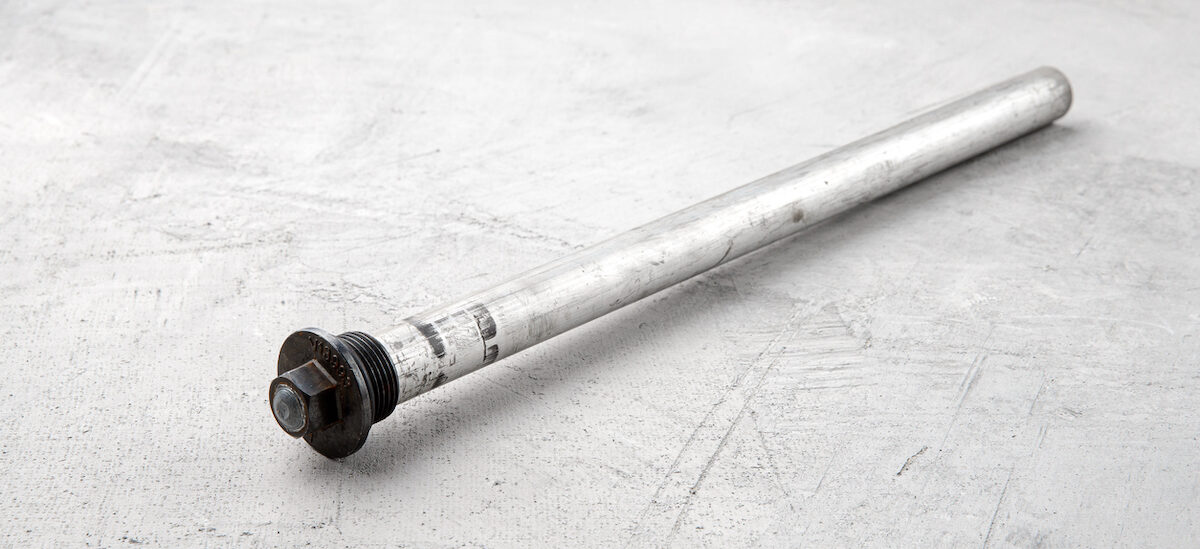
After removing the old anode rod, it is time to install the new anode rod. If there isn’t a lot of clearance above the tank, invest in a flexible anode rod instead of a rigid one. Use plumber’s tape or teflon tape to wrap the threads of the new anode rod, then slide the anode rod into the water heater. Use a socket wrench or pipe wrench to secure the anode rod in the top or side of the water heater.
STEP 6: Turn on the water and fuel supply to the tank.
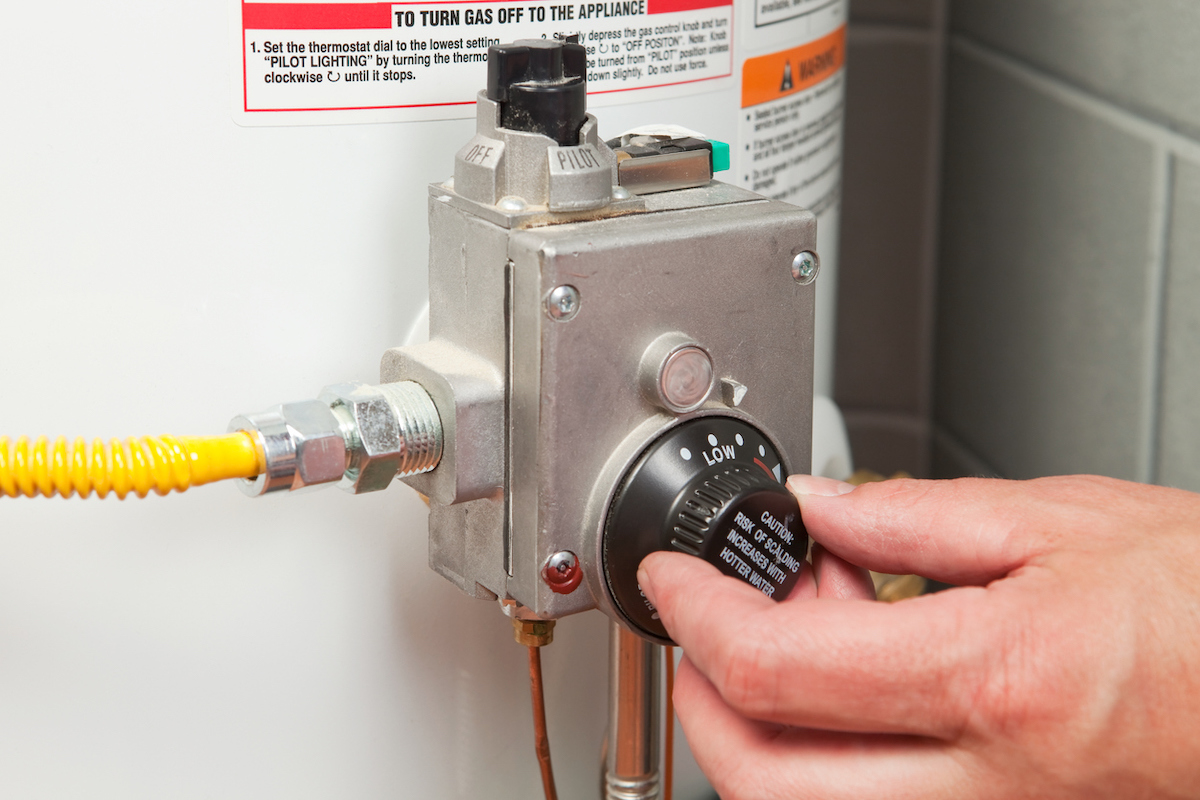
At this point, open the cold water supply to the heater and allow the tank to refill. The hot water faucet that you opened previously to help drain the tank should remain open at this point. When water starts to come out of the hot water faucet, you know that the tank is full. Keep the faucet open until all the air is expelled from the water tank.
Once the faucet is running smoothly and no longer spitting air, close it. Check the water heater for any leaks, then turn the power back on for an electric water heater or set the gas control back to the original temperature on a gas water heater.
If you had to turn the gas off entirely, then you will need to relight the pilot light. Generally, this involves turning the gas control valve to the pilot position, pressing and holding the knob on the front of the water heater, and pressing the ignitor button below the knob until you see a flame appear or until the indicator light blinks. For more detailed instructions on how to relight the pilot light, follow the manufacturer’s directions on the water heater or in the operation manual.
RELATED: How Much Does Water Heater Repair Cost?
Final Thoughts
Water heater anode rod replacement is a relatively easy home maintenance task that a DIYer with at least beginner plumbing experience can handle. Taking on this repair yourself instead of calling a plumber can save you between $150 and $250, and by regularly replacing the anode rod, you can extend how long your water heater lasts by up to nearly 10 years.
Test the tank’s water content to see if you have hard or soft water, and check the pH level to determine if it will be best to install an aluminum or magnesium anode rod. Once you decide on the right rod for your water heater, you can proceed with the replacement. Because this job requires the tank to be at least partially drained, it doubles as a good opportunity to flush the water heater to remove any sediment that has built up at the bottom of the tank.

