We may earn revenue from the products available on this page and participate in affiliate programs. Learn More ›
Keep It Clean
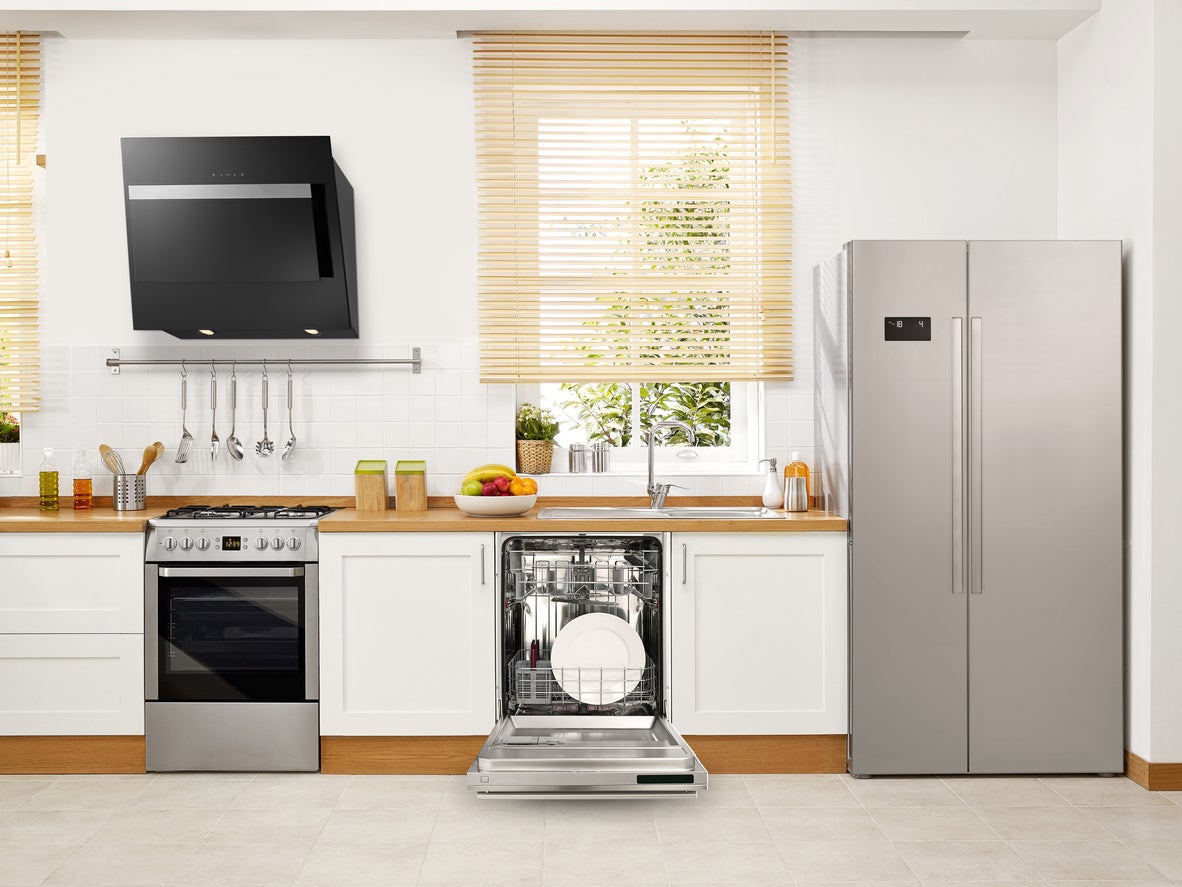
It’s funny to think that appliances that clean and sanitize things in our home themselves need to be sanitized, but it’s true. Washing machines and dishwashers can get mighty funky quickly and it’s no wonder, given that damp areas are breeding grounds for mold, mildew, and bacteria. If they’re not maintained regularly, gadgets that come into contact with food—like refrigerators, microwaves, and stovetops—are also sure spots for gunk to grow and odors to overtake us.
A little elbow grease and a few cleaning supplies is all it takes to improve appliances’ performance and ensure that they continue working well for years to come. These tips and techniques will keep your appliances looking great, smelling fresh, and performing in top form.
Refrigerator
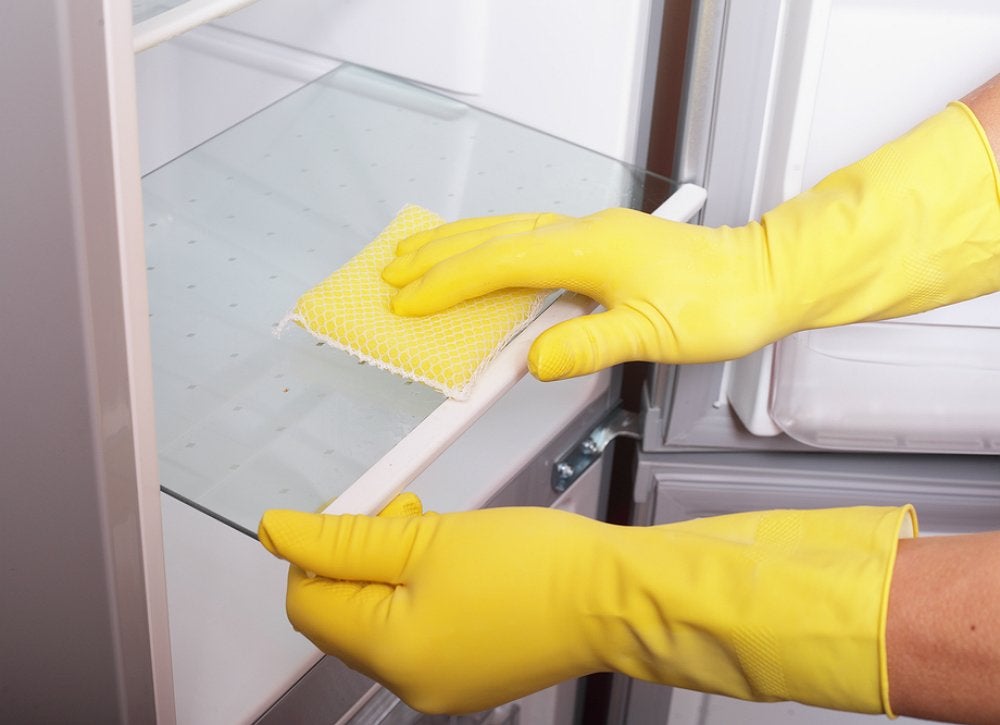
Did you know that a clean refrigerator is actually more energy efficient? It’s true, so toss out your spoiled food and scrub those shelves and drawers with warm soapy water. Remember, though, that you should not wash a cold glass shelf with hot water—the glass could shatter. Wipe down the exterior thoroughly with a nonabrasive cloth and, last but not least, vacuum the refrigerator coils on the lower part (or back) of the unit.
Oven
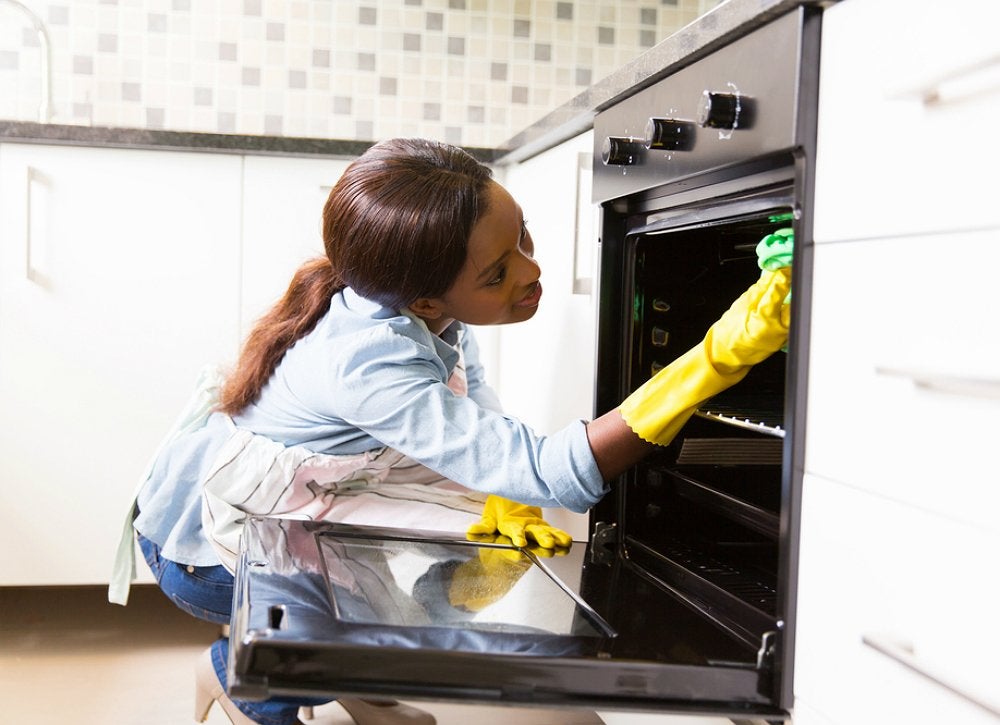
Oven spills can be tough to remove because by the time you notice them, they’re burnt to a crisp. It’s easy to clean an oven using pantry ingredients, though: Simply spread a paste of baking soda and water over them, and scrub with a toothbrush or plastic scrubbing pad. Add a little vinegar for extra cleaning oomph. Extremely dirty ovens may require a commercial oven cleaner and if that’s the case, always remember to follow the manufacturer’s instructions for use.
Iron

When residue builds up on an iron, stop everything and degunk it right away or you might just mar your designer duds the next time you use it. To clean an iron, apply a paste of baking soda and water to the appliance while it’s cool, and rub it into the soleplate until stains are gone. To remove mineral deposits from steam ducts, use pipe cleaners. Finish the job by filling the water reservoir with a 50-50 solution of vinegar and water, then turning the iron on high for 15 minutes. Cool it down, then dump out the liquid. Repeat with plain water.
Microwave
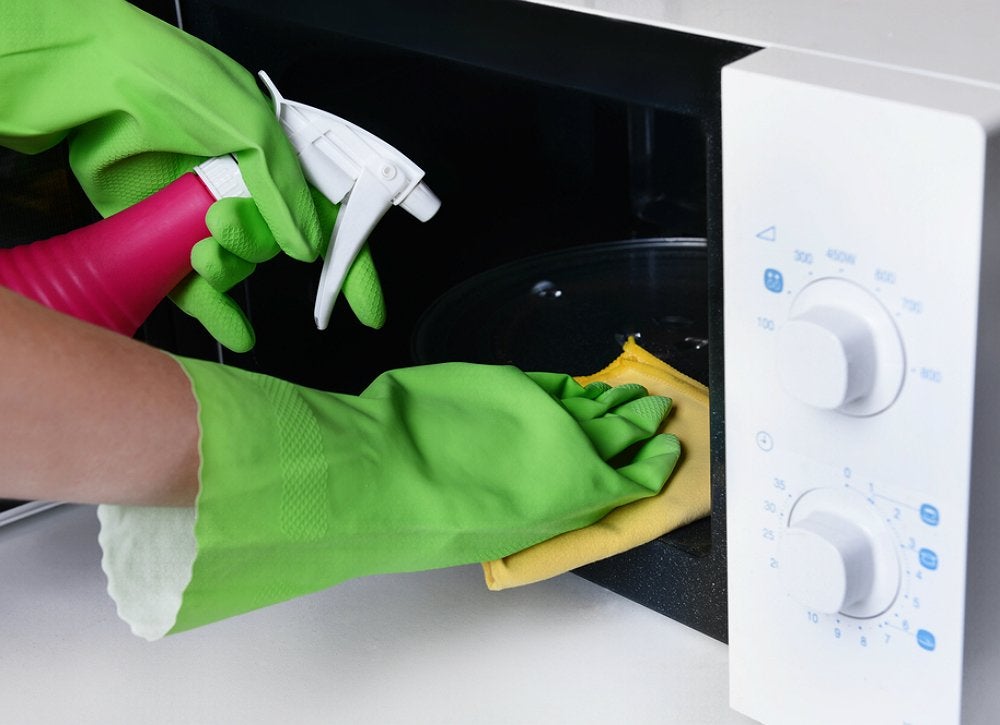
Have stinky, caked-on food splatters in your microwave? They can seem impossible to remove, but cleaning a microwave with lemons and water is actually a cinch. Cut a lemon in half and squeeze the juice into a microwave-safe dish, and add one cup of water. Microwave the mixture on high for 10 minutes then let it sit for 10 minutes, allowing the citrusy steam to work its magic. Wipe the microwave’s walls and you’re done!
RELATED: 20 Clever Household Uses for Lemons
Toaster
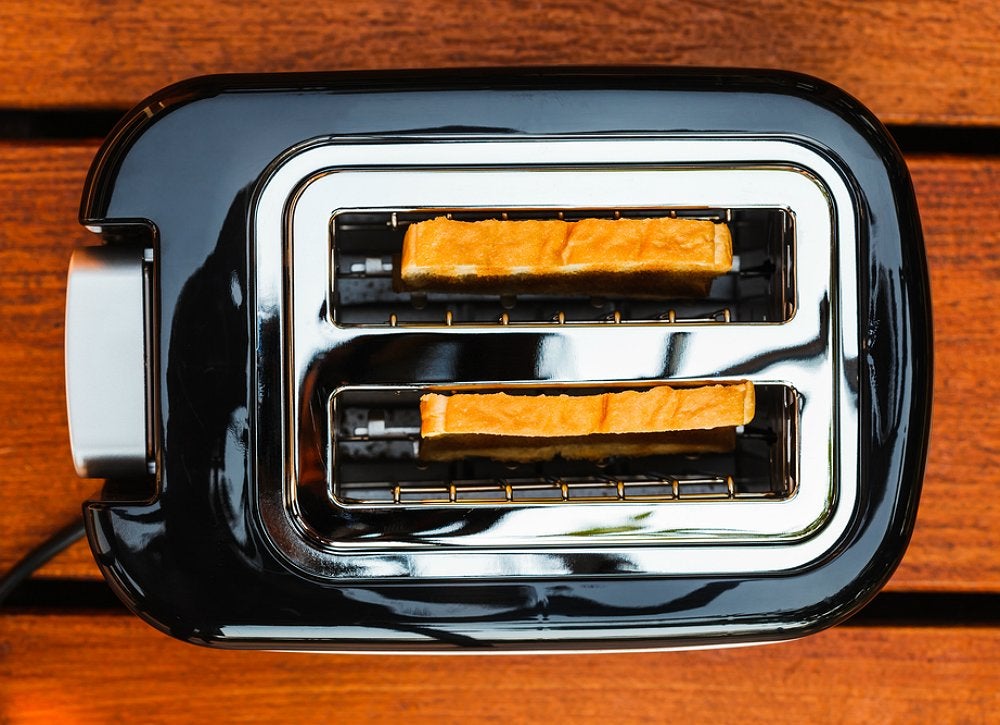
If the interior of your toaster is a crumby mess, a good cleaning is long overdue. Here’s our trick for cleaning a toaster super quickly: Unplug the toaster and place it on top of several layers of newspaper. Turn it upside down and shake it vigorously to dislodge any particles. Use a pastry brush to sweep the interior slots, removing any stuck-on crumbs before wiping down the toaster’s exterior with a sponge or microfiber cloth.
Cooktop or Rangetop
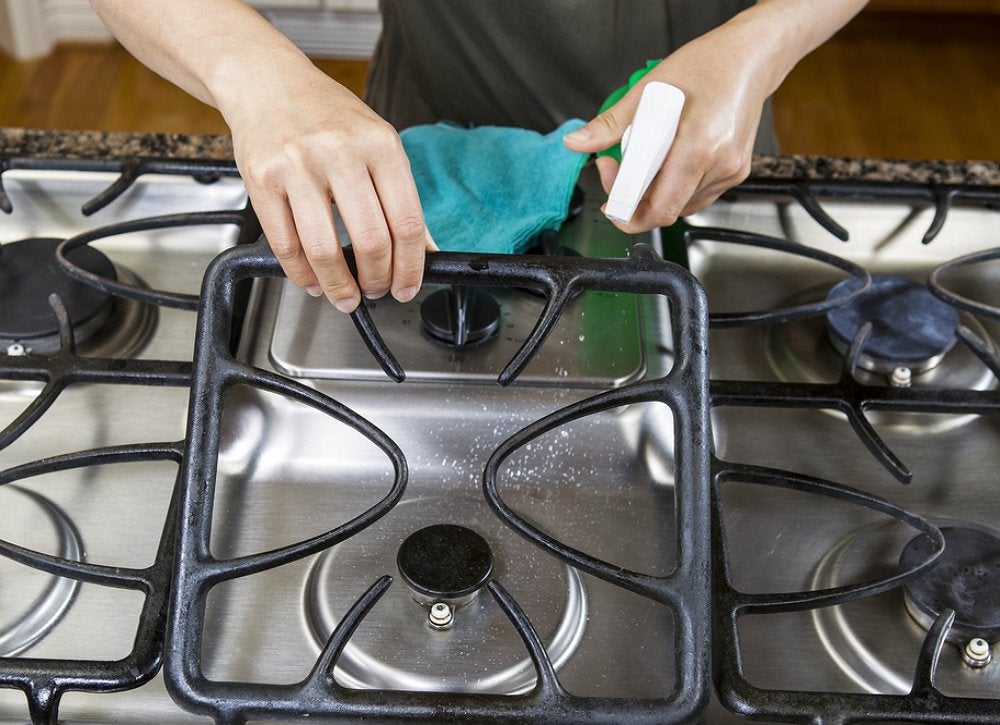
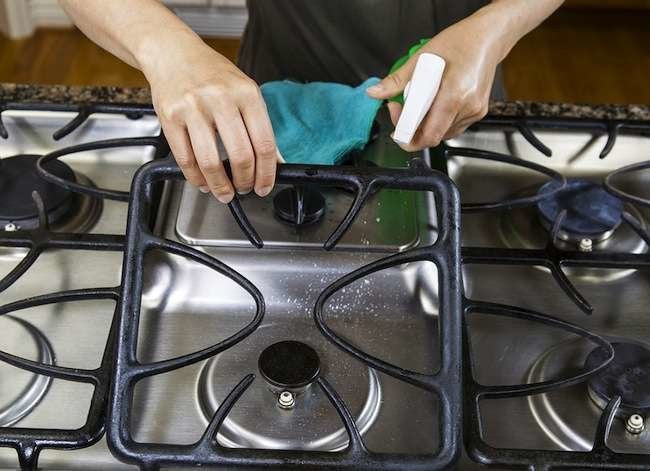
There’s no reason for your rangetop to be plagued by greasy buildup and cooking spills. It’s easy to clean, though a bit time consuming. For a gas range, remove burner caps, grates, and control knobs, and place them in hot, soapy water. Clean the stovetop with a scrubbing sponge and dish soap, then rinse. If you have an electric range soak the drip pans and knobs, but not the burners—just clean around the burners.
RELATED: How to Clean Stove Drip Pans Using Products You Already Have in Your Kitchen
Humidifier
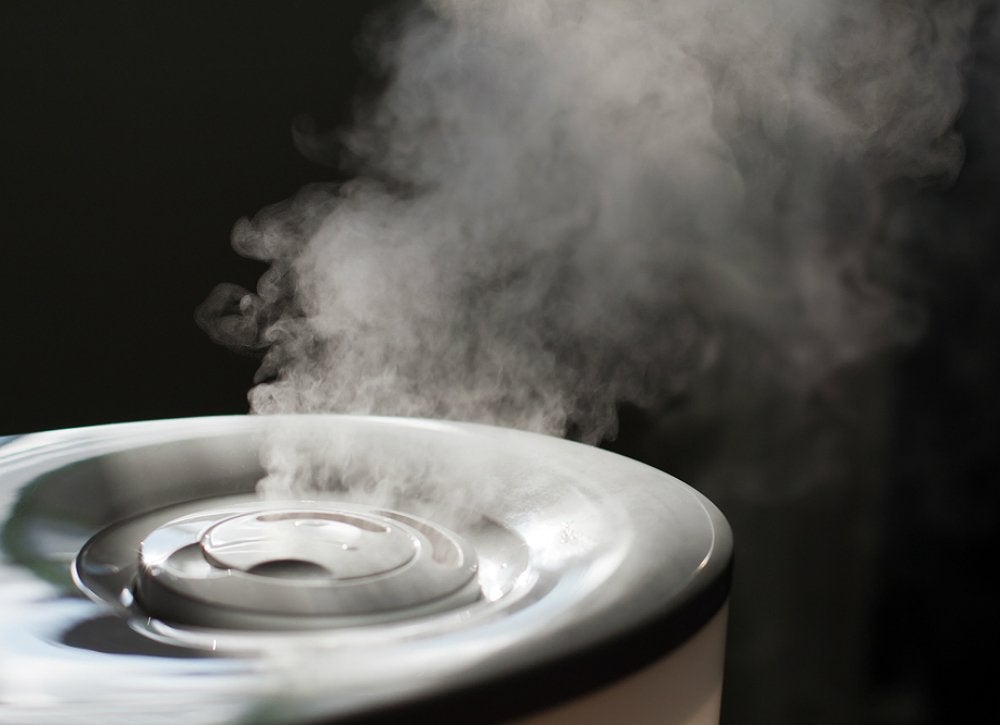
Humidifiers that run constantly benefit from weekly cleanings. Here’s how to get the job done: Unplug the unit and remove the filter, rinsing or replacing as needed. Pour undiluted white vinegar into the base and allow it to stand for 15 to 30 minutes. Scrub gently with a soft scrub brush and rinse with plain water. For warm-mist humidifiers, gently brush away any mineral buildup on the heating element. Dry the appliance and replace the filter before using it.
Dishwasher
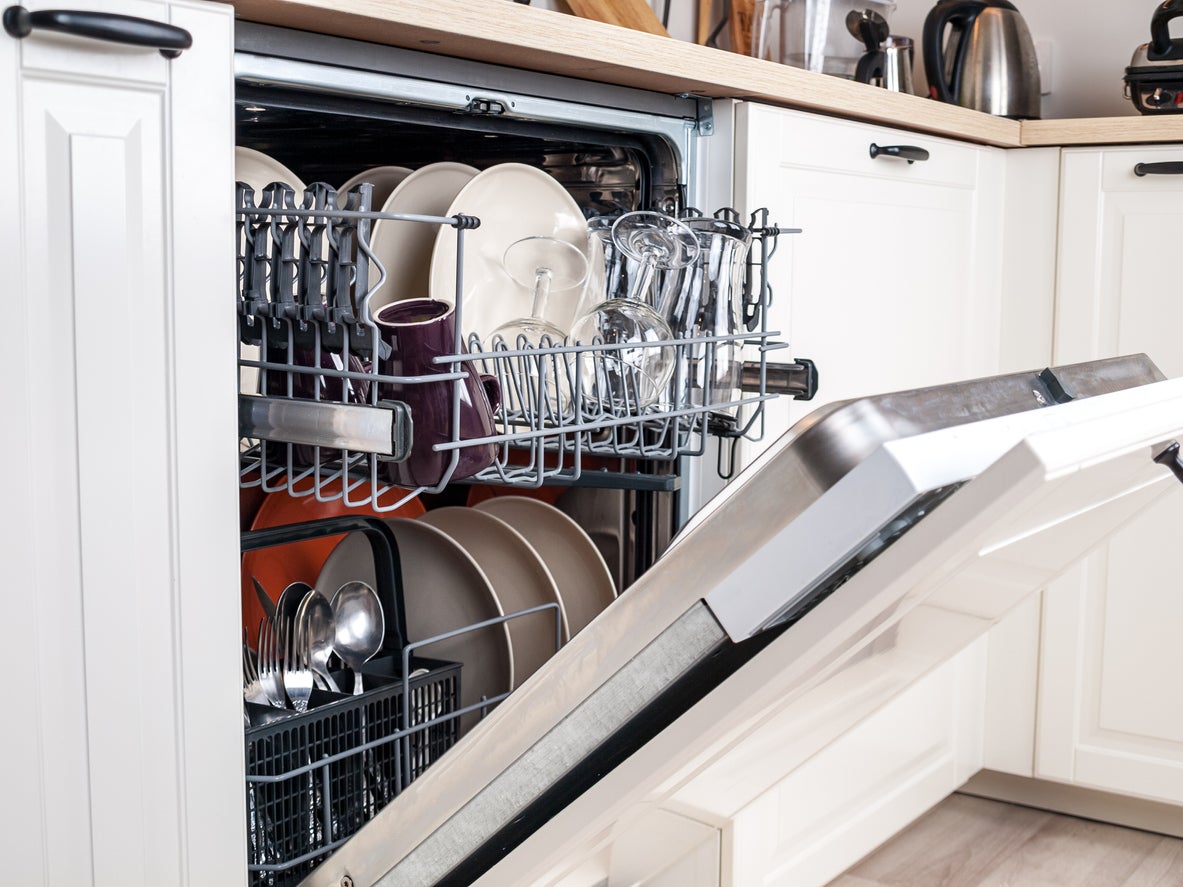
While it would be easy to assume that dishwashers are self-cleaning, they actually need to be maintained regularly to keep them performing their best. To clean a dishwasher, remove the bottom rack and place a cup of white vinegar on the top rack and run a hot water cycle. Then, run a second empty cycle after sprinkling a cup of baking soda in the base of the appliance.
RELATED: The Best Dishwasher Cleaners
Garbage Disposal
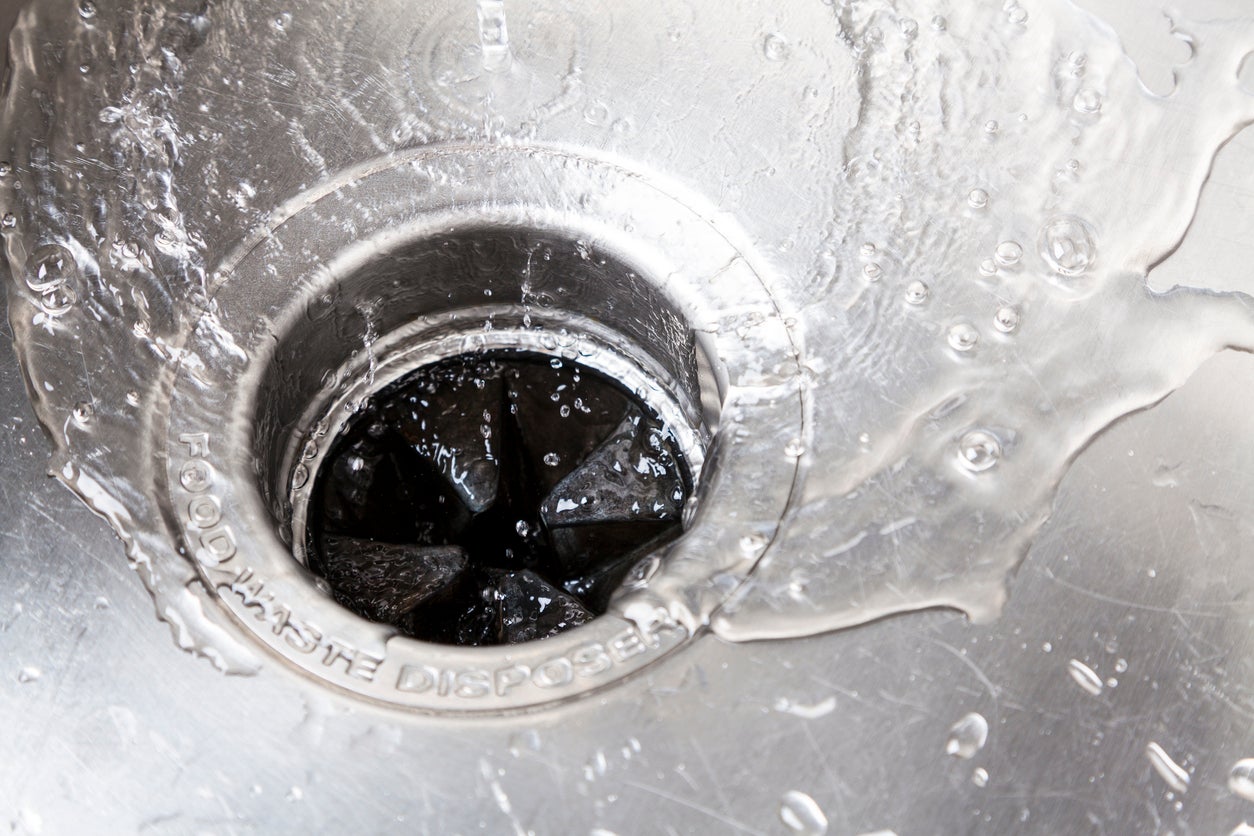
Garbage disposals are a breeding ground for bacteria, and if you don’t clean the garbage disposal regularly you’ll certainly smell it before long. Here’s what to do: Disconnect the power before putting a tray of ice cubes and half a cup of rock salt into the disposal. Turn the power back on, turn on the water, and run the disposal. Disconnect the power again and pour a cup of vinegar and half a cup of baking soda into the drain. Allow it to sit for 15 minutes to kill any lingering bacteria.
Blender
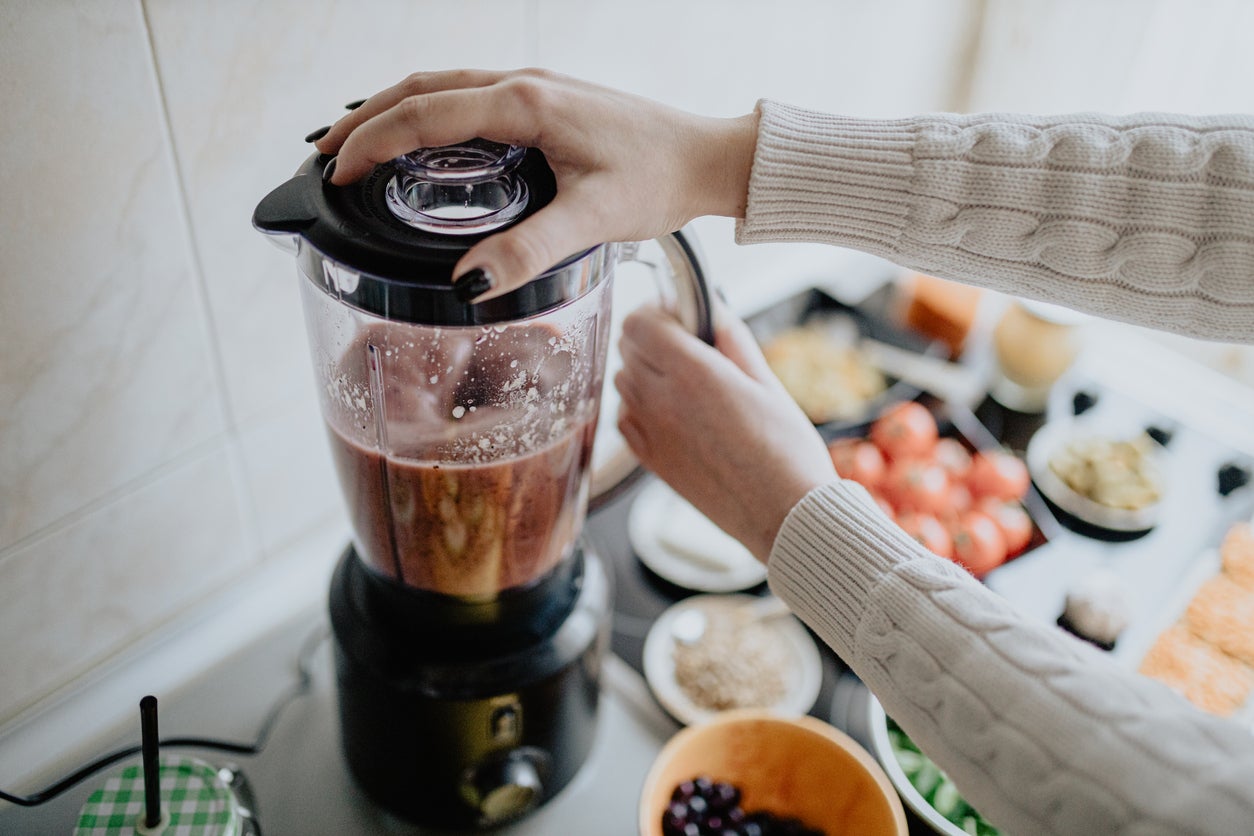
Blenders are notoriously tricky to clean by hand since their blades trap food particles and other debris. Once you learn this trick, though, you’ll never go back to scrubbing a blender’s container: Simply fill the vessel with warm water and add dish soap before putting it back on the base. Put on the lid, turn the blender on, and allow it to run for 1 minute. Finish by rinsing it out with cold water.
Air Fryer

Air fryers have experienced a surge in popularity in recent years, but new owners may not know how to keep them clean. After removing any oil from the device, clean all removable components with soap and water, or toss them in the dishwasher if they’re dishwasher-safe. Wipe down the interior and exterior of the machine with a damp, soapy cloth.
Washing Machine
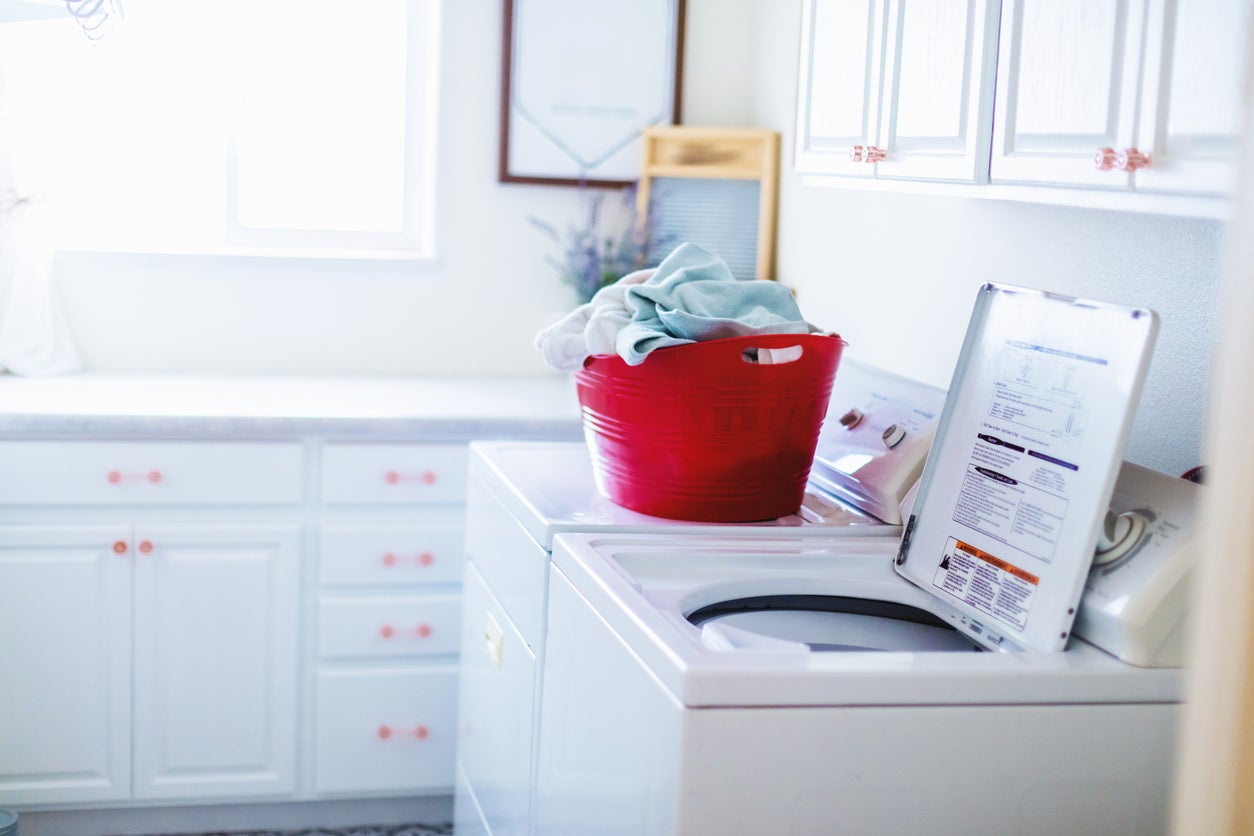
If your washing machine is stinky or isn’t performing well, it may be time to give it a deep clean. To clean a washing machine, unplug the appliance and ensure all water has been drained. Then, use a commercial washing machine cleaner, following the instructions for the specific product. If hard water is causing limescale buildup, run a hot water cycle and add a cup of vinegar to the drum to remove limescale.
Dryer
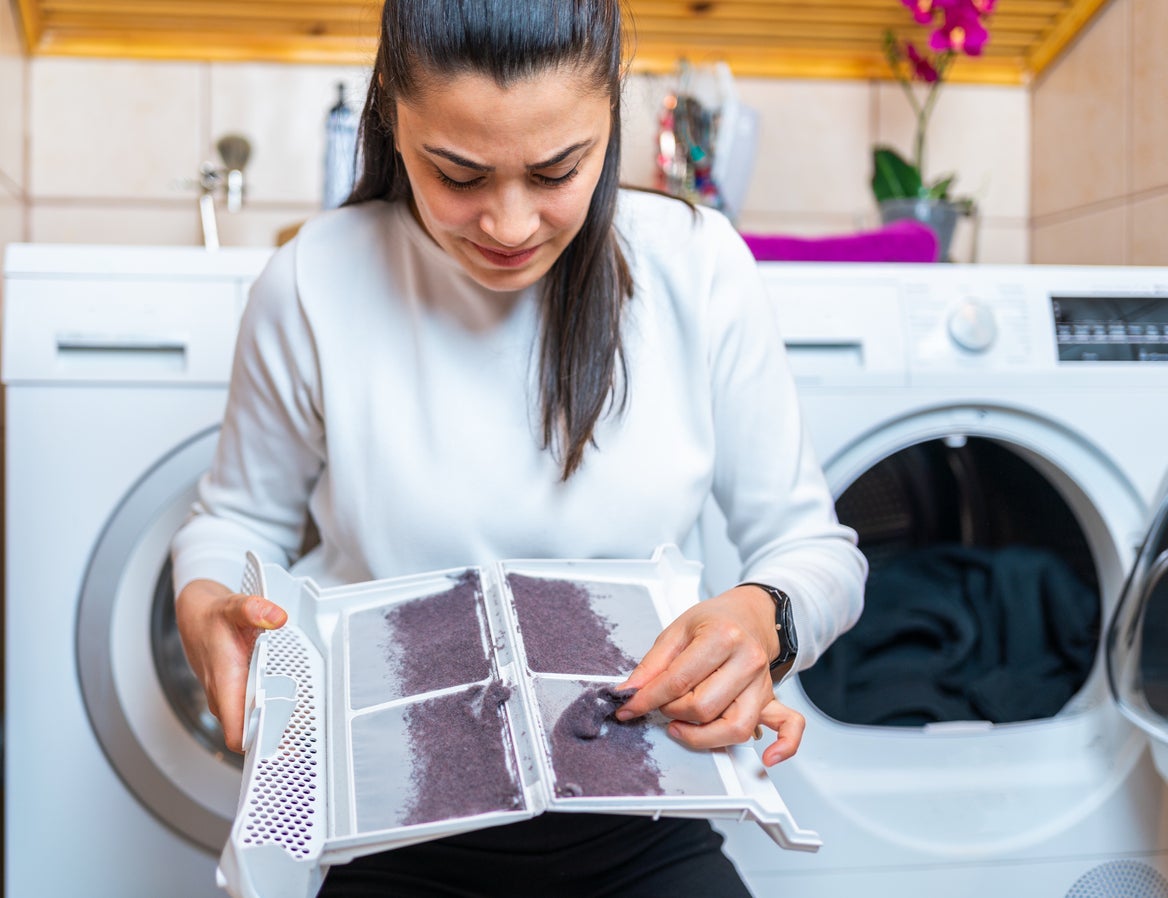
While emptying the lint trap of a dryer after each cycle is essential, it’s also important to do a deeper clean every few months. Start by unplugging the dryer and removing the exhaust hose and back panel. Use a vacuum cleaner to remove any dirt and lint from the hose and the back of the dryer. Vacuum the interior of the drum before wiping it down using an all-purpose cleaner and a microfiber cloth.
Coffee Maker
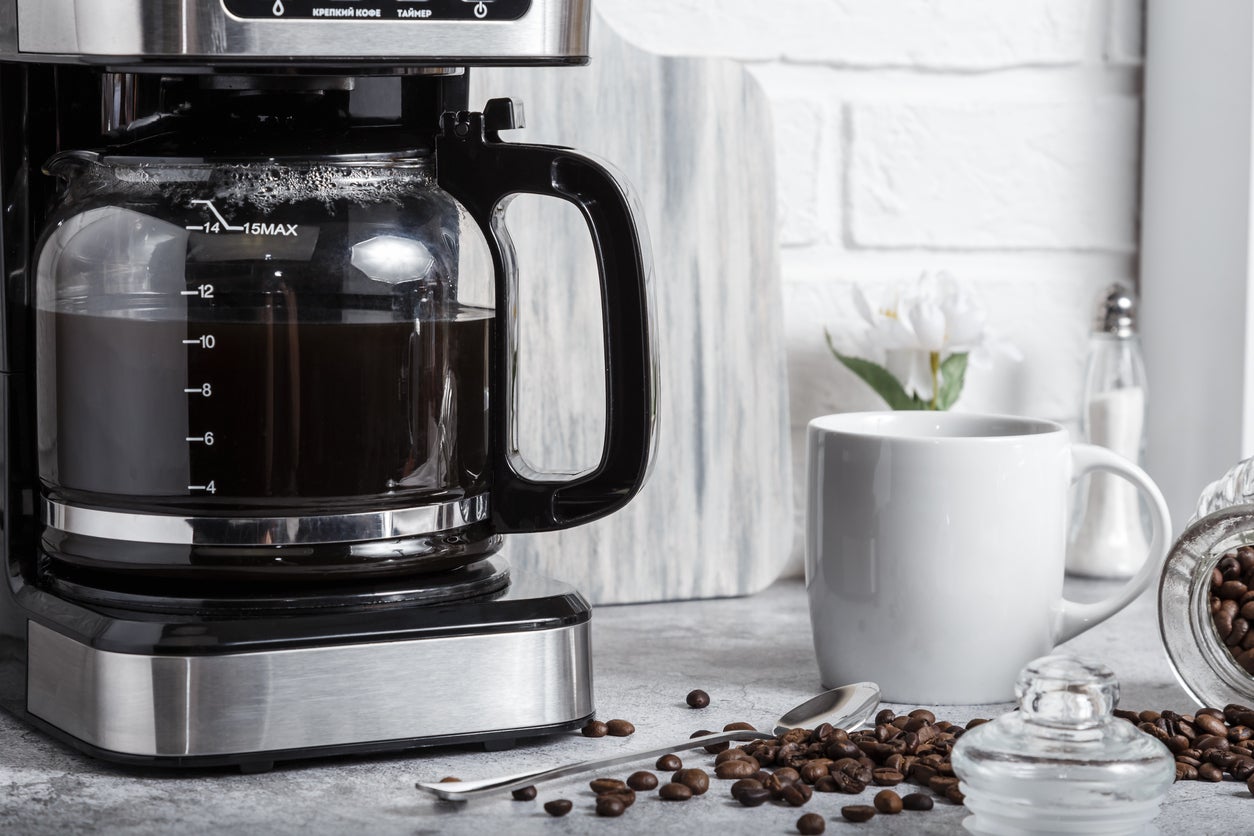
Simply rinsing out the carafe after each use isn’t going to cut it—coffee makers periodically need a more thorough cleaning. To clean a drip coffee maker, fill the water reservoir with equal parts white vinegar and water. Begin a standard cycle, but pause the process halfway through and let the mixture sit for 30 minutes before completing the cycle. Then, run 2 to 3 cycles with clean water to remove any remaining vinegar.
RELATED: How to Descale a Keurig Coffee Maker
Waffle Maker
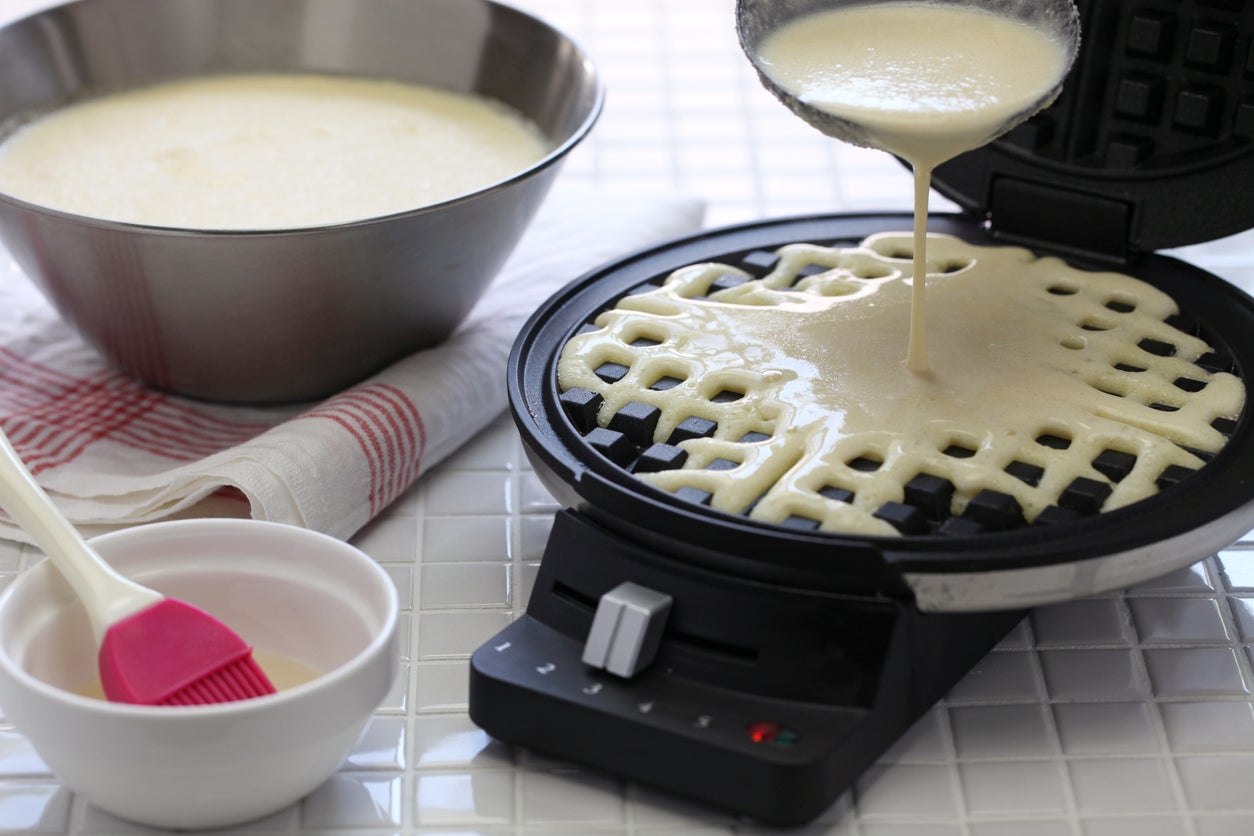
After making waffles, remove any food particles from the waffle maker with a rubber spatula and allow the plates to cool completely. Remove the plates and submerge them in warm water for 10 minutes. Use a soft sponge or gentle dish brush to clean the plates, avoiding using dish soap if possible since it can wear down the nonstick coating over time. Rinse and allow the plates to dry before reassembling the machine.
Range Hood

Range hoods can easily become coated with grease and grime, so regular cleaning is a must. Wipe down the exterior and underside with a grease-cutting cleanser and a microfiber cloth. Remove the filter and submerge it in a solution of water, dish soap, and baking soda. Allow it to sit for 20 minutes before using a gentle brush to remove any remaining grease residue. Rinse with cold water and allow to dry.
Vacuum Cleaner
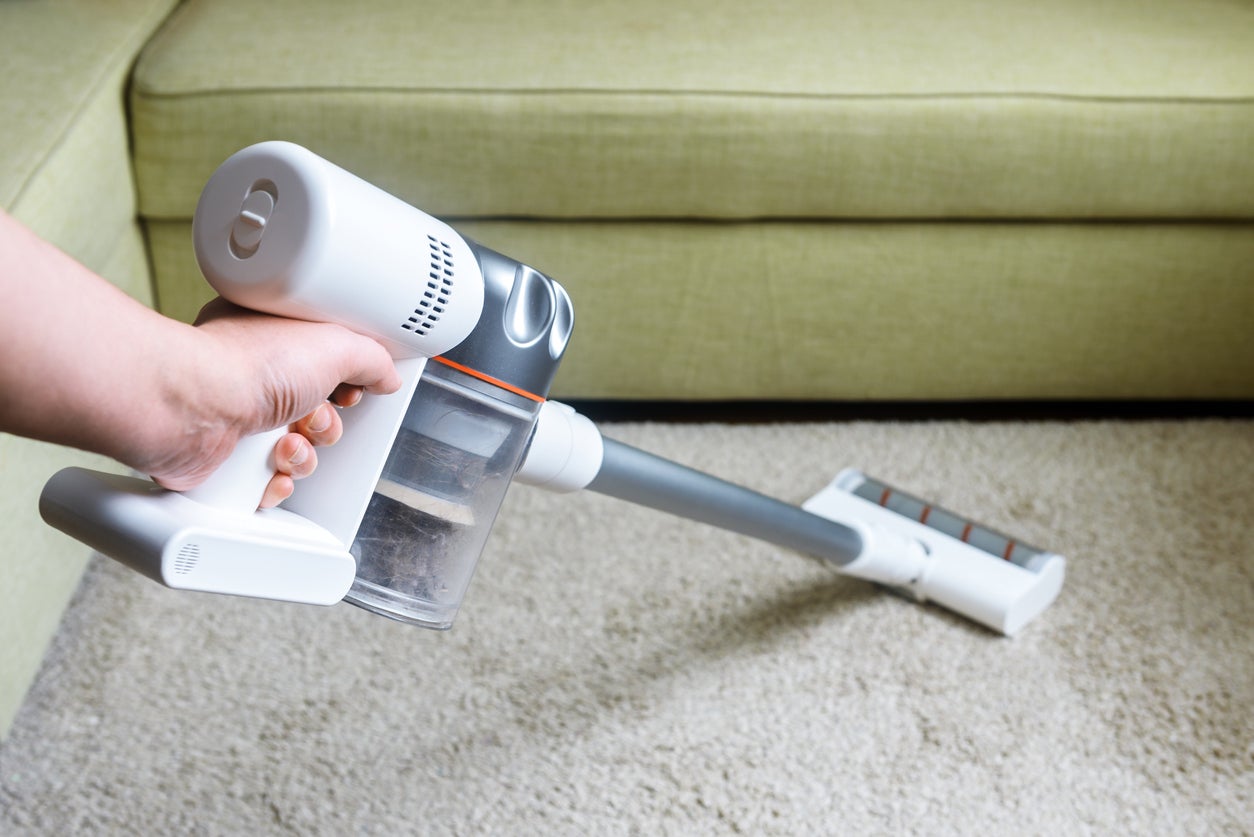
If your vacuum’s performance seems to be dwindling, consider giving it a deep clean before repairing or replacing it. For bagless models, empty the dust canister and wipe the interior and exterior with a damp microfiber cloth. Repeat the process on the hose and any other removable vacuum attachments, using compressed air to remove any hard-to-reach dirt particles. Remove the rotating floor brush and remove any dirt and hair that has become attached to the bristles.

A DIYer’s Guide to Replacing Flooring
Update the look and feel of any room by replacing old, worn-out flooring. These products and straightforward steps make it easy enough for any handy homeowner to do.

