We may earn revenue from the products available on this page and participate in affiliate programs. Learn More ›
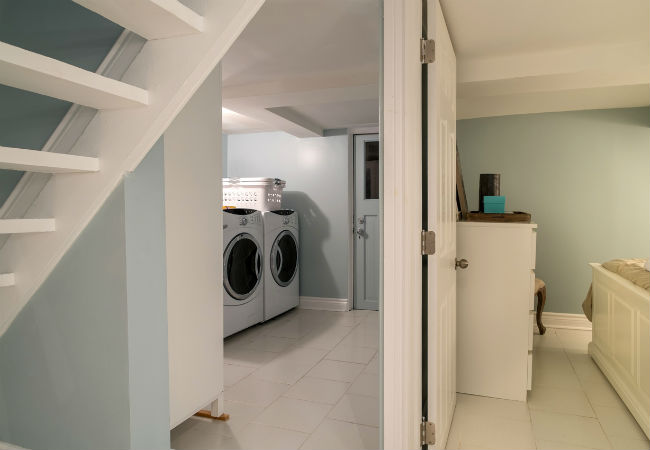
Perhaps unsurprisingly, basements are more likely to take on water than any other part of your home because they’re below grade, i.e., located below the ground’s surface. While drainage provisions don’t eliminate the possibility of flooding entirely (yes, some do eventually fail), they’re usually made during the construction of a new home in an attempt to prevent standing water downstairs. Older homes constructed before building codes required basement drainage are at an even greater risk of water getting in and staying in the basement.
And, once your basement has been penetrated, the lingering moisture can wreak havoc in ways ranging from damaged possessions to mold growth.
RELATED: How To: Dry a Wet Basement
Whether you’re building a new home and getting to know your waterproofing options or dealing with a water problem at your current place, get the 411 on the drainage methods that could help prevent—even remedy—a damp basement.
1. Exterior Drain Tile
Installed around the outside perimeter of a foundation, exterior drain tile is a highly effective way of collecting groundwater and draining it away before it can seep into your basement. After the foundation walls have been poured, the contractor will position a flexible perforated drainpipe all the way around the foundation at the bottom of the wall. Gravel placed around and on top of the pipe filters out dirt. Then, beneath that, the pipe collects whatever water pools at the bottom of the foundation walls and directs it to a collection pit, where it gets pumped back to the surface by means of a sump pump (discussed more in-depth below).
In many communities, installing drain tile is actually required. But, even if it’s not regulated by yours, it’s smart to install it when building your home.
THE PROS AND CONS OF EXTERIOR DRAIN TILES
- Pro: Relatively inexpensive when installing during initial construction. At that time, it’s easy enough to access the bottom of the foundation walls. Where exterior drain tile is required by code, the contractor will figure it into the cost of building the foundation, likely adding $700 to $1,000 to the bill. Materials alone (for do-it-yourselfers) start around $200—excluding the sump pump—and go up from there, depending on the size of the foundation.
- Pro: Effectively transports groundwater away from the foundation so that it can’t seep into your basement.
- Con: Expensive if installed after the home is built. All soil around the home must be excavated to the depth of the footings (typically eight to nine feet below grade). Plan on spending $8,000 to $15,000, depending on foundation size, to have a contractor excavate around the foundation, dig a collection pit, and install the drain tile around an existing home.
- Con: Tends to clog over time if the contractor does not use adequate gravel under, over, and around the perforated pipe.
2. Interior French Drains
Interior French drains are often installed when existing homes start to have basement water problems. But, if you live in an area that gets a lot of rain, it doesn’t hurt to install one when you build your home, too. Similar to exterior drain tile, an interior French drain features a perforated pipe that carries water to a collection pit where it can be pumped to the surface. This type of drain is located along the interior perimeter of the basement and lies below floor level. Again, the pipe must be surrounded by gravel or crushed stone to keep mud particles from filtering through. A trench approximately 1-foot-wide and 1-foot deep is necessary to contain the drainage pipe and the gravel. While some drains are covered with a grate, which can be removed for future maintenance, others are left uncovered if the basement is used only for storage. When finishing-out the basement is desired, walls are typically framed on the inside of the drain, which reduces square footage slightly but keeps the drain channel out of the living area.
THE PROS AND CONS OF INTERIOR FRENCH DRAINS
- Pro: Cost effective if installed during the construction of your basement; it will add $1,500 to $2,000 to the foundation bill.
- Pro: Collects groundwater from beneath the basement floor and directs it to a collection pit via a sump pump where it is pumped away to the surface.
- Con: An interior French drain will only remove groundwater from beneath the basement floor. It will not stop water from seeping through cracks in the basement walls.
- Con: Installing an interior French drain in an existing basement is a major project. Concrete must be broken out, which requires drilling through the floor and using a jackhammer. Plan to spend $7,000 to $15,000, or more, depending on the size of your basement and the thickness of the existing concrete.

3. Floor Drains
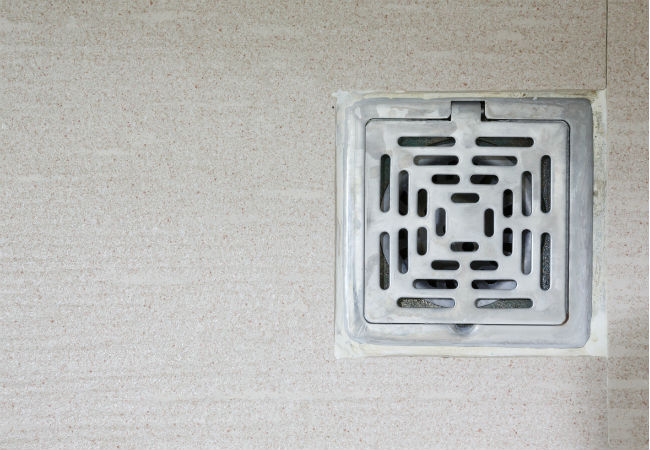
Floor drains are most often installed during original construction, often in the utility area, to drain away excess water in the basement. The concrete floor around the drain gently slopes towards it, encouraging water to collect there and drain out. Most homes built today are required by local code to have floor drains that lead to a collection pit where a sump pump carries the water to the surface. (Previously, homes may have floor drains that are connected to the main sewer system, but that’s rarely allowed anymore because the sewer can back up in the floor drain and with an even more unpleasant flooding problem.)
THE PROS AND CONS OF FLOOR DRAINS
- Pro: Indispensable for collecting water from numerous sources. Whether you have a leaking hot water heater, dripping condensation line of a central air conditioner, or a basement dehumidifier (which can remove upwards of a gallon of water per day from the humid air).
- Pro: Considered standard in new construction, so you won’t pay extra to have one installed if you’re building a house.
- Con: Difficult to install an effective floor drain in existing basements. Unlike in new construction, in which a concrete contractor would simply design the floor with a gentle slope toward the drain, existing basement floors are typically made to be level—in other words, water will not naturally run toward the drain. Breaking out concrete and excavating to install the new drain line can be pricey, starting at $5,000 and up, depending on the drain’s location and the amount of concrete to be broken out in order to run a new line (to the collection pit).
- Con: Installing a floor drain will not prevent water from leaking through basement walls.

Let’s Not Forget About Sump Pumps
As previously mentioned, each type of basement drain listed above directs water to a collection pit where it must then be pumped to the surface. Enter the sump pump. While it’s not a glamourous appliance, it is vital for removing water from inside a basement or along exterior walls, and it can come in two basic setups: submersible and pedestal.

SUBMERSIBLE SUMP PUMPS
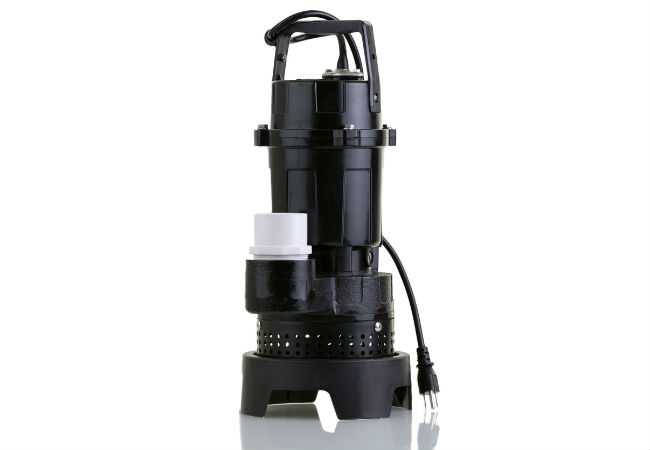
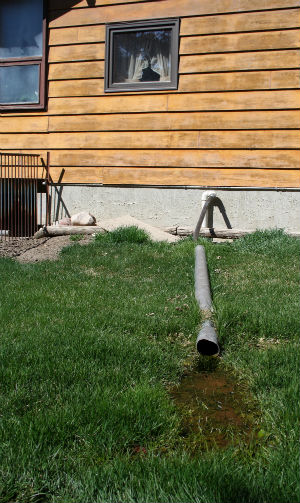
A submersible sump pump is placed in a collection pit located below floor level. Most pits are approximately two feet wide and one-and-a-half feet deep, although pits up to three feet deep can be installed if groundwater is a problem in your area. A small pit will fill up more quickly, causing the pump to cycle on more frequently, but a deeper pit is more difficult to clean out and maintain. When the water in the collection pit reaches a certain level (usually a few inches), the sump pump kicks on and pumps the water through a pipe or hose to the surface of your yard, where it drains away naturally.
Submersible sump pumps are the more powerful of the two options, and their price reflects that. Expect to pay $100 to $400 for the pump itself (view example on Amazon) and another $600 to $1,500 dollars in labor to have it professionally installed. These costs, however, do not reflect the construction costs of installing a new drainage system.
PEDESTAL SUMP PUMPS
A pedestal sump pump attaches to a pole and sits an average of four to eight inches above the collection pit. A float—much like the one in a toilet tank—rises with the level of the water and then, when it reaches a certain height, activates the sump pump to push the water to the surface.
Pedestal sump pumps (view example on Amazon) are slightly less expensive than submersible ones, running $80 to $200, though professional installation will still add another $600 to $1,500. As the less powerful sump pump option, you may want to upgrade if you’re dealing with a lot of water in the basement.
No matter which type of pump you choose, keep in mind that provisions must be made to plug the unit into an electrical outlet that’s protected by a ground fault circuit interrupter (GFCI) switch. Cord length varies anywhere from five to 25 feet. Longer cords are necessary if the outlet is located some ways from the pump because the use of extension cords is not recommended. A GFCI outlet ensures that the pump shuts off to prevent electrocution, which is a risk if the pump wiring is faulty and leaks electricity into the water. It’s always a good idea to turn off the power to the pump before touching the pump, or water surrounding the pump.
Preventing Water from Entering the Basement
The best way to keep water out of your basement is to reduce the amount that seeps in. Employ these tips in conjunction with any type of basement drain to reduce help keep your basement dry.
- 1. Remove foundation plantings. The need to water bushes and shrubs around the foundation results in saturation of the soil next to the foundation, which can eventually find its way into your basement via cracks.
- 2. Grade your yard to slope away from your house. Bring in additional dirt to raise the soil level next to the foundation in a two-percent slope (at least) away from the foundation to direct rain away from the house.
- 3. Install a guttering system and check that it remains unclogged. Operational gutters are fundamental to collect rainwater from the roof and direct it to downspouts and away from your foundation.


