We may earn revenue from the products available on this page and participate in affiliate programs. Learn More ›
With its sumptuous texture and supple feel, leather furniture provides an element of luxury to your room decor. Fortunately, despite its opulence, leather doesn’t require the kind of painstaking maintenance you might associate with other refinements. Inevitably, however, there comes a time in the life of all leather chairs, chaises, and sofas when a little care is called for. Rest assured that it’s not difficult to learn how to clean leather furniture, and the process involves only supplies that most homeowners keep readily at hand.
Tools & Materials
Bobvila.com may earn a commission from purchases made through these links.
STEP 1: Vacuum the furniture thoroughly.
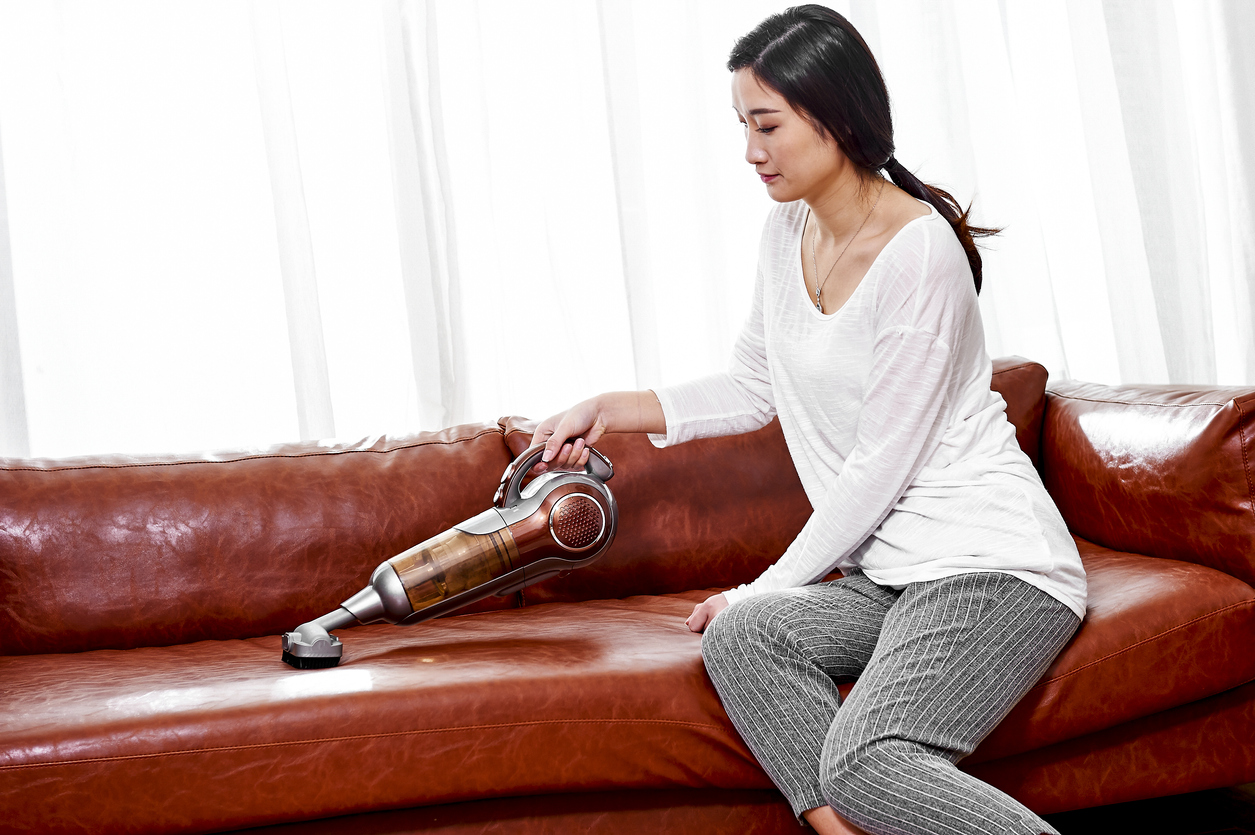
When you set out to clean leather furniture, the first step in how to clean a leather couch or chair is to remove all dust and loose debris from the piece. You can do so easily by means of a vacuum cleaner outfitted with a brush attachment. Don’t forget to clean between the cushions of the furniture, if there are any. Once finished, wipe the whole thing down with a cotton or microfiber cloth.
STEP 2: Inspect the furniture carefully.
Having inspected the furniture in the course of dusting and wiping it down, you now understand which parts of the piece look the worse for wear. These are the areas where you’re going to focus the lion’s share of your cleaning efforts.
STEP 3: Apply diluted vinegar to problem areas.
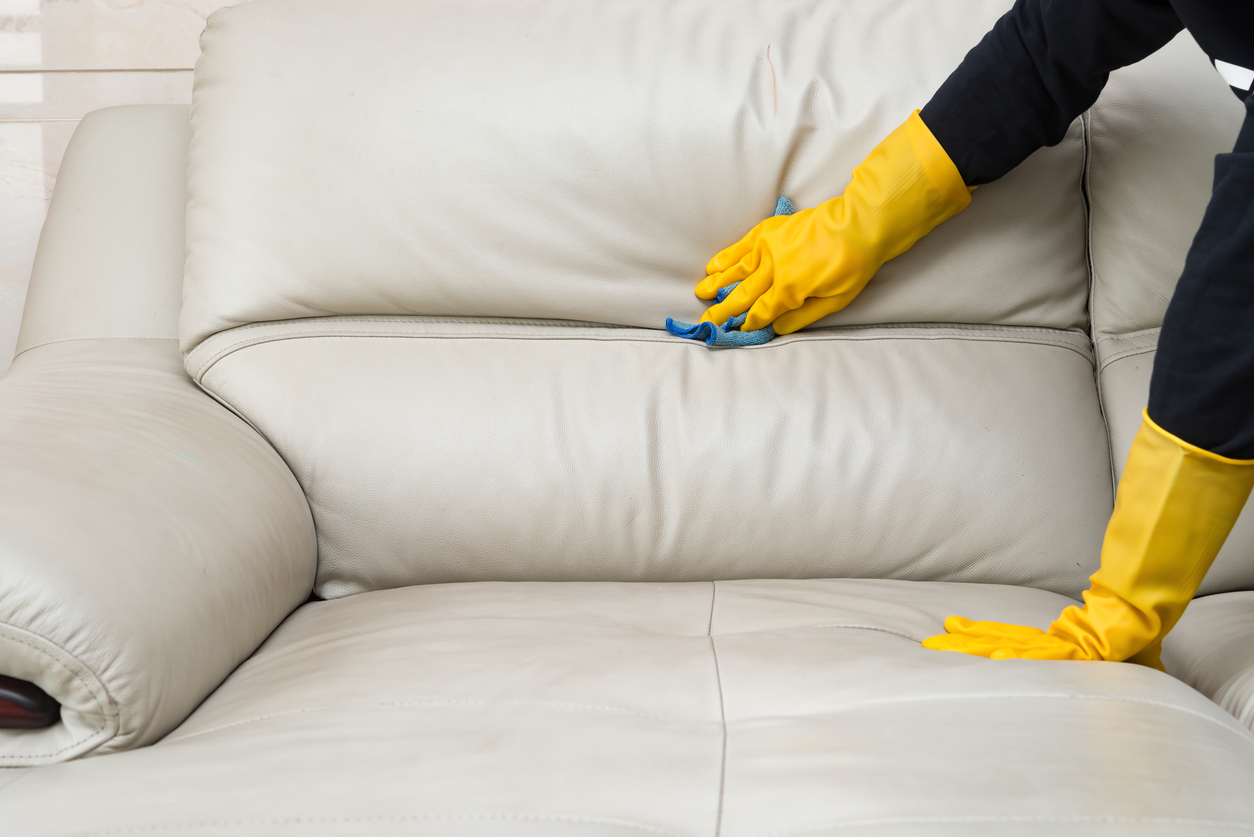
To address the problem areas, you can use a simple but effective homemade cleaner, comprising equal parts vinegar and water. Mix the two in a small bucket, then dip in the corner of a cloth. Wring out the cloth so that it’s damp but not wet, then proceed to wipe down the soiled parts of the leather. Rinse the cloth after every few strokes to avoid spreading any dirt.
STEP 4: Wipe down the leather promptly.

Next, follow up with a dry cloth, making sure to go over every area that you treated with the water-and-vinegar solution. At no point during the process should you let the leather become soaking wet; saturation is one of the material’s enemies.
STEP 5: Apply conditioner and buff the furniture.
When you’re satisfied with your leather couch cleaning, apply a small amount of a commercial or homemade leather conditioner to a clean, lint-free cloth. Select an inconspicuous spot on the piece of furniture and apply the conditioner by rubbing in a circular motion. Be sure to thoroughly rub the conditioner into the leather, and then let it sit for an hour or so.
Check the spot and if you are satisfied with the results, apply conditioner in a similar manner to the rest of the piece of furniture, section by section. Buff the conditioner with a clean cloth, and then let the piece thoroughly air dry before you settle in with your popcorn.
Other Tips for Cleaning Leather

Has a careless guest spilled something, and you’re wondering how to clean leather furniture to banish the stain? Don’t despair—you can probably prevent the accident from leaving a permanent stain, but to be successful, you’ll need to work quickly. Different stains demand different remedies.
How to Degrease Leather
Wipe away grease stains with a clean, dry cloth. Do not add water, because the liquid could help the grease soak into the leather. If the grease has dried by the time you notice it, try sprinkling baking soda onto the area in order to draw out the grease. Leave the baking soda on for a few hours, then brush it off with a rag.
How to Remove Ink and Mold
Rubbing alcohol may be the key to removing ink from leather. Dab alcohol onto a cotton swab, then wipe the stain until it clears. Keep in mind for the future that many homeowners have reported luck using rubbing alcohol to remove pesky patches of either mold or mildew on furniture.
How to Clean White Leather
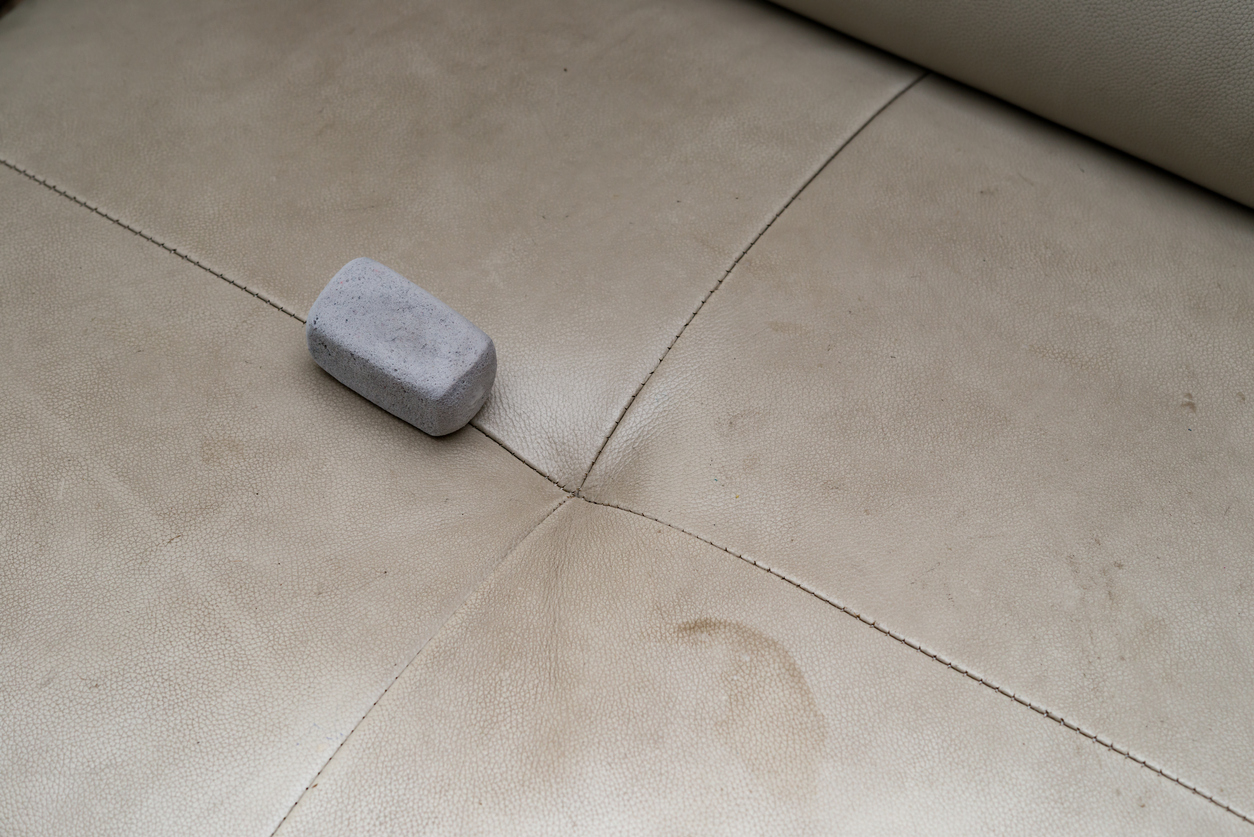
White and beige leather are notoriously vulnerable to stains. To remove dark-colored spots from such pieces, opt for a mixture of equal parts lemon juice and cream of tartar. Combine the two into a paste, apply it to the stain, then leave it in place for 10 minutes. Wipe it away with a damp cloth.
Generally speaking, be wary of experimenting with stain-removal products on leather; some may do more harm than good. Always first try a cleaning agent on an inconspicuous part of the furniture. That way, if things go awry, nobody is likely to notice!
If none of the above tips or tricks prove helpful, consider seeking the assistance of a pro.
FAQs About How to Clean a Leather Sofa or Leather Chairs

Having read through our process as outlined above, you’re nearly an expert in leather cleaning and will soon be ready to show off your clean leather couch. Check out these last bits of info to truly understand the dos and don’ts of how to clean leather chairs or other leather furniture.
Then, simply gather a few supplies and get to work. You’ll wonder why you didn’t clean your leather furniture sooner!
Q. What is the best thing to clean leather furniture with?
After a thorough dusting with a clean, soft cloth, the best thing to clean leather furniture with is a 50-50 solution of white vinegar and water, which is wiped gently across the surface of the leather to clean it.
Q. Is Vaseline bad for leather?
Vaseline will add an immediate shine and suppleness to leather, but its effects are not long-lasting. You are better off following the steps above to get long-lasting conditioning and cleaning results.
Q. What should you not clean leather with?
Don’t attempt to clean your leather furniture with harsh commercial cleaning solutions such as window cleaner. You should also avoid olive oil, hairspray, shoe polish, and fingernail polish remover.
Q. How often should you clean leather?
You can clean your leather furniture as often as every 6 weeks, but you can also almost certainly stretch out your cleanings to twice a year.


