We may earn revenue from the products available on this page and participate in affiliate programs. Learn More ›
Literally meaning “baked earth,” terra-cotta is a reddish-brown unglazed clay that’s often used to create pots and planters. After a terra-cotta pot has been used for a while, green algae stains and white deposits of mineral salts, usually from hard water and plant foods, tend to build up on its surfaces.
Some gardeners like these rustic signs of aging, while others would prefer their pots to retain their rusty hue. Even if you like the lived-in look of a stained pot, keep in mind that crusts of mineral deposits can burn or dehydrate plant stems that lie on top of them. If you want to keep your pots stain-free, follow these steps to clean terra-cotta pots.
Tools & Materials
Bobvila.com may earn a commission from purchases made through these links.
Before You Begin
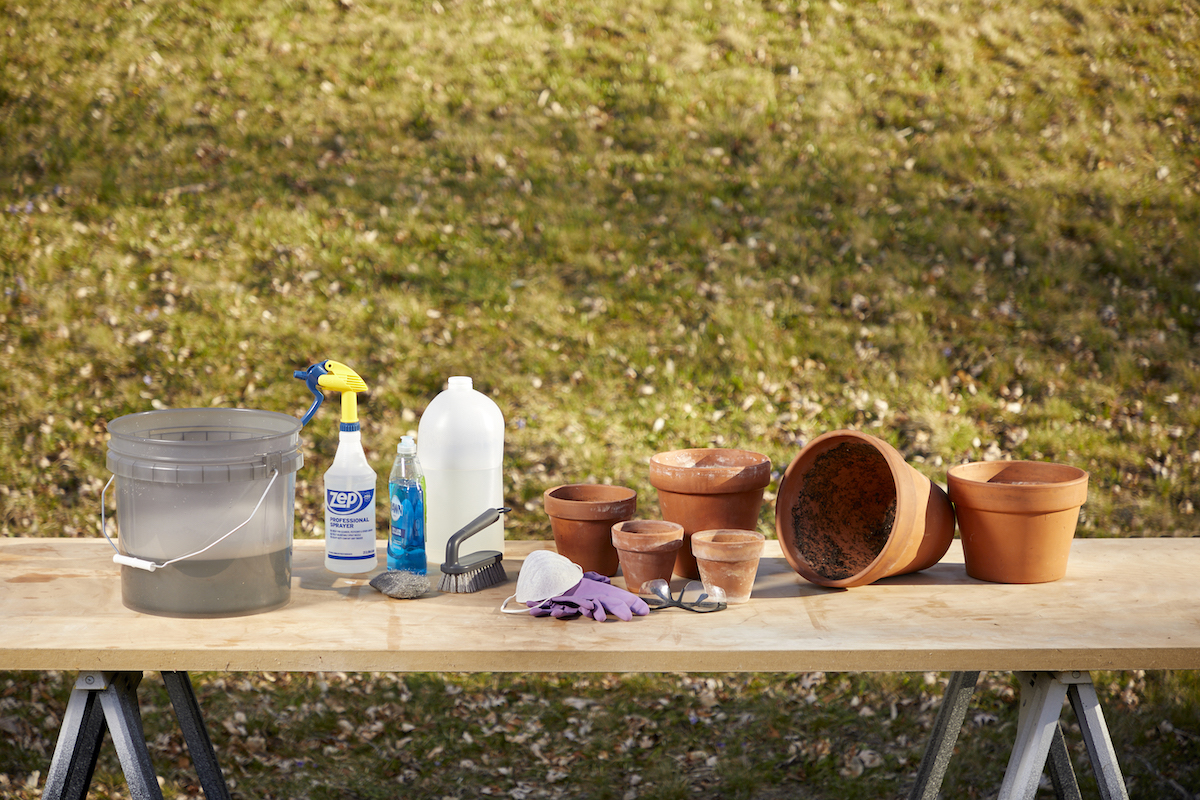
Although you can use either bleach or vinegar to clean and disinfect pots, never combine the two. Doing so can create toxic chlorine gas that will leave you gasping for breath.
Step 1: Remove loose dirt with a scrub brush or hose.

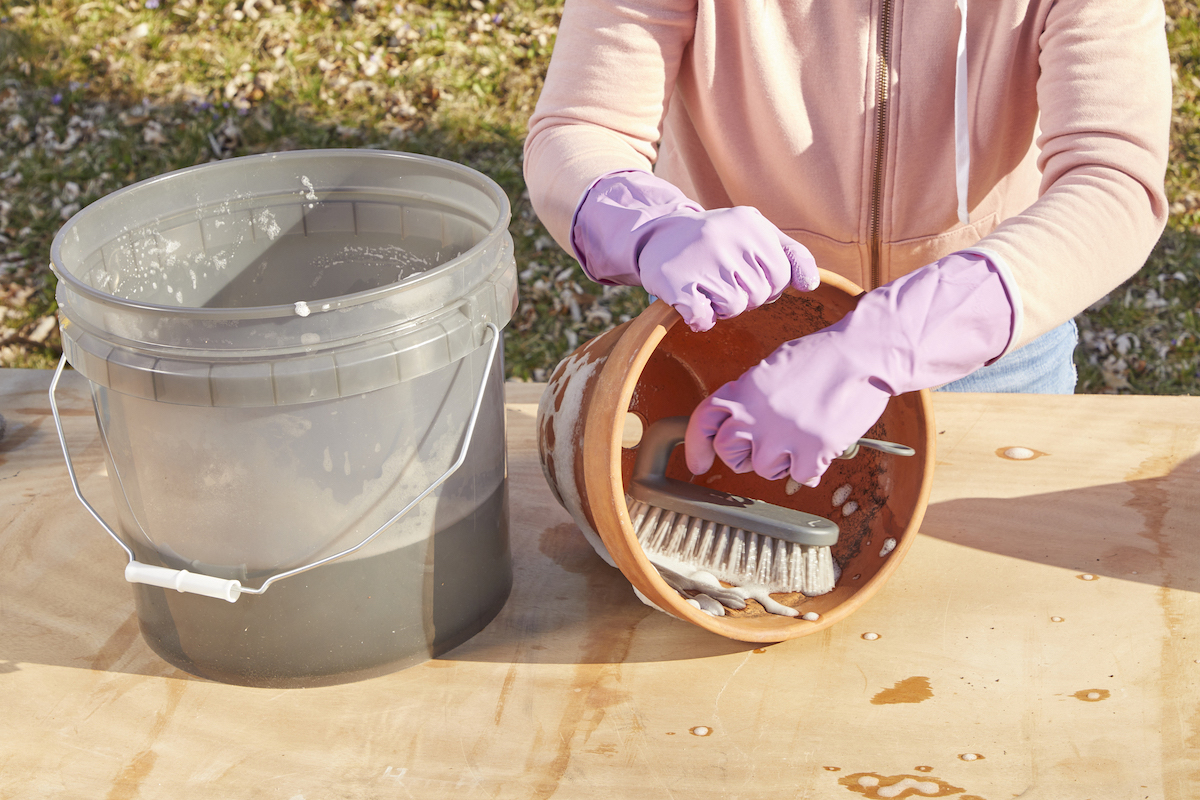
At the end of the gardening season, dump the old potting soil and plant debris from your pots before cleaning them. To avoid breathing in all that dirt, be sure to wear a dust mask. Because it may be contaminated with bacteria, fungi, or insect eggs, don’t save the old soil. When the pots are empty, put on plastic gloves and clean off any loose dirt still clinging to their sides, using either a stiff scrub brush or a strong stream of water from your garden hose.
Step 2: Wash the pots in water with dish detergent added.
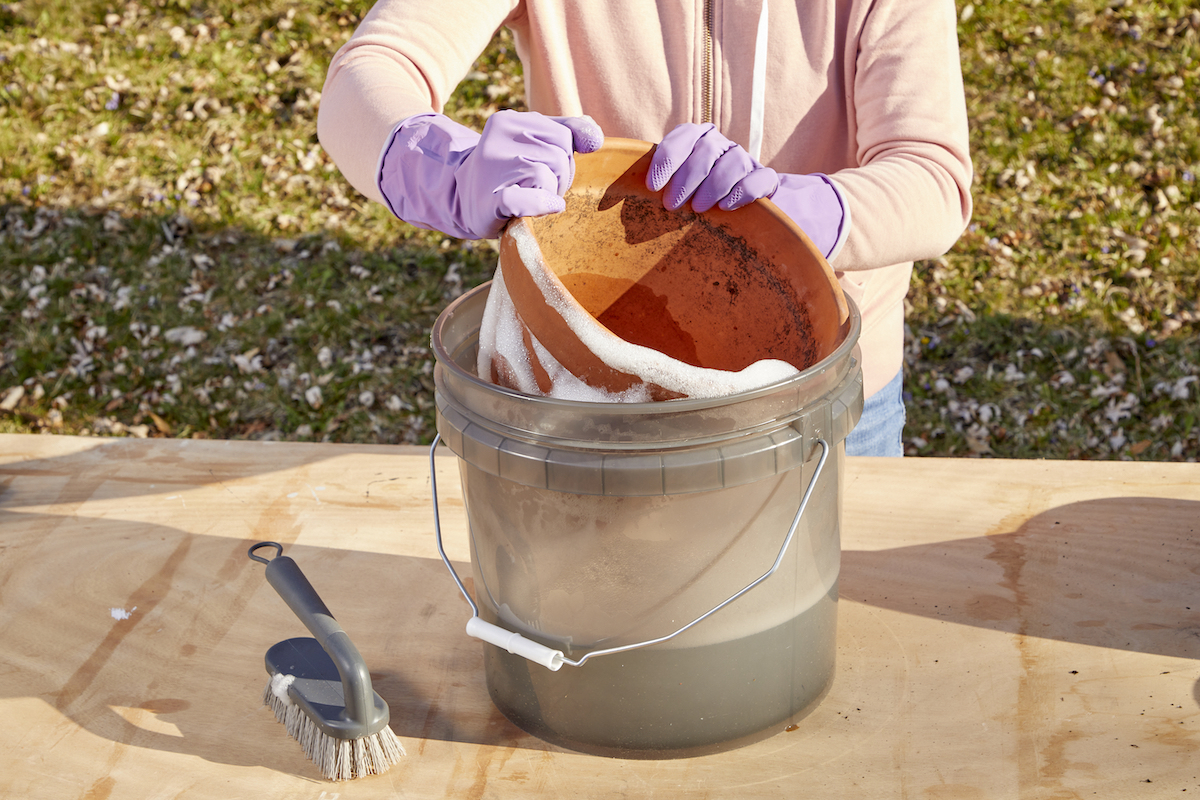
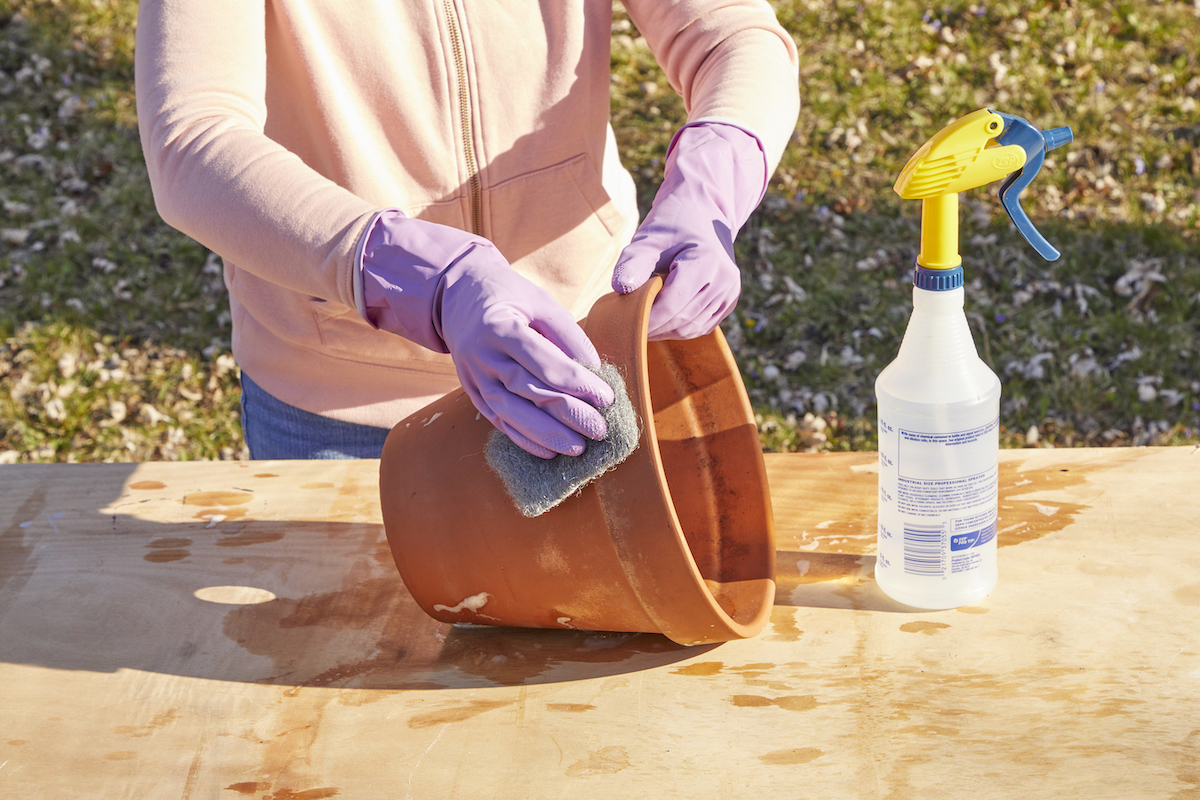
After you have removed the loose dirt, plunge the terra-cotta pots into a large pail or sink filled with water to which you have added a dollop of dish soap. Then, scrub the pots with either a scouring pad, steel wool, or a wire brush. Once you have finished, rinse the pots in clean water. If you are washing your terra-cotta pots in the spring in preparation for planting, leave them in that water until you are ready to use them. Damp clay pots won’t suck moisture out of the potting soil the way dry ones do.
Step 3: Remove salt marks and algae stains.
If salt marks or algae stains remain after cleaning, try to clean your terra-cotta pots with vinegar. Start by placing the cleaned pots in a container filled with a mixture of one part vinegar and one part water. Allow them to soak overnight before attempting to scrub off the white or green film.
If diluted vinegar doesn’t work, use a rag dampened with full-strength vinegar to clean the white or green off your terra-cotta pots. You can also use this method to clean terra-cotta pots with plants in them if you are careful not to allow the vinegar to touch the plants as you clean the outside of your terra-cotta pots.
Note: The vinegar in which you soaked your pots has disinfectant properties, and can rid them of fungi and bacteria. If you didn’t use vinegar to clean your terra-cotta pots, you can disinfect them with bleach, using a solution of one part bleach to nine parts water. Allow the pots to sit in that solution for at least 10 minutes and preferably up to an hour or more before rinsing them well in clean water. Do not use bleach on the pots if you have used vinegar at any point during the cleaning process.
Step 4: Dry the pots and store them inverted and indoors for the winter.
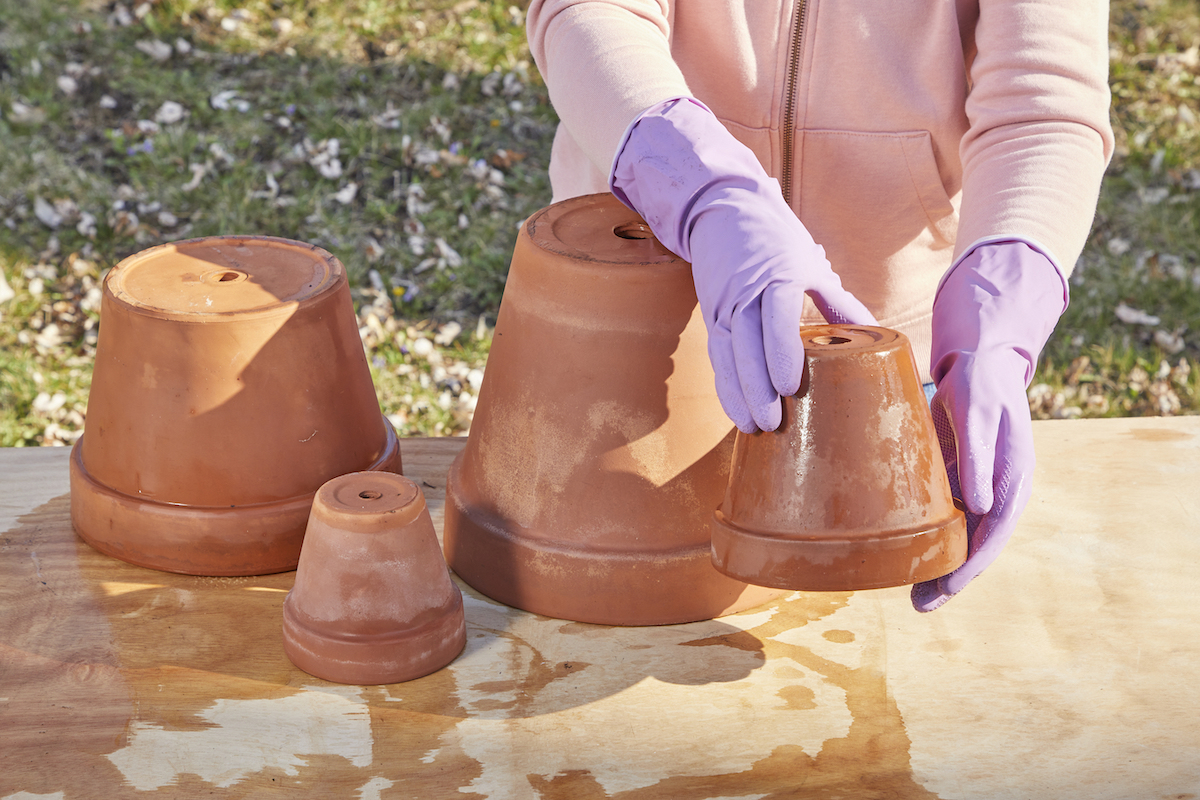
Invert the pots and allow them to dry before storing them in a garage or shed. (Clay pots left outdoors over the winter months are prone to cracking.) For the best results, store them upside down in rows rather than stacks. If you must stack the pots, place newspaper between them to prevent them from sticking together. Should any of your pots break during the cleaning process, save their pieces for other uses, or repurpose extra pots to make an ingenious space heater.
Final Thoughts
The above steps are usually all you will need to clean terra-cotta garden pots, which are the best containers for cacti and succulents that require excellent drainage. However, the same methods can generally also be employed to scrub less expensive plastic pots that mimic the look of terra-cotta and other pricier materials.
Note that it can be more challenging to clean large terra-cotta pots than smaller ones because big pots won’t fit easily into sinks or buckets. You may want to try washing them in a large, clean garbage can instead.

