We may earn revenue from the products available on this page and participate in affiliate programs. Learn More ›
If you’re thinking about updating a room with wood-paneled walls, your instinct might be to start fresh, either by tearing out the paneling or by concealing it behind drywall. Both of these options involve expenses that may be difficult to justify if you are on a budget. As long as your paneling is in decent condition, the least expensive way forward is to leave the paneling in place and paint it.
Regardless of whether your wood paneling is solid or veneer, it’s pretty easy to paint. If you’ve ever painted a piece of wood furniture, you’re probably already familiar with the basic steps, though in this case you’ll also need to think about protecting adjacent walls and trim, and accounting for the grooves in the paneling. Follow the steps in this guide to painting wood paneling, and you should get professional-level results.
Tools & Materials
Bobvila.com may earn a commission from purchases made through these links.
- Rubber gloves
- Protective goggles
- Respiratory mask
- Bucket
- Sponge
- 220-grit sandpaper
- Tack cloth
- Vacuum
- Drop cloths
- Paint roller
- Foam sponge roller cover
- Trisodium phosphate
- Painter's tape
- Interior stain-blocking paint primer
- Interior paint
Step 1: Clean the paneling with diluted TSP.
Dust, dirt, and oily fingerprints can prevent paint from adhering to wood paneling, so your first task is to thoroughly wash the wood-paneled walls with a solution of trisodium phosphate (TSP) and water. Before you use this toxic cleaner, put on full protective gear: full-sleeve clothing, rubber gloves, safety glasses, and a respiratory mask. Open windows in the room to adequately ventilate it. Then, dilute TSP per the instructions on the package in a bucket of water and wipe down the wood paneling with a sponge dampened in the solution.

Tried-and-True Advice
“I’ve painted wood paneling without thoroughly cleaning and priming, and it didn’t turn out perfect. The prep work is important. Clean the paneling with a wet rag to remove all dust and grime. A layer of primer will really help the paint and the overall end finish. A roller does most of the work, but a detail or sponge brush is really helpful for the gaps and textured elements on some panels.”
—Zach Lazzari, Contributing Writer
Step 2: Lightly sand the wood paneling.
Next, proceed to lightly sand the walls using a technique aptly known as “scuffing”; the goal here is to create a good mechanical bond between the paneled wall and the initial coat of primer that you will soon be applying. You’ll use a 220-grit sandpaper in even circular motions to do so.
Today’s primers are so good that you can probably skip the sanding, but I think it’s worth doing. Even though it takes only 20 or 30 minutes, scuffing gives you long-lasting insurance against chipping paint. Just be sure to wear a dust mask and, for health reasons as well as cleanliness, wipe away dust with a tack cloth or damp rag as you go. (Now may also be the time to vacuum the floor so that you don’t track dust room to room.)
Step 3: Protect the floor from paint splatter using drop cloths and painter’s tape.
Save yourself from having to scrub errant paint drips and splatter off the floor after the paint job is complete by laying down a bunch of old newspaper or a drop cloth. If there is molding or ceiling that you do not want the paint to inadvertently color.
Step 4: Apply two thin coats of stain-blocking primer.
Having finished scuffing the full width and height of the wood paneling to be painted, give the surface its initial coat of primer to prevent any of the wood grain, imperfections, and the like from showing through the final coat of paint.
Choosing the right primer is key. For solid wood, use a water-based product; for veneer, use a shellac-based one. While it’s not strictly necessary to do so, you can have the primer tinted to match the shade you eventually plan to paint the wood paneling. One detail you absolutely should look out for? The words “stain-blocking” on the label. This trait helps hide any knots that appear throughout the wood paneling, or else you may see them bleed through your weekend paint job sometime in the future.
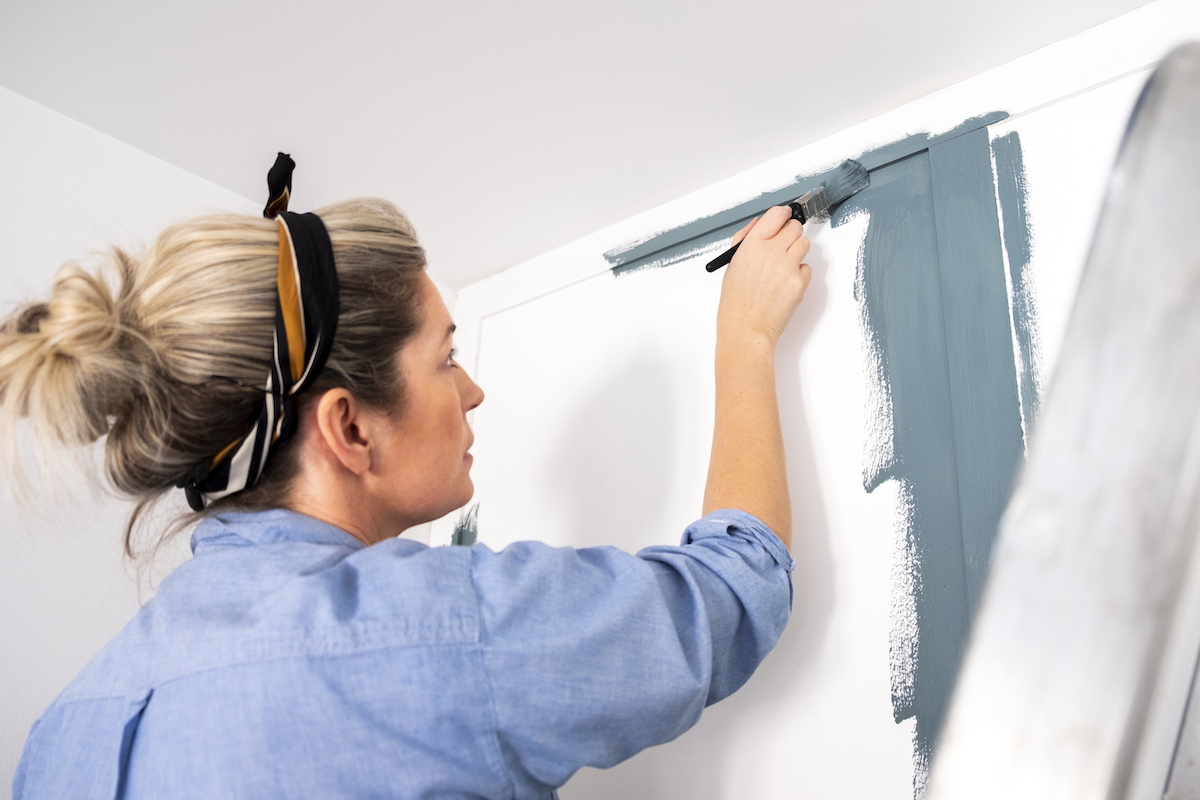
Start in with a 2-inch high-quality angle sash brush to cut in at corners, then keep it handy to dab away drips as you work.
Since you’ll be covering such a large surface, switch to a roller for the rest of the paint job—you’ll still be able to coat the grooves of paneled walls just fine. In order to avoid ending up with the orange peel–like texture that roller-applied paints sometimes produce, opt to use a foam sponge roller cover (it’s inexpensive and easily purchased at your local paint supply store or home improvement center).
Two thin primer coats are normally sufficient. Check your can of primer for instructions on exactly how long to wait between coats.
Step 5: Apply at least two thin coats of paint.
Top with your chosen paint applied in the same manner as described in Step 4. While you’re rolling on the paint in thin layers, pay close attention to how much collects in the panel grooves and wipe out any excess that might be too thick and become tacky once dry.
Lightly sand the surface between coats, and expect to do two or three in total (leaving adequate dry time between each). It’ll be a weekend project for sure, but, when you finish, you’ll certainly admire the difference painted wood paneling can make in a room! Whether you’ve chosen to paint wood paneling a lighter color to for a very airy farmhouse vibe or a matte black for something cozier and more dramatic, like a library, the fresh color will definitely deliver results.