

We may earn revenue from the products available on this page and participate in affiliate programs. Learn More ›
A lot of DIY demolition and renovation can be fun. It provides stress relief, excitement, and fast results. One of those fun activities is learning how to remove tile—said no one, ever.
Removing tile can be brutal, but for certain home remodeling projects, it’s one of the first and most important steps. In the luckiest of scenarios, the tile will pop loose because the installer lacked the experience or technique to properly adhere them to the subfloor. In most other situations, however, removing tile is painstaking, arduous work.
Whether you need to know how to remove floor tile or backsplash tile, this guide will help. It includes some of the need-to-know steps and tips to help the project go as smoothly as possible.
Mastic vs. Mortar
While DIYers have used countless methods to adhere tiles to subfloors, there are really two popularly accepted methods: applying mastic and applying mortar. How to remove tiles adhered with mastic will differ from how to remove tile bedded in mortar, so it’s worth knowing the difference ahead of time.
When the rubber hits the road, how can you tell? Set your chisel into the spot you’ve targeted and strike it, firmly and decisively, with your hammer.
What happened?
- Mastic-set tile is a malleable adhesive that typically breaks apart in large pieces. Congrats! This is going to make your life a little easier.
- Mortar-set tile doesn’t always budge when struck with a hammer. If nothing much happened, you’ve got your work cut out for you.
Mastic-Set Tile
Mastic is relatively flexible and will adhere well to the surface under it. However, it will scrape and peel up with the appropriate techniques. And here’s the trick about mastic adhesive: It’s water soluble.
Mortar-Set Tile
Removing mortar-set tile is laborious and even messier than mastic-set tile. If there’s a silver lining, it’s that almost anyone can do it. The sole qualification for success is sheer determination.
To keep your spirits up as you progress, remember this: You’re saving money that you can now put toward new tile or a celebratory drink (or two) at the local pub when it’s all over. You might need it!
Before You Begin
Make no mistake: This is going to be messy. So before beginning, go the extra mile to prevent dust and debris from blanketing the rest of your house. For dust-free tile removal, take these steps before pulling out the tool kit:
- If your HVAC system involves air-circulating ductwork, turn it off for the time being and, if possible, close the vents in the work area.
- Open any windows in the tiled space.
- Seal off the doorways with plastic sheeting; that way, dust and debris will not escape.
Of course, in such a situation, it’s only prudent to wear a dust mask. And because demolishing tile entails shrapnel-like slivers and shards, it’s also a good idea to wear work gloves and protective eyewear.
How to Remove a Tile Floor

Take a deep breath and work up some courage, because tile removal is a lot of work. Stay focused and determined because removing tile is an important step toward achieving the goal of a shiny new renovation.
Some points to keep in mind:
- Sometimes, all a tile surface needs is a clean-up and new grout. Removing the old grout can be tough work on its own, but a grout removal tool will help.
- The tips included in this article do not apply to removing asbestos tile. That job requires an entirely different set of rules.
Important: Mask up, don a pair of gloves, and protect those eyes. Tile removal can get a little hectic, and it’s important to be prepared.
SUPPLIES
- Painter’s tape
- Plastic sheeting
- Contractor trash bags
- Hammer
- Small sledgehammer
- Masonry chisel
- Floor scraper
- Broom
- Protective glasses
- Work gloves
- Dust mask
- Wheelbarrow
- Shop vac
- Bucket
STEP 1: Start near the edge of the floor or a weakened area.
That tile floor might seem like an impenetrable fortress, so it’s important to find the weak spot. Check around floor grates or drains, and try to pick out a few tiles that might wiggle or pop easily. If all tiles are intact, choose a grout line near a wall.
For loose tiles, try prying them up and out of the way with the tip of the mason’s chisel. For intact tiles, use the chisel and 2-pound sledgehammer to dig into the grout line and under a tile.
STEP 2: Separate tiles (or tile pieces) from adhesive.
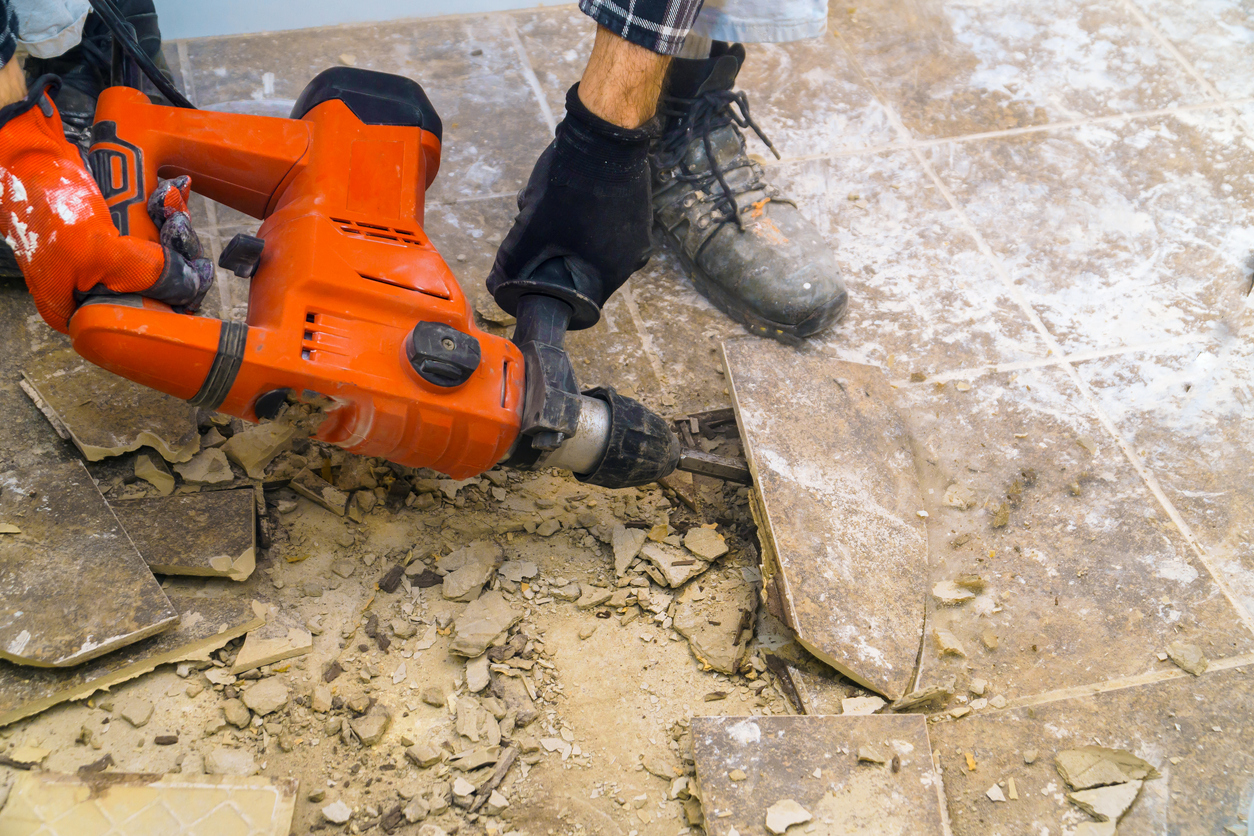
Work from one end of the room to the other, scraping and gradually peeling up succeeding courses of tile.
Mastic-set tile: Use a mason’s chisel to pry the tiles from the adhesive. The removed tiles actually ought to remain unbroken, which means you may be able to salvage at least some of them, if desired. If any tiles break in the process, use the scraper to detach whatever remains.
Mortar-set tile: Expect less scraping and more chiseling—a lot more chiseling! In fact, in order to generate enough force to break each individual tile, you may need to hammer the chisel onto it repeatedly. Using as much force as you can muster, scrape horizontally with the goal of separating the tile from the underlying surface. If you get stuck, go ahead and chisel again.
STEP 3: Remove the remaining grout or adhesive.
Clean up the loose and broken tiles, and sweep up as much debris as possible. With the floor clear of loose bits, get to work on the adhesive. The approaches of mastic vs mortar removal differ.
Mastic-set tile: Fill a bucket with warm water and use a towel to soak the mastic. Allow the water to sit until the mastic softens, and use the floor scraper to scrape up the adhesive. If adhesive remains, soak it again before a second round of scraping.
Mortar-set tile: This is quite possibly the worst part of the project. It involves repeatedly chipping chunks of mortar or thinset up from the subfloor, working in small areas at a time. Start with the flooring scraper. Hold it at a low angle to the ground, and push it back and forth. If this doesn’t work, move back to the mason’s chisel and strike it with the sledgehammer to pop small sections of mortar loose at a time.
STEP 4: Inspect any underlayment and/or subfloor.
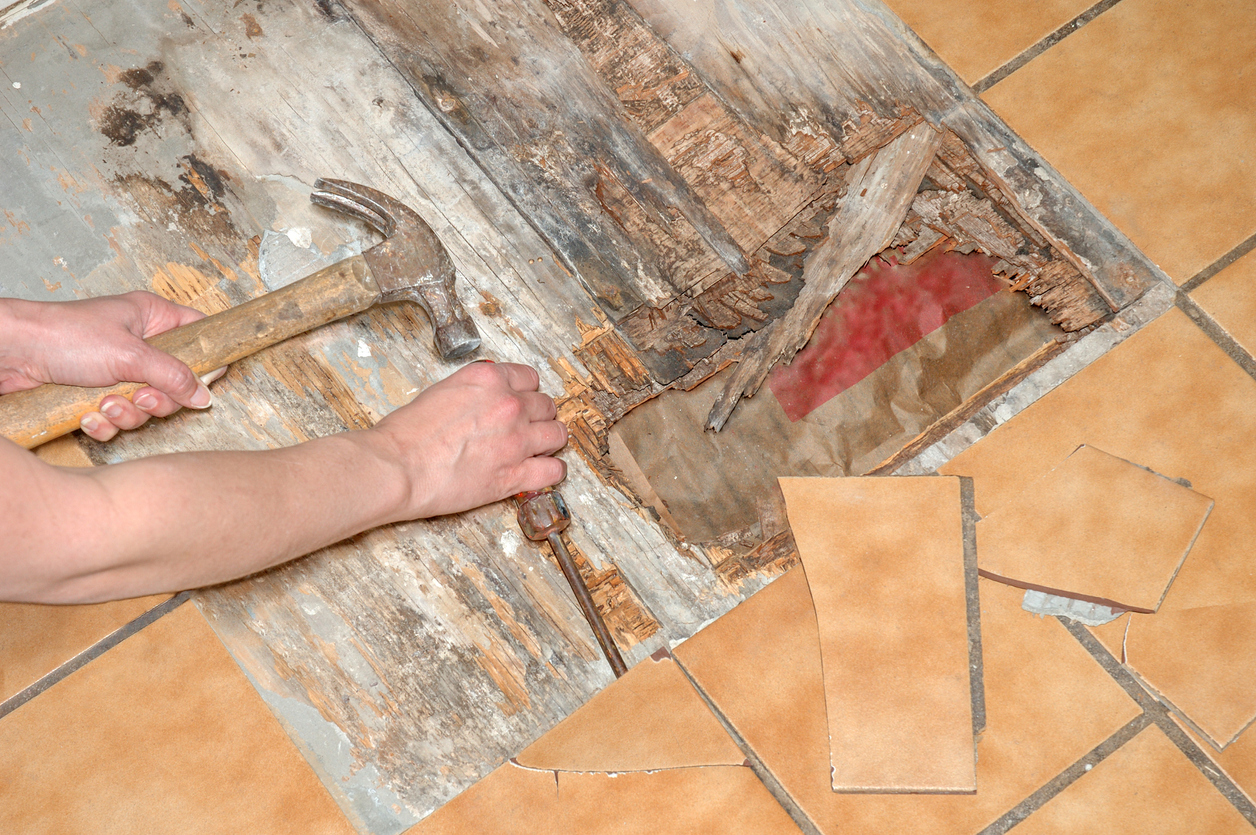
With all of the mortar or mastic removed, it’s important to take a good look at the subfloor. In many cases, there might be dips, humps, bounces, or even damage that needs to be addressed before the project can go any further.
One way to check for humps and dips is to use a long, flat object like a bubble level and lay it on the floor at several points. Gaps under the level indicate something is off, and it might be necessary to remove or repair the subfloor.
STEP 5: Clean up.
Pile the broken tiles, mortar, and mastic into manageable contractor trash bags and load them into a wheelbarrow. Cart the load outside (in multiple trips, perhaps, depending on the size of the installation). Finish cleaning by using a brawny shop vac to clean up the residual dust and tile fragments.
STEP 6: Remove mastic from any salvaged tile you plan to reuse or upcycle (optional).
If you plan to repurpose any whole tiles you were able to salvage (or broken tiles that look cool or interesting enough for a DIY craft project), you’ll have to remove the mastic from the backs of the tiles first. To do so, simply soak the tiles in warm water until the mastic softens and loosens. Then remove the mastic by scraping it off the back of the tile. A mason’s chisel will work, but a putty knife or painter’s tool will also get the job done.
How to Remove a Tile Backsplash or Wall Tile
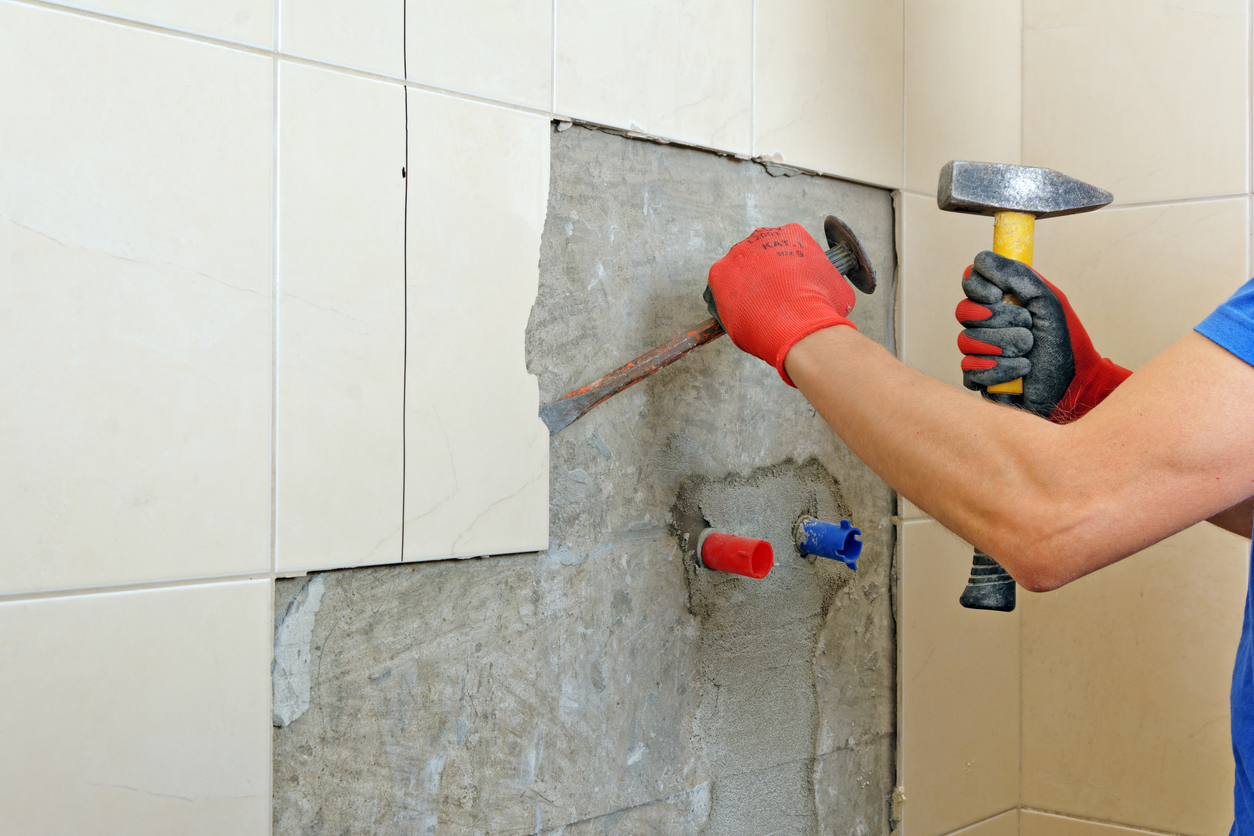
Removing a tile backsplash or wall tile is less miserable than removing floor tiles, but it still has its challenges. The following steps should help you keep the process organized and minimally messy. Since wall tile is often softer than floor tile (at least the ceramic and stone varieties), the work isn’t quite as difficult.
Again, be sure to don gloves, safety glasses, and a dust mask to stay safe while removing tile from a wall or backsplash.
SUPPLIES
- Painter’s tape
- Packaging tape
- Plastic wrap
- Utility knife
- Plastic sheeting
- Contractor trash bags
- Hammer
- Small sledgehammer
- Masonry chisel
- Broom
- Protective glasses
- Work gloves
- Dust mask
- Wheelbarrow
- Shop vac
- Bucket
- Spackle knife (optional)
Pro tip: In most cases, it’s much easier to remove the drywall with the wall tiles still attached. This does require hanging new drywall, mudding, and taping, but it’s highly unlikely that you’ll be able to remove the wall tile without damaging the existing drywall anyway.
STEP 1: Prepare the room and tile.
Before chipping away at the wall tile, it’s important to prepare the room. The job is messy, so for dust-free tile removal, be sure to open windows, tape door gaps, remove vents and cover the ducts, and remove anything that might get damaged.
For glass tiles, attaching packing tape before attempting to remove them helps prevent the shards from flying. On smaller backsplashes, running strips of packaging tape is feasible, but for larger spaces, consider using plastic cling wrap or sheeting. Also, cover countertops or the floors below with plastic sheeting to manage the mess.
STEP 2: Start at a weak point.
Wall tile adheres fairly well to the substrate below, and since no one walks on it, the backsplash tile rarely pops loose. In this case, it’s best to use the hammer and mason’s chisel to dig into a grout line and pop a tile. Use light force to prevent damaging the wall more than is necessary.
Something to note about hammers and chisels: Both hammers and chisels are typically made from hardened steel. Striking these two objects together with great force can cause pieces of metal to dislodge and go flying at relatively high speeds.
It’s better to use light strikes with the hammer. If force is necessary, use the sledgehammer and chisel instead, as sledgehammers are not hardened.
STEP 3: Continue removing the tile.
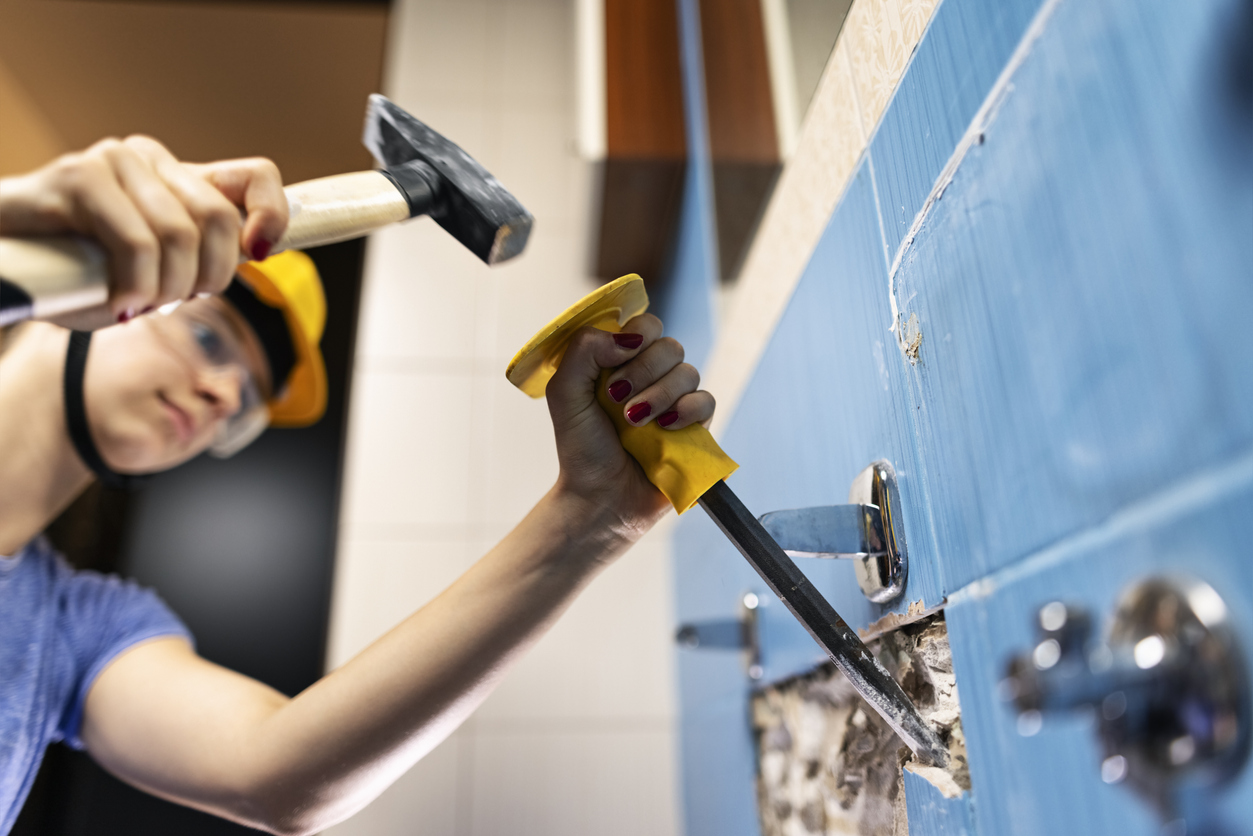
Continue removing tile backsplash or wall tiles by placing the chisel under the edge of each piece and tapping it across with the hammer or sledgehammer. Be sure to use light taps to avoid damaging the wall unnecessarily.
Treat mosaic tiles on fiberglass mesh the same as a standard tile, working on one at a time. It if becomes necessary to remove some mesh, a quick slice across the fibers with a utility knife will usually do the job.
STEP 4: Remove the remaining adhesive.
In all likelihood, the wallboard behind the tile will take some damage during the tile removal process. If that’s not the case, you’ll still have to be careful when removing the remaining adhesive. The best technique is to use the mason’s chisel held at a very shallow angle and strike it lightly to remove the adhesive a little bit at a time.
If there is significant damage to the drywall, consider cutting it out and replacing it with new drywall rather than removing all of the adhesive and patching several spots.
STEP 5: Clean up the mess.
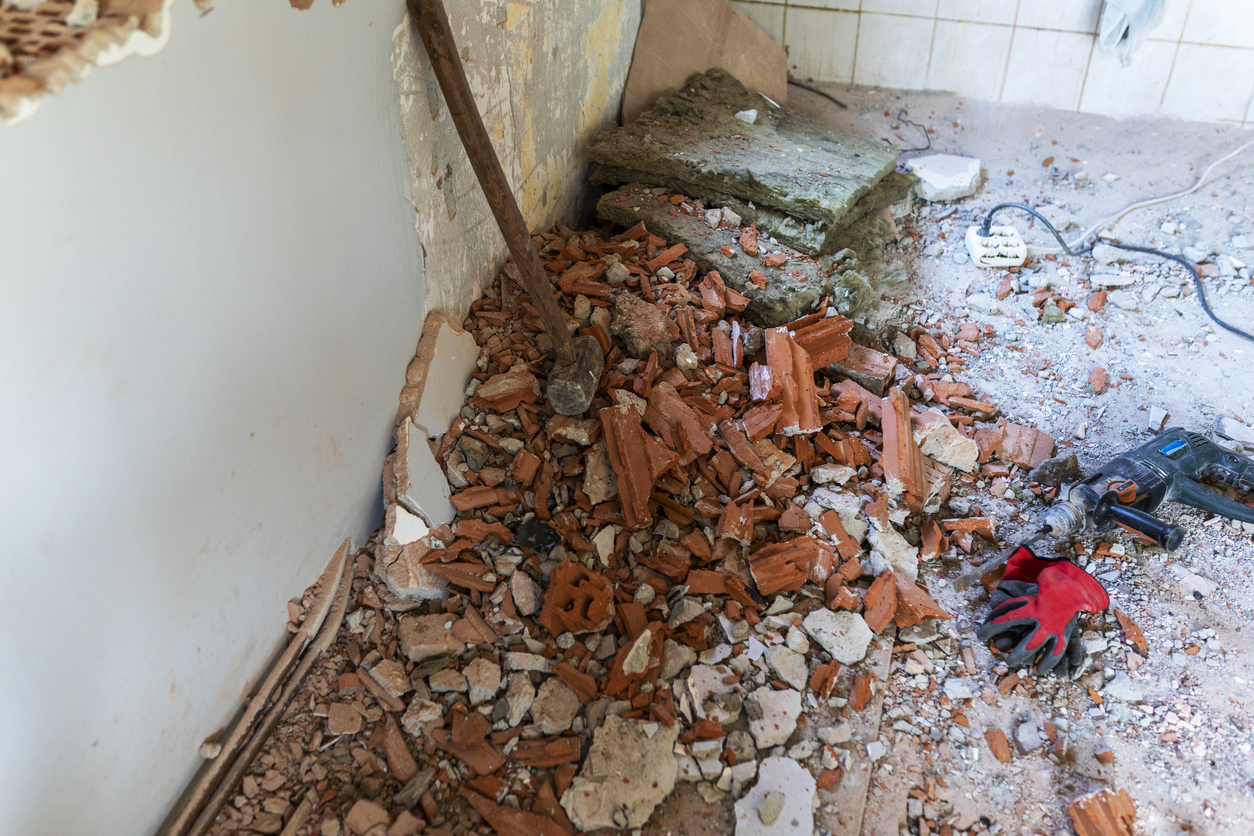
With the walls uncovered and adhesive cleaned up, it’s time to clean up the rest of the mess. Use the broom to sweep up the majority of the debris. The plastic sheeting underfoot can be used to gather the loose bits and dump them into a contractor bag. Finally, use the shop vac to remove the loose dirt and bits of tile from the corners and crevices before repairing the drywall.
Final Thoughts
Learning the tricks to how to remove tile floors from horizontal surfaces or a backsplash and wall tiles from vertical surfaces is key to making the job go as smoothly as possible. Tile removal is anything but a fun job, but if it’s done correctly, then replacing that tile or starting anew will go a lot smoother. The hard work that’s put in while removing the tile will result in smooth, flatter floors and walls.
FAQs About How to Remove Tile
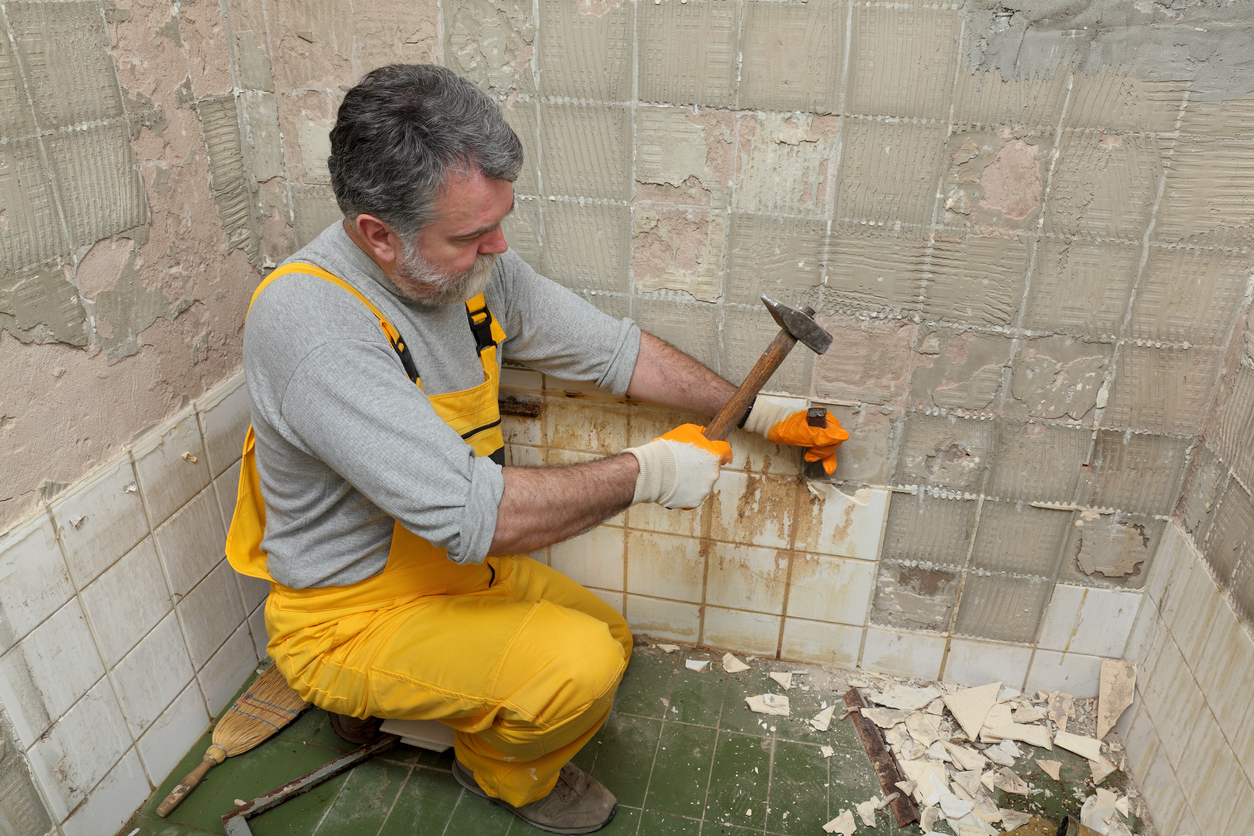
That’s a lot of information on removing tile from floors and walls, but DIYers may still have some questions about the process. Below are answers to some of the most frequently asked questions regarding how to remove tile, so be sure to check for an answer to your question below.
It is possible to tile over tile in certain circumstances, but doing so usually yields less than optimal results. For the best outcome, you should remove the tile from the substrate, check that substrate’s integrity, and lay new tile.
Removing tile is one of the worst parts of replacing a tile floor or wall. It can take hours to effectively remove all of the tile and mortar or mastic below it.
Mastic is water soluble, and a bit of warm water on the glue’s surface will soften it. It needs to soak in, but afterwards, it may become possible to peel the glue off of the surface.
