
We may earn revenue from the products available on this page and participate in affiliate programs. Learn More ›
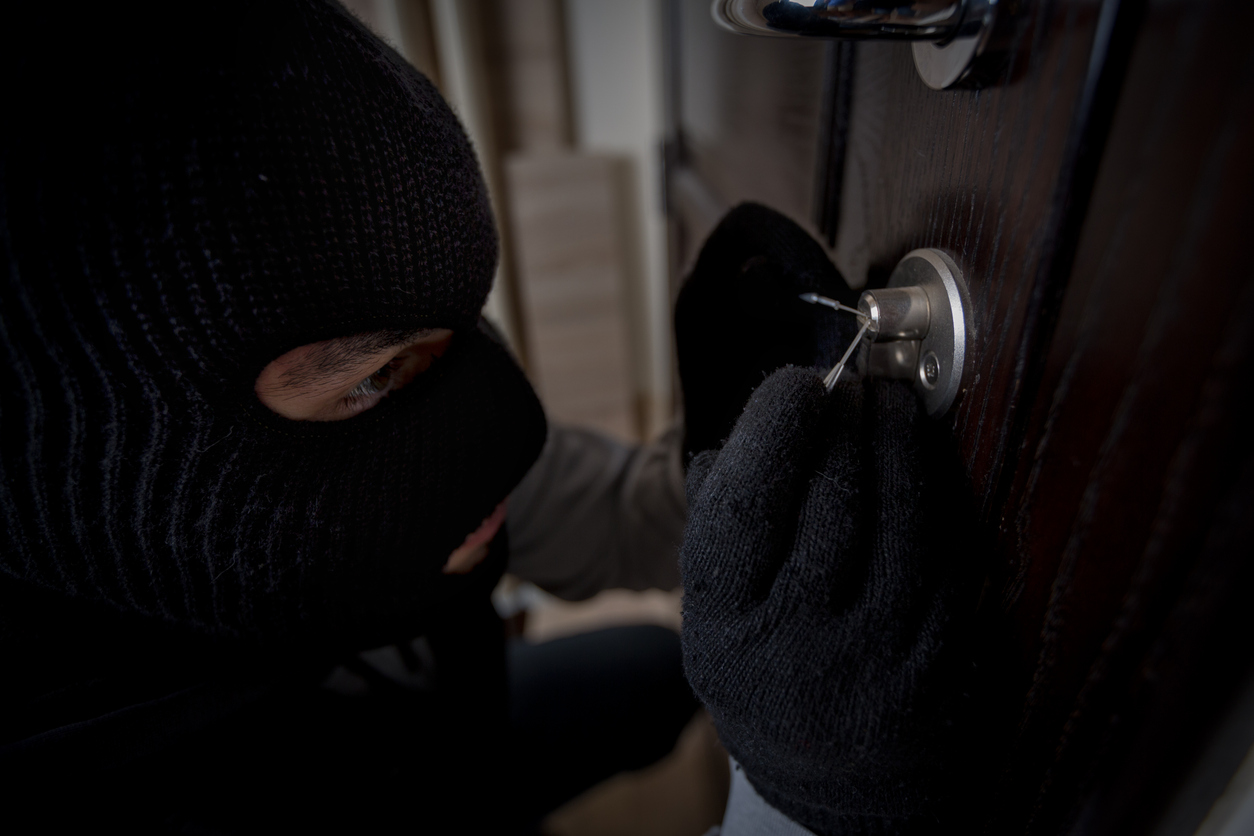
Studies have shown that in 34 percent of home burglaries, criminals enter through the main or front door. It’s sometimes a crime of convenience because residents fail to lock their doors during the day. Having a secure home requires effective working locks. Aside from the fact that the many moving parts in a door lock can wear out, events can happen that require a door lock replacement.
Any homeowner can learn how to change a door lock when necessary, and the skill can be especially important for those who own rental properties. Read on for more tips on when to change door lock hardware and the steps involved in door lock installation.
When should you change your door locks?

Knowing how to replace a door lock is an excellent DIY skill, especially for anyone who moves often or is a landlord. Here are some common reasons why you should change your door locks or at least rekey them:
- There’s been a break-in. After someone breaks into a home or if security concerns go up because of a rash of burglaries in the neighborhood, many homeowners upgrade to more secure locks. Modern door locks offer cutting-edge technology that both improves and simplifies home security.
- Your current lock is damaged. Like all mechanisms with moving parts, a lock eventually wears out over time from repetitive locking and unlocking or just from pushing in the wrong key. If the internal mechanism is damaged, it will result in a key that sticks or is difficult to turn.
- You’ve bought a new-construction home. The owners of a recently constructed house should have the lock rekeyed because a number of contractors and sales people have had access to the house. This is typically the builder’s responsibility, but the buyer’s real estate agent should ensure it is complete before closing.
- You’ve bought a home from someone else. Rekeying is a good idea any time you move into a new house because of uncertainty over how many keys are floating around. The buyers usually are on the hook for arranging and paying for rekeying in this instance.
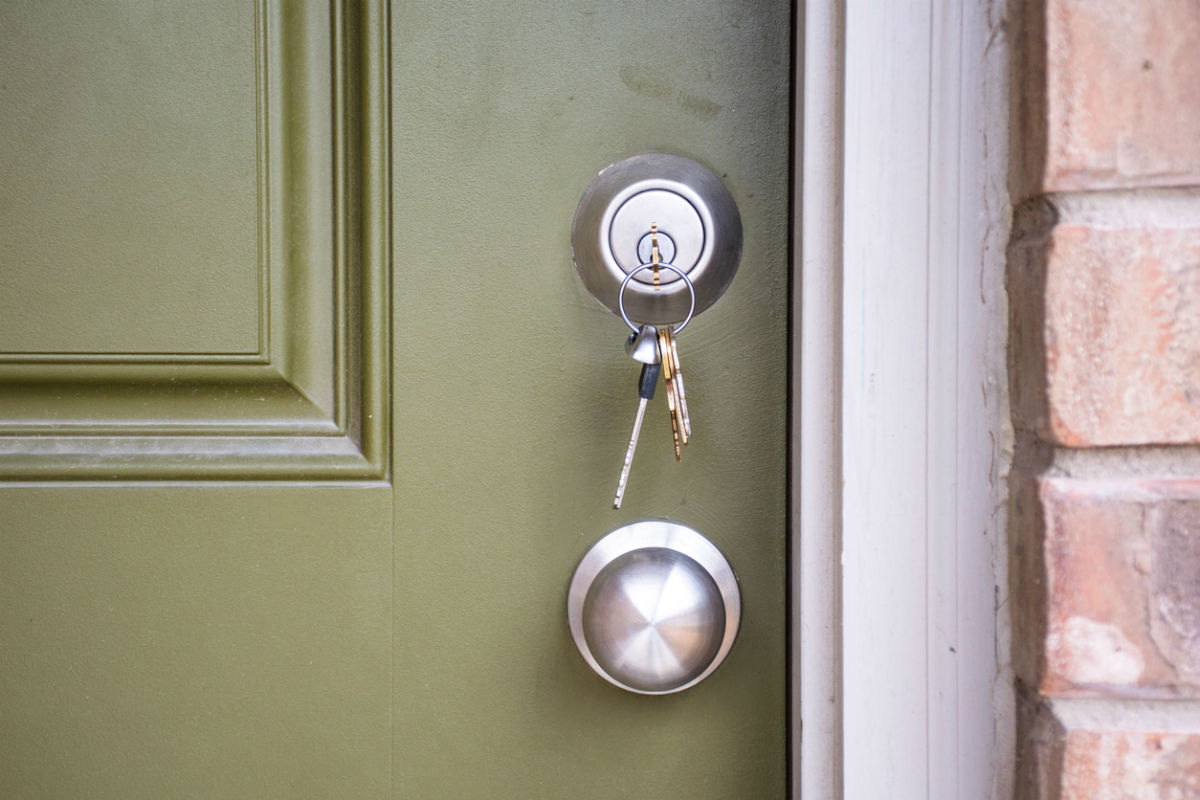
- Your house keys have been stolen. One of the first orders of business is changing the locks on your doors if a key goes missing or is known to have been stolen, so no one can gain access to your home. Rekeying is the least expensive method, but you will need to replace the entire lock if the only key to it goes missing.
- You want the convenience of a single key. Having a single key that fits all the doors on the house (including the garage) is a convenience you can create by rekeying—as long as you have the same brand of locks on all the doors. If the locks are of various brands, you’ll need to replace some of them so that all can accept the same key.
Replacing vs. Rekeying: What’s the Difference?

Both replacing and rekeying locks can ensure that old keys will no longer open a door. Here are a few differences in the two methods:
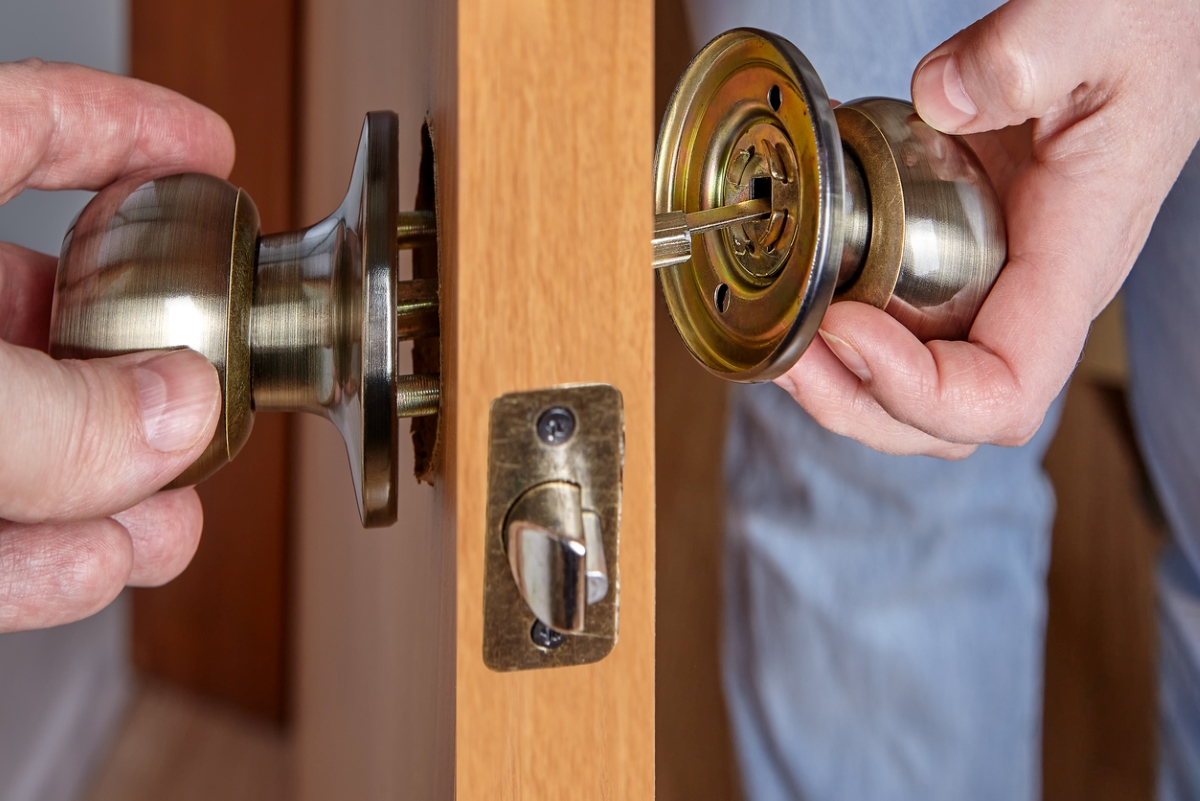
- Replacing door locks: The most comprehensive method of ensuring security, door lock replacement involves removing the existing lock from the door (including the handle if it’s a handle-lock combo) and then installing a brand new lock in its place. Many door locks, however, are DIY-friendly and come with installation instructions.
- Rekeying door locks: Rekeying a lock involves realigning the pins and springs in the inner workings of the lock to match it to a new key. In apartment complexes, this is now the most common way of changing locks on a door. Rekeying is less expensive than replacing a lock, but rekeying a damaged or worn lock won’t solve the issue; the failing mechanism will still be there. In this situation, it’s best to bite the bullet and replace the entire lock.
Tools & Materials
Bobvila.com may earn a commission from purchases made through these links.
Project Overview
Working time: 40 minutes
Total time: 60 minutes
Skill level: Beginner
Estimated cost: $30 to $250
Before You Begin
Although there are a lot of little moving parts inside a lockset, changing the lock itself is actually quite simple. When replacing a lock for the first time, it can be hard to know what lies under the shiny doorknob, especially if the hardware has no brand name. So, scroll down for some of the steps on how to replace door lock hardware if you need to measure or assess what type of kit you will need before purchase. Consider a temporary locking system if necessary to shore up the door while you find a permanent lock.
Parts of door lock removal and door lock installation can be a bit awkward, especially if the door wasn’t properly prepared by the previous lock’s installer. There shouldn’t be any tight tolerances or overly snug tolerances. If that’s the case, it may be necessary to reshape the holes carefully with a rasp to get the new lockset to fit properly.
How to Change the Lock on Your Door
Locks are much more homeowner-friendly than they used to be. The kits come with all of the items you need, and most are universal as either entry locks (meant for exterior doors) or interior locks. This guide will cover how to change a door lock with a deadbolt, but most of the steps apply to interior lock replacement as well.
Step 1: Measure for the replacement lock.
There are a few measurements you’ll need to take to ensure you purchase an appropriate new lock to replace the old one. While most entry locks will fit most entry doors, measure first to avoid frustration.
These are the measurements you’ll need:
- Measure the thickness of the door. Exterior doors are usually 1¾ inches thick. Heavier doors are commonly 2¼ inches thick. Any door beyond that thickness might require involving a local locksmith.
- Measure the setback. The setback refers to the distance from the door’s edge (where the latch is installed) to the center of the large hole in the face of the door (where the knobs are installed). Common setbacks are 2⅜ and 2¾ inches. Some older or more upscale doors might have longer setbacks, in which case, you might have to purchase a longer latch from a locksmith.
Step 2: Shim the door in place.
Working on a door while it’s swinging back and forth can be a headache. Rather than letting the door swing freely, you can shim the door in place. To do so, swing the door halfway open until the space provides room to work on the door from each side. Also, if something falls, it will hopefully fall inside the home rather than bounce out. Install shims (thin pieces of wood) under the door on both sides until it’s snug.
Step 3: Remove the old door knobs.

Depending on the door lock and style, you may have to remove the knobs to replace the lock. In some cases, there may be a set screw under the knob, and you can remove it with an Allen key. In other cases, there may be a small hole that receives a pin or paperclip (or even the smallest Allen key size). Place the pin in the hole and press in to release the catch holding the door knob on. Slide the knob off. Repeat on both sides, if necessary.
Step 4: Remove the cover plates.
If you can’t see the screws holding both sides of the lockset together (they’d be visible from the inside), then there is a cover plate over them. These can be tricky to remove, but here are the steps:
- Look for a small depression or slot around the edge of the cover plate where it meets the door.
- Place a wood shim directly against the door, positioned with the tapered edge against the slot.
- Slide the tip of a flat screwdriver into the slot and twist. Be sure that the screwdriver is against the shim, and not the door, to prevent damage.
- Pop the cover loose and remove it.
Step 5: Remove screws from the old lock.

Next, remove the screws holding the lock in place. There are five sets to consider: the two screws holding the knobs together, the two holding the latch in place, the two holding the deadbolt in place (if there is one), and the two sets holding the strike plate and deadbolt plate into the jamb.
In most cases, these screws will all be Philips screws. The ones holding the knobs together will be long. Once they’re free, the knobs will come off easily—they might even fall. To remove the latch, take out the two screws that hold it into the edge of the door. These are wood screws and they’ll be fairly short. Once they’re out, slide the lock straight out.
Repeat the process for the deadbolt, as the steps are identical. If you’re replacing the strike plates, remove the two screws that hold each plate into the jamb.
Step 6: Replace the latch and deadbolt.
Once the latch and knobs are removed, look at the holes to ensure they’re in good shape and free of debris. If they are, install the latch first:
- If the latch is adjustable, ensure that it’s set to the correct backset by measuring from the latch plate to the square gear. Adjust as necessary.
- Slide the latch into the hole so the rounded face is facing toward the jamb.
- Press it into the recess in the door’s edge, and tap lightly to seat it against the door.
- Install the two screws that hold it in place.
Note: If the latch plate doesn’t sit nicely into the recess, you may need to trim the door with a utility knife.
The deadbolt follows the same procedure, but there isn’t a rounded face and they aren’t adjustable. Simply slide the deadbolt into its hole, and secure it with two screws.
Step 7: Install the new lock’s knobs or handles.

Finally, it’s time to install the new lock’s knobs or handles. If the knobs need to be removed from the lockset to install, do so now by pressing a pin into the knob and removing it. Then, follow these steps:
- Slide the knob with the key tumbler into the hole so that its lever slides into the latch’s square gear.
- Slide the interior side of the knob onto the lever so that it sits flush against the door.
- Align the interior knob’s plate with the exterior knob’s screw holes, and hand-thread the machine screws into the screw holes to hold the knobs together loosely.
- Position the lockset so that it is centered over the knob hole, is straight, and covers the entire hole.
- Tighten the screws securely.
- If necessary, install the cover plates over the lockset and install the knobs.
- Install the strike plates.
- Remove the shims and check that the key and knob both work properly before closing and latching the door.
Repeat the process for the deadbolt.
How much does it cost to change your locks?
Expect to pay $40 to more than $500 for hardware per lock and at least $200 more (about $75 an hour) if you choose professional installation. However, if you purchase your own lock, you can most likely replace it in under an hour and save quite a bit of money. It takes only a few simple tools that you probably own and some knowledge of the steps involved with changing a lock.
You’ll pay $15 to $25 for a rekey kit that allows you to rekey the locks yourself, assuming you can match the lock’s brand. If you have a pro perform this service, expect to pay $50 to $200.
There are other high-tech options for locking doors, too, but the installation processes and costs vary by product. Many locks feature a keypad with a code for keyless entry to the door with a programmed digit code that you can reset easily if necessary. Home security via smart locks synced to a phone, tablet, or PC, allow you to lock and unlock the door remotely. Smart locks will also send an alert to your device if the door is unlocked in your absence.
Final Thoughts
If you’ve tested the lock and key, turned the knobs, and everything looks to be in order, consider your lock replaced. For added security, you can remove one screw from each hinge and strike plate and replace them with 3-inch screws that bite into the framing. Just be sure not to overtighten them or you could affect the shape of the door jamb. Consider replacing or rekeying a door lock a crucial part of any strategy to burglar-proof your home.
