We may earn revenue from the products available on this page and participate in affiliate programs. Learn More ›
Cleaning painted walls may seem like a daunting task, but it’s actually quite simple, albeit time-consuming.
When washing walls, whether you’re doing yearly cleaning or getting rid of a stubborn stain, the most effective approach has everything to do with the type of paint you’re dealing with. Semi-gloss and glossy enamel paints tend to stand up best to washing; flat, satin, and eggshell latex paints, on the other hand, may fade or rub off with abrasive cleaning. The trickiest part of cleaning walls is doing so without damaging the paint job beneath. In this guide, we’ll walk you through how to clean painted walls step by step, with special attention to keeping your painted surfaces pristine during routine cleaning and targeted stain removal.
Before You Begin
As you clean walls, you may want to lay towels, newspaper, or another absorbent material on the floor under your work space to catch drips. It’s also a good idea to wear rubber gloves to avoid dirty water dripping down your arms. Wringing out sponges as you work goes a long way toward preventing drips that compromise the final result.
Mold and Mildew
If there is mold or mildew on the walls, you’ll need to get rid of it before embarking on the cleaning techniques outlined below. The process for killing mold and mildew involves bleach. Begin by spraying any moldy areas of the wall with a solution of 1 part bleach and 3 parts water. You may need to repeat this process, depending on how much mold is present. Remember: Whenever you’re working with bleach, be sure to leave a fan on and open a window to provide adequate ventilation.
If there is a lot of mold on the walls, if you are not comfortable removing it yourself, or if you tried and were unsuccessful, contact a professional mold remediation company. You don’t want to leave any mold behind—it can grow back and cause breathing problems, especially for those with allergies or asthma.
Cleaning Walls Before Painting Them
Before painting the walls in your home, it is important to clean them. Whether you’re trying to fix a recently botched paint job or are painting your walls for the first time in decades, it is a good idea to remove any dust and dirt from the wall to leave a clean surface for the new paint.
Keep these special considerations in mind when cleaning walls before painting:
Cleaning painted walls: Before applying your new interior paint color, use warm water mixed with a mild soap for cleaning walls, as explained below.
Cleaning drywall: Drywall is porous, so you should avoid using chemical cleaners on it. Instead, begin by dusting the wall with a vacuum or microfiber cloth. Then, dip a cellulose sponge in water, squeeze out the excess liquid, and apply light pressure to wipe down the drywall.
Cleaning wallpaper: To clean wallpaper (vinyl and fiberglass), combine 1 gallon of water with ½ cup Castile soap or mild dish soap. Then, use a nonabrasive sponge to wipe down the wallpaper. To remove stains on wallpaper, try a solution of 1 cup water and ½ cup white vinegar.
Maintenance Cleaning of Painted Walls
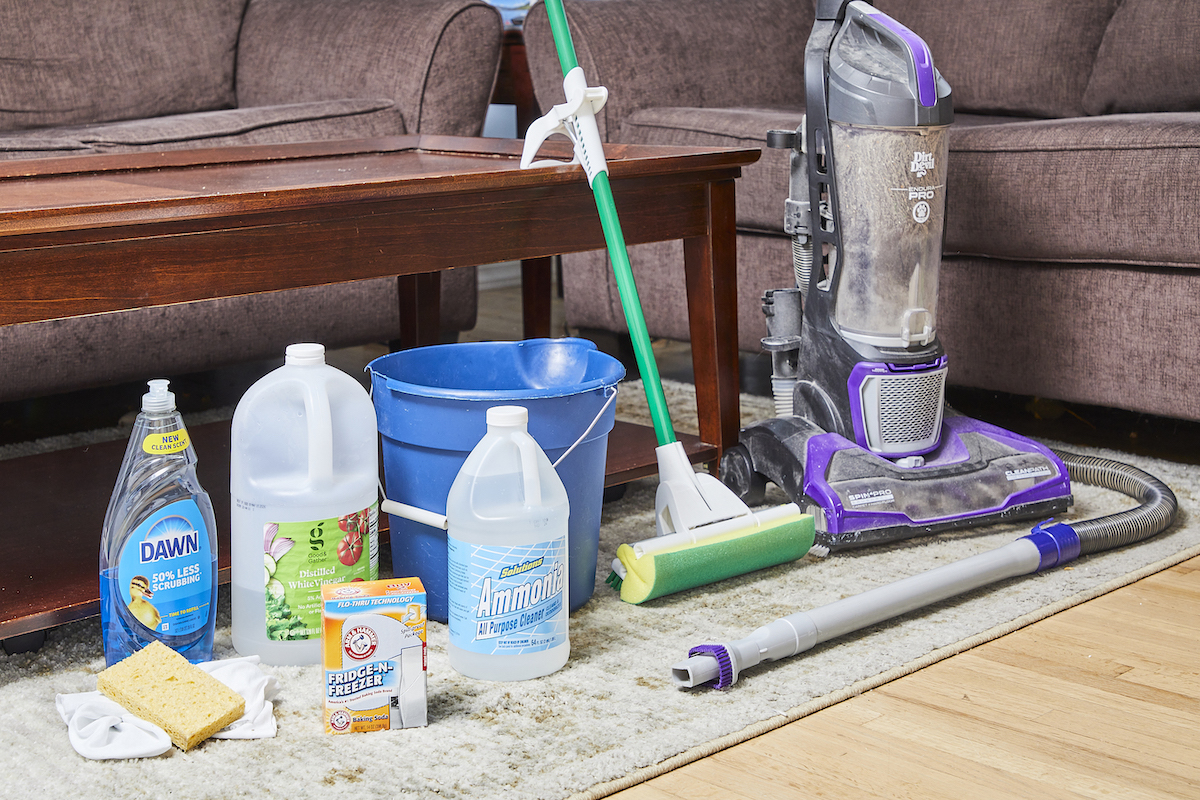
Though many of us don’t think to wash walls unless there’s a spot or stain on them, wiping walls down every now and again—at least a few times a year—to remove accumulated dust and grime is a good idea. The list of supplies below looks long, but don’t let it put you off the task: You should be able to get walls clean with a vacuum, bucket or bowl, sponge, and a bit of water. You’ll only need the other items on this list if the fingerprints and scuffs you’ve accumulated are difficult to remove.
SUPPLIES
Vacuum cleaner
Cellulose sponges
Bucket
Sponge mop
Mild dish soap
Ammonia
Distilled white vinegar
Baking soda
Soft lint-free cloths
Long-handled microfiber dusting tool
Step 1: Vacuum the wall thoroughly.
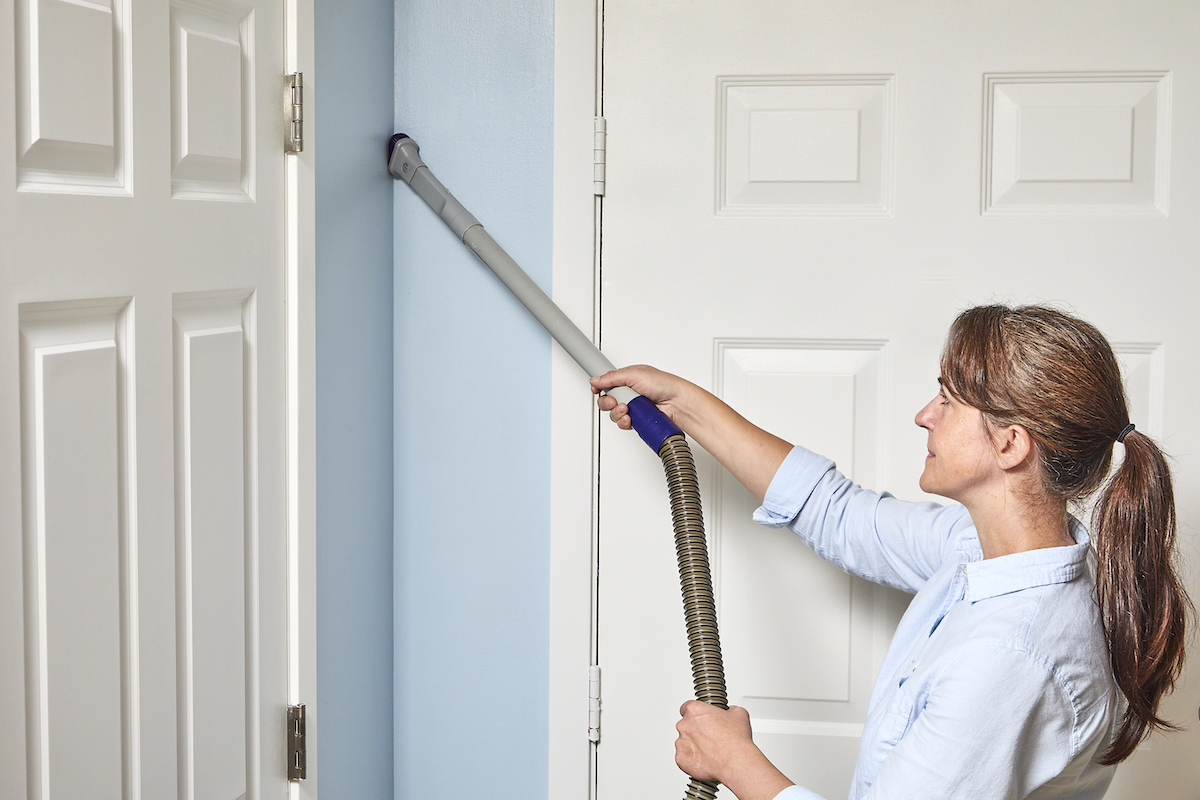
The easiest way to clean walls begins with using a vacuum cleaner to remove as much dust and debris from the wall as possible. Run the dust brush attachment across baseboards and over the surface of the walls. Don’t forget about the ceilings and corners; they’re not exempt from dust or cobwebs. Using a lightweight vacuum may make it easier for you to reach these higher-up areas.
Step 2: Dampen a sponge and begin cleaning in a circular motion.
The best wall cleaner for this task should be just strong enough to remove scuffs, discoloration, fingerprints, and stains without damaging the paint beneath. To preserve the quality of your paint job, start with the gentlest cleaning method possible—in this case, water and a cellulose sponge.
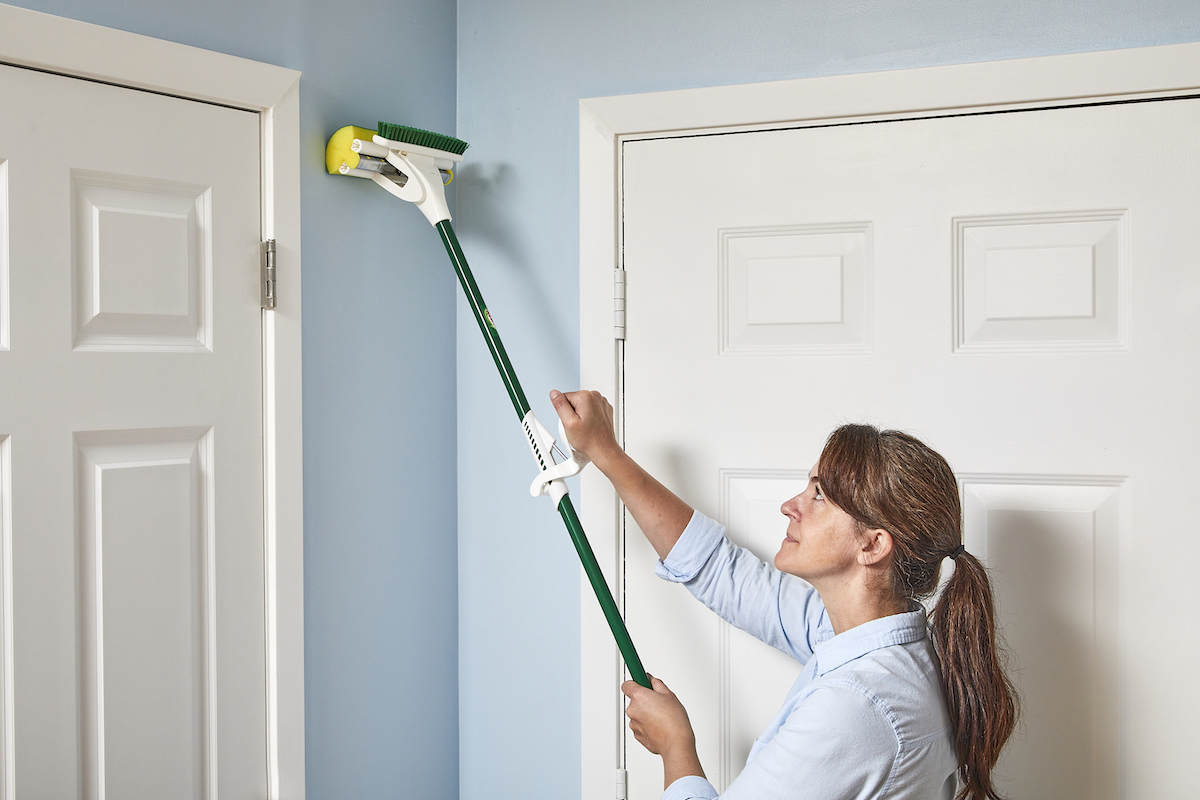
Fill a bucket with warm water to save you from having to make multiple trips to the sink. Then, dip the sponge in the bucket and use circular motions to clean the entire surface of the walls, baseboards, and ceiling. For those harder-to-reach places, such as ceilings and extremely high walls, a clean sponge mop may come in handy.
Step 3: Wipe down smudges and dirt with warm, soapy water.
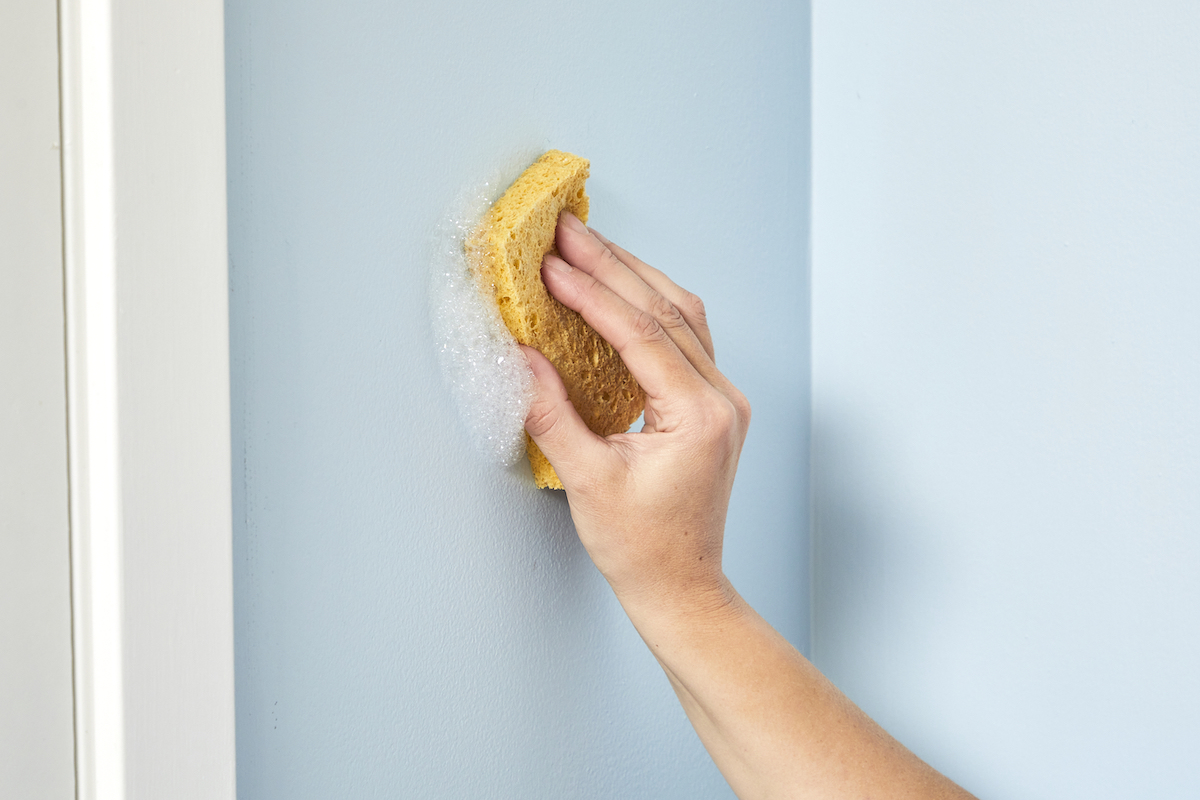
After wiping down the walls with water, you may notice that spots, smudges, or stains remain, in which case you’ll need to step it up a notch. Start by dumping out the dirty water from your bucket and refilling it with fresh warm water. Add in a few drops of a mild dish soap. Then, dip the sponge in the bucket and use it to gently rub any dirt you notice on the wall.
Step 4: For more stubborn stains, use other household cleaners to mix up a more powerful solution.
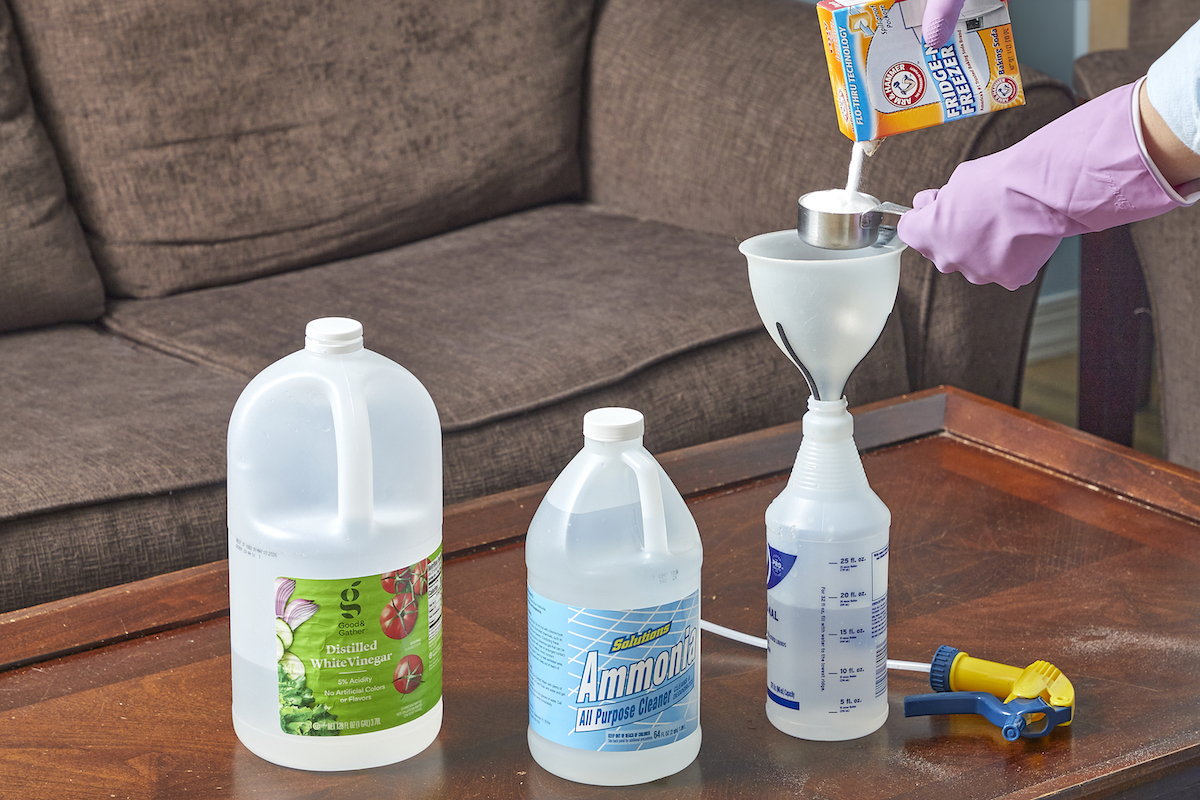
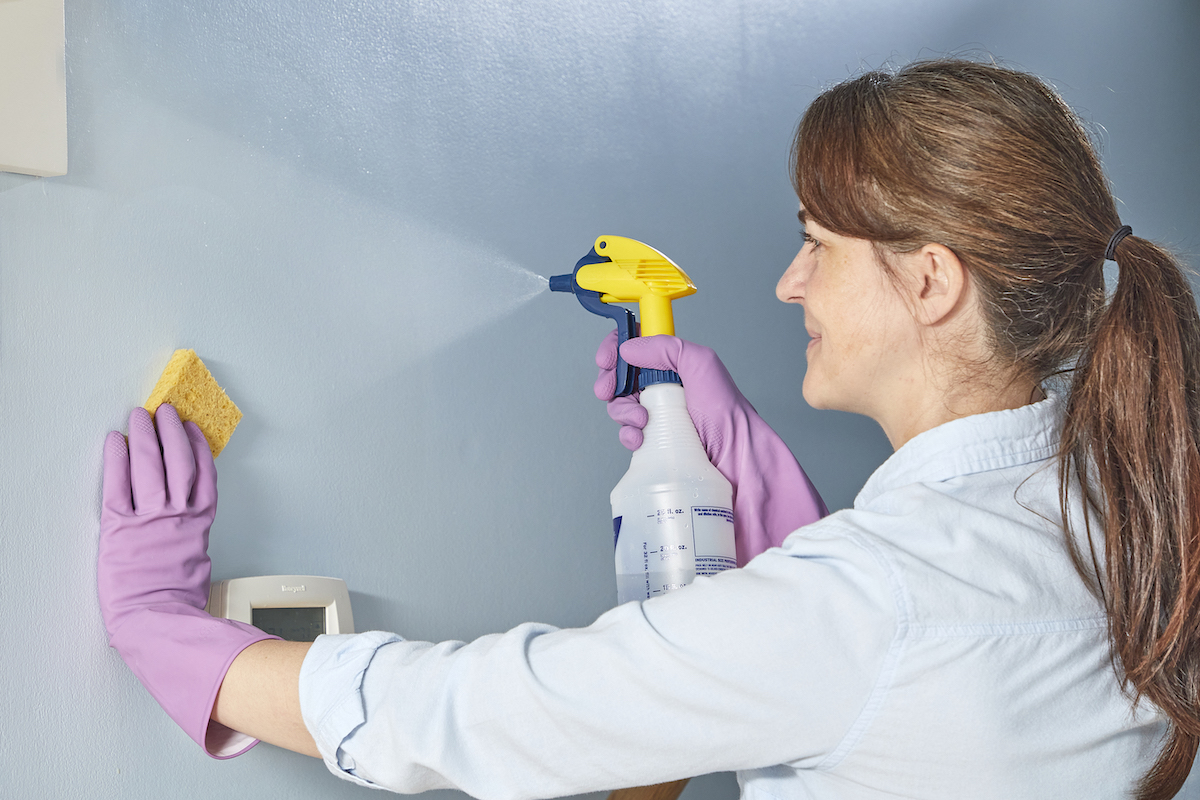
If you need even more firepower, create a solution containing 1 cup ammonia, ½ cup distilled white vinegar, ¼ cup baking soda, and 1 gallon of warm water. Add the solution to a spray bottle, spray it onto the wall, and lightly scrub with your sponge.
Step 5: Rinse the walls using a clean, damp sponge.
Before calling it a day, rinse out your bucket and fill it with warm water one more time. Dip a clean sponge in the water and wipe down the walls to remove any soap or chemical residue.
How to Remove Stains From Walls
If your walls are covered with either flat or eggshell latex paint, hiring a professional cleaning company may be the safest solution. If not cleaned properly, the finish of flat paint may wear down, leaving the color of your walls splotchy and uneven. A professional cleaning company will have the tools and experience needed to properly clean flat or eggshell paint finishes. If your walls have satin, semi-gloss or other more durable finishes, read on to learn how to remove stains from them.
SUPPLIES
Cellulose sponges
Baking soda
Lint-free cloths
Commercial degreaser
Mr. Clean Magic Eraser
Long-handled microfiber dusting tool
Step 1: Mix the stain remover.
You don’t need a fancy wall stain remover for this job, but just a paste made of baking soda and water. First, mix ½ cup of baking soda with about an ounce of water. Test the solution on a hidden part of the wall. If the paint still looks bright after your test and there are no water marks left after the area dries, you’re good to go. Otherwise, proceed with caution: A sloppy attempt could make the wall look worse than before you started.
Step 2: Apply the baking soda paste to the stain.
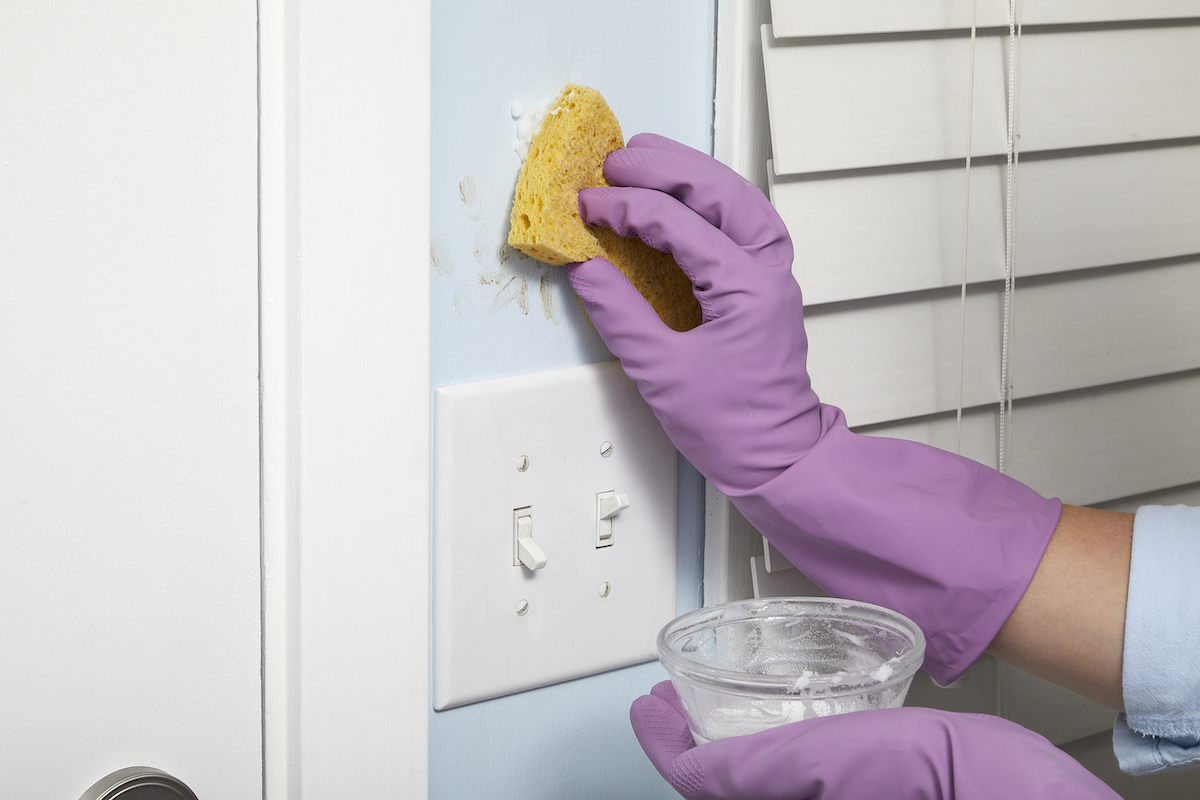
If no water marks remain after your test application has dried, it’s safe to proceed. Beginning at the top of the wall and working your way down, use a sponge to apply the baking soda solution to the stain in a thin layer. Again, scrub lightly, ideally in a circular motion, to minimize the risk of upsetting the paint.
Step 3: Wipe loosened dirt and grime with a dampened sponge.
As you work, use a clean, water-dampened sponge to clear away dirt and grime that clings to the baking soda paste. Work in sections, and take care to wipe off all of the baking soda with the damp sponge. After rinsing each section with the sponge, dry it well using a clean, lint-free cloth before moving on to tackle another stain.
Step 4: Use a degreaser or a Magic Eraser to remove any remaining stains.
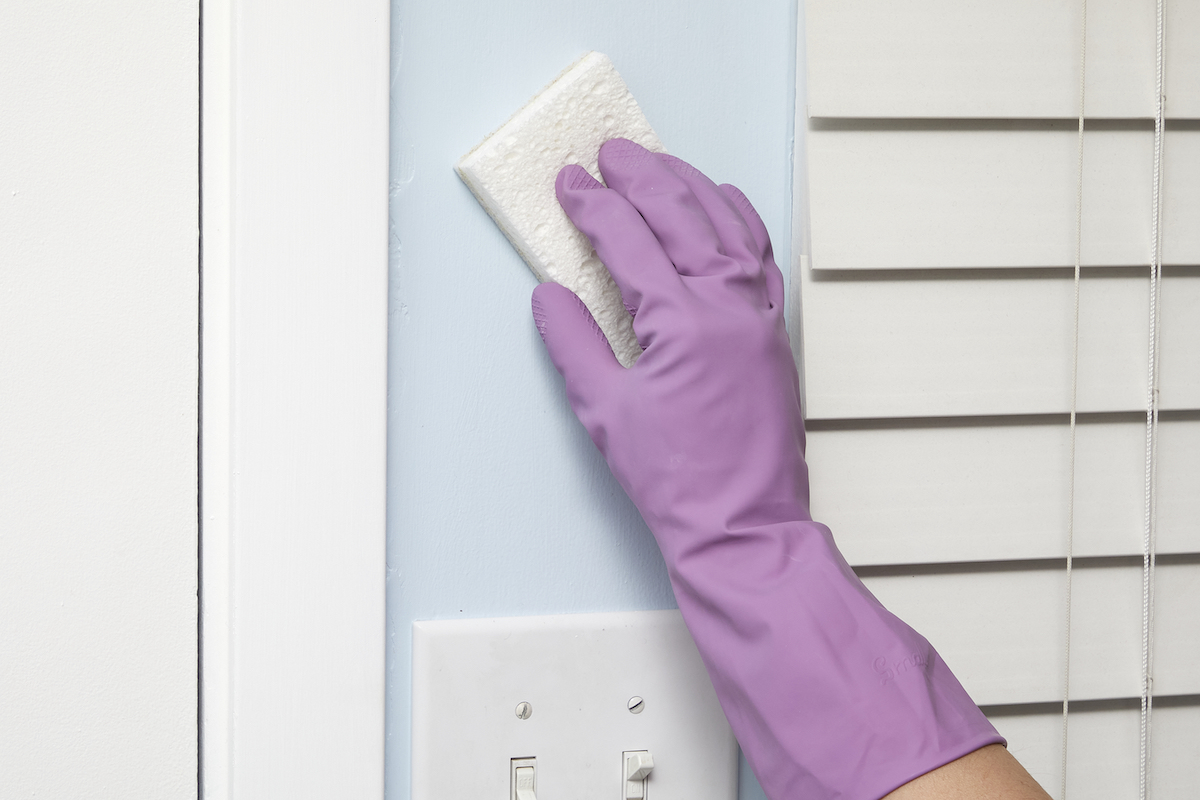
For particularly hard-to-remove stains that a gentle wall-cleaning solution just can’t handle—for instance, grease splatters on kitchen walls—try a commercial product like the solvent-free Spray Nine Heavy Duty Cleaner/Degreaser, or whip up a homemade degreaser. Mr. Clean Magic Eraser also works well as a wall scrubber to remove crayon marks and fingerprints from walls, making it an especially useful product in homes with children. This tool is so useful that it has earned it a place on our list of the only cleaning supplies you really need.
Tips for Keeping Walls Clean

Knowing how to clean dirty walls is important, but you’ll save yourself a lot of time and effort if you can manage to keep the walls clean in the first place. Using a long-handled microfiber dusting tool to remove dust and debris every 2 to 3 months can help prevent your walls from getting too dirty.
Walls in the kitchen or bathrooms may need a bit more TLC than walls in the rest of the house. Regularly using a damp sponge to remove food residue in the kitchen and steam marks in the bathroom will help keep the walls in these rooms looking their best.
Final Thoughts
Cleaning walls in your home doesn’t have to feel like a daunting chore. With just a few basic tools and materials, you can spruce up the walls in your home or get them ready for painting the room. Now that you know how to clean painted walls, do you feel empowered to tackle the cleaning task that lies ahead? Just remember: When cleaning painted walls, work gently and scrub using circular motions to avoid damaging the paint’s finish.
FAQs
Clorox wipes should not be used to clean porous surfaces. Using them on a wall, especially one coated with a matte paint, could ruin the finish. If you want to try to use Clorox wipes to clean your walls, it is advisable to do a patch test on an inconspicuous section of the wall, such as behind a piece of furniture, to make sure the wipe doesn’t ruin the paint’s finish.
Do not use any abrasive household cleaning products on painted walls. Mild soap and warm water will suffice for most cleaning tasks. For tougher blemishes, gently rub a paste of baking soda and warm water over the stain.
Vinegar can help clean walls before painting, but it’s important to rinse the vinegar off the wall and ensure that there is no leftover residue before applying a coat of paint. Additionally, make sure that the walls have sufficient time to dry before you begin painting. They should feel dry to the touch, otherwise the paint could blister.
