
We may earn revenue from the products available on this page and participate in affiliate programs. Learn More ›
The garage is often a multi-use space where we work on our cars, exercise, play, and use power tools. It’s also a key storage space for stashing everything from cars and holiday decorations to shelf-stable food and sporting gear. But it can be much more than a cluttered catch-all. Investing in new garage flooring can protect your foundation from spills, grease, and other mishaps. It also can add a little style and comfort underfoot to an oft-neglected space. But how do you choose which flooring option is right for you?
“Choosing the ideal flooring for a garage depends on how you use the space, your budget, and how much maintenance you’re willing to handle,” says Darian Leyva, Virtual Handyperson Expert for Frontdoor, a service that connects homeowners with skilled trades. “Some ideal types of garage floors include concrete sealer, concrete stain, textured concrete, interlocking tiles, roll-out vinyl, paint, carpet, peel-and-stick, epoxy, and stone.” Adding garage flooring like these can make a world of difference.
1. Interlocking Tiles
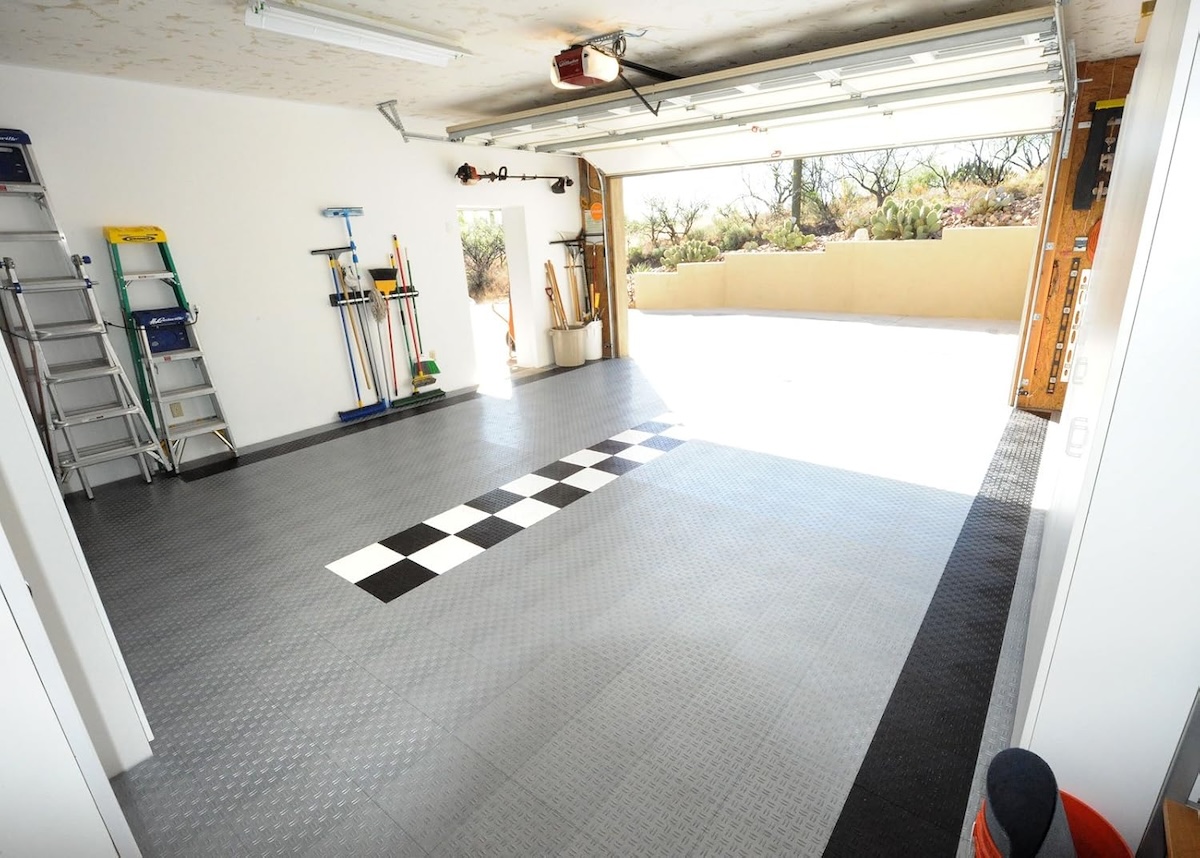
“Interlocking Tiles are a great DIY project and a great option for customizing the look of your garage floor,” says Leyva. “Not only are they easy to install, but they also come in a wide variety of colors, designs, and textures. This type of flooring is great for garage gyms as it is comfortable to stand on.”
Made from heavy-duty vinyl or rubber, these colorful squares snap together to provide stability rather than sticking directly to the garage floor. They’re great for hiding cracks in a concrete floor, although they’ll work best when the floor is level. Use garage floor tiles, such as Big Floors GarageTrac interlocking tiles, to combine several different colors and create custom patterns and borders. Unlike a playroom interlocking tile, these are made to withstand loads of up to 40,000 pounds.
2. Roll-Out Vinyl Flooring
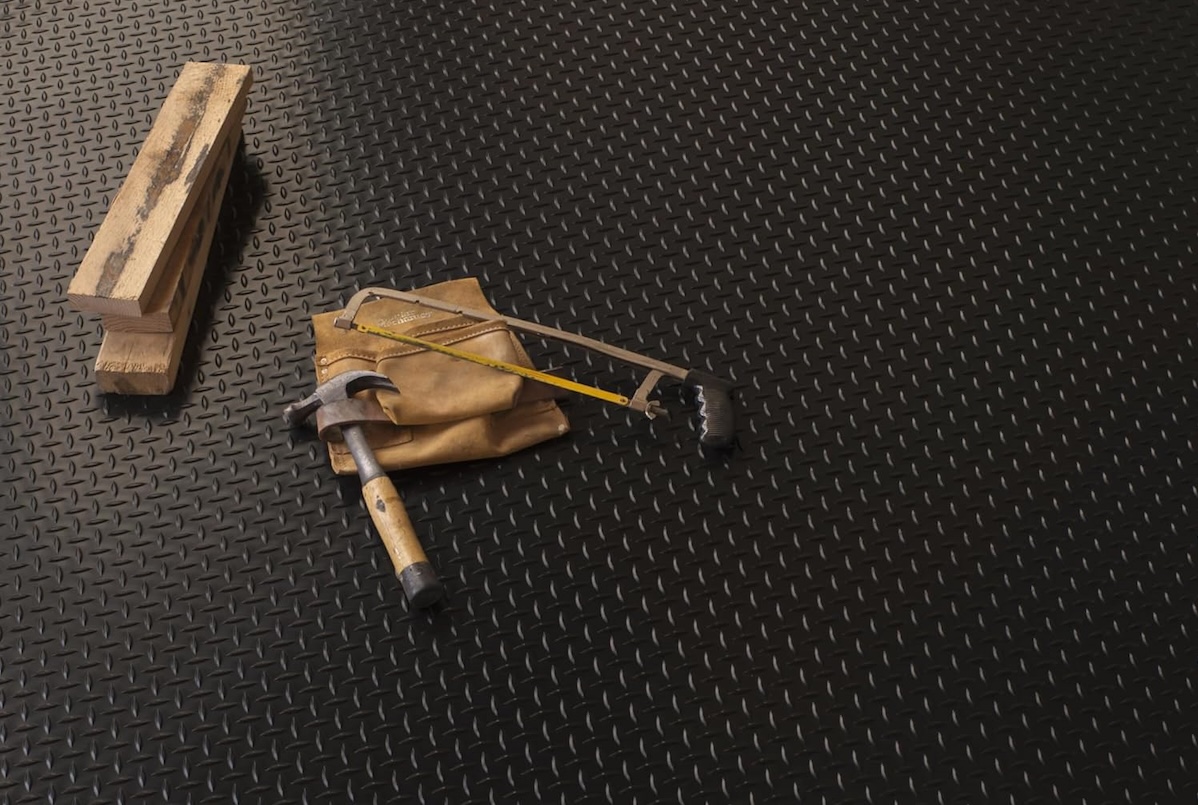
Roll-out flooring is easy to install, and hides a multitude of sins. It’s also waterproof. Installation is just as the name suggests: You simply unroll it on your garage floor, trim any excess to fit the space, and it’s ready to go. “This type of flooring is another budget-friendly option for homeowners looking to protect their garage floor without having to spend too much on materials or installation,” says Leyva.
Though it’s easy to install, the roll-out flooring is not as easy to repair as interlocking tile flooring, and you can’t easily create custom patterns with it. If a monochromatic garage floor is your thing, the G-Floor vinyl garage floor protector mat is worth considering. Made in the U.S., this mat comes with the classic diamond tread pattern and can be installed over concrete or wood subfloors.
3. Peel-and-Stick Tiles
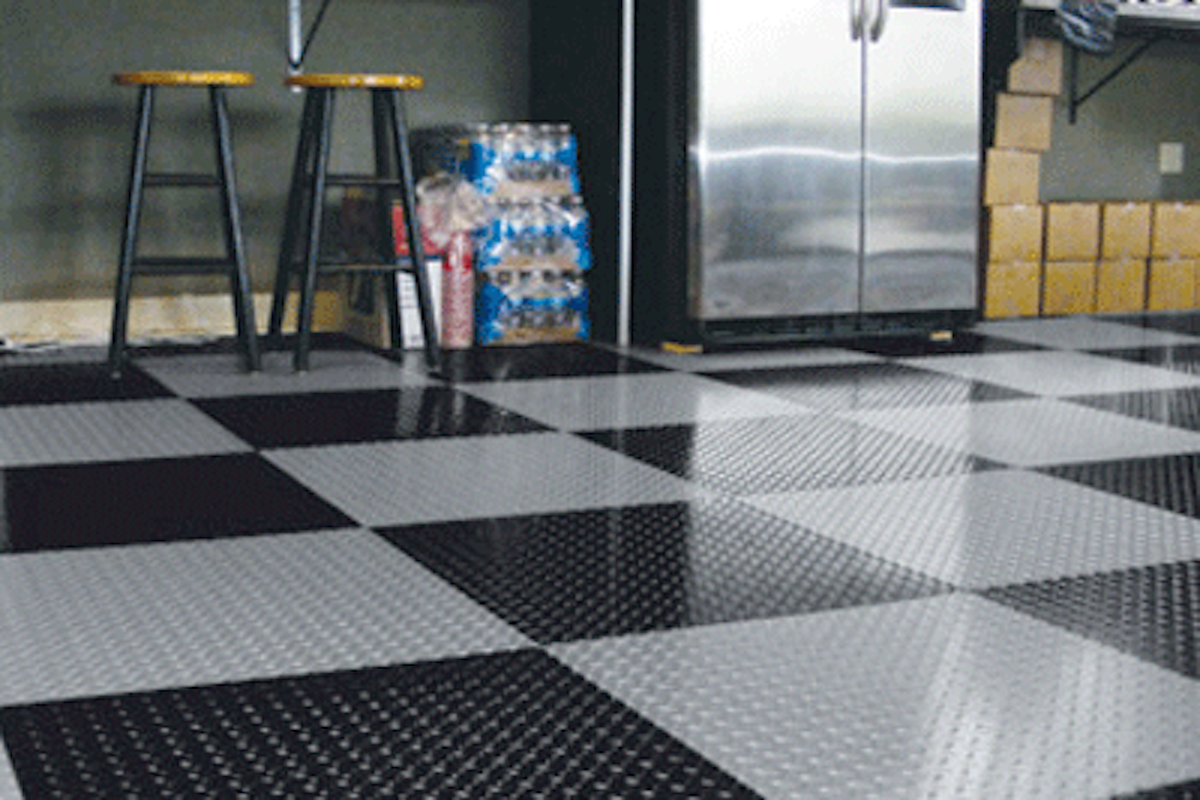
If you have a level garage floor without severe cracks, you can cover the surface with peel-and-stick tiles. “This type of flooring is a popular, budget-friendly choice for garages. Not only is it affordable, but it is also perfect for a DIY project,” says Leyva.
Typically made from heavy-duty vinyl or plastic, these tiles are easy to cut and quick to install. Because they’re tiles, combining different colors can make custom patterns. Eagle Mat makes peel-and-stick modular diamond-tread patterns garage tiles that come in two sizes and three colors: grey, black, and white. Choose one color for a classic look or more than one color to create an interesting checkerboard pattern.
4. Paint
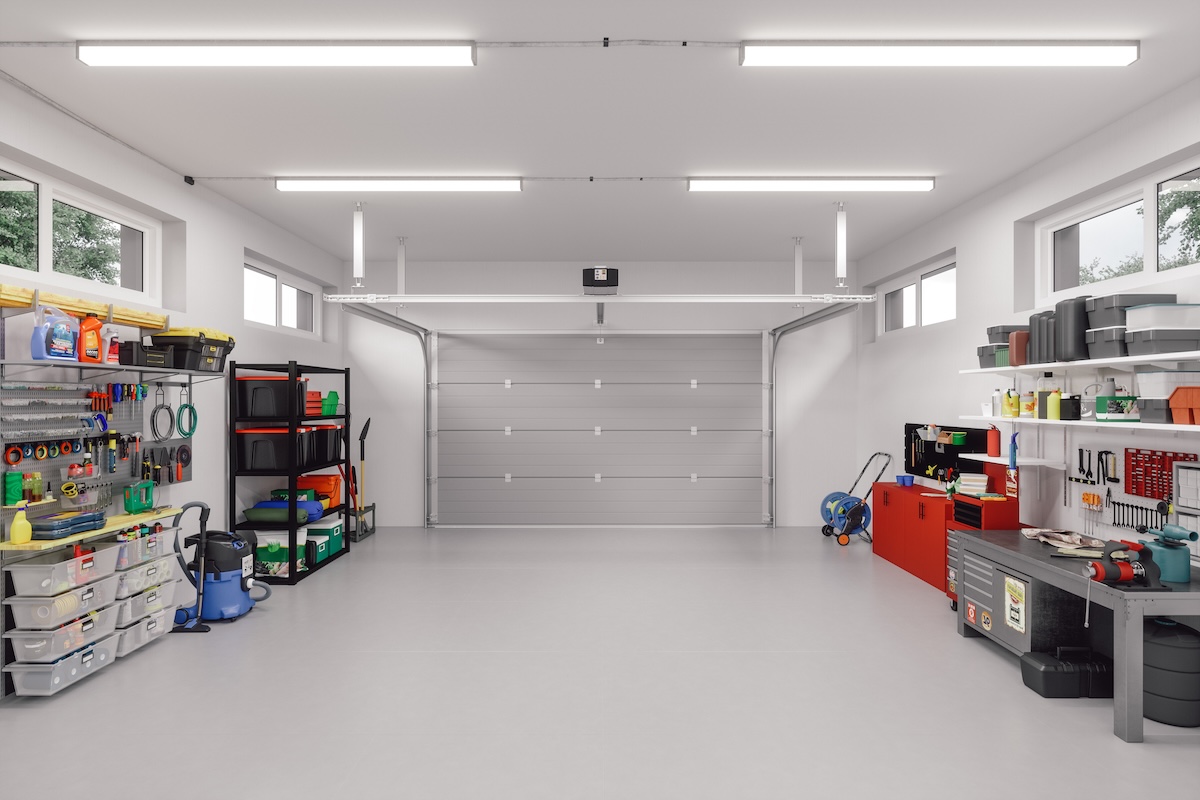
While most garage flooring ideas require purchasing new materials, this chore is simple enough to execute using supplies you may already have on hand. Leyva says, “This option also protects the concrete floor from stains such as oil, grease, or chemicals as well as from water penetration.” Note that garage floor paint is the least durable of garage flooring options, and you might need to repeat the process every 3 years or so.
Despite that drawback, painting a garage floor is an inexpensive way to improve its appearance, although it is labor intensive. Before starting, be sure to repair any cracks with concrete filler and clean the floor thoroughly. For best results, prime and paint using materials designed specifically for covering garage floors. One good option is Rust-Oleum’s concrete and garage floor paint, which resists drips of grease, oil, and gas, and also works on other interior and exterior concrete surfaces like patios and carports. Be sure to apply it with a ½-inch nap roller.
5. Carpet

“Installing carpet on your garage floors may sound unusual, but in the right circumstances, it can be a great choice,” says Leyva. “Many carpet options, such as carpet tiles, are DIY-friendly and easy to install. Carpet is a great option for any homeowner looking to utilize their garage as a home gym, hobby space, or playroom. Carpet also provides improved insulation, increased comfort, and noise reduction.”
Carpet tiles are installed as a series of peel-and-stick square tiles, so it’s easy to put down and it allows the flexibility to create eye-catching patterns. Traffic Master’s 18-inch-by-18-inch carpet tiles in seven colors. Made from recycled bottles, the tiles are stain-resistant and VOC-free. Plus, you can replace individual tiles fairly easily.
6. Epoxy
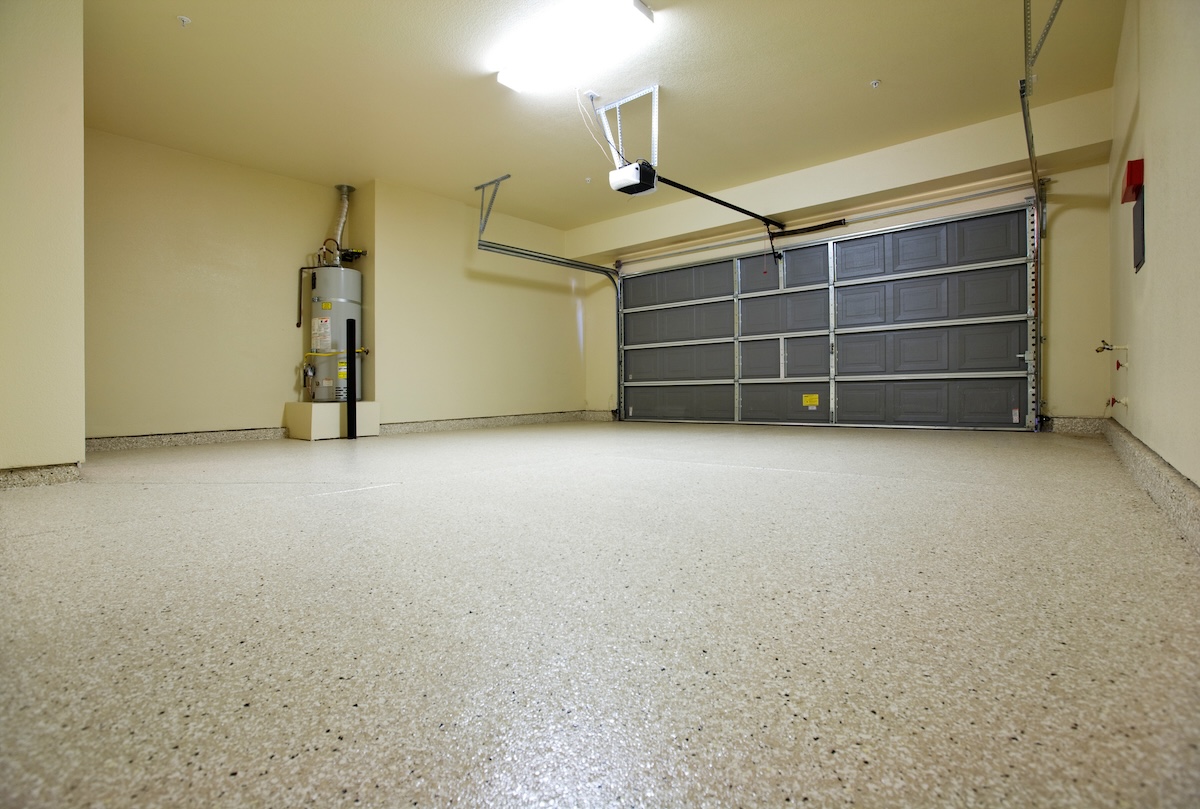
“Applying epoxy to your garage floor is easily one of the most ideal types of flooring out there. Epoxy is highly durable and long-lasting due to its ability to create a hard, impact-resistant surface that can handle heavy vehicles, tools, and equipment along with daily wear and tear,” says Leyva. “Besides all this, Epoxy is a fantastic way to make your garage floor pop with a sleek, professional, and polished look that upgrades your floor instantly.”
Just like painting with latex, applying epoxy—a type of paint containing a built-in hardener—requires that you patch and clean the floor. You also might need to etch the floor. Then you blend your epoxy paint and hardener, and apply it to the garage floor. You have to install epoxy quickly, because the mix is typically viable for only 2 hours. Scatter color chips across the floor’s surface and seal with a clear coat to create a durable, long-lasting floor that resists oil stains and wipes clean easily. Rust-Oleum’s Garage floor EpoxyShield kits come with concrete etch, epoxy, vinyl chips and everything you need—and they come in a few color choices, too.
RELATED: Buyer’s Guide: The Best Garage Floor Coatings
7. Concrete Sealer

If your budget is tight, your garage flooring options are limited. For those with concrete garage floors, sealing your floor might be enough to improve its appearance and durability. When applied correctly, concrete sealer can ward off stains, ensuring that the floor keeps looking fresh. Opt for a sealer like Behr’s Wet-Look Sealer if you want a high-gloss coating that offers exceptional floor protection. There also are low-gloss sealers made for garage floors like Behr’s Low-Lustre Sealer.
8.Concrete Stain

Unlike epoxy and paint, concrete stain is a thin coating that lets the old floor show through. This is one of the cheapest and easiest garage flooring options if your concrete flooring is in good shape, and yields an attractive watercolor or natural stone look. Staining concrete is not a good option if your floor is spotted and splattered, however, because those imperfections will show through.
Concrete stain tends to last longer than paint, because it seeps into the concrete and doesn’t chip off as easily. Plus, you can customize the color and some of them offer more features like in Glidden’s Concrete Stain, which limits surface temperature by up to 20 percent and is available in 26 colors.
9. Stone Flooring

Typically made by mixing small rocks and pebbles with epoxy, stone garage flooring can give a sleek finish to your garage. When selecting a stone for a garage floor, it needs to be durable like porcelain or the granite in MSI’s Black Galaxy, which offers a modern polished and speckled black look. But while its natural aesthetic makes it an appealing option initially, this type of flooring may break down over time and will more than likely need to be resealed every couple of years. Additionally, natural stone flooring can be a lot more expensive to install in your garage than other flooring options.
10. Polyaspartic Coating
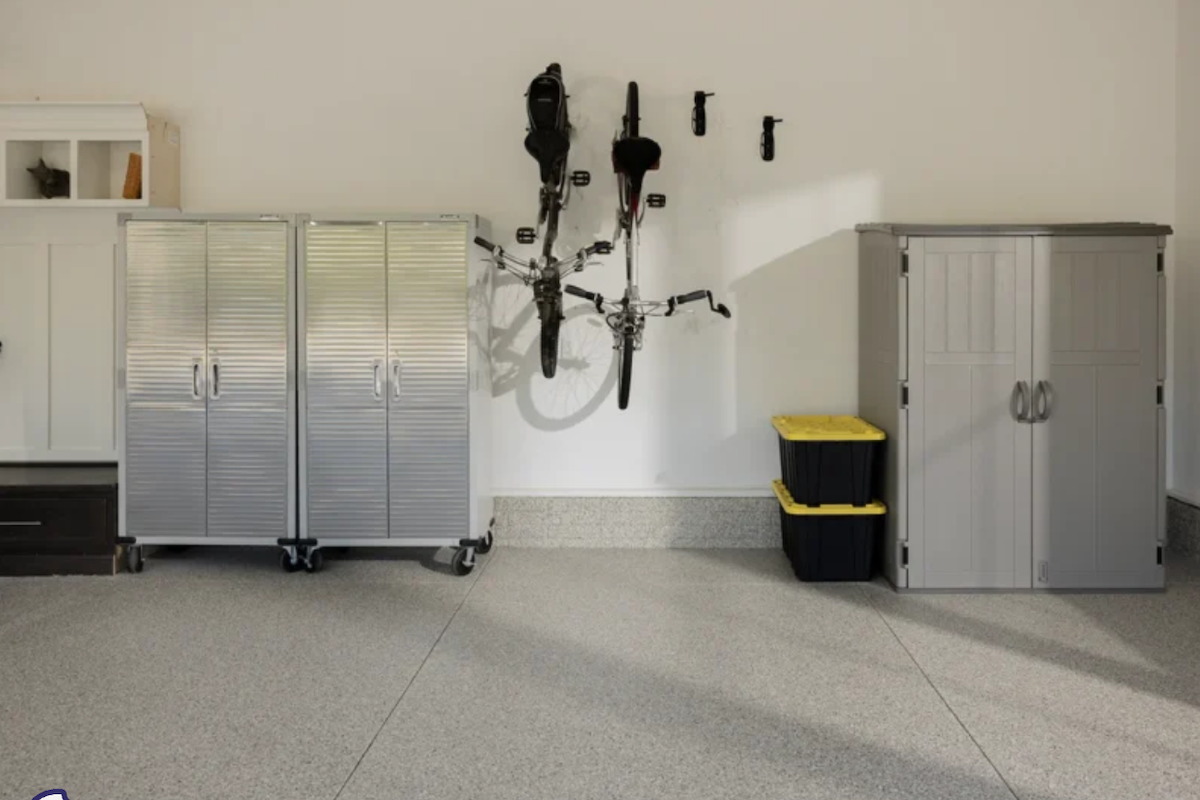
Unlike the other garage floor options on this list, polyaspartic flooring is not a DIY project. But, it offers durability that rivals epoxy and a fast curing time that beats epoxy. “For homeowners looking for durability, aesthetics, and long-term value, professionally installed polyaspartic coatings are ideal,” says Mike Gori, vice president of product development at Leaf Home. “They cure quickly, resist staining and pitting, and transform the garage into a clean, functional extension of the home.”
While the polymer-based coating is applied to the garage floor in one layer and cures quickly, it involves several intensive prep steps. First, the pros will clean and grind the floor with heavy machinery. They then fill cracks, and might need to add a moisture barrier in some climates. But the upside is that it’s slip-resistant and requires less maintenance than other garage floor options.
