We may earn revenue from the products available on this page and participate in affiliate programs. Learn More ›
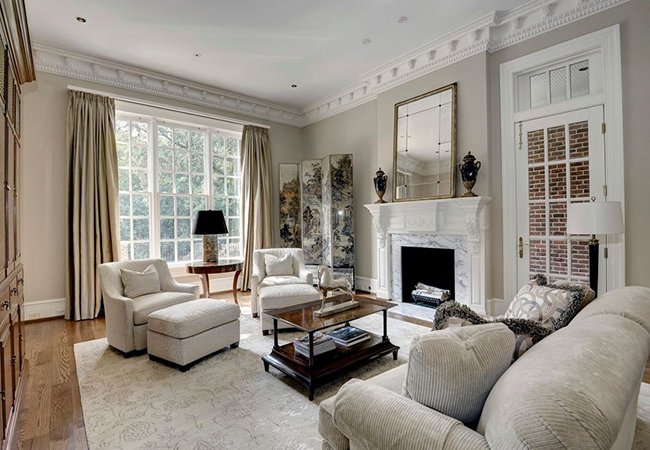
It’s the crowning glory of interior design: stylish overhead molding that adds architectural character while producing a visual separation between the walls and the ceiling. Whether installed to conceal cracks or an inferior taping job, or purely for aesthetics, crown molding brings elegance and personality to your space.
Learn the Basics of Crown Molding
Sometimes called cornices, crown molding dates back to ancient Greece, where craftsmen and builders chiseled ornate moldings from travertine stone or molded them from plaster.
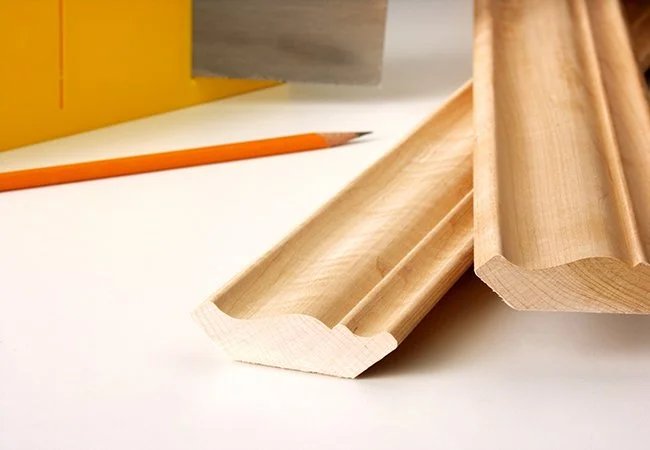
In generic terms, today’s crown molding is any horizontal trim that separates the walls from the ceiling or adorns the tops of other architectural elements, such as door casings and cabinets. More specifically, crown molding is the term for a particular trim shape contoured to fit at an angle between the wall and ceiling. Yet manufactured crown molding comes in a variety of designs, and in stock widths ranging from 1-½ inches to 7-½ inches.
Massive crown molding, the type you’re likely to see in a formal courtroom or federal building, is usually crafted from multiple pieces of trim. Finish carpenters can create large cornices by combining crown molding with additional types of molding, such as baseboard, bead board, cove and other types of trim to produce an imposing custom look.

Get to Know Crown Molding Materials
If you’re unfamiliar with the trim aisle at your local DIY store, you might be surprised to find crown molding is manufactured from a variety of materials. Each has its pros and cons.
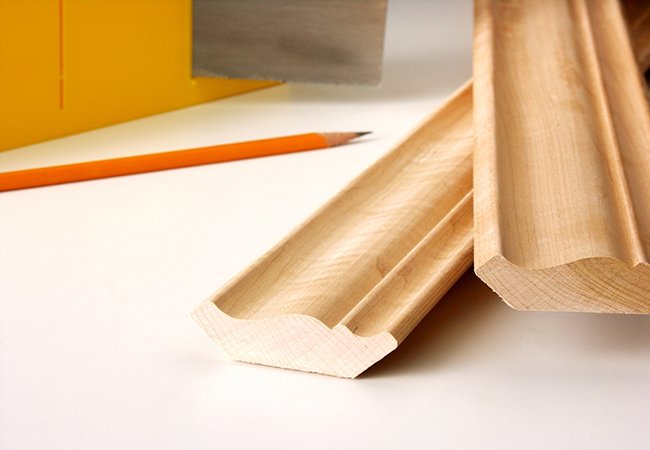
- Wood crown molding is the industry standard, and you can choose from paint-grade pine or, if you prefer to stain the trim, a variety of hardwoods, including ash, oak, and walnut. Simple wood crown starts around $1 per foot for plain pine and goes up in price depending on size and ornateness. You could pay as much as $30 a foot for large hardwood crown molding that features elaborate milled designs.
- Medium-density fiberboard (MDF) molding, produced by combining sawdust and resin under pressure to form trim pieces, is a less-expensive option. You can get large, detailed crown for between $1 and $7 a foot, depending on design. A lot of MDF molding is meant to be painted, but you can find a few stock designs that come with a thin veneer that’s suitable for staining. The downside to MDF is its softer nature, which makes it prone to nicks and scratches.
- PVC and polyurethane moldings hold up well in bathrooms and other high-humidity areas where wood tends to warp. Molded and extruded, these moldings are lightweight and easy to cut, and their cost ranges from around $2 to $4 a foot. This type of crown molding usually installs with construction adhesive, making it DIY friendly, but design choice is limited.
- Polystyrene molding is budget-friendly and, like PVC and polyurethane, a snap to cut and install with foam-safe adhesive. It starts under $1 per foot, but it dents easily and, upon close inspection, its texture resembles the foam used to make foam-type coffee cups. Two or three coats of quality paint will help smooth out the surface texture.
- Plaster crown molding is best suited for large elaborate designs on high ceilings, such as two-story entryways, where it commands attention and creates a strong visual impact. You won’t find this specialty item at DIY centers but can order custom-cast designs from many traditional lumberyards. Plaster crown is pricey, up to $30 a foot, plus it requires professional installation.

Consider Design Carefully
While nearly all rooms can benefit from a crown molding upgrade, those with high ceilings are especially suited because the molding creates a visually unifying effect that makes the ceiling feel more like a part of the overall design.
When shopping for crown molding, consider the vibe of the room it will enhance. Victorian-style crown, for example, would look out of place in a rustic log cabin. Large, detailed trim would overwhelm a small room or one with low ceilings, while thin crown molding lacks the presence a spacious, high-ceilinged room demands.
To achieve visual balance, select crown molding similar in size and style to other trim in the room, such as baseboard molding, window trim, and cabinet trim. Use the same discerning eye when deciding between painted or stained crown. If the door, window, and base trim are all painted, a stained wood crown molding probably wouldn’t suit the space.

Install Crown Molding Like a Pro
The less expensive types of crown molding—PVC, polyurethane, and polyethylene—are easiest to install. Successful installation of MDF or wood crown molding requires intermediate carpentry skills.
PVC, POLYURETHANE, OR POLYETHYLENE
Start by making 45-degree miter joints on both inside and outside corners. (A miter joint is a joint where the ends of two separate pieces are cut on an angle and fitted together.)
Use a miter saw or a hand-held coping saw to create sharp, precise cuts. For an inside corner, measure to the corner and transfer the measurement to the back side of the molding; then make a 45-degree cut to create an angle where the back side is longer than the front side. For an outside corner, transfer the measurement to the front side of the trim and cut the angle in the opposite direction to create a 45-degree angle with the front edge as the longest point. For best results, follow the old carpenter adage: Measure twice, cut once!
Attach using the adhesive recommended by the molding manufacturer, and fill inside corners and gaps with latex caulking before painting the molding.
MDF OR WOOD
Installing MDF and wood crown molding requires finish carpentry skills, specifically the ability to cut and fit inside coping joints. Coping joints involve “back beveling,” a precise process of cutting and filing away the backside of the molding to create a fluid front edge that fits the adjoining trim profile perfectly. When installed correctly, coping joints mimic miter joints but they don’t gap. Inside miter joints for wood and MDF are discouraged because the attachment process (nailing or screwing) causes the joints to gap.
If you don’t feel confident cutting and fitting coping joints but aren’t prepared to hire a finish carpenter, consider purchasing decorative corner blocks (like these) that install on both inside and outside corners. These allow you to make blunt, 90-degree cuts on the ends of the molding and butt the ends against the decorative corners.
Wood crown molding attaches with finish nails or finish screws to both the ceiling plate and to the wall studs. If you’re having oversize crown molding installed, your carpenter may have to install additional blocking in the ceiling to support the weight of your ornate decorative accent.


