
We may earn revenue from the products available on this page and participate in affiliate programs. Learn More ›
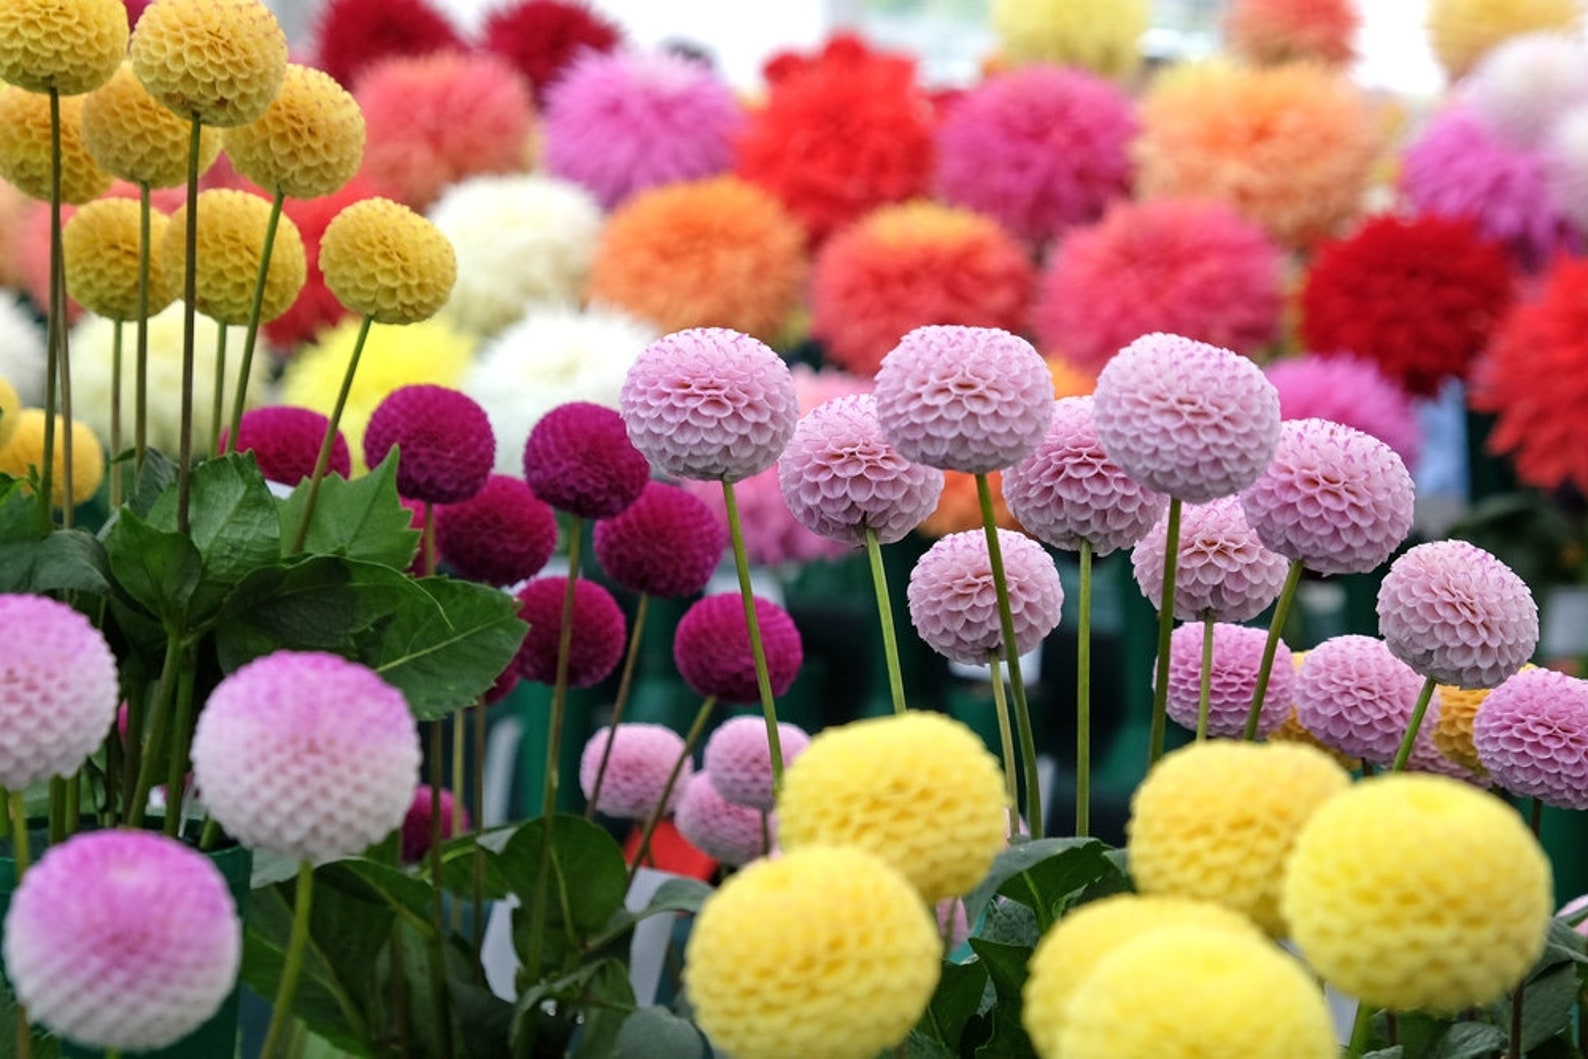
From 2-inch pom-pom dahlias to the 10- to 15-inch dinnerplate dahlia, this tuber covers the range of bloom size, flower size, plant height, and color better than almost any competitor. The dahlia plant flowers from midsummer until frost, providing ample opportunities to gather cut blooms. In fact, the more you cut, the more they’ll bloom.
In hardiness zones lower than 8, dahlias are a fussy annual that many gardeners still deem worth the work. Dahlia care includes providing full sun, well-draining soil, and protection from the wind. They won’t tolerate cold soil or temperatures and prefer moderate, moist climates over hotter zones containing states like Texas and Florida.
RELATED: 14 Old-Fashioned Flowers That Still Look Great in Today’s Home Gardens
Growing Dahlias at a Glance
Common Name: Dahlia
Scientific Name: Dahlia
Hardiness Zone: Zones 8 to 10
Soil: Rich, well-draining soil with a pH level of 6.0 to 7.5
Light: 6 to 8 hours of direct sun, especially morning sunlight
Water: Evenly moist; never soggy or dried out
Food: High in potassium and phosphorus, low in nitrogen: 5-10-10, 10-20-20, or even 0-0-10
Propagation: By tubers, cuttings, or seeds (seeds may not produce true to the parent plant)
Safety: Mildly toxic to dogs and cats
Dahlia Characteristics
This native of Mexico and Central America comes in more than 20,000 cultivars and 30 species. Dahlia species’ size ranges from 1 to 6 feet tall on upright stems that provide space for a multitude of blooms. A member of the Asteraceae family, which includes sunflowers, daisies, chrysanthemums, zinnias, and asters, dahlias are late-season bloomers. For that reason—and the fact that dahlias don’t like cold soil—many gardeners like to start them indoors in the spring.
Dahlias grow well in containers and make excellent cut flowers. They often were included in wedding bouquets during the Victorian era, where they symbolized commitment and everlasting union. Beautiful blooms aside, dahlias once were categorized as a vegetable by the 18th- century Swedish botanist for whom they’re named, Anders Dahl. This was because of their edible tubers, which taste like a cross between a potato and a radish. That said, dahlia tubers are toxic to most pets.
RELATED: 11 Florals That Will Give Your Garden an English Cottage Feel
Recommended Dahlia Varieties
With numerous varieties from which to choose, it can be difficult to limit your garden to just one or two. Try some established favorites, such as:
- Linda’s Baby is a peachy-pink ball with long stems that make it a good cutting flower.
- Diva is a stunning plum ball on a 4½-foot-tall plant with a dahlia flower that lives up to its name.
- Megan Dean is a smaller dahlia variety, about 3 to 4 inches in diameter in a delicate shade of lilac that fades to a bluish-white at the tips.
- Ivanetti’s burgundy/maroon ball is a long-lasting cut flower.
- Labyrinth is a bicolor pink and peach dinnerplate dahlia that grows 8 to 10 inches wide.
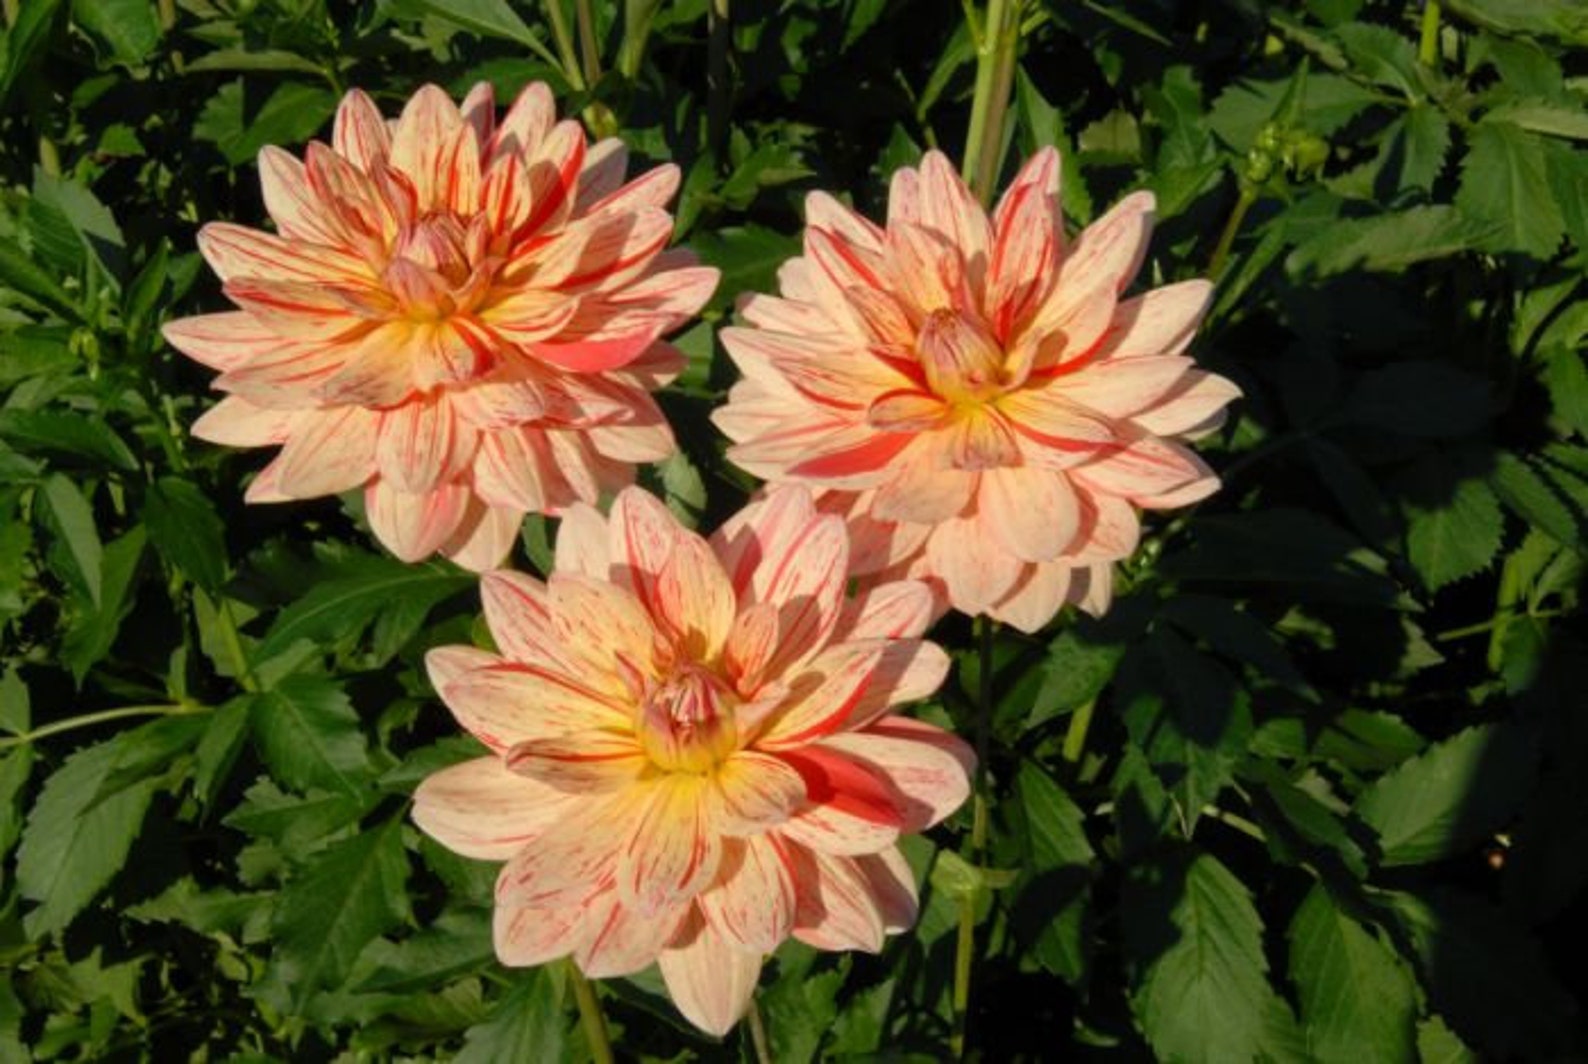
- Peaches and Cream is an orange-yellow dahlia with curled, triangular petals. It reaches 5 inches across.
- Myrtle’s Folly is a pink-yellow-orange dahlia with twisted narrow petals that produce a fluffy effect, and its flowers reach 6 to 8 inches across.
Planting Dahlias

Dahlia plant care begins with proper planting. Select tubers with at least one “eye” and plant them in soil that receives full sun and has good drainage. Tubers left to sit in soggy soil can easily rot. Wait until the soil temperature reaches 60 degrees before planting, since dahlias don’t like cool soil or air.
Small dahlia varieties should be planted 2 to 3 inches deep; larger types should be planted 6 to 8 inches deep. They should be spaced 18 to 24 inches apart to allow for growth. Plant the tubers on their side, with the “eyes” facing up, and cover them with soil. Mulching is advised, both for weed control and moisture retention. Taller plants may need to be staked.
Do not water dahlia tubers after planting; wait until the stems sprout.
As for how to take care of dahlias in containers, the process is similar. Be sure the container is big enough and has drainage, plant the tubers at the correct depth, and place the container in the sun.
When is the best time to plant dahlias?
The best time to plant dahlias is in the spring, once the soil temperature reaches 60 degrees and danger of the last frost has passed. Dahlias will not tolerate cold soil. A good rule of thumb is to plant them a few days after you plant tomatoes.
If you want to get a head start in a cold climate, you can plant the dahlia tubers in 1-gallon pots about 2 to 4 weeks before your last frost date.
RELATED: Monochromatic Gardens: The Best Flowers To Plant, Whatever Your Favorite Hue
Where can dahlias grow?
Dahlias are hardy plants in Zones 8 through 10. Proper care for dahlia plants in Zone 7 includes adding a thick layer of mulch to help them survive the winter.
Do dahlias come back every year? In Zones 3 to 6 or 7, they are considered annuals and will not survive the winter. You can dig up and store the tubers until spring.
Do dahlias like sun or shade? In moderate climates, they prefer full sun, but in hot regions such as Zones 8 to 10, they may benefit from a little afternoon shade.
How do you plant dahlias?
Planting dahlias is quite easy, requiring just a little preparation. Be sure to work your garden’s soil to a depth of 6 to 12 inches before planting dahlia tubers.
- Dig holes for the tubers. These should be 2 to 3 inches deep for small dahlia varieties and 6 to 8 inches deep for large varieties. Space the holes 18 to 24 inches apart.
- Plant 1 to 3 tubers per square foot, placing them on their side with the “eyes” facing up.
- Cover the tubers with soil and mulch.
- Place stakes for taller varieties of dahlias.
- Wait to water until you see them sprout above the soil line.
Can you grow dahlia in containers?
Smaller dwarf varieties of dahlia adapt well to container growing, although almost all dahlias will perform better in the ground than in a container. Use a mixture of two parts topsoil to one part potting soil to fill the container.
Plant to the same depth and maintain the same spacing as you would if planting in the ground. One difference is that you’ll need to sparingly water the container until the plant sprouts. Just beware that overwatering can result in plant rot. Even after the plant grows, it may require regular watering to keep it from drying out.
Once the tuber sprouts, biweekly application of low-nitrogen fertilizers or slow-release fertilizer can be beneficial.
RELATED: 20 Perennials to Plant in the Fall for Beautiful Spring Flowers
Watering Dahlias

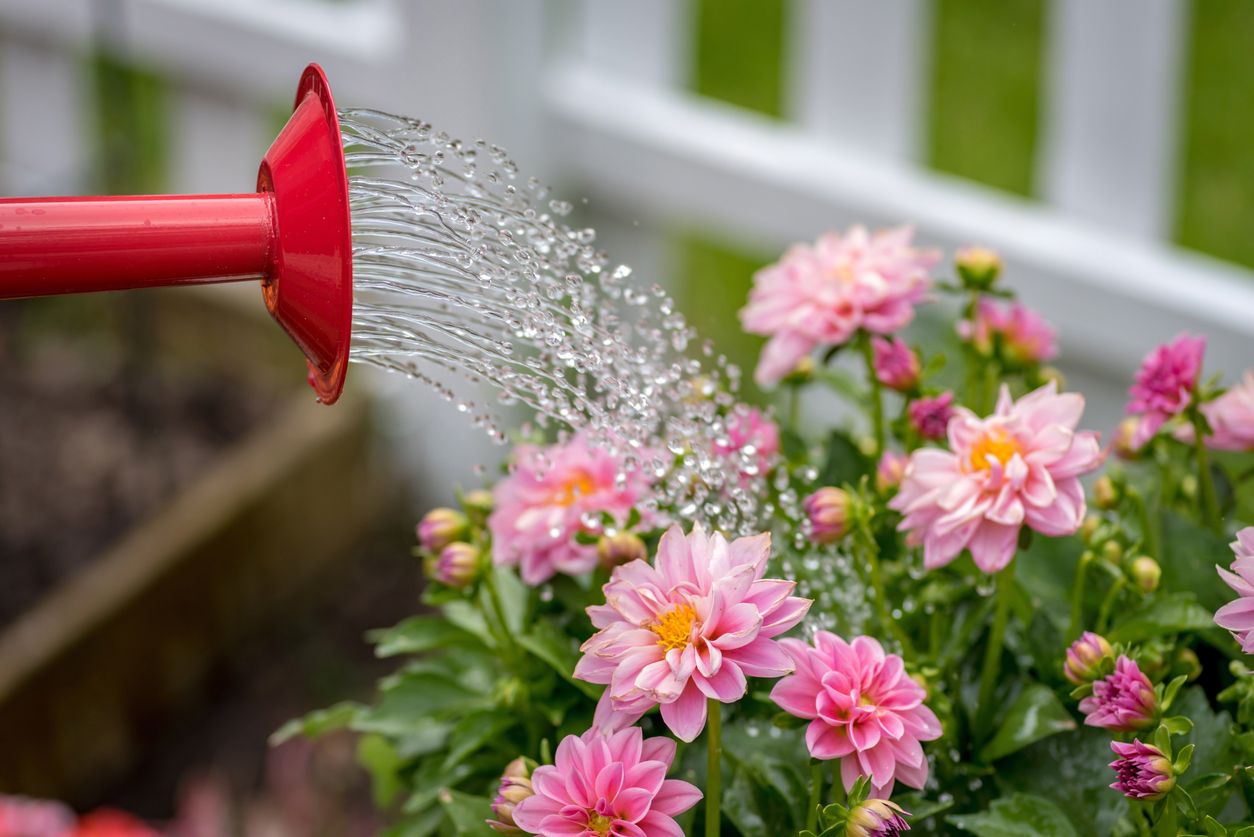
The consistent water supply provided by a drip irrigation system provides the best care for dahlias. Too much water can result in stem and root rot, or limp, soggy leaves. Underwatering, on the other hand, results in yellow or even crispy leaves and wilting plants. When watering, try not to get water on the leaves, since that can lead to fungal diseases.
Tubers planted outside do not need to be watered when first planted. Similarly, watering is not necessary in the autumn when plants start to go dormant.
Fertilizing Dahlias
Start with fertile soil. Before planting, work in compost or other organic matter. At planting time, you can apply an all-purpose 5-5-5 fertilizer typically used for tomatoes.
A low-nitrogen fertilizer is best for dahlias once they start blooming. Apply it once or twice a month. Stop fertilizing by mid-September to allow them to prepare them for dormancy.
Pruning Dahlias
Pruning, topping, or pinching plants is part of how to care for dahlias because it results in shorter and bushier plants that produce healthier stems for cut flowers. This process can also encourage more blooms.
A one-time cut (or pinch) on the center shoot above the third set of leaves can redirect growth to create a fuller plant. Once three sets of branches have appeared, the pruning can be effective. Topping can also be performed when the plant is 18 to 20 inches tall.
Propagating Dahlias

There are two methods of dahlia propagation: from cuttings or from tubers.
For cuttings, use a sharp, sterilized knife to cut into the tuber just below the sprout. Remove the lower leaves. Dip the end of the cutting into rooting powder and plant it in a pot filled with potting soil. Water and place the pot in a sunny location, keeping the soil moist. Cuttings should root in 2 to 3 weeks, at which time they can be transplanted to the garden.
For tubers, mix potting soil, vermiculite, and peat in containers. Meanwhile, place clumps of tubers with “eyes” in a warm, moist area until the eyes sprout. Using a sharp, sterilized knife, cut those tubers from the clump. Plant them in the containers, laying them horizontally with the eye pointing up, and cover them with soil. Keep the soil moist and place the pot in a sunny spot. Once they sprout, they can be transplanted to your garden or kept in the container.
Safety Considerations
If ingested, a dahlia’s flowers, leaves, and roots can cause mild gastrointestinal issues and dermatitis in pets. Look for signs such as skin inflammation, scratching, fur loss, upset stomach, loss of appetite, and diarrhea. Fortunately, these symptoms are typically mild, and eating dahlia is rarely fatal to pets. The symptoms can usually be treated by a veterinarian.
Dahlias can be consumed safely by people and appear to be harmful only if consumed in excess.
Potential Pests and Diseases
Young dahlia plants are susceptible to slugs and snails, which eat fresh sprouts and tender new foliage but seldom bother mature plants. The most common predators are spider mites, which cause the plant to appear dried out, with leaves turning yellow and brown. Other common pests include thrips, earwigs, cucumber beetles, caterpillars, and grasshoppers, all of which can be controlled with insecticidal soap or neem oil.
Powdery mildew and other fungal diseases are also common. Space out dahlia tubers appropriately for sufficient air circulation as they mature, and keep the foliage dry to prevent issues—although mildew can show up in the autumn due to humidity.
Harvesting Dahlias

Dahlias are such spectacular flowers that you’ll want to keep them around your home and garden for years to come. By learning how to harvest the flowers, you can create long-lasting colorful bouquets for your home. Similarly, taking a few simple steps to harvest the tubers at the end of the growing season, followed by proper winter storage, will enable you to enjoy these showstopping flowers year after year.
When is the best time to harvest dahlias?
Dahlias make great cut flowers, so don’t deprive yourself of their beauty in your home. Besides, the more you cut, the more they’ll bloom, so you’re not reducing the number of flowers in your garden—you’re merely adding flowers in your home.
Bouquets that are properly harvested and cared for can last a week or more. Go into your garden in the cool mornings and cut some stems with blossoms that are almost fully open.
How do you harvest dahlias?
Dahlia flowers are easy to harvest and will last a long time if you follow a few simple steps.
- Cut in the morning before the heat of the day when the bud is almost fully open, making sure you have at least 12 inches of stem.
- Remove the bottom leaves and cut the stems to the desired length.
- Arrange in a vase and place in a cool spot out of direct sun.
How do you store dahlia tubers?
The key to storing dahlia tubers is to know when dahlias should be cut back. Gardeners in Zone 8 to Zone 10 can cut back the stems to several inches above the ground and leave the tubers in the ground all winter.
In Zones 3 through 7, dahlias should be pulled just before or just after the first frost in the fall because they won’t survive freezing temperatures all winter, although they might survive in Zone 7 with lots of mulching. Digging them up and storing them is the only way to preserve dahlias for the next season in cooler climates.
- After cutting off the stems, dig a wide circle around the plant with a spade and lift out the tubers with a pitchfork.
- Clean the tubers in preparation for storage and let them dry for 12 to 24 hours.
- Place the tubers in a paper bag, cardboard box, bushel basket, or other non-plastic container. You can pack them in loose material such as wood shavings, Styrofoam peanuts, or vermiculite that maintains moisture content without prohibiting airflow.
- Store in a cool, dry, dark place until spring.
RELATED: How to Dry Flowers: 5 Easy DIY Methods
Looking for more blooming plants? Check out our guides on growing milkweed, begonia, and bulbs with show-stopping blooms.
