We may earn revenue from the products available on this page and participate in affiliate programs. Learn More ›
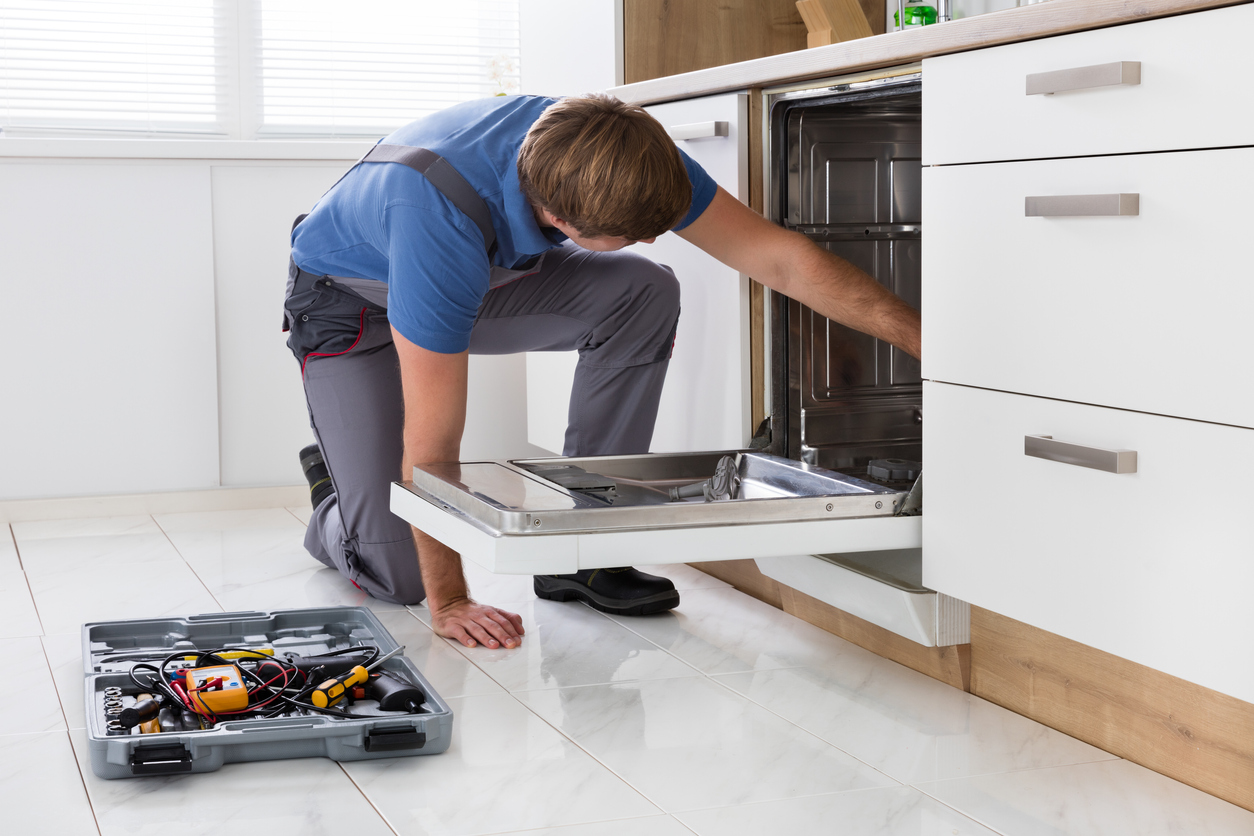
It’s hard to imagine entertaining a houseful of guests or even just dealing with a family’s worth of dirty dishes every day without your time-saving, high-tech dishwasher. You may take for granted that your trusty machine will continue working no matter how many times you load its racks and push Start. Of course, that’s not true. A number of problems can occur with the dishwasher, from underperformance to inadequate drainage. According to the 2019 National Appliance Repair Report from Puls (a nationwide network of technicians who specialize in this type of house call), one of the most common reasons homeowners call a repairman for the dishwasher is a leak.
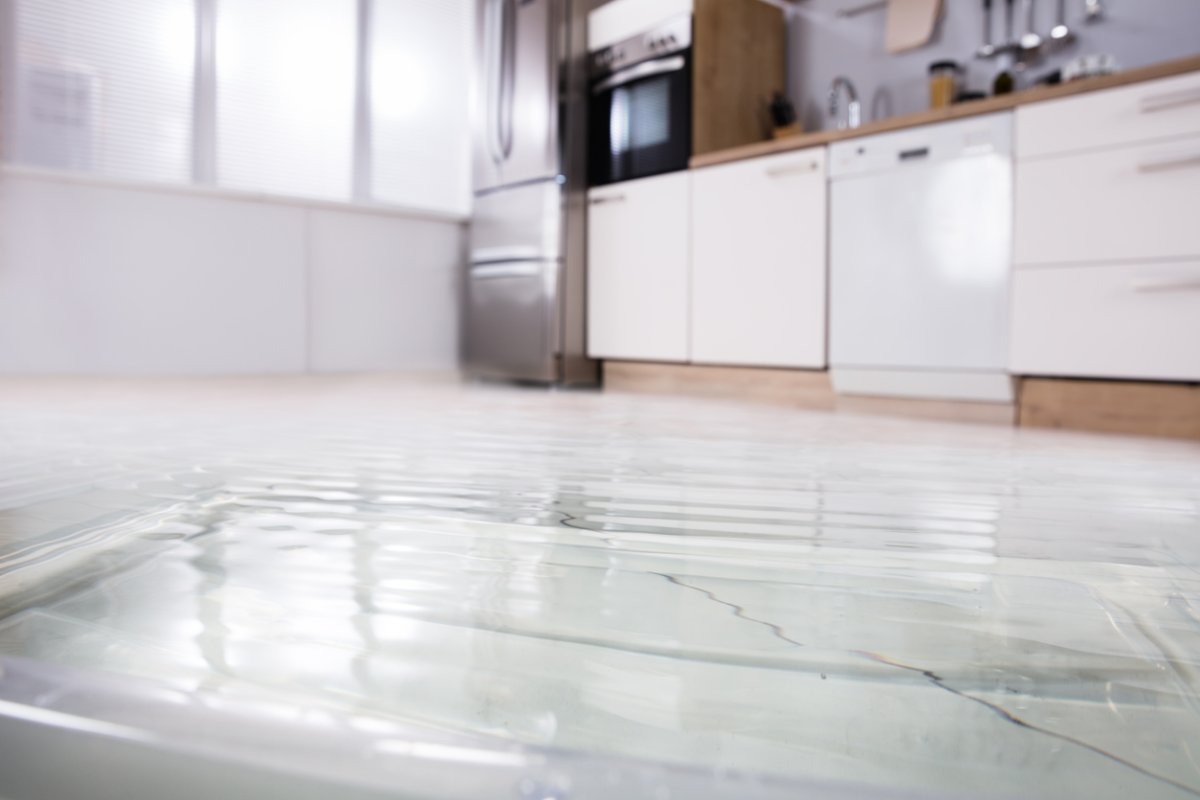
Have you been trying to ignore a small puddle of water that appears on the floor after each wash cycle? If you notice your dishwasher leaking, don’t risk major water damage to your floor or get stuck washing your dishes by hand; figure out if one of these five reasons is the culprit and fix it.
Safety first: Before you start poking around the electrical components of your machine, make sure you unplug it and shut off power at the circuit breaker that controls the kitchen appliance. While you’re at it, make sure the water valve (located under the kitchen sink) is closed. Then, grab the user manual that came with your appliance or find a copy of the PDF online to get to know which part of your leaking dishwasher is giving your problems.
1. The dishwasher door gasket isn’t creating a watertight seal anymore.
A failing gasket seal along the edge of the appliance’s door is one of the most common reasons for dishwasher leaks. When new and supple, its rubber material works well to keep water inside the machine—but it can dry out, become brittle, and crack after years of use. Dried foods can also build up along the gasket edge and prevent the door from closing tight against the frame.
WHAT TO LOOK FOR: Water leaking from the sides of the dishwasher. Open the dishwasher door and run your hand along the gasket to check for dried-on food, cracks, or missing pieces.
THE FIX: Replace the gasket. If the door gasket is damaged, you can swap it out yourself. Consult your owner’s guide to find the model information so that you can pick up a suitable replacement part from your local big-box store or manufacturer.
Remove the old gasket by peeling it away from the door. Clean the channel with warm, soapy water. Warm the new door gasket with a hairdryer on Low Heat—this will smooth out any folds and make it more pliable. Position the center of the gasket along the top of the door, and press evenly across the top and down both sides. Close the dishwasher door to seal the gasket tightly into place.

2. The spray arm can’t do its job.
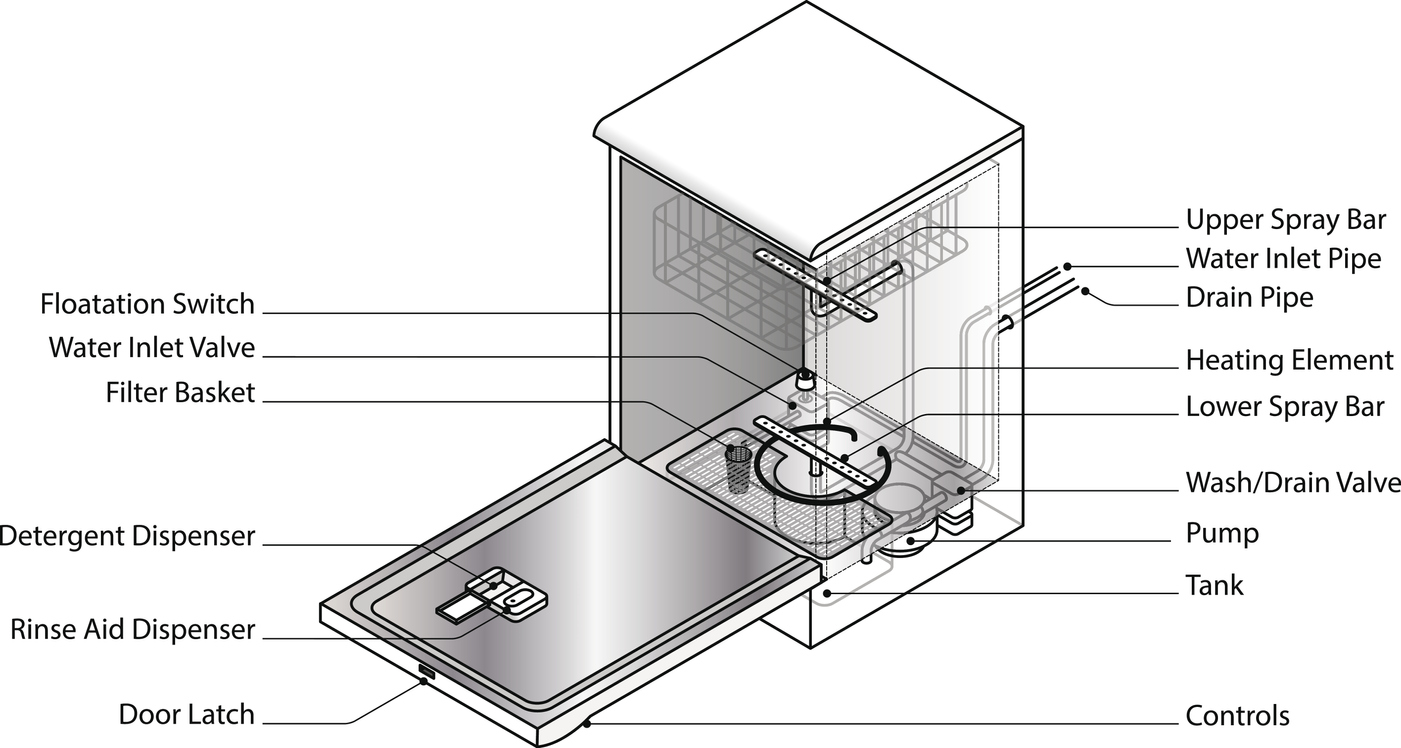
On the interior floor your dishwasher, the spray arm spins during the wash and rinse cycles and sprays water onto the dishes. However, in an overcrowded or incorrectly loaded appliance, utensils and dishes may block the arm from rotating properly or cause it to become dislodged, even damaged after years of use, which leads to leaks.
WHAT TO LOOK FOR: A stuck or clogged spray arm. Open the dishwasher door, remove the lower dish rack, and spin the spray arm to see if it moves freely. If not, clear any obstructions like fallen silverware or residue build-up. Unscrew the spray arm counter-clockwise to remove it and inspect for damage such as cracks or blocked holes.
THE FIX: Install the new spray arm. You can order a new one from the manufacturer and replace the defective arm yourself. First, unscrew the spray arm counter-clockwise if you haven’t already. Then, line up the center hub with the opening on the dishwasher floor and screw it in clockwise. Test that it spins freely and, when satisfied, reinstall the bottom dish rack.

3. The float switch isn’t cutting off water during cycles.
A float assembly consisting of a float and float switch are used to maintain the proper water level during the wash and rinse cycles. When your dishwasher runs, the float lifts with the rising water. When it reaches a certain height, it triggers the float switch to turn off the water. If the switch malfunctions, the water level will get too high and a leak could occur.
WHAT TO LOOK FOR: Water levels above the heating element and/or no continuity at the float switch when tested with a multimeter. Open the door at mid-cycle to see what you’re dealing with. Water levels should be below the heating element; if not, you may need to replace the float switch. Or, test the float switch directly with a multimeter. Unscrew the kickplate panel below the door, disconnect the wires from the switch to test the switch for continuity.
THE FIX: Replace the faulty float switch. You may be able to swap out the float switch with a new model yourself, but this is a more complicated repair than others listed. Consult your owner’s guide and any instructions included with the replacement part before discarding the old float switch and setting up the new part. Secure it with screws or clip, reattach the wires to the float assembly, and close the kickplate panel. If you’re not comfortable with the wiring, hire a technician. You can quickly connect to a local expert through Puls for an in-home estimate.
4. A loose or damaged drain hose isn’t removing water.
The drain hose feeds water from the dishwasher to the drain pump, drain line, and eventually out your sink drain—all visible only once you remove the kickplate panel at the base of your appliance. As connections can become loose or the hose itself can crack or tear, the dishwasher may lose water onto the floor before it exits through the end of the line.
WHAT TO LOOK FOR: Water along the drain hose beneath the appliance. Remove the kickplate below the dishwasher door. Run the dishwasher and look under the machine for water leaks at the hose clamps or along the hose.
THE FIX: Tighten any loose fittings or order a manufacturer-approved replacement hose. After the cycle ends, cut power to the appliance. Next, place a shallow pan below the hose to catch any water, and pinch the hose clamp with pliers to remove the hose from the pump. Do the same at the sink drain side to remove it entirely. Connect each end of the new drain hose, then replace the clamps and the access panel.

5. The appliance’s water inlet valve may not be closing properly.
The water inlet valve, which is often located at the bottom of the appliance, allows water to flow into the dishwasher tub throughout the cycle. If it doesn’t open and close properly, your appliance may overfill and the excess water will likely leak out.
WHAT TO LOOK FOR: Water filling while the door is open. Start your leaky dishwasher and open the door mid-cycle. If the water continues to fill with the door open, you likely have a defective inlet valve.
THE FIX: Replace the inlet valve. This piece can’t be repaired, so you’ll need to order a new one and install it following the manufacturer’s instructions. Take off the kickplate panel, and remove the hose, screws, and clamp connected to the water inlet valve. There may be one or two solenoids (electrical parts that power the water inlet valve to open and close) with two wires on each. Carefully disconnect the wires one at a time, labeling each so that you can easily connect them to the replacement part. Once untethered, remove the failing inlet valve and install the new one. Screw the access panel back into place. Again, if the electrical component of this replacement sounds beyond your DIY capabilities, don’t hesitate to call in a pro for the peace of mind that your appliance was correctly repaired.
Don’t forget: Whatever your repair, be sure to reconnect the water supply and turn the power back on once the repair is done!
If you still find your dishwasher leaking, you may have a bigger problem on your hands—one that requires a professional diagnosis and repair. A simple checkup is easy to schedule thanks to Puls. Book a dishwasher repair through the website or over the phone, and a local technician vetted by Puls can pay you a visit (often within the day!) to offer an in-home estimate. And, rest assured that setting it up sooner than later will save you from spending money on repairing water damage in the kitchen, creating a hospitable environment for mold, or eventually shelling out on a replacement appliance.
The content is paid advertising created in partnership with Puls. Its facts and opinions are those of BobVila.com.
