We may earn revenue from the products available on this page and participate in affiliate programs. Learn More ›
As homeowners search for ways to incorporate nature, gardening, and the benefits of biophilia into their interior spaces, some are looking past flowerpots and plant stands to the built-in planter. No longer just associated with the Brady Bunch, bricks, and bell bottoms, today’s built-in planters have matured into more sophisticated design elements.
The decades-long DIY trend to demo or repurpose 1970s-era built-in brick or stone planters is fading now that interest in built-in planters is growing. Instead, homeowners are considering indoor gardens of all sorts, including traditional built-in planters, living walls, niche planters, and freestanding planters that just look built in. Read on to learn more about these stylish ways of truly making greenery part of the furniture.
RELATED: 13 Creative Designs for Easy DIY Planters
1. Tuck in a slim faux-brick or concrete entryway planter.
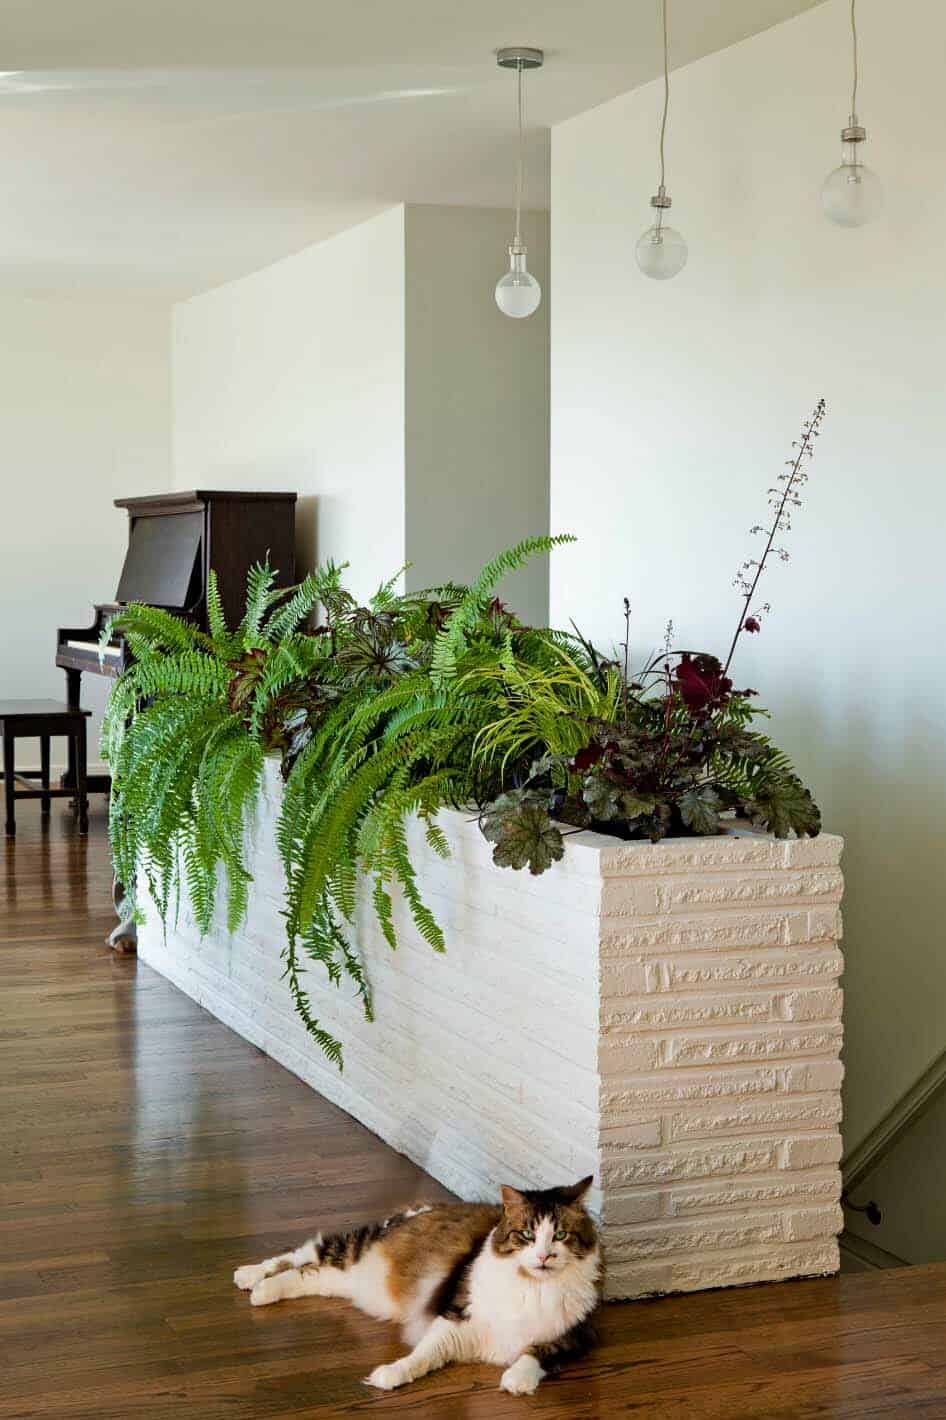
The classic masonry planter is the authentic OG of indoor built-ins. While you could construct one like this white-painted brick planter from Jessica Helgerson Interior Design, it’s easy to recreate that built-in look without actually laying any brick or stone. Start with a large planter like this 24-inch white-washed cement planter from The Home Depot. If you want to reach for that 1970s vibe, add faux 3D masonry wall panels, such as these Smart Profile panels in natural slate at Amazon, to the exterior of the box. Place multiple planters side by side to fill in a longer hallway or line a stairway opening, as seen in the iconic Brady Bunch house.
RELATED: 13 Creative Designs for Easy DIY Planters
2. Drop a garden into a kitchen island.
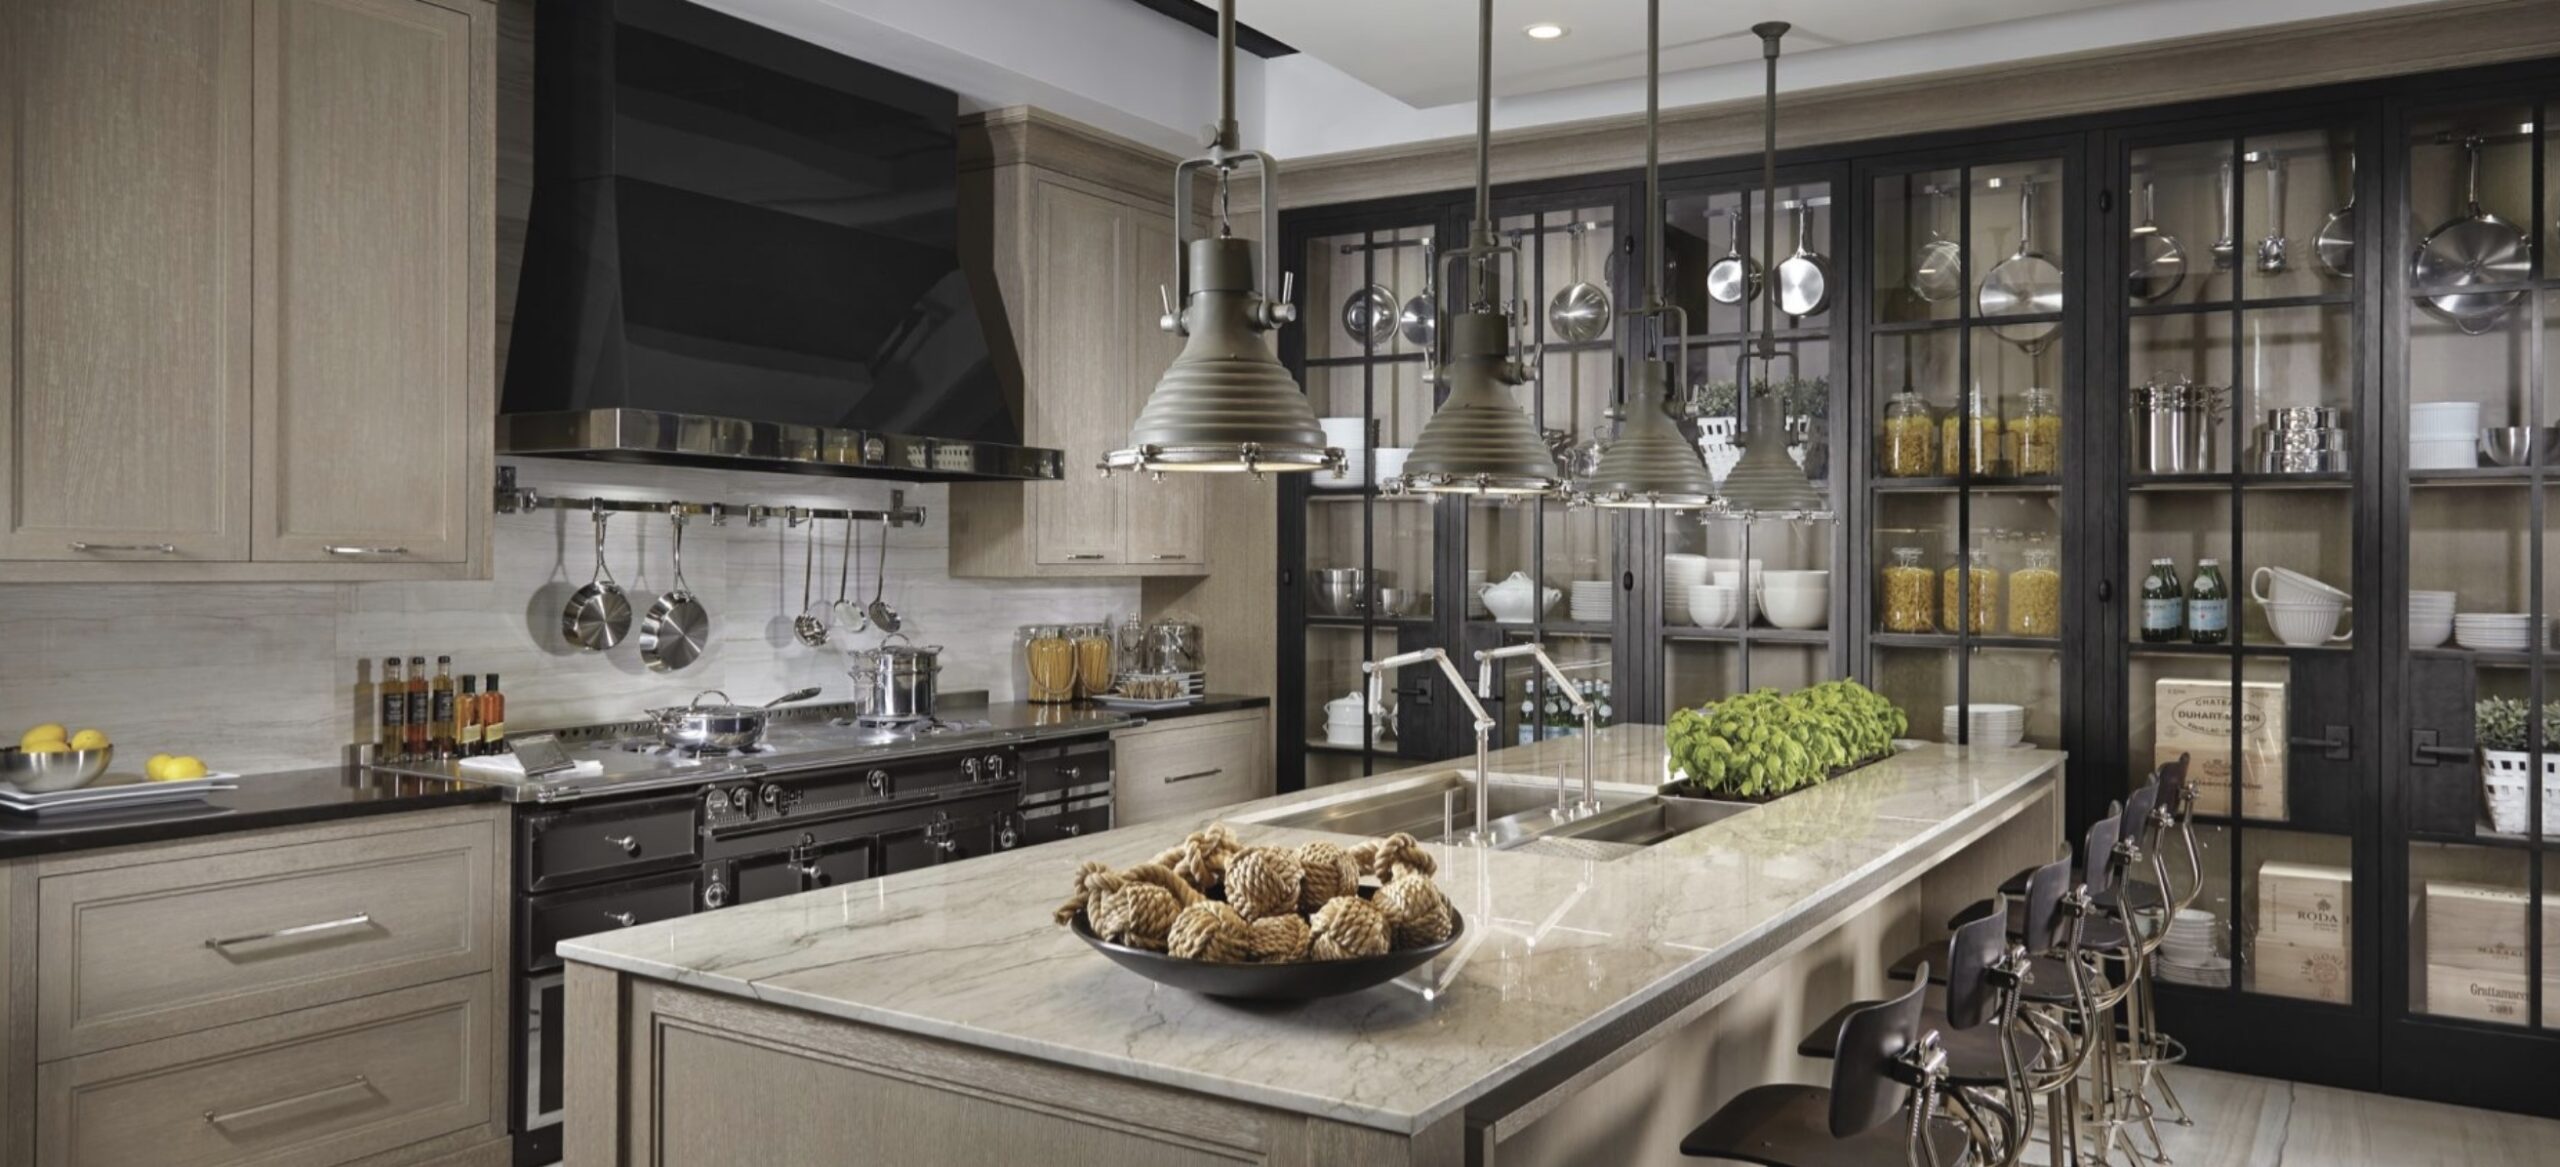
For those who love to cook with fresh herbs and like the vitality that plants bring to the kitchen, consider creating a permanent spot for them inside the countertop. Using the same methods that you would for installing a sink, drop in or undermount a slim bar prep sink, like this Houzer Contempo Trough Series undermount sink at Amazon, into a kitchen island or other countertop. Place it near the kitchen’s main sink to make it extra convenient to water the plants and grab sprigs for cooking. Downsview Kitchens created this in-counter planter for the client’s basil as part of a custom double sink.
3. Create a built-in illusion.
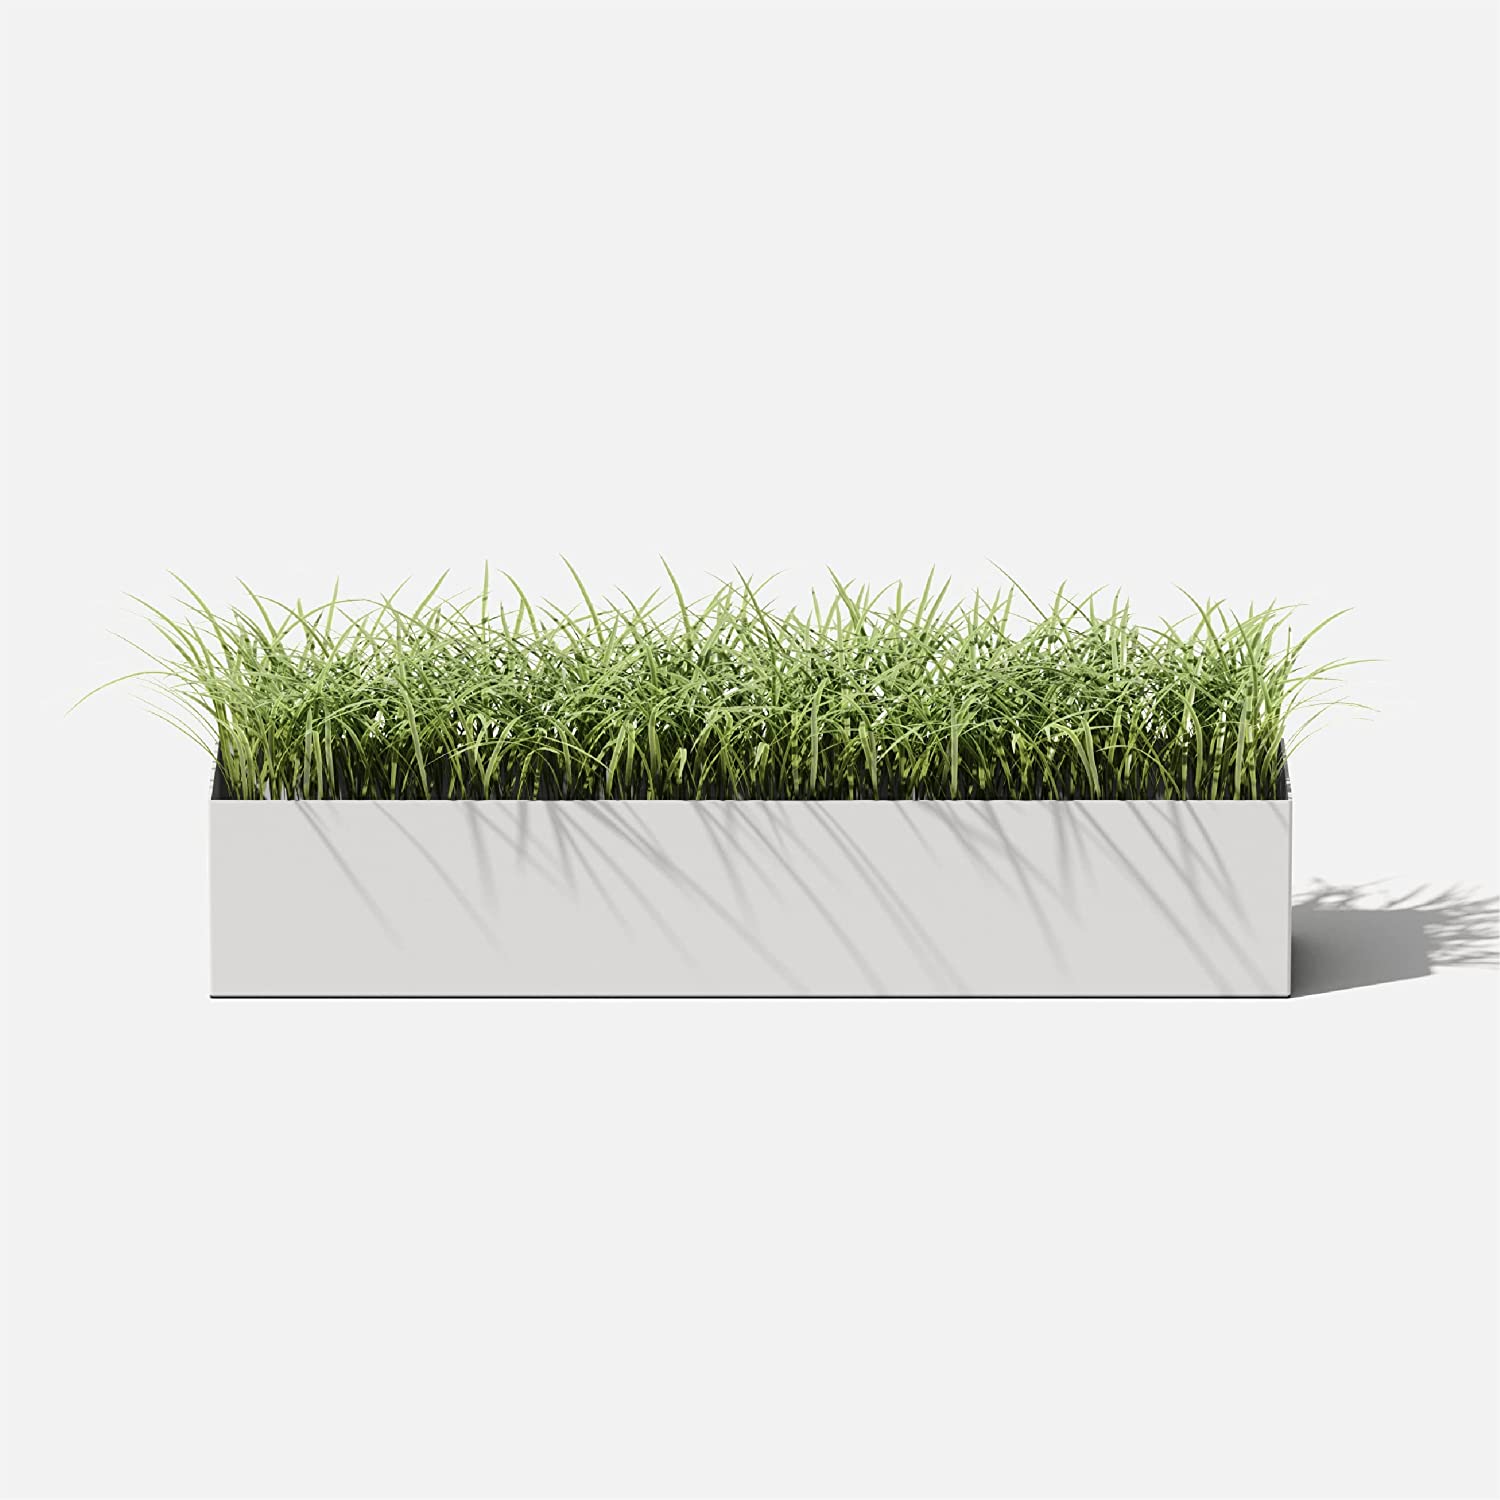
If you choose a planter made of a material that’s similar to or the same as the surrounding countertop or bookshelf, you can create the illusion of a built-in planter. This Veradek Geo trough planter box at Amazon has a slim profile and sits flush to the counter surface, eliminating shadow lines and visual interruptions to provide a seamless look.
4. Add natural texture with a living wall.
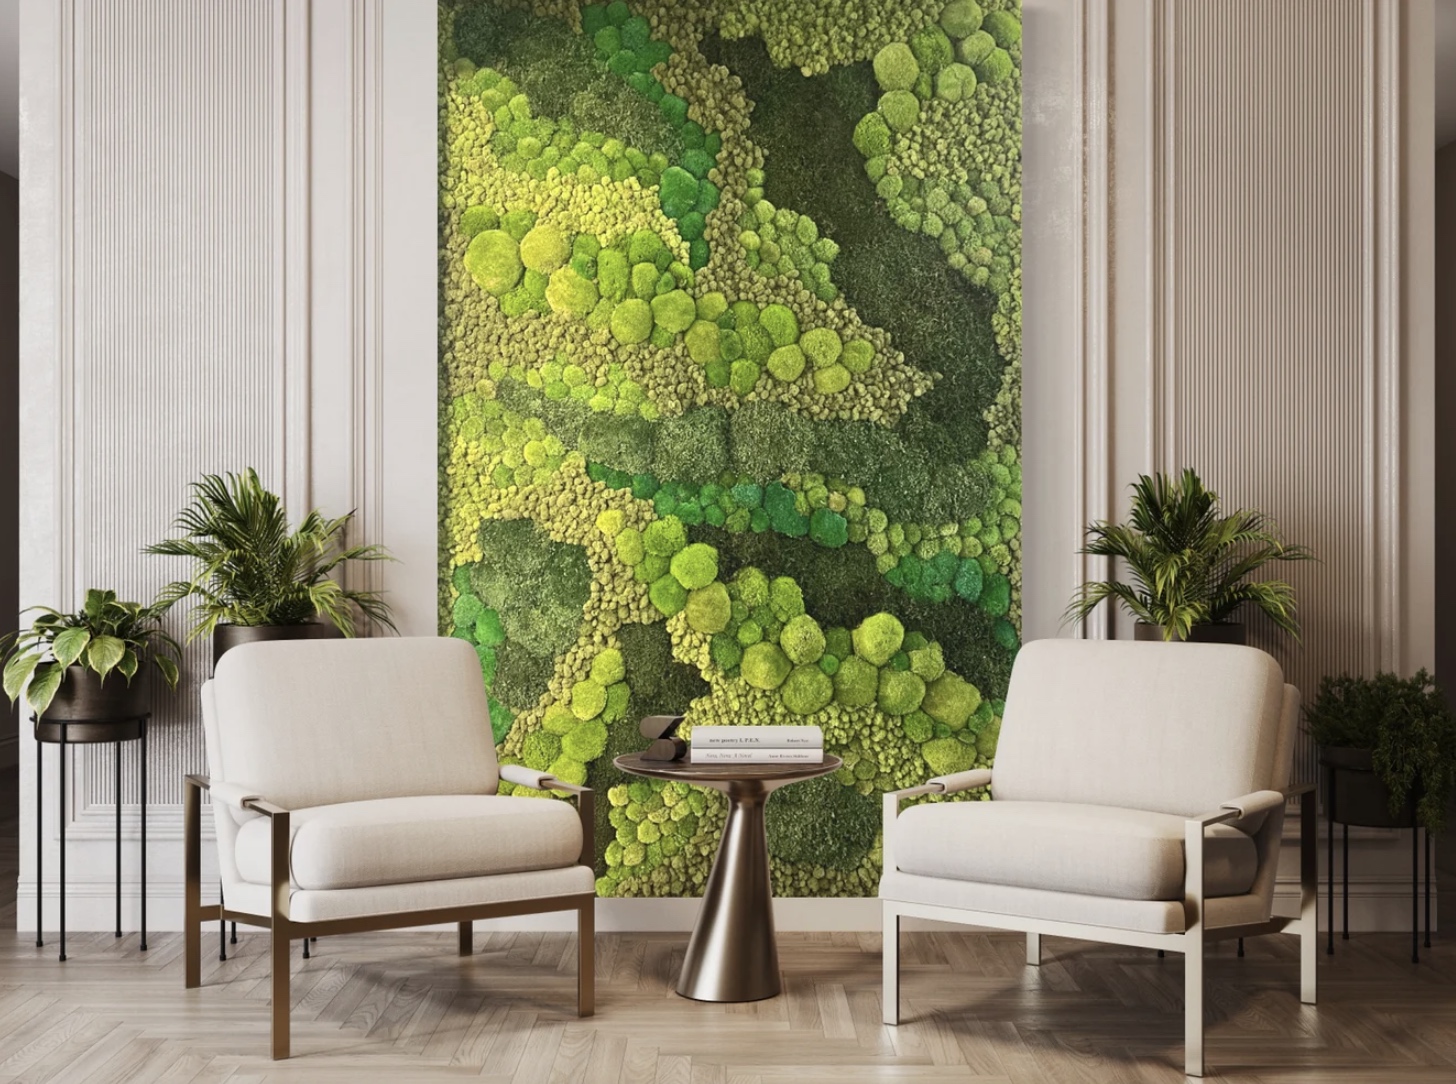
A built-in garden doesn’t always have to be a traditional planter. A living wall is another option. While you can buy one already made, like this preserved moss wall from BotanicalFindsArt at Etsy, you can DIY a living wall with a handy wall pocket planter like this vertical 49-pocket planter from Pehciroe at Amazon that can accommodate a range of greenery, including vegetables, flowers, and herbs.
RELATED: 10 Dish Garden Ideas to Bring Life to Your Indoor and Outdoor Spaces
5. Knock out a wall niche for a small planter.
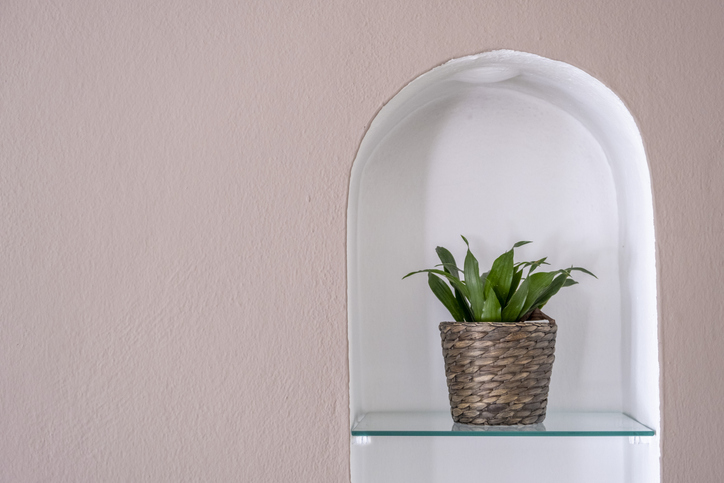
Most interior spaces are built with standard wood studs with drywall on top. The space between the studs can provide a nifty spot to carve out a place for books, treasured decor, or a planter. After checking that the desired site isn’t filled with electrical or plumbing, turn off the power to be doubly safe. Use a metal ruler and a utility knife to score the drywall opening. Then, use a drywall saw to cut the drywall and remove it from the wall. While you can finish the interior of the opening with drywall, you could also use a ready-made wall niche insert like this wall insert by EZ-NICHES at Amazon or line the interior sides with 1-by to create a charming picture frame effect.
Since the typical space between studs is about 14.5 inches, once the interior of the niche is finished with drywall, the space would allow for a planter that’s roughly 12 inches wide. Not every house is standard, so measure carefully before committing to a planter for the new niche. Either make a planter to fit the space or buy one like this 12-inch-wide reclaimed planter box from RedOakRoad at Etsy.
RELATED: 11 Indoor Gardening Projects Absolutely Anyone Can Do
6. Plant a tree in the floor.
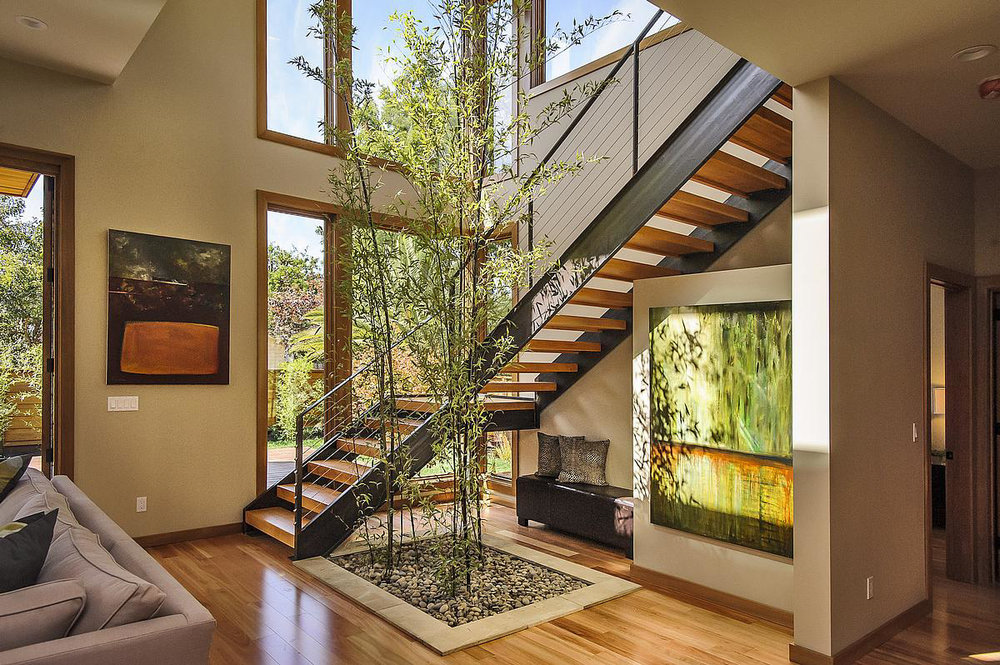
If the interior planting goals are ambitious, countertops and wall niches just won’t do. For those who want to create a mini forest inside their homes, it’s possible to plant some small trees in the floor. This project is recommended only for a non-tiled surface on a ground floor or where there is concrete or block underneath the finished floor.
When deciding where to place a built-in floor planter, consider extending the lines of the walls or other fixed features to create a layout that integrates into the overall design and does not interfere with foot traffic throughout the home. After making sure there are no wires or pipes lurking beneath the floor, measure, mark, and snap lines. Then, plunge cut a hole of the desired size along the wood floorboards with a circular saw or oscillating tool. After removing the flooring, tile and finish the interior of the hole to make it watertight.
Do not plant directly into the hole, as any crack or crevice could allow water to cause damage. “It’s really important to make sure the planter has good drainage and can be removed for service,” says architect Toby Long of Toby Long Design. Large plants like bamboo (shown here) and small trees can be added in pots or planters made to fit the size of the hole.
RELATED: The Best Indoor Gardens for Flowers and Herbs, Tested

