We may earn revenue from the products available on this page and participate in affiliate programs. Learn More ›
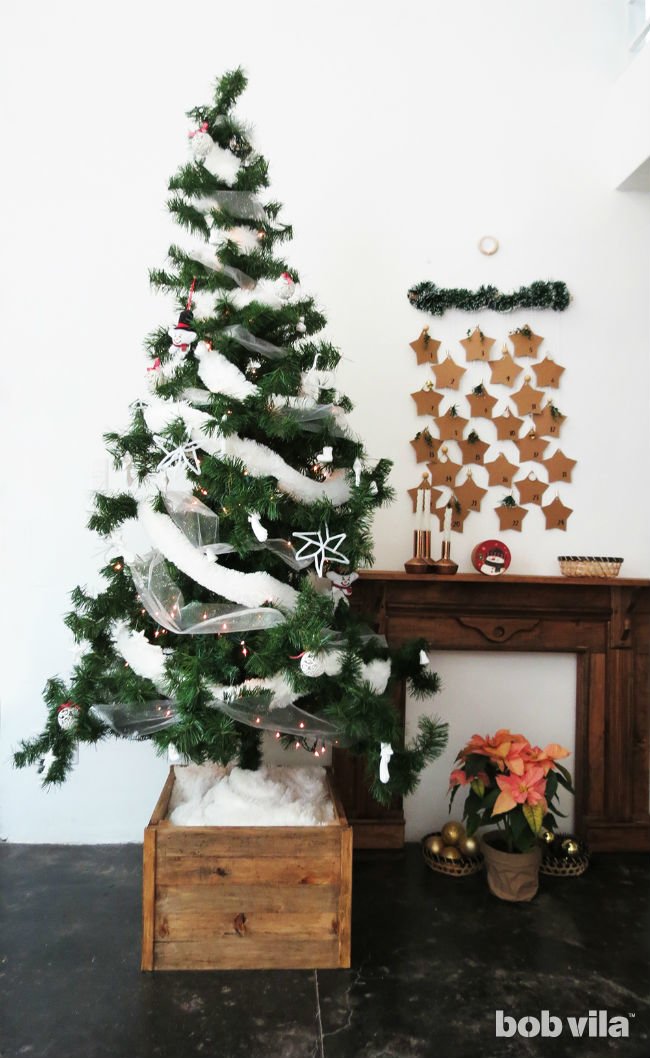
You’ve adorned every limb with baubles, tinsel, and ribbon, but what’s a fully decorated tree if its base remains bare? This year, instead of leaving it exposed or simply draping a blanket around it on the floor, build the perfect finishing touch for your artificial Christmas tree: a DIY Christmas tree stand. This boxy wooden base will elevate your tree both figuratively and literally by raising it 7-½ inches off the floor, showcasing your decorations and providing plenty of room for gift-wrapped packages.

MATERIALS AND TOOLS
– 1×3 lumber (40 feet)
– 2×3 lumber (6 feet)
– Handsaw
– Carpenter’s square
– Wood glue
– 1-inch nails
– Hammer
– Palm sander
– 60- and 120-grit sandpaper
– ¾-inch corner molding (or larger)
– 2-inch metal brackets (4)
– Cordless drill
– 1-½-inch screws
– 6mm plywood
– Jigsaw (optional)
– Pencil
– Stain
– Varnish
– Brush
STEP 1
Measure the diameter of your metal tree stand before diving right in. These instructions build a wooden box with a high bottom to fit stands that are 17 inches across, but it can be adjusted to accommodate the wider ones meant for extremely large trees.
Start with the box sides. Cut your 1x3s (which will actually measure to be ¾ inches by 2-½ inches) into 20 slats that are each 19 inches long; you should be able to get four from each length. Then, cut your 2×3 lumber (which measure to be 1-½ inches by 2-½ inches) into four 12-½”-long pieces to reinforce the corners of the box.
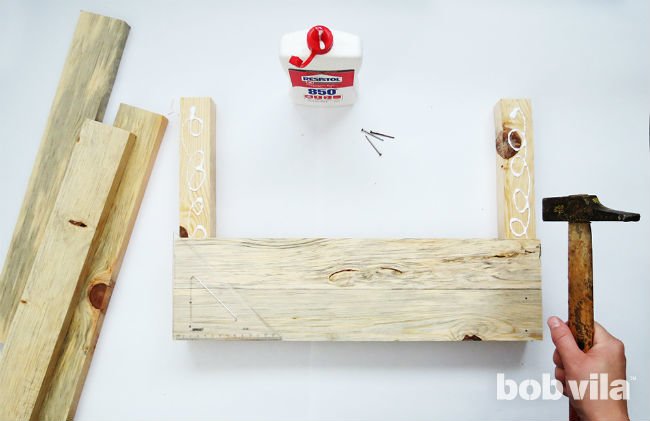
To assemble the first side of the box, place two 2x3s next to one another, positioned so that their 2-½-inch side faces up and they have about 14 inches between them. Lay five 1x3s across the top of both and attach them with wood glue and 1-inch nails (two in each end). Use a square as needed to help keep your DIY Christmas tree stand’s lines perfectly straight. Repeat this process to create a second identical box side.
STEP 2
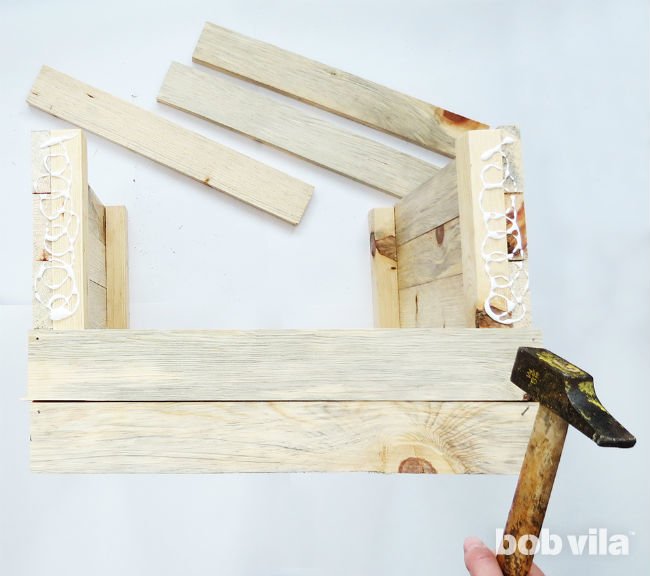
Once the glue is dry, stand both sides vertically (with the 2×3 ends in the air) so that they face each other 14-½ inches apart. Check again that your sides are square to one another, and fasten five lumber pieces across the two sides using wood glue and nails.
Repeat on the other open side.
STEP 3
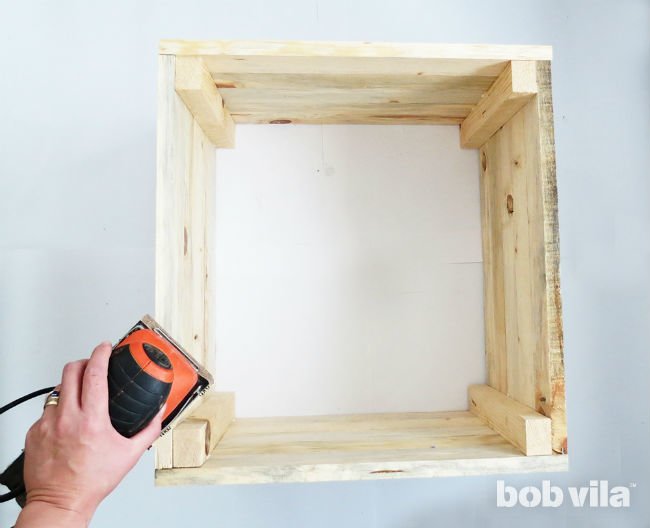
Sand the outside of the box, especially on the edges. You can start with a 60-grit sandpaper and finish with a 120-grit for a nice smooth finish.

STEP 4
Cut corner molding (any size larger than ¾-inch by ¾-inch works well here) into four pieces that are all 12-½ inches long. Glue those L-shaped onto the outside of each corner on the DIY Christmas tree stand to hide the nails and the boards’ exposed edges.
STEP 5
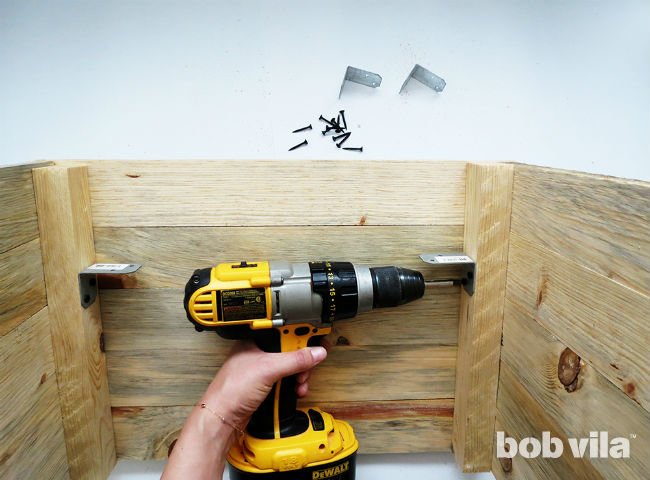
Measure five inches down from the top of the box and mark on each corner 2×3. Then, secure 2-inch metal brackets at each mark by boring 1-½-inch screws directly into the corners of the DIY Christmas tree stand. Those four brackets will hold the plywood board (see Step 6), which supports the weight of the tree.
STEP 6
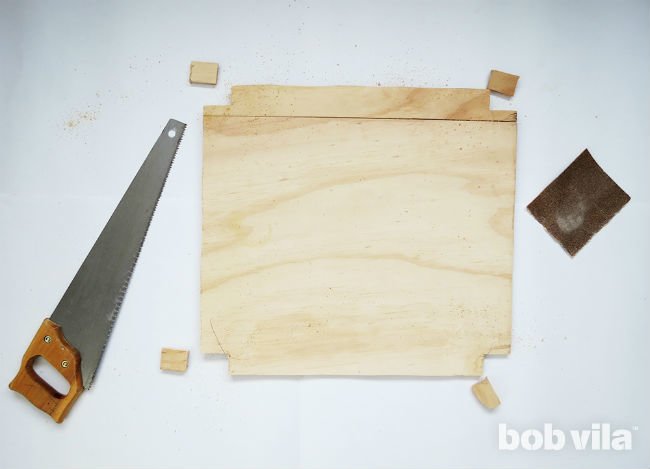
Cut a 19-inch by 17-½-inch rectangle from the 6mm plywood board. (It’s easier to do with a jigsaw, but it totally works with a handsaw, too.)
Then, you’ll need to make notches in the corners so that it can lower into the box, between the 1×3 edges and around the 2x3s. The easiest way to do this is to lift the entire box and place it on top of the plywood board, positioned just so that only the plywood’s corners are covered. Trace around the 2x3s at the corners, then lift the box away so that you can cut them out.
Sand the board’s edges and any raised grain.
STEP 7
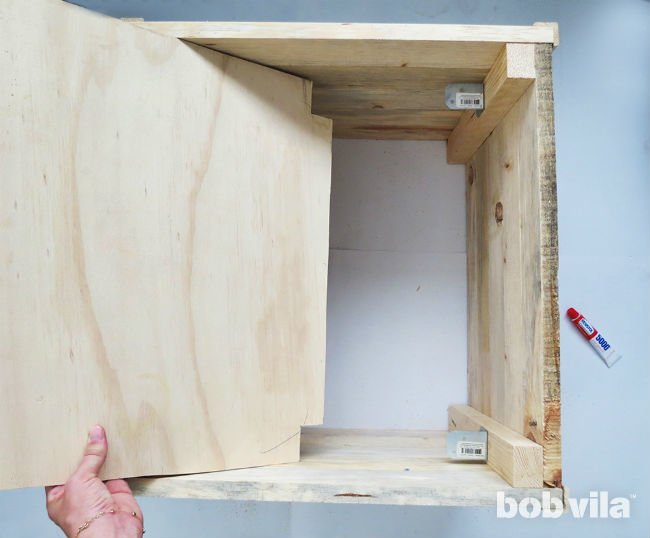
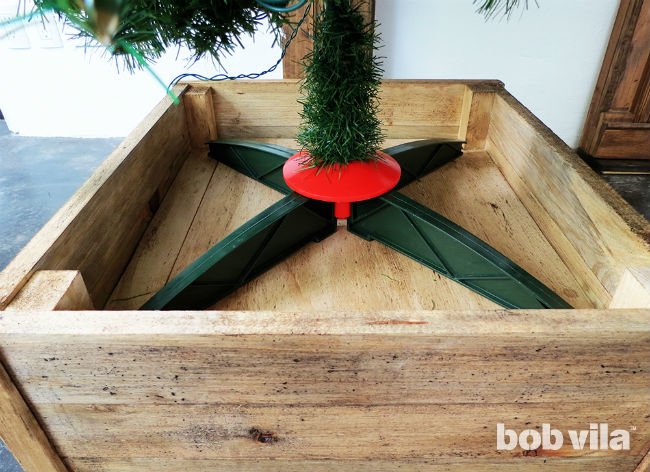
Slide the board with notched edges into the top of the DIY Christmas tree stand. Since we’ve sized it for a snug fit, you can pretty much count on it not moving around too much. Just apply a little construction adhesive to the tops of the brackets to hold the plywood in place.
STEP 8
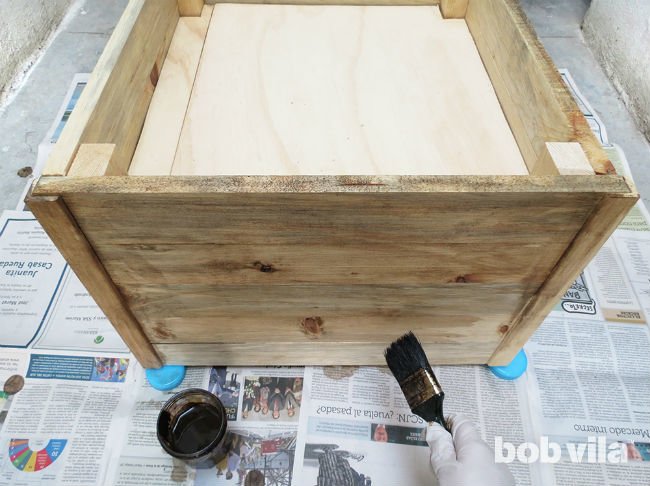
Stain or paint your DIY Christmas tree stand. We chose a very light coat for ours, which is versatile enough to work with a Scandinavian white-and-wood wintry theme one year and buffalo check and country Christmas decorations the next.
After the finish has dried following the manufacturer’s recommendations, apply a coat of varnish on top to help it last for many holidays to come.
STEP 9
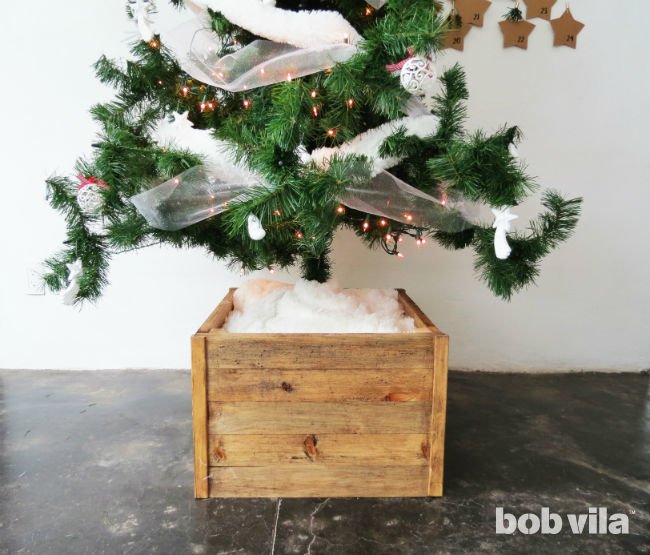
Place the feet of your artificial tree inside the top of this DIY Christmas tree stand, cover with batting to look like snow or burlap, and you’re all set to decorate. Merry Christmas!
Looking for fresh ideas for how to trim the tree? Check out these 25 super-simple DIY ornaments that you can knock out before the big day.

Ama is a DIY addict and the creative mind behind Ohoh Blog. She likes home decor, lighting, and furniture projects that may involve painting, sewing, drilling…no matter the technique! Whatever she has on hand is inspiration to create, and fodder for her serious addiction to upcycling.
