We may earn revenue from the products available on this page and participate in affiliate programs. Learn More ›
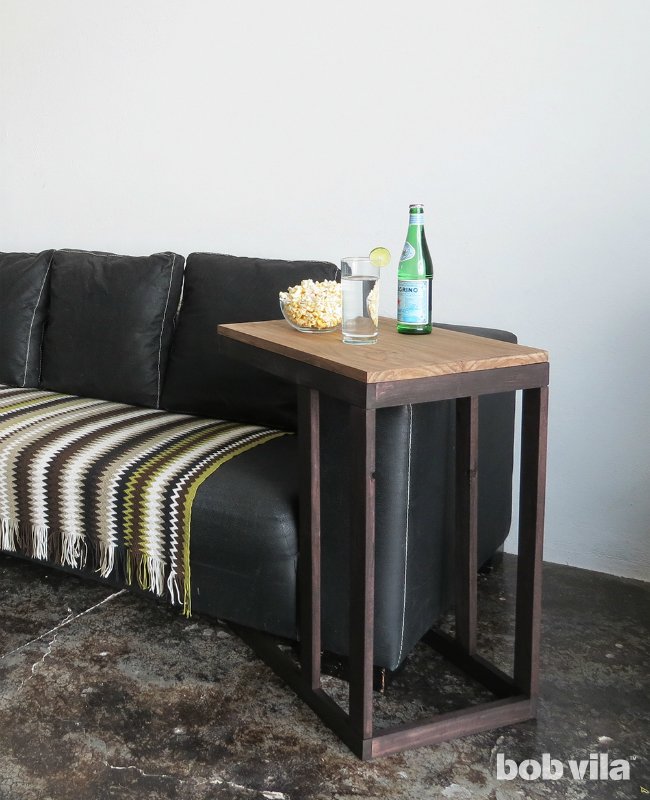
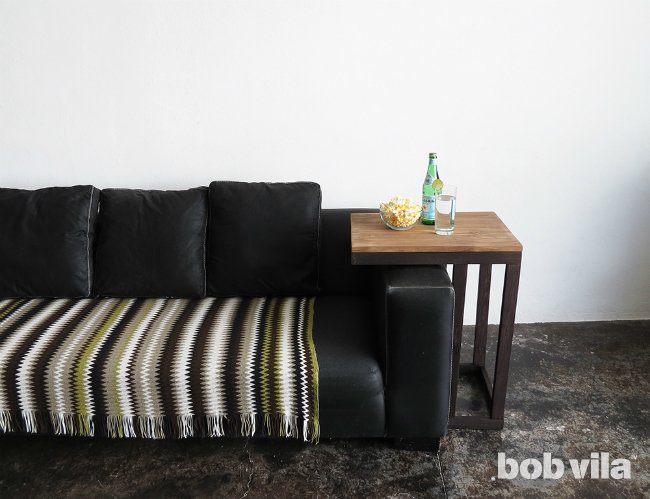
Everyone has a favorite seat, a comfortable corner of the living room perfect for lounging, reading, working, snacking, or socializing. But when you’re seated, it’s hard to keep all the essentials at your fingertips without piling them at your feet or having to pull the coffee table closer. That’s why we love the problem-solving design of the C table. This style of side table pulls right up next to your perch to provide an extra surface in an instant. With it by your side, you can keep the necessities for a day of R&R close at hand—your light reading, remote control, and drink (with coaster), to name just a few. Learn how to tailor this easy-to-customize DIY design to your existing seating, and you can turn your preferred sofa or armchair into the best seat in the house.
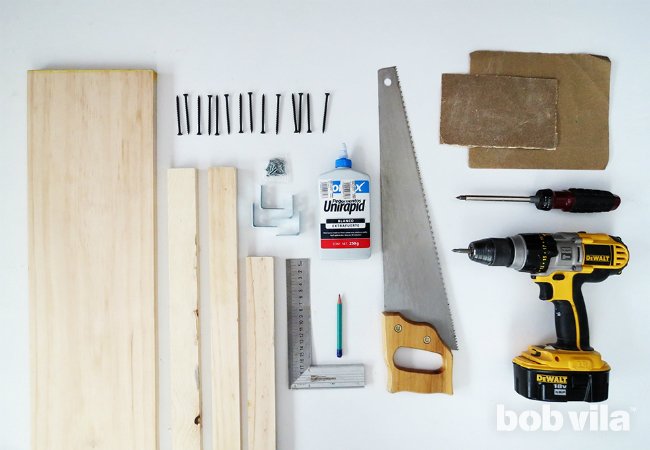
MATERIALS AND TOOLS
– 8-foot-long 1×8 lumber
– Ruler
– Handsaw
– Wood glue
– Steel plates (2) and screws
– Screwdriver
– 8-foot-long 1×2 lumber (3)
– Set square
– Pencil
– 1 1/2″ brackets (8) and screws
– Sandpaper
– Drill
– 3″ wood screws (16)
– Wood stain and varnish
– Paintbrush
– Clamps
STEP 1
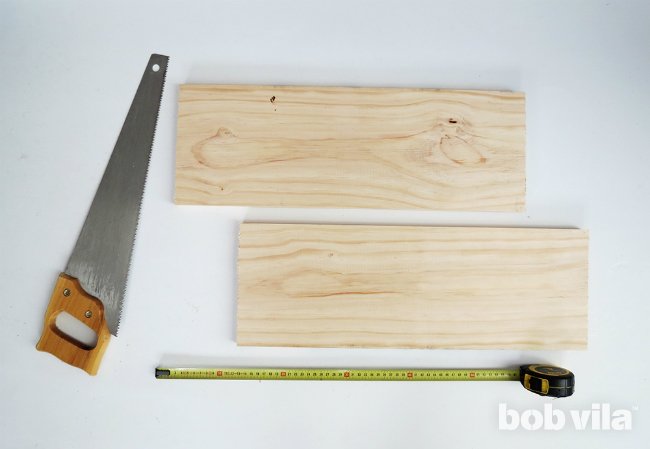
Start by making the tabletop. Cut two pieces from the 1×8, each 22 inches long.
STEP 2
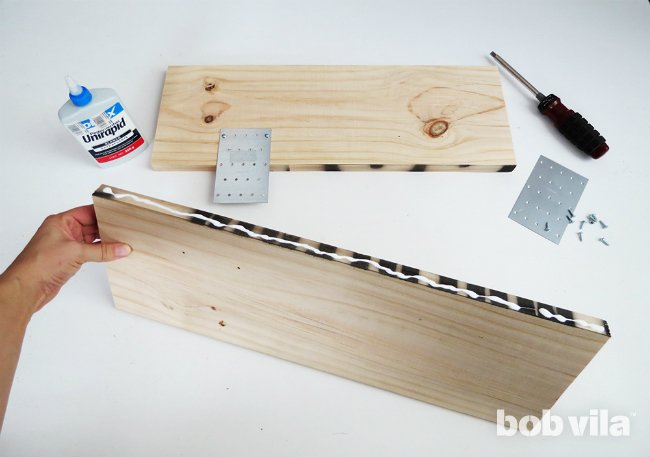
To assemble these two pieces into a tabletop, lay the lengths next to each other. Apply wood glue to the 22-inch sides that will meet in the middle. After the glue dries, screw two steel plates to stiffen what will become the bottom side of your tabletop.
STEP 3
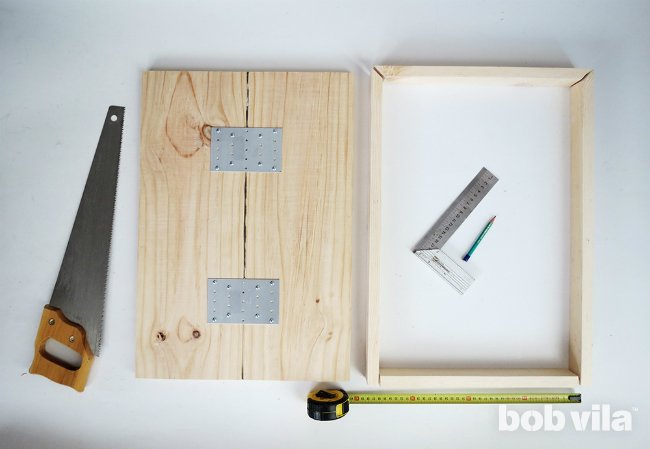
Next, use the 1×2 to make a 1-1/2-inch-deep wooden frame with the exact dimensions of the tabletop. Cut two 22-inch-long pieces, each with one end cut at a 45-degree angle. Cut the third piece to 14-1/2 inches long with both ends cut at a 45-degree angle. Cut a 13-inch piece for the fourth side of the frame.
Lay out the frame so that the two longest pieces are parallel, with mitered ends facing one another. Set the 14-1/2-inch piece (with both ends mitered) between the 45-degree ends to form two miter joints. The short, 13-inch piece should fit in the open end of your rectangle.
STEP 4
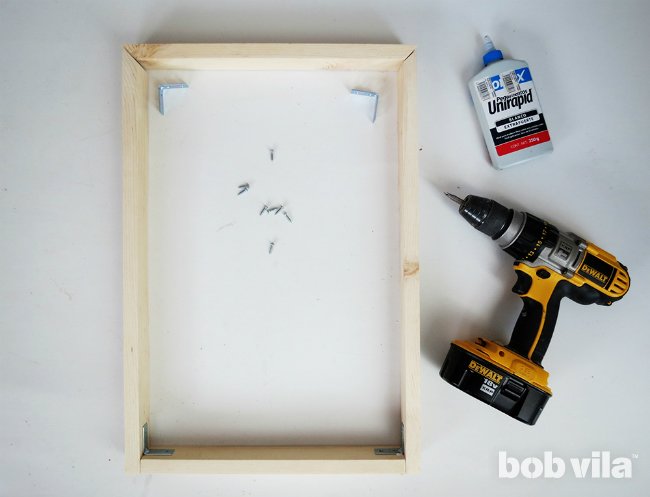
Apply wood glue to both pieces at each corner, then let dry. Screw a bracket inside each corner for extra support.
STEP 5
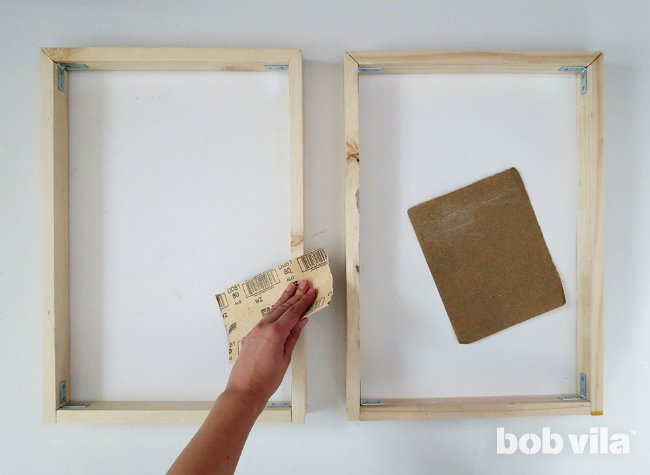
Repeat Steps 3 and 4 to make a second identical frame. One will be used to support the tabletop, while its twin will form the base of the table. Sand both frames.
STEP 6
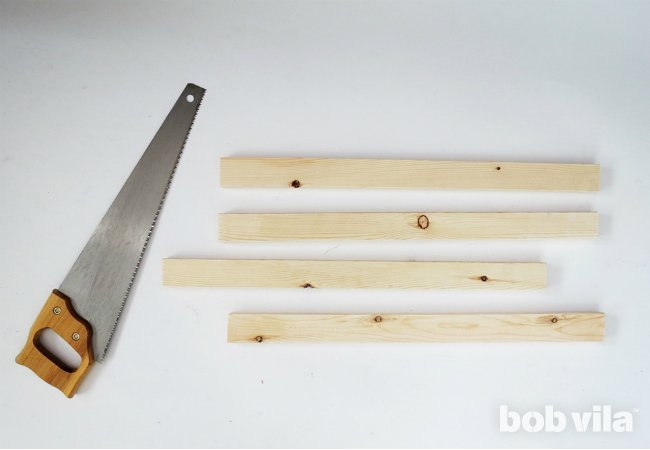
Now it’s time to make the four table legs from the remaining 1×2’s. Since a C-shaped table is designed to slide over the side of a seat, the length of the legs (and thus the height of your table) will depend on the dimensions of the couch or chair you’ll be using it with. Think about how tightly you want the tabletop to sit against your chair’s armrest. If you want it pretty much resting on the armrest, cut four pieces of identical length about 1-1/2 inches shorter than the height of your armrest. (Remember, the table’s base is built from a 1×2, which means that the base is 1-1/2 inches tall.)
For example, the side of our couch is 25 inches tall, so I made the legs of my table 23 1/2 inches long. When you add the base and tabletop, that makes the entire table a little under 28 inches tall.
STEP 7
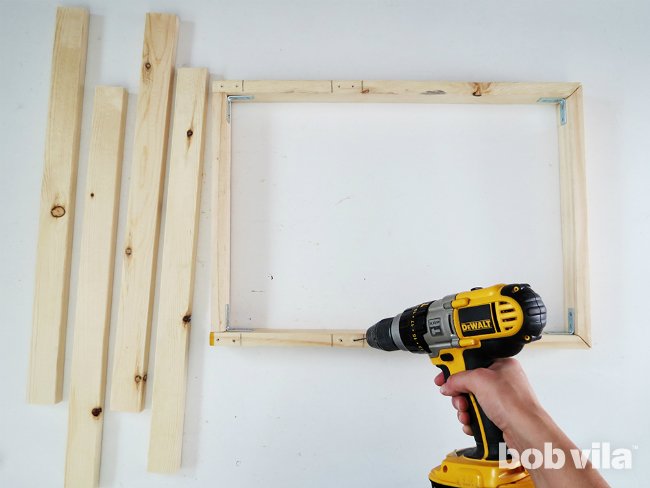
Mark where your legs will connect to the base frame, which will sit on the ground. Two legs will attach to each end of one 14-1/2-inch side, held by two screws apiece; mark those four holes with a pencil. Then use a ruler to measure five inches along the 22-inch sides of the frame, and make marks there for the second pair of legs.
Drill small pilot holes for the screws to make it easier to insert them and to prevent the wood from cracking.
STEP 8

Turn the frame on its side so you can screw the legs to the frame from the bottom. (Remember, two screws per leg.) For a stronger bond, use wood glue at the joints before adding the screws.
STEP 9
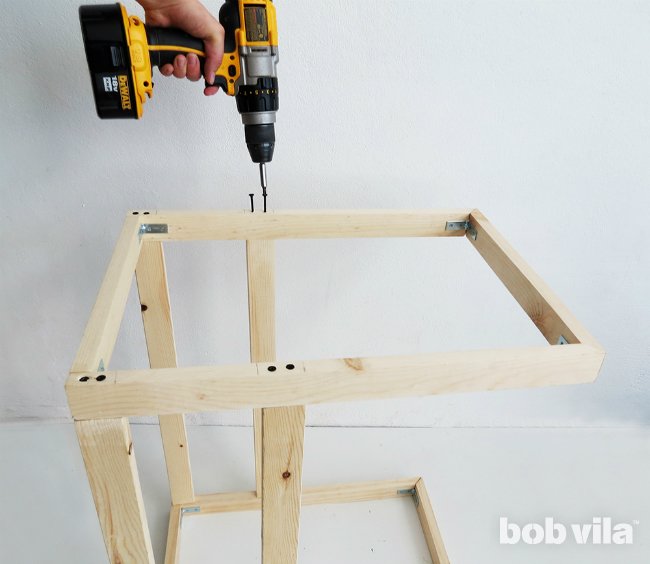
Once the legs are affixed to the base, attach the frame that will support the tabletop, following the same process you used in Steps 7 and 8. In other words, mark the spots for the screws, drill pilot holes, apply glue to the joints, and screw the legs to the frame.
STEP 10
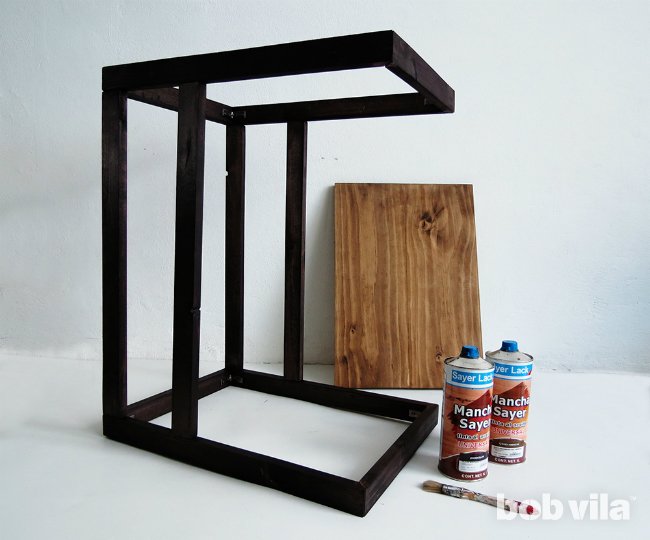
Give your armrest table a rich finishing touch. We stained ours in two tones: a dark chocolate for the legs and a medium brown for the tabletop. Allow the stain to dry completely, then seal the table with a coat of varnish.
STEP 11
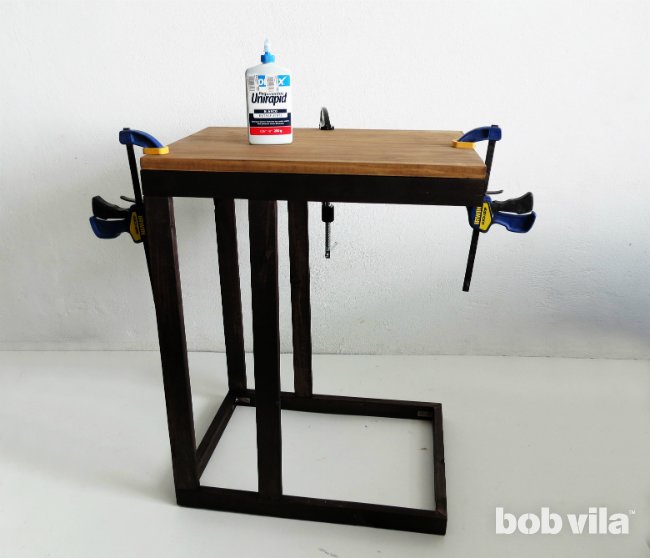
Finally, once all the pieces are dry, glue the tabletop to the top frame. Use clamps to help maintain pressure for however long the glue recommends as drying time. By the end of the day, you’ll be able to rest a bowl of popcorn and a victory drink on your new, convenient C-table while you kick back on the couch and relax in front of the television.
Ama is a DIY addict and the creative mind behind Ohoh Blog. She likes home decor, lighting, and furniture projects that may involve painting, sewing, drilling…no matter the technique! Whatever she has on hand is inspiration to create and fodder for her serious addiction to upcycling.
