
We may earn revenue from the products available on this page and participate in affiliate programs. Learn More ›
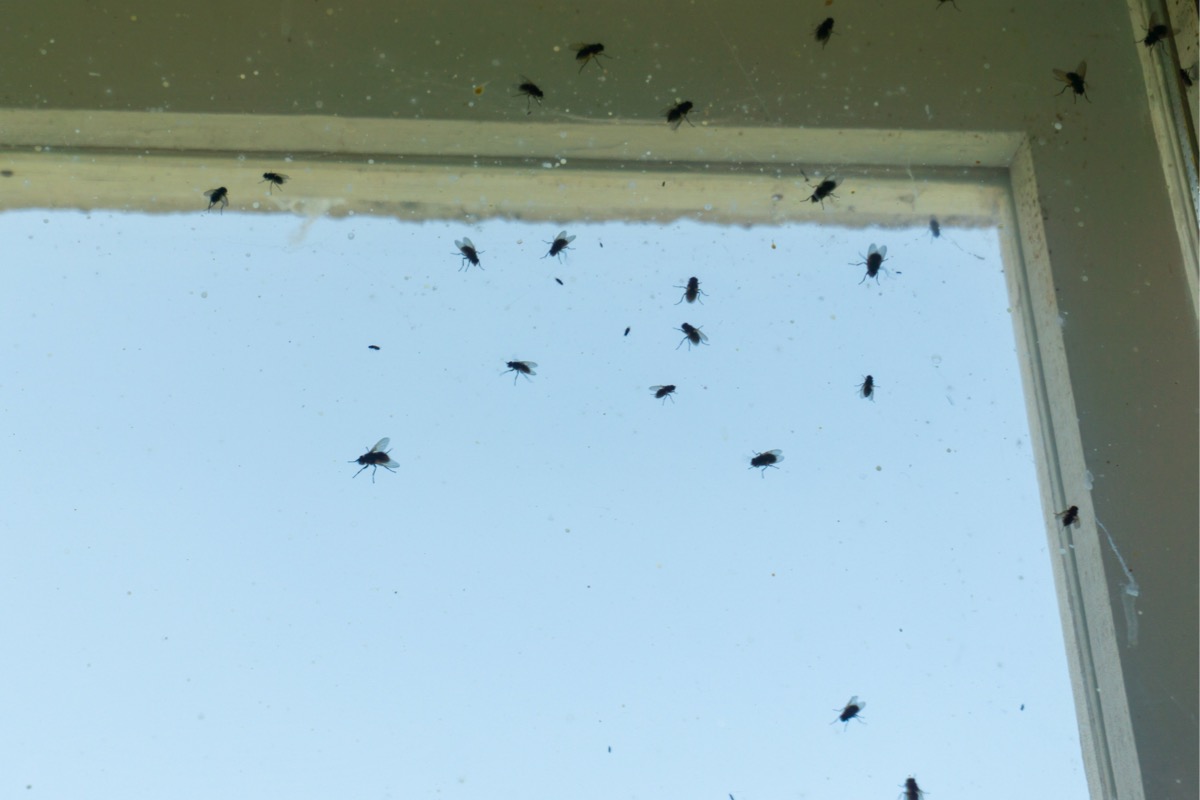
When warm weather rolls around, so does an annoying houseguest: flies. Houseflies are a nuisance at best and a vehicle for bacteria and germs at worst. Get rid of these buzzing bothers with a homemade fly trap. This one is easy to put together and doesn’t use any harmful chemicals or pesticides. Best of all, you’ll only need a few household items to make it. Read on to learn how to make a fly trap.
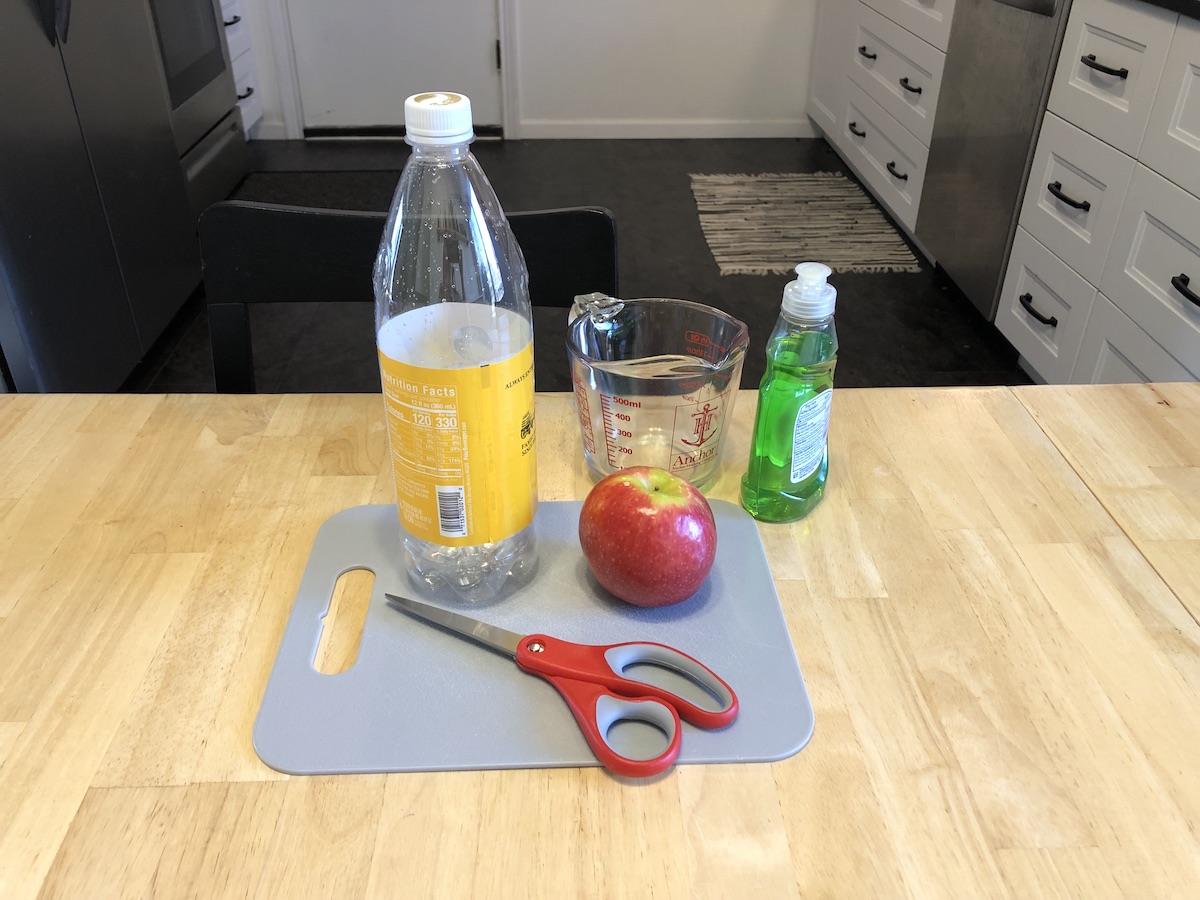
Tools & Materials
Bobvila.com may earn a commission from purchases made through these links.
STEP 1: Cut off the top of the bottle.
Pretty much any repurposed plastic bottle will do for making a DIY fly trap for indoors or out. Examples include soda, juice, or water bottles. As long as the bottle is thin enough to cut, it’s a good option. Start by removing and discarding the bottle cap. Then use a pair of scissors and cut through the bottle widthwise, around 1/3 of the way down the bottle.
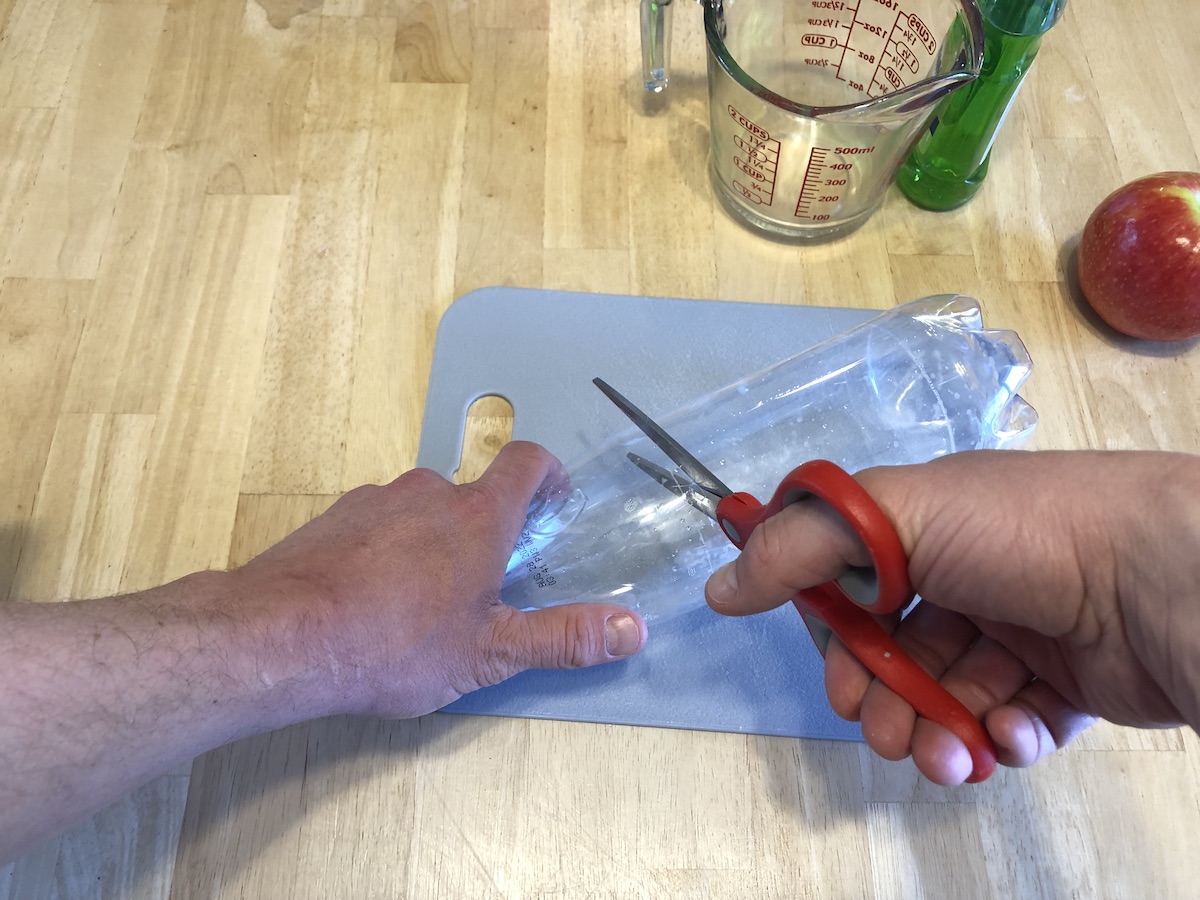
If you can’t cut through the bottle from the outside, use the scissors to pierce a small hole into the side of the plastic bottle and then stick the scissors into the hole to cut all the way around. Once cut, separate the top of the bottle from the bottom and hold on to both. Optionally, cut any sharp edges to prevent any nicks or snags while making the homemade fly catcher.
Related: The Best Fly Traps for Dealing with Pests, Vetted
STEP 2: Add bait to the bottle base.
Bait is necessary to lure houseflies into the trap. While fly bait can be bought in stores, you can take the DIY route here, as well. It’s just as effective to use food you have in the home—stinky and sweet foods are best to entice flies into the trap. Homemade fly trap bait options include sugar water, overripe fruit, or a small piece of raw meat. For outdoor use, use a more pungent bait.
Place the bait in the bottom of the fly trap (the bottle base). Don’t overfill it; keep the bait to 1/3 of the bottle base, at maximum.
STEP 3: Place the top of the bottle upside down into the base.
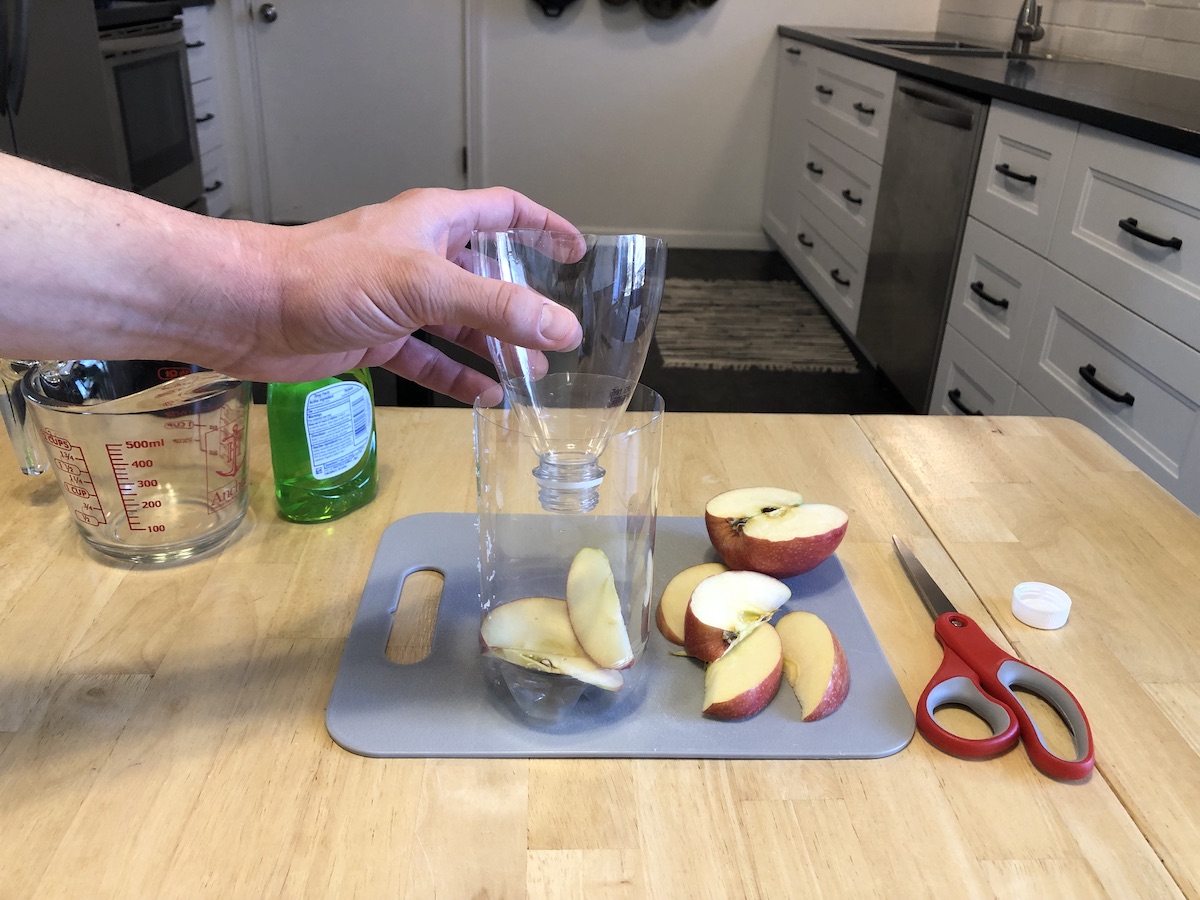
Flip the top of the bottle and place it upside-down into the bottle base. This creates a funnel that will lure flies into the trap and the small bottle top opening will help keep the flies contained in the trap.
Ideally, the top of the bottle will snugly fit into the base. If the top of the bottle does not fit well, though, consider using a bit of glue or tape to keep the funnel top in place and prevent accidental spills.
Related: The Best Wasp Traps, Reviewed
STEP 4: Fill the bottle base with water and add dish soap.
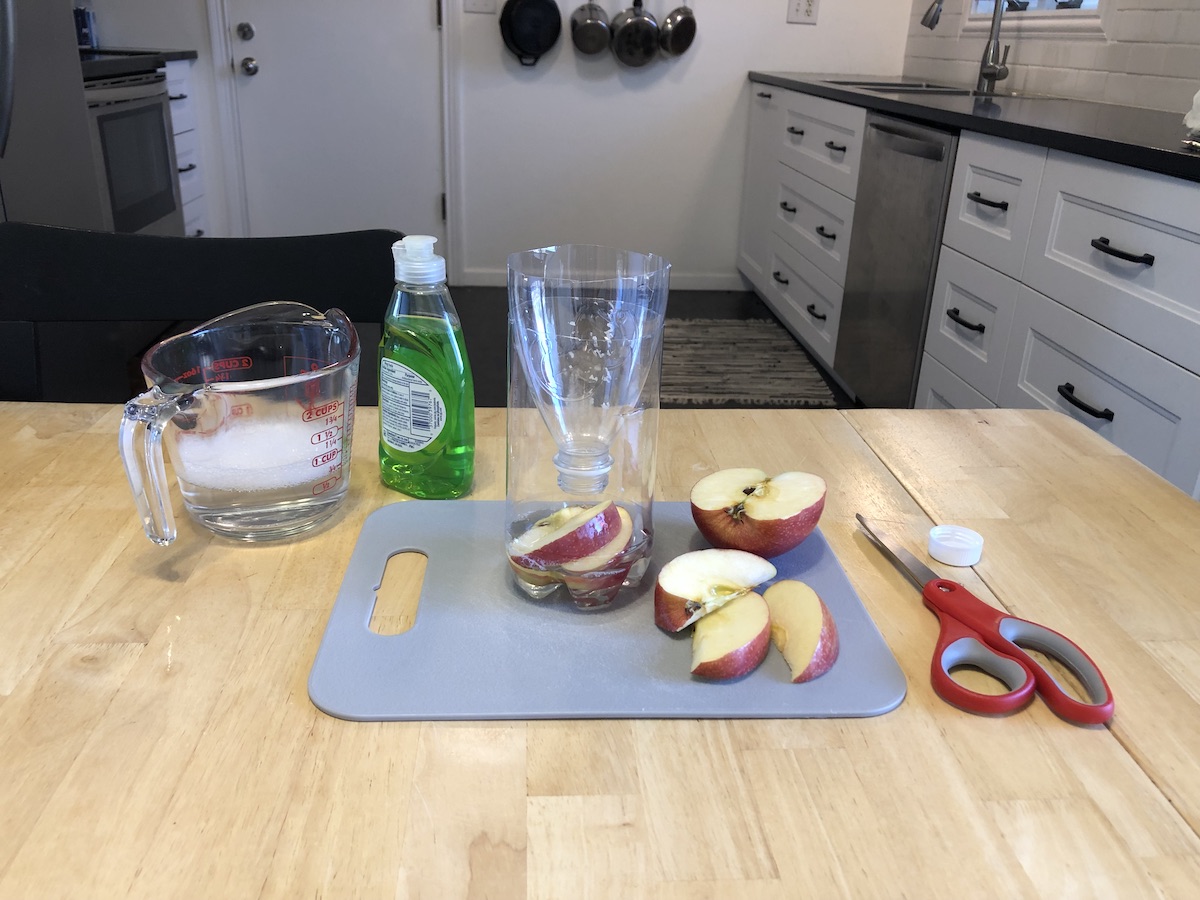
Pour water into the funnel to fill the bottom of the trap with water. Leave a couple of inches of space between the bottom of the funnel and the water line. This small amount of space is necessary to allow flies to enter the trap.
Optionally, add a couple of drops of dish soap. Dish soap can help the trap work more effectively—it will coat flies’ wings when they enter the water, making escape more difficult.
STEP 5: Place your DIY fly trap in a trouble area.
Place the fly trap in areas with the most fly activity. This DIY fly trap can be used indoors or outdoors, but take care not to put the fly trap in a windy area since it can blow over. The more fly activity, the better the trap will work—the goal is to lure passing flies in with the bait. For an indoor fly infestation, try to stick to areas 3 to 4 feet from the floor and away from food.
If you plan on keeping the fly trap set up long term, regularly empty the trap of dead flies and add fresh bait to keep it working effectively.
Related: The Best Fruit Fly Traps for DIY Pest Control
Final Thoughts
Whether indoors or out, houseflies are a major nuisance when they show up in your home. They’re difficult to catch, and if left unchecked, they can cause an unpleasant infestation. A fly swatter can help get rid of flies when you’re around, but a homemade fly catcher can work in the background to trap flies throughout the day.
This DIY fly trap is simple, inexpensive to make, and effective, trapping annoying flies so you can enjoy a fly-free home.
