We may earn revenue from the products available on this page and participate in affiliate programs. Learn More ›
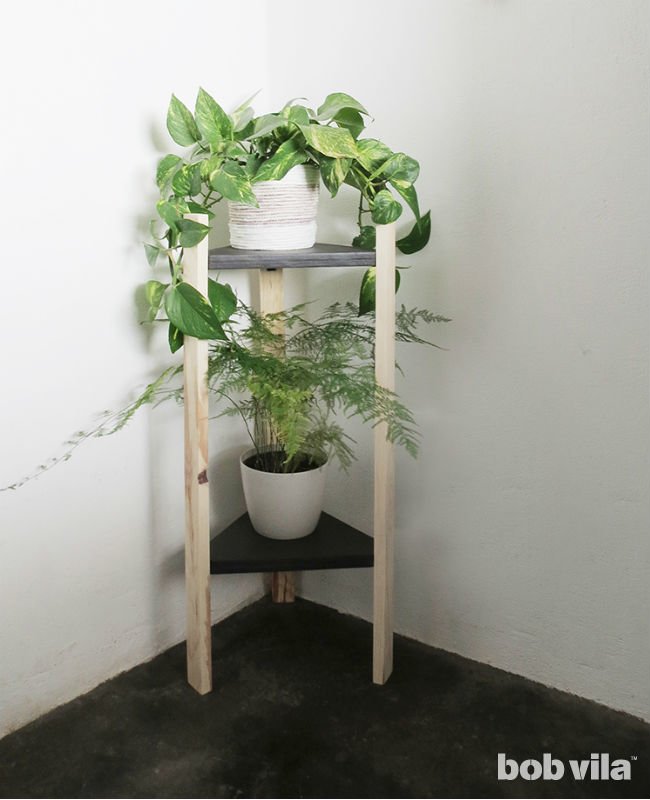
‘Tis the season to celebrate your green thumb! If you enjoy afternoons tending colorful blooms, then you understand how limiting it can be to find indoor spots to display your floral favorites. Oftentimes they end up stashed in an unseen area or hiding on a windowsill behind a cafe curtain. But this weekend you can make all of that change with a simple-to-build DIY plant stand that puts your gardening goods front and center.
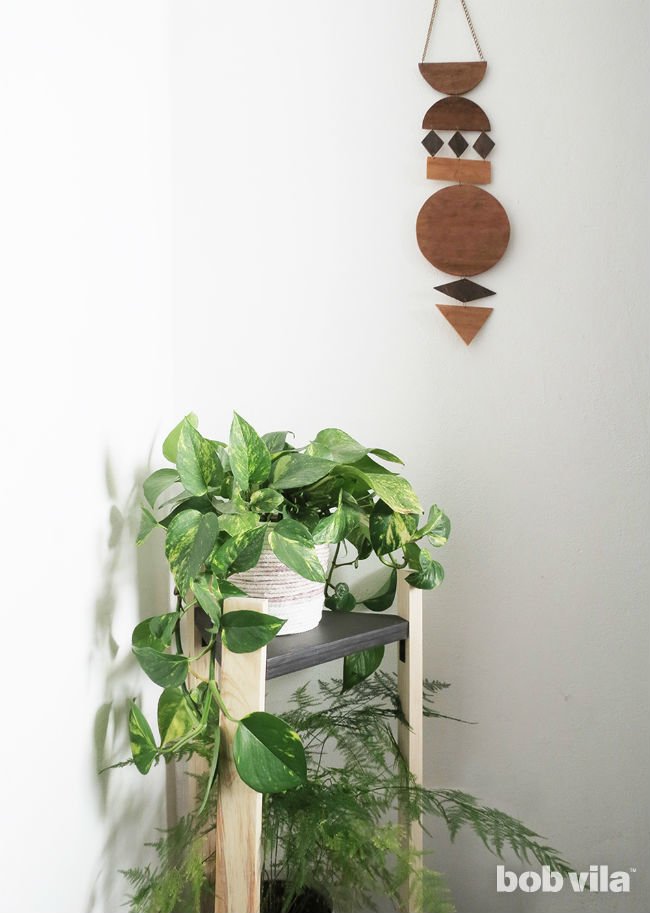
More than simply elevate your greenery to eye level, our triangular design also solves the problem of awkward, underutilized corners. Slip this DIY plant stand into an empty nook to furnish it fast. If it’s a sunny spot, you can set plants on top; in a darker corner, it offers the perfect ledge to stand a vase with fresh pickings—your choice! Follow the instructions below to get started.
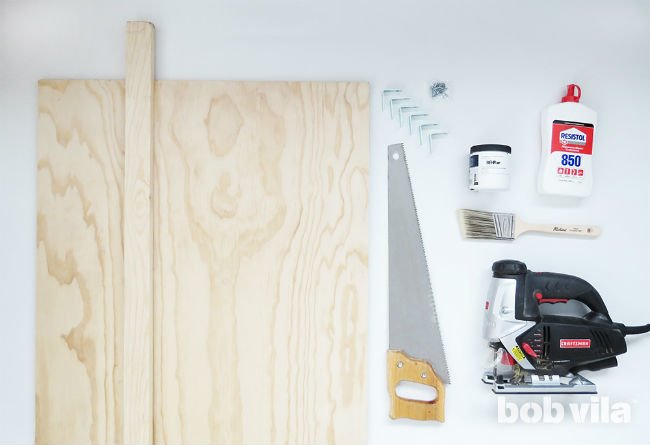
MATERIALS AND TOOLS
– 1×2 lumber or trim (8 feet)
– Pencil
– Ruler
– Hand saw
– 22mm plywood
– Set square
– Jigsaw
– 60-grit and 120-grit sandpaper
– Cloth
– 1-½-inch metal corner brace (6)
– Spray paint
– ½-inch screws
– Cordless drill/driver
– Wood glue
– Paint
– Stain
– Brush
– Varnish
STEP 1
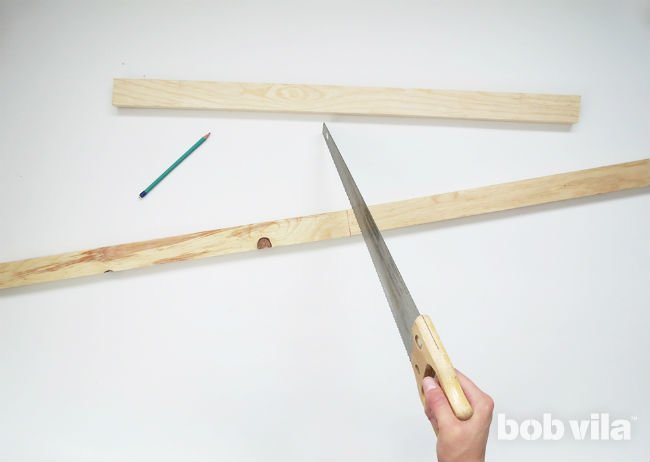
Saw the 1×2 wood into three 31″-long pieces to the make the legs. Be careful to make your cuts straight so that the cut edges at each end make flat feet for a sturdy plant stand.
STEP 2
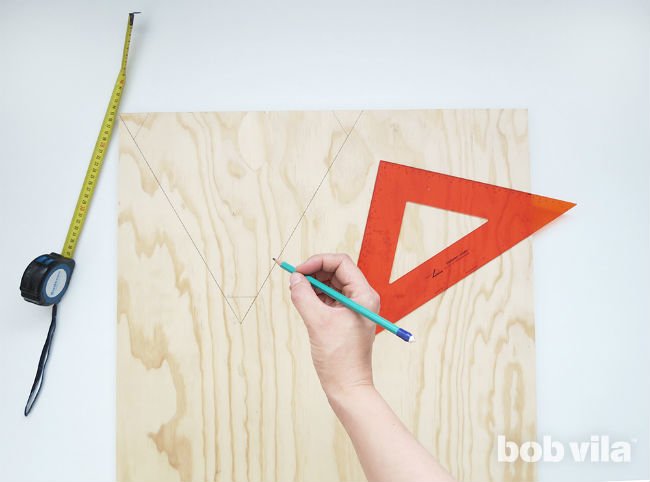
Next, draw and cut two triangular shapes on the 22mm plywood to make the shelves.
Use a ruler and a set square to draw the first equilateral triangle with 14-inch sides on your board. Then, at each corner, plan where you’ll cut off the tip—here, you’ll fix a leg to the shelf. To do so, measure and mark 2 inches from the corner on each adjoining side, then draw a line connecting both points. Repeat on the other two corners. Then cut along all lines using the jigsaw.
Draw and cut another identical trimmed triangle to make the lower shelf.
STEP 3
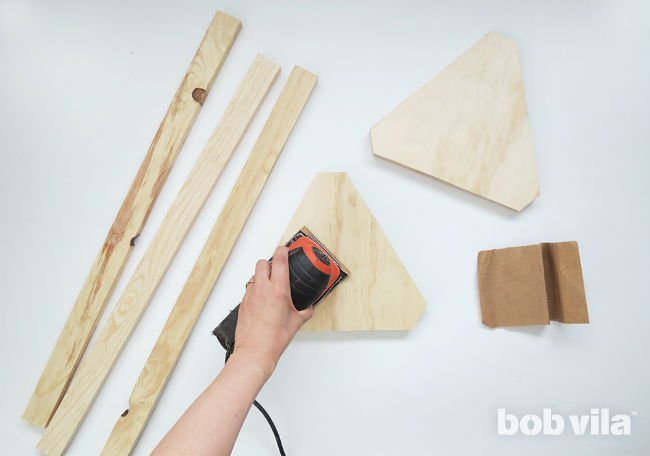
With all pieces cut, sand them with two types of sandpaper—first with a 60-grit paper, then with a 120-grit paper to give the wood a smooth finish.
Remove the sawdust with a damp cloth.
STEP 4
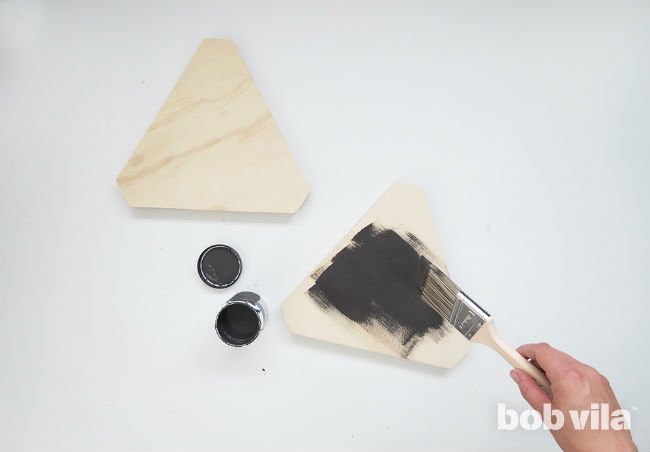
Paint or stain the triangular shelves whatever color you like; we chose a dark gray to contrast with the natural tones of the wooden legs.
Pro Tip: If you choose to paint, it’s smart to go with something with a sheen. Semi-gloss paint, for example, will withstand excess moisture from an overflowing pot better than most matte options. Regardless, though, we’ll put a coat of varnish at the end to protect the finished product.
For a better result, we suggest applying two coats.
STEP 5
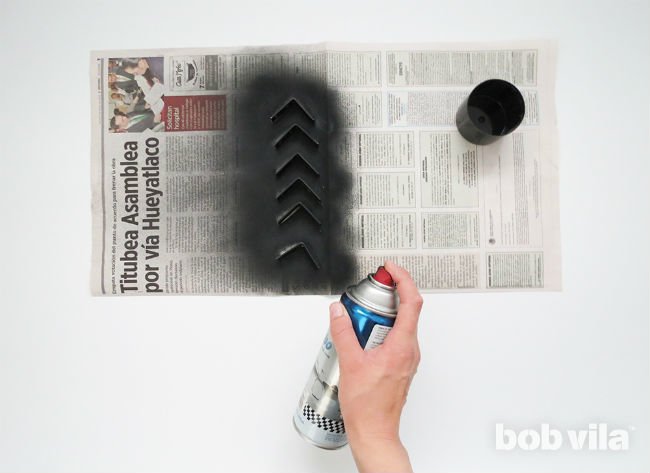
Your finished DIY plant stand will look more professional if the metal corner braces supporting each level don’t stand out. To better integrate them into the structure, spraypaint them in the same color as the shelves. Here, to go with our dark shelves, we applied two coats of black paint (don’t forget to wait the recommended amount of time between coats) and switched the regular screws for black ones.
STEP 6
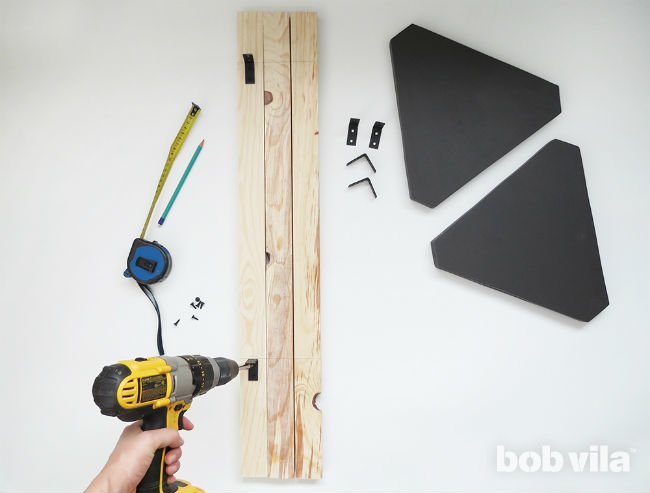
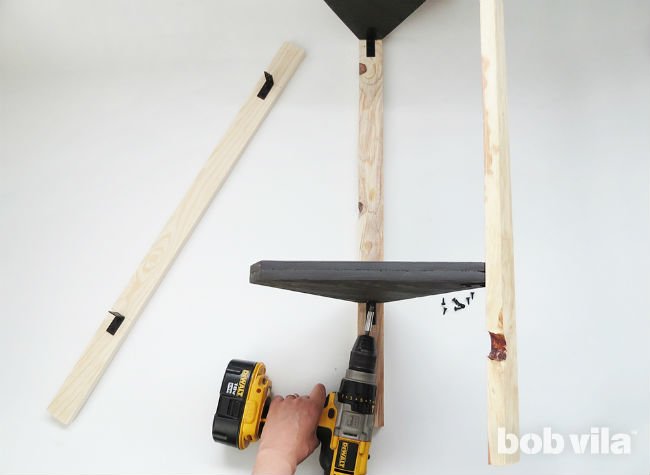
Prep the legs to assemble the DIY plant stand. Put them side by side on a flat surface, and measure and mark 8 inches from the bottom on each. Next, make a second mark 20 inches above the first one (28 inches from the bottom) on each leg.
Now, double check your measurements. Verify that the marks are at the exact same height on every leg to be sure that you build a level plant stand. Then, fasten two 1-½-inch corner braces on each leg with ½-inch screws, aligning them just below the mark.
STEP 7
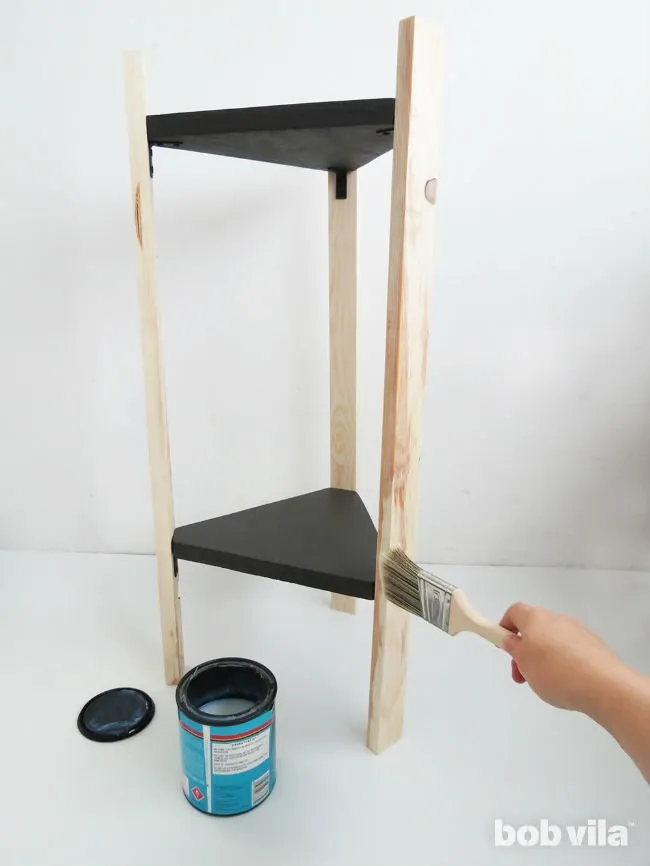
Stand the three legs with the corner braces facing inward. Then, assemble your DIY plant stand by placing a triangular shelf at each level on top of a set of braces.
Screw through the corner braces and into the bottom of a corner of a shelf. For more strength, you can add a little glue between the shelves’ corner edges and the legs before doing so.
STEP 8
If you want your DIY plant stand to last, top with one or two coats of varnish. (Be sure to follow the can’s instructions for dry time between coats and after the final coat.) It will protect it from dust and eventual water droplets.
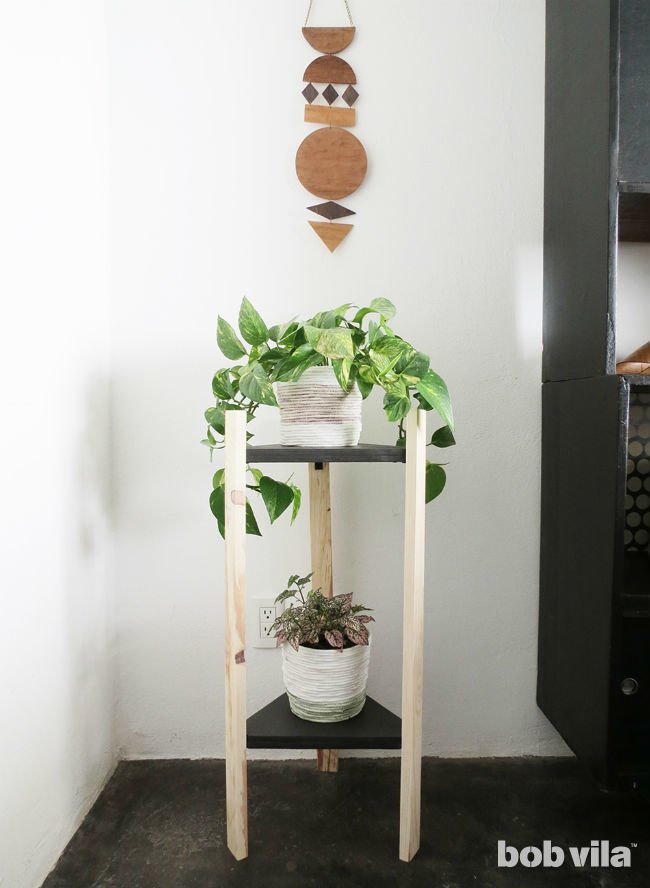
And with that, you’re ready to display your favorite plants! Unless, of course, you want to make those great rope baskets, too—the tutorial can be found here.
Ama is a DIY addict and the creative mind behind Ohoh Deco. She likes home decor, lighting, and furniture projects that may involve painting, sewing, drilling… no matter the technique! Whatever she has on hand is the inspiration to create and fodder for her serious addiction to upcycling.
Still searching for inspiration? Start with these next five easy designs for a DIY plant stand. With any of these, you can devote an entryway or corner to your potted plants. Each build takes only a weekend but will bring delight week after week!
1. LEGS TO STAND ON
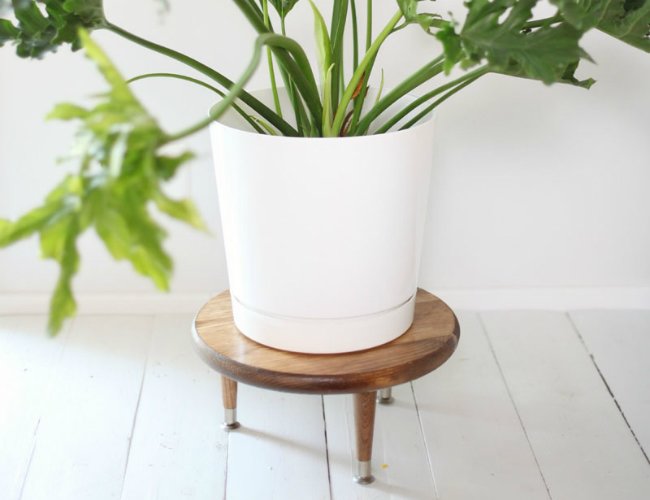
For throwback style that you can make in a day, try this midcentury modern-inspired stand from A Beautiful Mess. It’s seriously simple to assemble: First, find or cut a wood round sized 4 to 5 inches larger in diameter than the base of the pot you’re looking to support. Stain, seal, and screw on a few tapered furniture legs picked up from any home improvement store, and your perch is ready to welcome its plant.
2. GROW A GRAND ENTRANCE
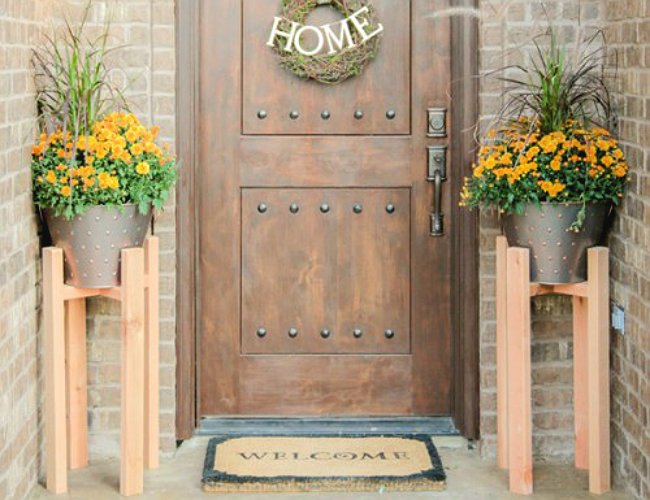
One foolproof way to bolster curb appeal in any home—whether it’s soon to be on the market or simply preparing to greet guests—is to highlight cheerful hues. And nothing brightens like fresh flowers! Take a cue from the blogger at Shanty 2 Chic and introduce colorful buds on either side of your entrance with two 30-inch-tall stands constructed from the already-popular landscaping materials, cedar fence rail posts.
3. ALL THE MARBLES
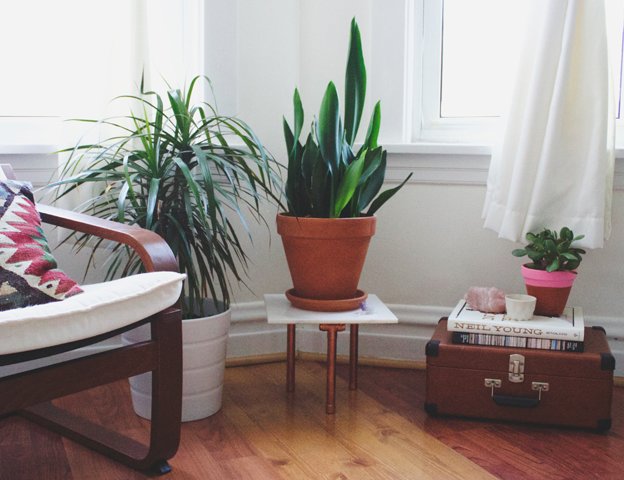
While a single slice of marble as a kitchen countertop or bathroom vanity can cost a pretty penny, securing a single square of porcelain floor tile for a luxe-looking living room DIY leans much more wallet-friendly. Here, the crafters at Foxtail and Moss affixed this opulent material to three legs of copper pipe and caps to create an industrial-chic stand.
4. OUT ON A LIMB
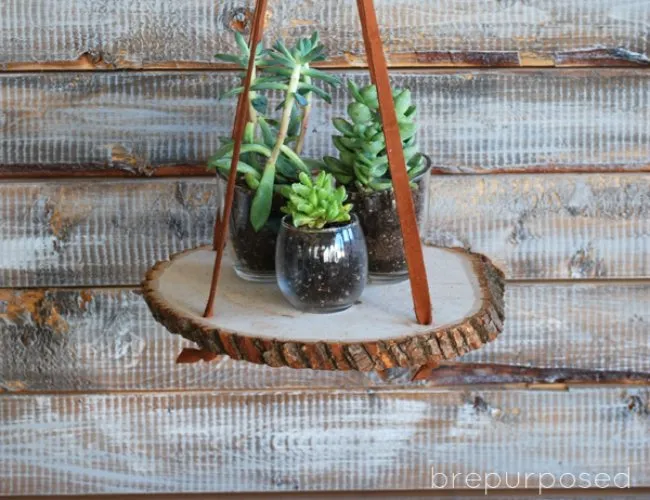
Not restricted to available floor space, this natural beauty from Brepurposed fits just about anywhere throughout the home! Simply affix a curved bracket meant for hanging flowering baskets to any wall; this time, instead of stringing up a standard woven planter, thread a couple of suede strips through the holes in a raw wood slice and hang the project to serve as your in-air plant stand.
5. NO CUT CORNERS
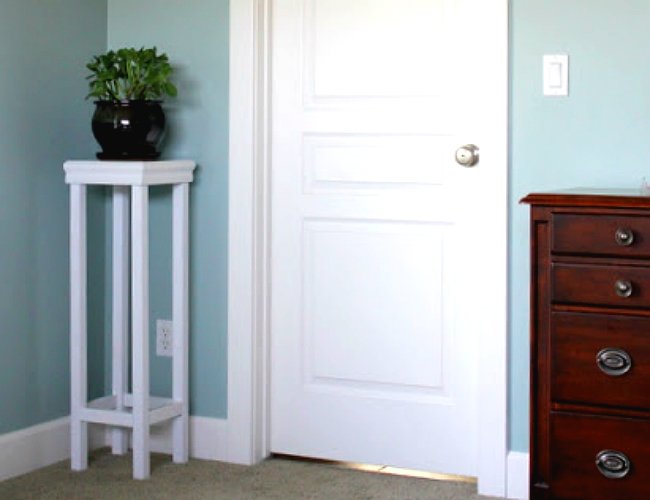
We all have those awkward, empty corners. Fortunately, a skinny DIY plant stand design from the Crafty Sisters can fill blank spaces with a fresh crop of foliage. And while ornamental around the edges, its simple construction consists of only medium-density fiberboard, chair molding, and planks of 2×2 and 1×2 lumber. Just remember that where you place the project after completion will determine which plants thrive; shade-loving plants will do fine along interior walls, while sun-loving sprouts should sit closer to the windows.
