We may earn revenue from the products available on this page and participate in affiliate programs. Learn More ›
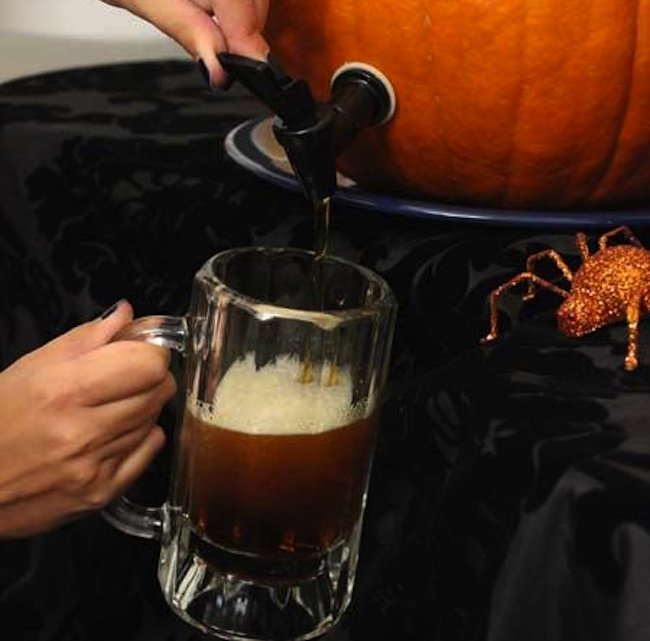
This time of year, it seems like everyone’s got a thing for pumpkins. But even if neither pumpkin pie nor pumpkin-spiced lattés are on the menu for your Halloween bash, you can still find a place at the table for fall’s most famous gourd. Introducing the pumpkin keg.
Christina Stiehl, editor at Celebrations.com, first tipped us off to this genius little hack (and for that, we’re forever grateful.) Christina, it should be said, loves pumpkins—cooking them, decorating them, and yes, drinking out of them.
While it may tempting to gut the pumpkin in haste to make your pumpkin keg, Christina reminds us that it’d be waste to speed through the process. “Pumpkins are super cute on the outside,” she says, “but the insides are filled with a bunch of delicious good-for-you stuff. After carving a pumpkin and cleaning out all the ooey-gooey insides, I love saving all of the seeds to roast. After washing them, I usually toss them in olive oil and some kind of seasoning (usually Cajun or a ranch packet), then bake for 10-15 minutes at 400 degrees. It’s a tradition we always did when I was a kid, and I like to continue it every year.”
Roasted pumpkin seeds: the perfect snack to serve next to the DIY pumpkin keg you create for your guests!

How to Make Your Own DIY Pumpkin Keg
TOOLS & MATERIALS
– Magic marker
– Pumpkin carving kit
– Serrated knife
– Plastic spigot
STEP 1
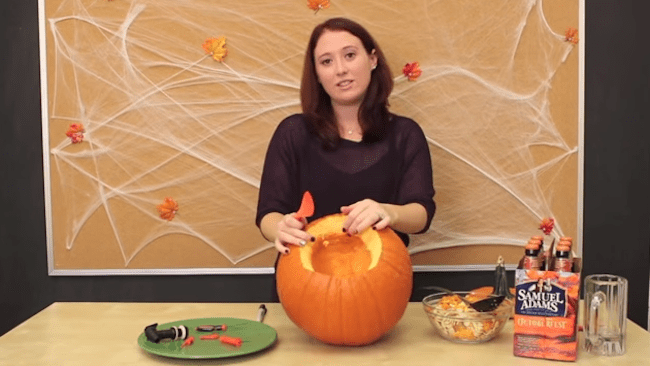
First, draw a ring around the top of your pumpkin. This will be your guide to carve the lid. Try to keep this pretty close to the top of the pumpkin, so you optimize the hollowed-out space that will hold the liquid.
STEP 2
Once that’s done, carve it! If you’re without a carving kit, you can use a serrated knife. Whatever your tool of choice, poke it in at an angle and work your way around the ring.

STEP 3
Once you’ve gone all the way around, pop the lid off and clean out your pumpkin. Make sure you get all the seeds out and most of the pulp, but don’t worry if some gets left behind, as it adds a little flavor to the drink.
STEP 4
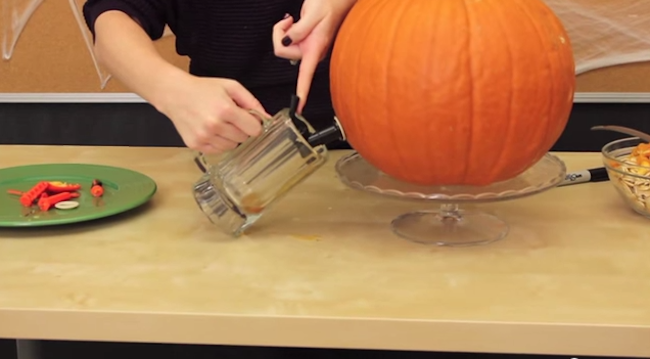
Now find the spot where you want to place your spigot. Using your pencil or marker. Cutting the hole here will require a pretty fine serrated knife, so the carving kit proves really worthwhile at this point.
STEP 5
Once your spigot is secured, pour in your drink of choice. (Christine recommends Sam Adam’s Octoberfest, but you can try cider or other seasonal drinks.) Finally, pop the lid back on your pumpkin. You’re ready to go!
And that’s it! Be sure to check out the how to video at Celebrations.com, where you can also find seasonal craft and recipe ideas.

