We may earn revenue from the products available on this page and participate in affiliate programs. Learn More ›
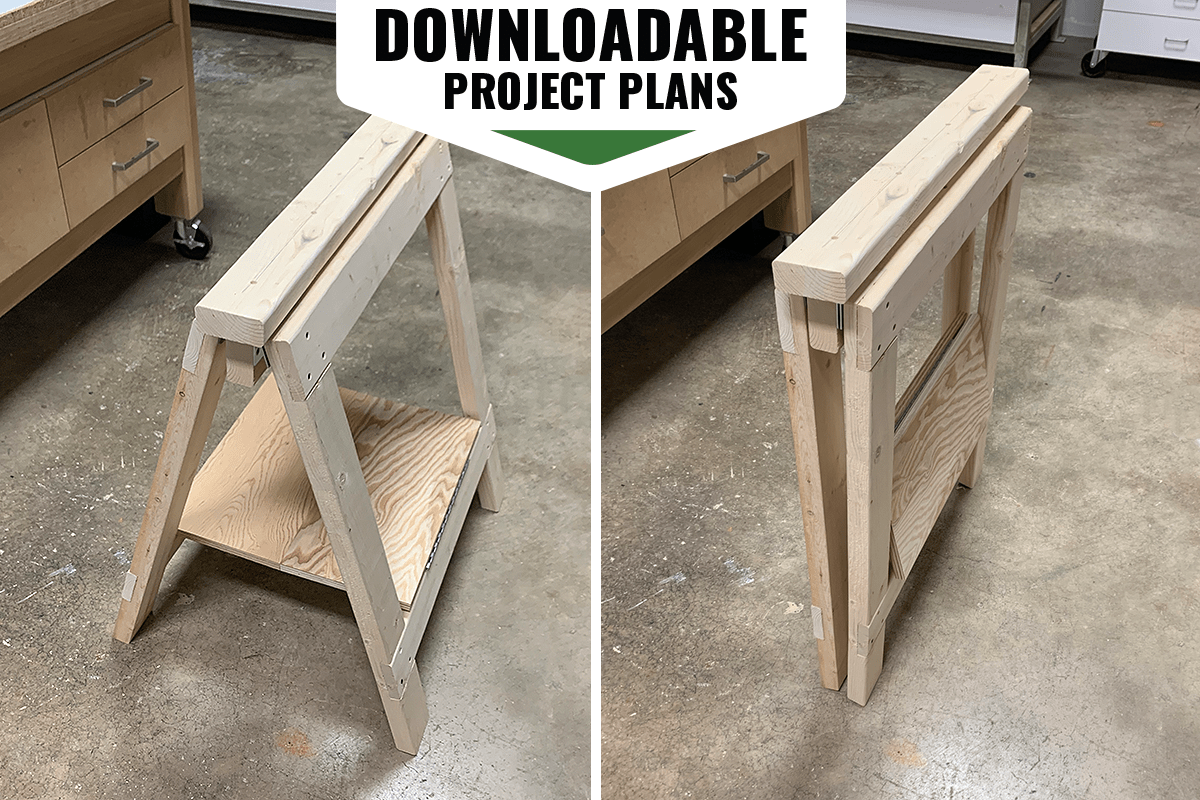
Sturdy, foldable, and featuring sacrificial tops and convenient shelves, this set of sawhorses is custom tailored for DIY projects around the house and yard. The legs are constructed with half-lap joints, which bolster stability and keep a low profile when the sawhorses are folded for storage. This joinery method is also useful for many other woodworking projects, such as cabinetry and outdoor furniture.
Because the set is made almost entirely out of standard 2x4s, which are fairly inexpensive and readily available, it’s easy to replace parts as needed. The tops, in particular, are designed to take a beating. Think of them as pieces of scrap wood that you can cut or drill into as needed. When it’s time to swap in new boards, all you need is a screwdriver.
As a bonus, these DIY sawhorses feature plywood shelves for resting power tools and various materials while you work. They are attached with continuous hinges that provide strength as well as flexibility.
Ready to learn how to build sawhorses? Download the project plans to see the full cut list, illustrations, and step-by-step photos.
Tools & Materials
Bobvila.com may earn a commission from purchases made through these links.
- Safety glasses
- Tape measure
- Pencil
- Miter saw
- Table saw
- Full-kerf table saw blade
- Clamps
- Rubber mallet
- Chisel
- Drill/driver
- Self-centering drill bit
- Dust mask
- 2×4 pine board
- Wood glue
- 1¼-inch general-purpose wood screws
- 3-inch door hinges
- 2½-inch general-purpose wood screws
- 12-inch continuous hinges
Project Overview
Estimated Time: 3 hours
Skill Level: Beginner
Estimated Cost: $80 for two sawhorses
Before You Begin
These project plans will walk you through how to build one sawhorse. To build a set, duplicate all of the parts and repeat all of the steps below. You can make the sawhorses taller or shorter by adjusting the lengths of the legs.
As always, take proper precautions while using power tools, wear safety glasses and a dust mask, and clamp parts when necessary.
STEP 1: Cut all of the parts.
Cut the parts to length with a miter saw or circular saw. Then cut a 15-degree angle into the bottom of each leg. This will allow the sawhorse to stand flat along the floor when it’s unfolded.
STEP 2: Cut grooves in the rail.

In order for the door hinges to move freely, grooves need to be cut into both sides of the top edge of the rail. Using a full-kerf blade on your table saw, set the blade height to ⅜ inch and place the board to the right side of the blade and the fence to the right side of the board. Line up the rail piece so that the edge clears just the width of the blade. Secure the fence and push the board over the blade. Flip the board and repeat the process to cut a groove along the other side of the rail’s top edge.
STEP 3: Cut the half-lap joints.
Mark all the half-lap joints on the stringers and legs. There are a few different ways to cut these joints. If you are using a table saw, set the blade height to ¾ inch and clamp a scrap piece of 1x material to the fence, in front of the blade. This is my recommended setup for cutting half-lap joints in the stringers and tops of the legs. Pass the board over the blade several times to create kerfs; then use a rubber mallet to break apart and remove the waste. Clean up the grooves with a wood chisel.
To cut the lower half-lap joints in the legs, use the same method but flip the legs so the bottom is against the fence and adjust the fence accordingly.
As an alternative, you could use a circular saw with the blade depth set to ¾ inches.
STEP 4: Build the leg assemblies.
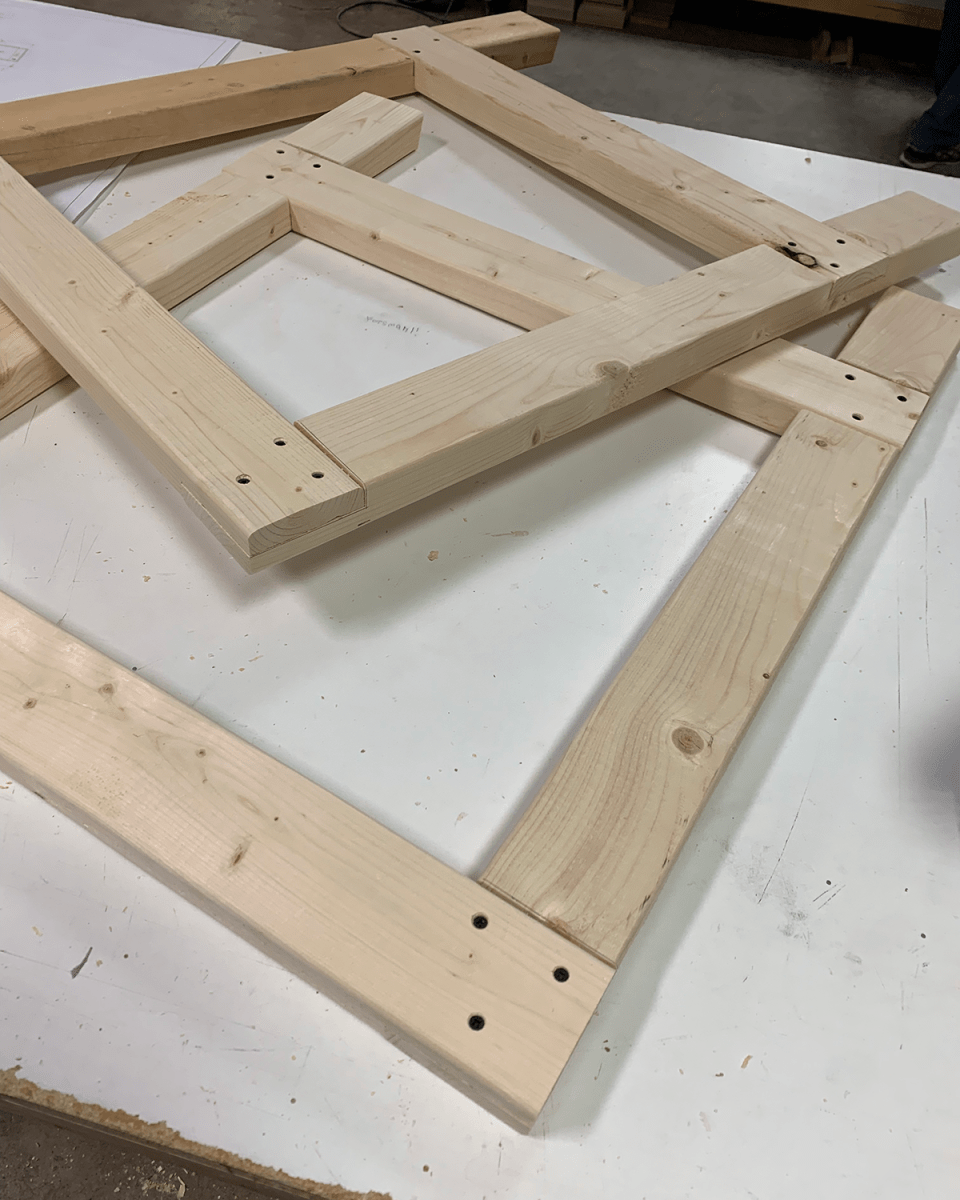
Using wood glue and 1¼-inch wood screws, secure the stringers and legs together at the half lap joints. Check that the assembly is square by measuring the distance between opposite corners both ways; it should be equal.
STEP 5: Attach the legs to the rail.
Set the rail and one leg assembly on a flat surface so that the groove on the rail is facing the top of the leg assembly. Attach the two parts together with door hinges so that the hinge pin is located in the groove. Use a self-centering bit to predrill the holes. Repeat this step to attach the other leg assembly.
STEP 6: Connect the sacrificial top to the sawhorse.

Fold the sawhorse, lay it on its side on a flat surface, and center the top using a piece of ¾-inch scrap wood as a spacer between the sawhorse and the work surface. Secure the top to the rail with 2½-inch wood screws. Sink the screws deep into the sacrificial top to avoid possibly hitting them when using the sawhorses.
STEP 7: Create the shelf.
Lay the shelf parts on a flat surface so that the longer edges are abutted. Center one continuous hinge along the seam, predrill holes using a self-centering bit, and attach the hinge using the included screws. Center the other two continuous hinges on opposite sides of the assembly and secure them to the shelf assembly.
STEP 8: Attach the shelf to the sawhorse.

Stand the sawhorse on a workbench and brace the legs in position using scrap wood and clamps. Attach one of the side continuous hinges to the top edge of a stringer; flip the shelf assembly and secure the remaining continuous hinge to the top edge of the other stringer. You may need to adjust the clamped boards on your workbench to fold the shelf slightly to make drilling easier.
Final Thoughts
While a single sawhorse can be handy for a variety of DIY projects, I highly recommend building a second one. A matching pair can be topped with a sheet of plywood or an old hollow-core door for an instant workbench anywhere. And because this design folds to a narrow size, it’s easy to store out of the way.
High-quality sawhorses don’t have to be expensive, either. With the detailed instructions, cut list, and illustrations included in these downloadable project plans, you can build your own set for less than $100.
Looking for more woodworking projects? Check out our mobile workbench and Adirondack chair plans.
