We may earn revenue from the products available on this page and participate in affiliate programs. Learn More ›
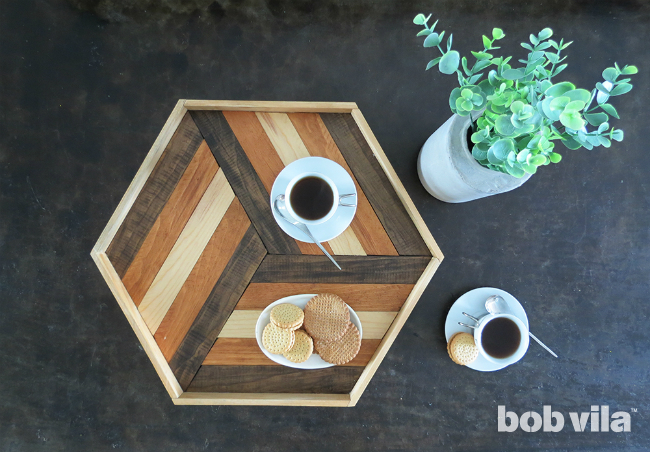
End of the year celebrations are just around the corner, and—no matter whether your plans include hosting an intimate dinner or throwing a giant party—an extra serving tray can always come in handy. After all, how else might you corral coffee fixings or carry appetizers out to your guests? But festive events deserve a little extra flair. Follow this illustrated tutorial to craft a DIY serving tray that’s uniquely styled with a geometric pattern and a trio of wood stains. And don’t feel the need to stash this platter away after guests leave; simply transfer the wooden tray to your coffee table or kitchen counter as a catch-all year-round.
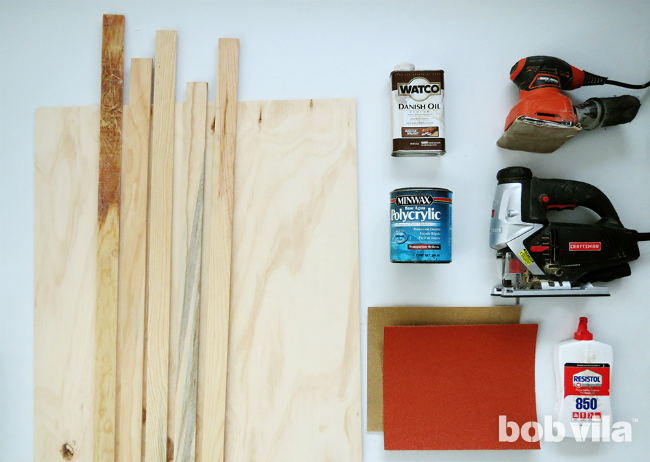
MATERIALS AND TOOLS
– 6mm plywood (20 x 20 inches minimum)
– Graphic compass
– Rope
– Ruler or protractor
– Pencil
– Pushpin
– 1-½-inch x ¼-inch wood lath (24 feet)
– Scrap wood
– Jigsaw
– Wood stain (3 shades)
– Paintbrush
– Wood glue
– Wood clamps (optional)
– Palm sander
– 60-grit sandpaper
– 100-grit sandpaper
– Transparent acrylic varnish
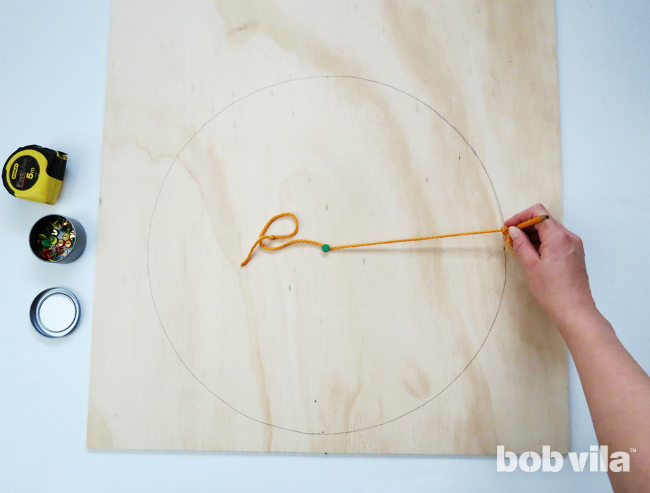
STEP 1
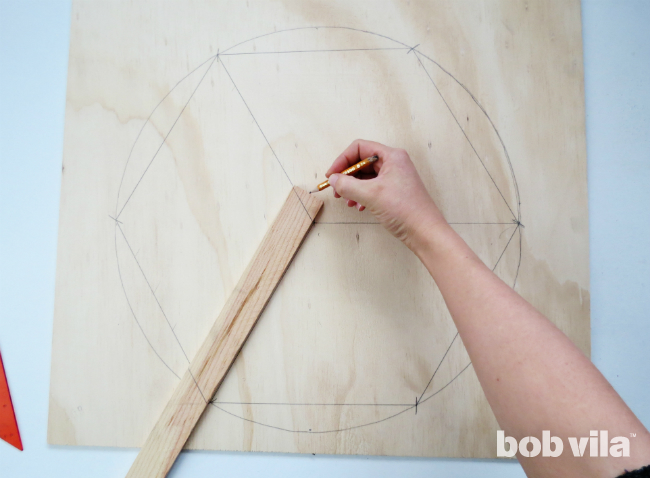
Draw a hexagon on the plywood the size you wish to make your DIY serving tray; ours has a diameter of 18 inches. The easiest way to do so is to start by tracing a circle with a 9-inch radius in the center of your 20-inch-square plywood piece.
If you don’t have a drafting compass or yours isn’t capable of drawing a diameter of up to 18 inches, you can achieve the same end with a rope, pencil, pushpin, and ruler or protractor. Knot the rope around the pencil end closest to the lead tip (right where your fingers might hold it), measure out 9 inches of rope (the length of your radius), and fasten the other end of rope to the center of your plywood using a pushpin to fasten. Now, verify that the distance between the pushpin and the pencil tip is exactly 9 inches, as that’s what you’ll be cutting the wood lath to fit in the next steps. If so, proceed to draw the circle by holding the pencil vertically.
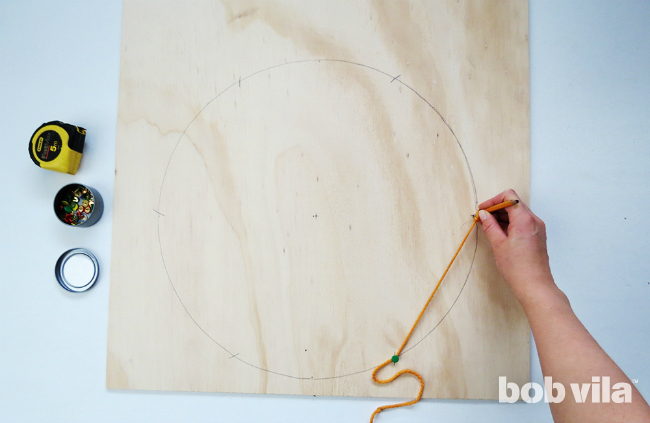
STEP 2
Continue with the pushpin method to find the corners of the hexagon. Remove the pin from the center of your circle and place it anywhere along the circle’s circumference; mark that position (Corner 1) in pencil. Now, trace along the circumference of the circle until the 9 inches of rope extends taut; mark this spot (Corner 2) in pencil, too. Move the pushpin to the mark you just drew, and repeat to find the next corner.
Continuing this process all the way around the circle should give you six corners. After you’ve marked the last, confirm that the distance between Corner 6 and Corner 1 is also be 9 inches long.
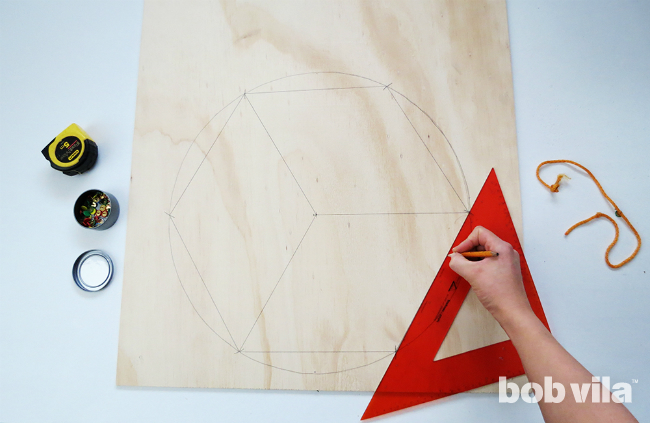
STEP 3
Use a ruler or protractor to connect the dots; the six lines will reveal your hexagon. Then, divide the shape into three identical parts by tracing a line from every other corner to the center of the circle where you first placed the pushpin.
STEP 4
Cut the wood lath into 15 equal pieces that will completely cover the tray, five in each third. To fit the DIY serving tray’s hexagonal shape, it’s important to achieve the right length and angle for each piece. The easiest way to do so is to place the first lath along one of the dividing lines and slide it until the lath enters into the neighboring third. Use the lines drawn on your plywood to mark the angles needed to cut each end of wood lath.

STEP 5
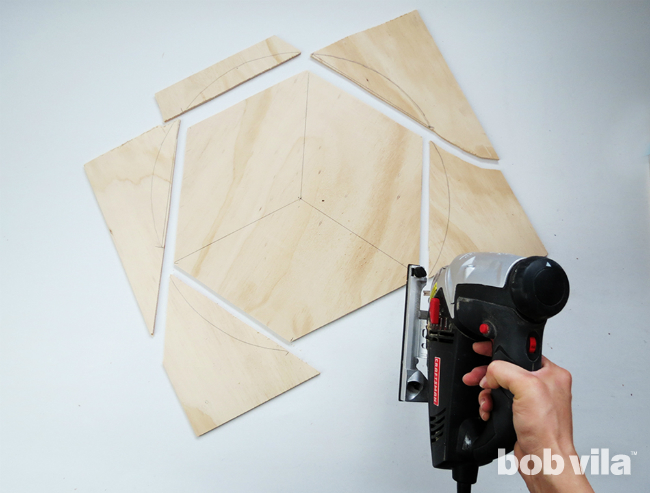
Rest one lath on a piece or two of scrap wood and cut along your penciled lines using a jigsaw. Before you cut 14 more to match, fit the piece into the drawn hexagon to check if the dimensions are accurate. If so, use this first cut as a model to measure and cut 14 additional pieces.
STEP 6
Set the lath pieces aside, and use the jigsaw to cut the hexagon shape out of the plywood next.
STEP 7
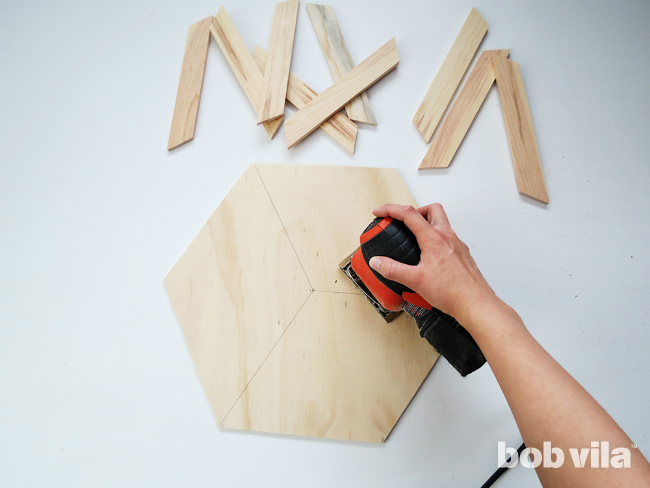
Sand all the pieces—plywood and lath, front and back—to remove splinters.
STEP 8
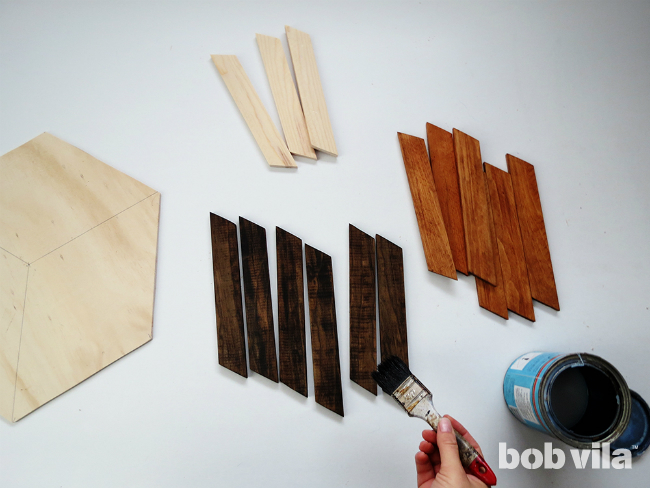
Stain the lath cuts in different shades to emphasize the pattern built into your DIY serving tray. We used Early American and Oak stains for six pieces each, and we left three pieces with their natural tone. Looking for more color? Use paint instead!
STEP 9
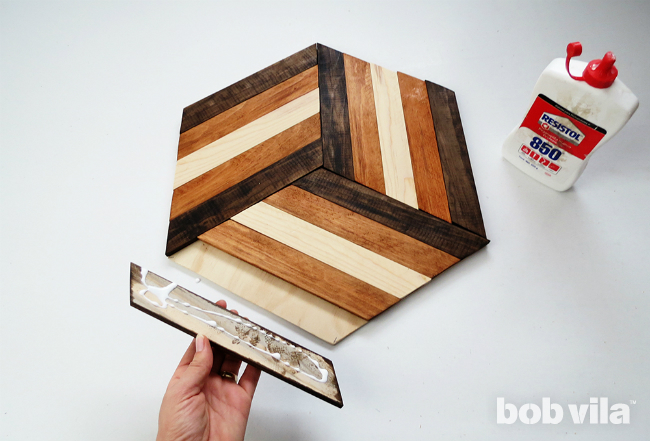
Arrange multicolor lath cuts onto the plywood hexagon, and glue them in place. If you have them, you can set up wood clamps to hold the pieces together while the glue dries.
After the recommended amount of dry time passes, give a light sanding to the edges of the DIY serving tray to remove any dried adhesive peeking through the cracks.
STEP 10
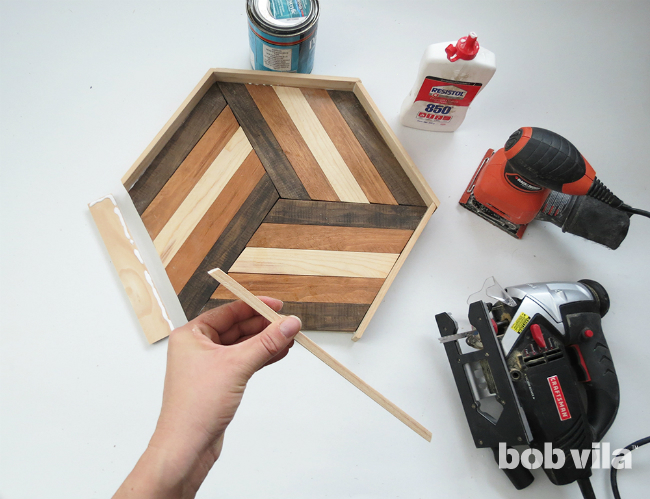
The last thing you have to make are the edges to your DIY serving tray. Cut six pieces of lath, each 9 inches long and with 30-degree angles in at both ends. Adhere each edge to a side of the tray with wood glue. Then, once all the glue has dried, lightly sand the finished project down. All that’s left to do now is to wipe away the dust with a clean cloth, and then spray on a coat of varnish to protect your rustic serving tray from all of the use it will get down the road.

Ama is a DIY addict and the creative mind behind Ohoh Blog. She likes home decor, lighting, and furniture projects that may involve painting, sewing, drilling…no matter the technique! Whatever she has on hand is inspiration to create, and fodder for her serious addiction to upcycling.

