
We may earn revenue from the products available on this page and participate in affiliate programs. Learn More ›
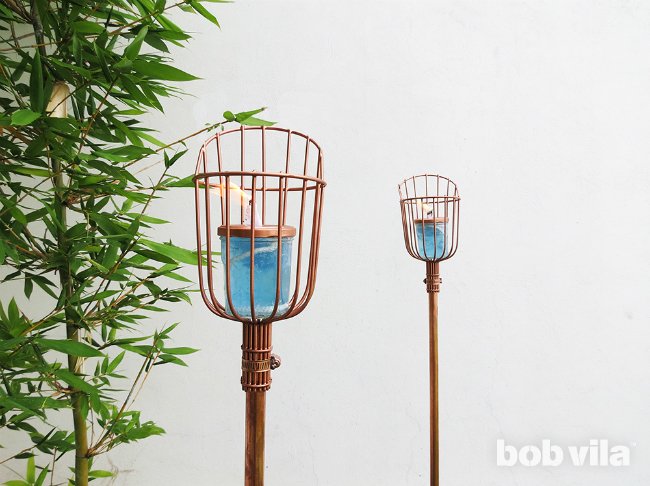
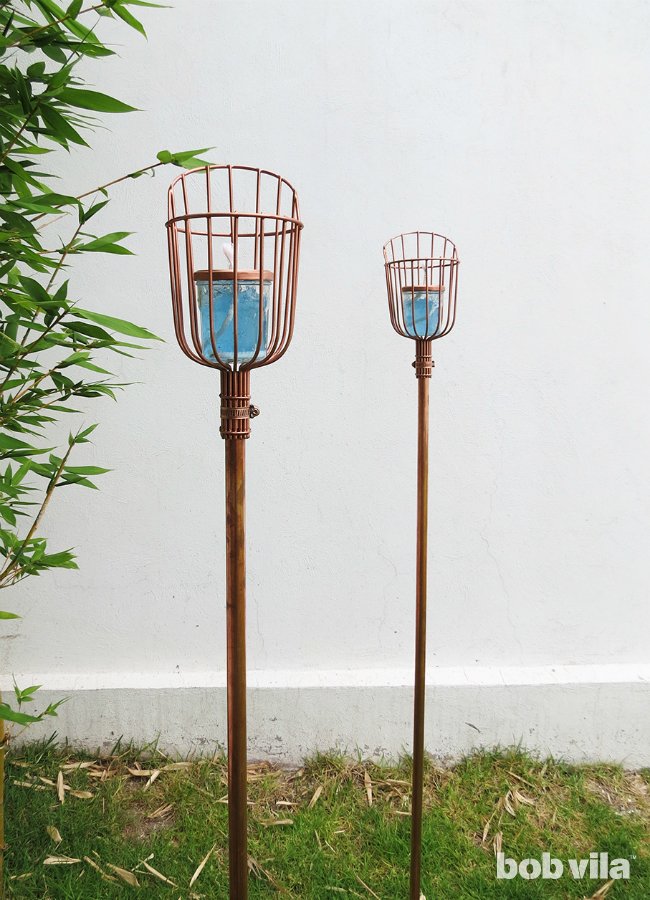
Nothing spoils an outdoor gathering like unwanted guests, namely the buzzy ones. Enjoy summer nights free from the mosquitoes by staking a few tiki torches around your backyard party. Filled with citronella oil or citronella tiki torch fuel, they’ll keep bugs at bay while you and any invited guests play. This particular pro-quality setup—with likeness to the ever trendy industrial wire pendant lights—actually boils down to six easy steps and a handful of creative materials. Follow the easy tutorial below to make one DIY tiki torch, and repeat until your yard is fully illuminated past sunset!
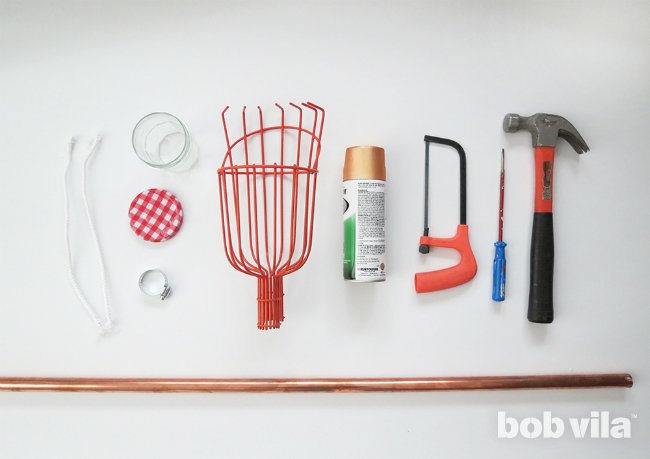
MATERIALS AND TOOLS
– Mason jar
– Hammer
– Nail
– Fruit picker basket
– Cutting pliers
– Copper spray paint
– 3⁄4-inch copper pipe (5 feet)
– 3⁄4-inch copper pressure slip coupling
– Cotton swab
– Rubbing alcohol
– Adjustable stainless steel pipe or hose clamp
– Screwdriver
– Tiki torch wick or 100 percent cotton rope
– Citronella oil or Tiki fuel
STEP 1
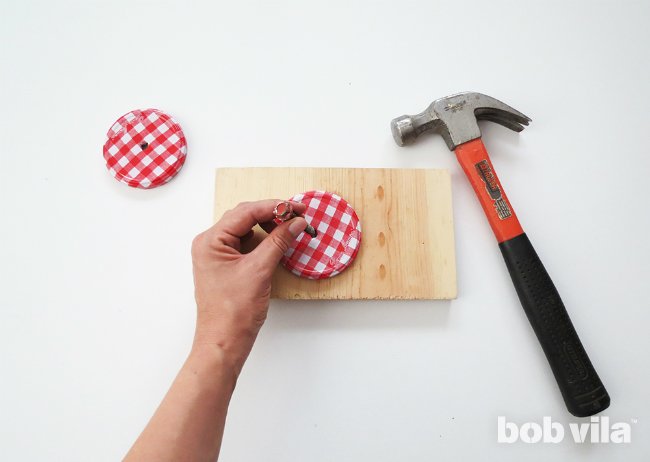
The actual citronella candle and flame for your DIY tiki torch will be housed in a sealed 8- to 12-ounce glass mason jar. To convert the canning staple, you’ll need to first perforate the lid so that you can thread the torch wick through it. Place the lid on a piece of scrap wood, then position a nail at its center and tap with the hammer until it pierces through the metal into the wood. Pull out the nail using the hammer’s claw; the resulting hole needs to be a tight fit so that the tiki torch wick stays in place.
Set the punctured lid and jar aside until you fill it up in the final step.
STEP 2
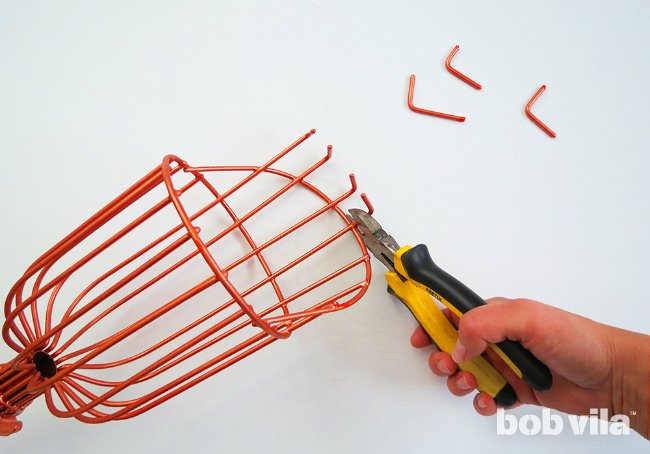
To create the wire cage support in this DIY tiki torch, we started with the unique wire design of a fruit picker basket. Intended for pulling ripe fruits from tree branches, this orchard tool possesses a diameter just wide enough to hold a 12-ounce jam jar—our soon-to-be citronella candle. Look for one without an extension or telescoping pole for less than $10, either online at Amazon or in the garden center of your big-box home improvement store.
Peel out the soft cushion (meant to keep each piece of fruit free of bruises while picking), and use cutting pliers snip the metal ends that look like rake tines where they connect with the top arched wire. After you make your cuts, your basket’s trimmed side should still be higher than the other, but sleeker without claws—and so begins the transition into a more industrial candle holder.
STEP 3
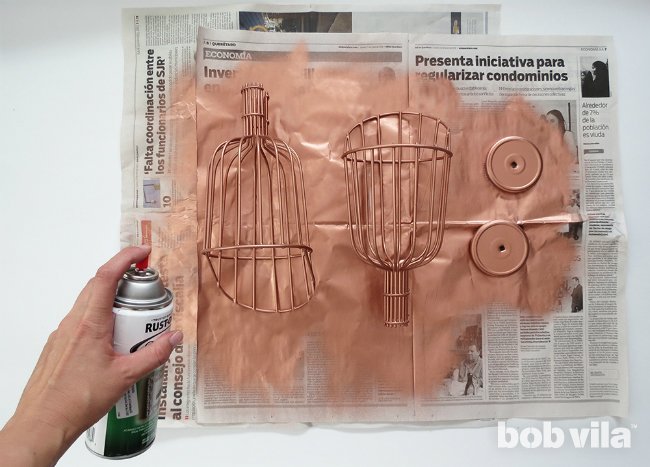
Spray paint the fruit picker basket and the mason jar lid. Apply several coats (remembering to allow adequate dry time between each) to cover both pieces completely with the copper paint.
STEP 4
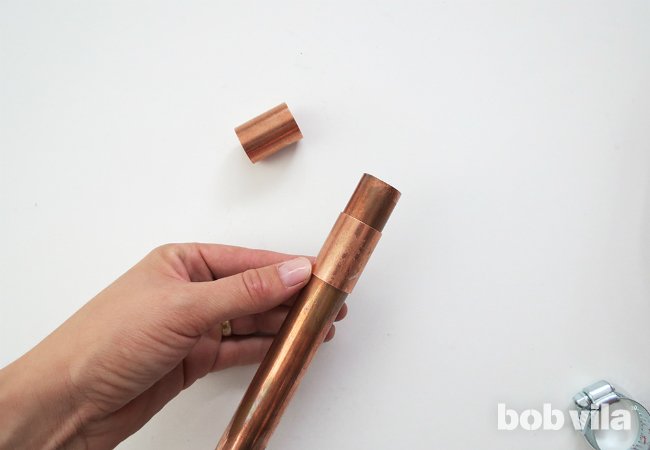
Take the 5-foot length of 3⁄4-inch copper pipe and slide a matching 3⁄4-inch copper pressure coupling over the top end; this addition will add extra thickness to the pipe so that you can snugly slide the fruit picker basket over top.
Pro tip: If you need to remove a red sticker from either of your copper pipe pieces, simply wet it with a cotton swab soaked in rubbing alcohol for a clean and easy peel.
STEP 5
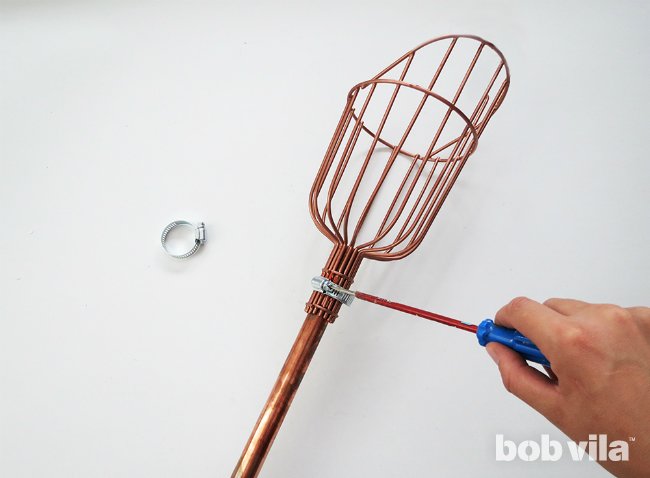
Slide the narrow end of the fruit picker basket (the part that would typically attach to a telescoping pole) over the end of the copper pipe and the pressure coupling. Unscrew to open up a stainless steel pipe or hose clamp, wrap it around the base of the basket, and tighten the screw once more in order to hold the clamp (and basket) in place.
STEP 6
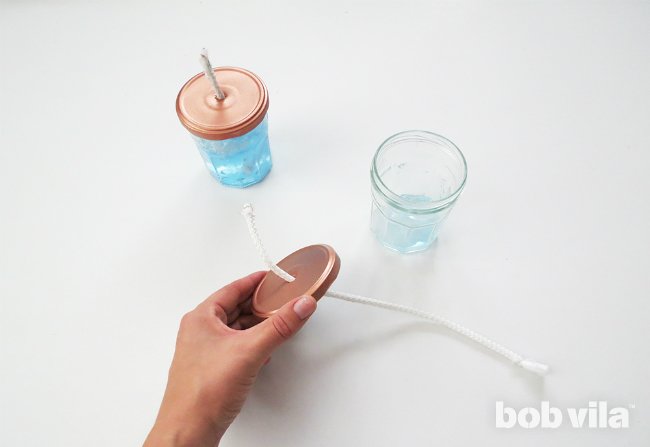
Fill the mason jar a quarter to a third of the way with tiki fuel or citronella oil. Thread the wick—either a specific tiki torch wick or 100 percent cotton, but not nylon, which melts—through the lid so that 2 inches stick out the top and several inches hang beneath. Twist the lid onto the jar to seal it, and let the wick soak for about 10 minutes before lighting the candle.
While that’s working, go ahead and plant your new torch (or torches, if you’ve built a few according to these instructions) in the backyard. Ensure that the pipe is sufficiently stable by driving it into the ground before you place the candle in shiny copper cage. Then light the candle at the start of the evening, and refuel whenever supply looks low for outdoor festivities minus any unwanted guests!
Ama is a DIY addict and the creative mind behind Ohoh Blog. She likes home decor, lighting, and furniture projects that may involve painting, sewing, drilling…no matter the technique! Whatever she has on hand is inspiration to create, and fodder for her serious addiction to upcycling.
