We may earn revenue from the products available on this page and participate in affiliate programs. Learn More ›
Developed in 19th-century England, the first mechanized clothes dryers were perforated barrels that rotated over flames. Today’s appliances are not so very different, at least in principle, with heated air blown through a tumbler. But where does the air go once it has stolen moisture from your socks, shirts, and hand towels? If you’ve ever walked or driven past a modern-day laundromat, then you already know: For a dryer to operate safely and effectively, it must vent to the outside.
In recent decades, it’s been common practice for homeowners to use flexible vinyl or metal tubing in dryer vent installation. The ridged design of these ducts, however, tends to pose a fire hazard: In short, they trap lint.
For that reason, experts now instead recommend the use of rigid or semirigid hose; either can be found easily and purchased inexpensively in the diameter appropriate for your appliance (for most dryers, the correct duct size is four inches).
Installing a Dryer Vent in 5 Steps
Step 1: Determine the path of the ventilation duct.
Dryer vent installation begins with a decision: By what route will the duct travel from your appliance to your home’s exterior? The shorter, the better.
A straight path is the shortest possible route, but not always practical. If, say, your dryer sits in the basement, then the hose needs to make at least one turn. To complicate matters, the total length of the run should not exceed 25 feet—and that’s for a straight shot. From that maximum, deduct five feet for 90-degree bends, and two and a half feet for 45-degree ones.

Tried-and-True Advice
“If your home has vinyl siding, then you’ll need to cut a hole through it to install the dryer vent. This can be a challenge as a hole saw’s teeth can easily tear the siding. Here’s a trick to make a professional looking hole. Set the drill to reverse. By spinning counterclockwise, the teeth won’t bite as aggressively into the vinyl, allowing you to make a clean, smooth cut. Once you’re through the vinyl siding, switch the drill direction to forward to cut through the rest of the wall.”
—Tony Carrick, Contributing Writer
Step 2: Open up a small, 4-1/4-inch hole in the exterior wall.
Now comes the most challenging part of dryer vent installation: putting a hole in the exterior wall.
In most cases, the opening must be four and a quarter inches wide (for confirmation, consult the instructions provided by the manufacturer). I suggest drilling a pilot hole first, then going outside to double-check its position.
If there’s no impediment and you’re boring through wood, outfit your drill with a hole-saw attachment.
To penetrate stucco or concrete, it’s easier to use a masonry bit to drill multiple holes around the circumference of the desired opening before manually chiseling out its interior.
Step 3: Secure the dryer vent cap on the home’s exterior.
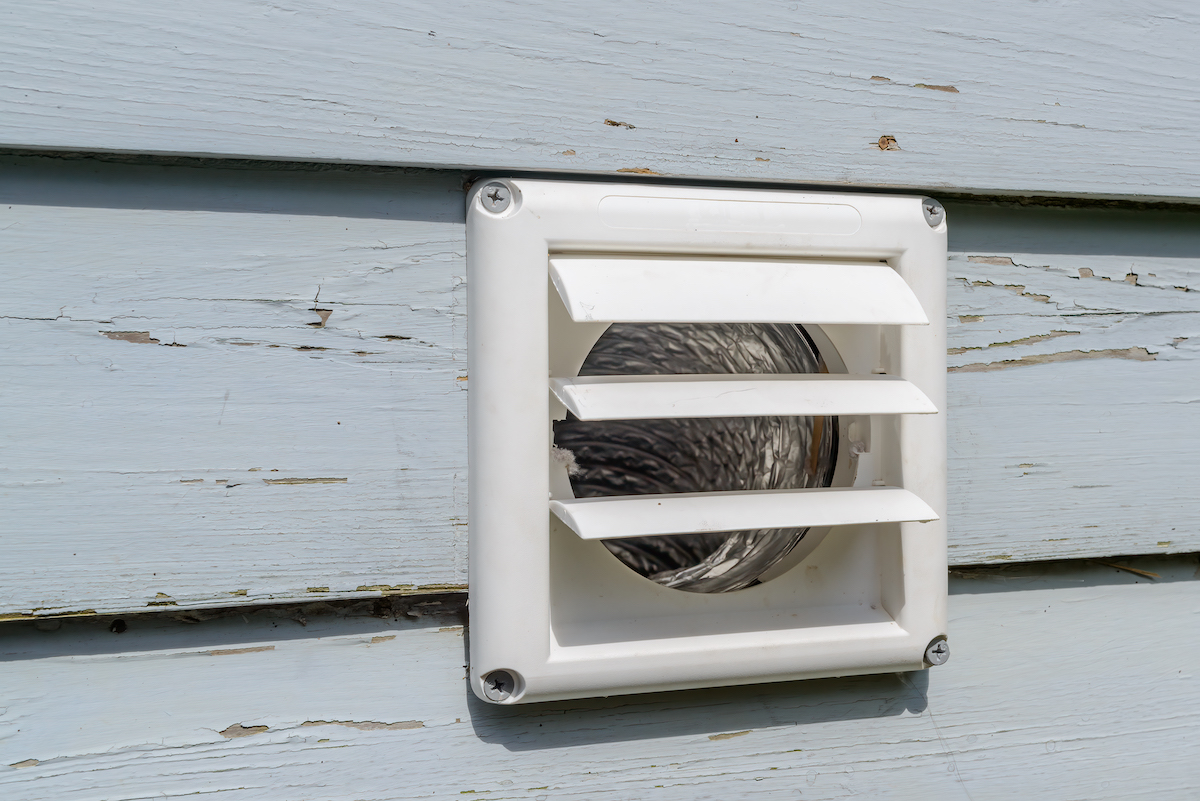
Install the dryer vent cap against the side of your house, making sure that its attached pipe fits through the wall opening you have made. Secure the cap with the provided screws, and then caulk around the edges for protection against the elements. Go back inside and connect the dryer duct to the vent cap pipe (a 90-degree elbow may be needed), securing the connection with a hose clamp.
Step 4: Cut and join duct sections to connect the vent opening to the dryer’s exhaust outlet.
Having moved the dryer into the desired spot in your laundry room, measure the distance from the back of the machine to the vent opening, accounting for all the necessary turns in the ductwork. With a pair of tin snips, proceed to cut the tubing to the length of the measured distance. If you are joining more than one length of tubing, reinforce all joints with foil tape. When you’re finally attaching the tubing to your dryer, remember to secure the connection by means of a hose clamp, as you did in Step 3.
Step 5: Test your installation.
Switch on the dryer, then go outside to inspect the vent cap: It should be emitting warm air. If it’s not, head back indoors to review your ductwork. The most likely explanation is that one of the connections has come undone.
Remember that in order for your dryer to keep operating at maximum efficiency, you must periodically clean inside the dryer vent. Lint has a stubborn way of lingering, even when there are no ridges in which it can get lodged.

