
We may earn revenue from the products available on this page and participate in affiliate programs. Learn More ›
If you want to keep a little bit of your summer garden with you all year long, you can do so by drying herbs and storing them for use after your plants have fallen to the frost. Learning how to dry herbs is simple, can save you money, and allows you to extend the shelf life of fresh herbs. We’ve broken down the process for drying your garden herbs to retain their flavors.
RELATED: 7 Important Things to Know About Growing Herbs Outdoors
Tools & Materials
Bobvila.com may earn a commission from purchases made through these links.
Project Overview
Working Time: 15 to 20 minutes
Total Time: 5 minutes to 14 days, depending on the method
Skill Level: Beginner
Estimated Cost: $10 to $25
Before You Begin

The best time to cut herbs for drying is just before they flower, at which point the leaves contain the most oil, so keep an eye out for buds. If you’ve been harvesting all summer, your herbs may not have had a chance to flower. A good time to cut for drying is in late summer when plants are starting to flag.
Before you begin drying your garden herbs, be sure to inspect them first for any signs of pests or damage. Gently remove any damaged leaves as they can affect the taste of the dried herbs. You may also need to clean them gently to remove any dirt or debris.
Air-drying your herbs is traditionally the best technique since it helps retain the flavor of the herbs.
RELATED: The Best Herbs to Grow Indoors
Home-Dried vs. Store-Bought Dried Herbs
While both options have their merits, home-dried herbs and store-bought dried herbs have some differences in terms of quality, flavor, and cost. Drying herbs at home allow you to control the overall drying process, which can help preserve the herbs’ flavors and aromas. It’s also cost-effective, as small jars of store-bought herbs can range anywhere from $5 to $10, if not more.
On the other hand, drying herbs at home requires time, patience and proper storage to prevent loss of potency, whereas buying dried herbs at the store is convenient and there are a wide variety of options on the shelves year-round. Store-bought dried herbs can also be costly, however, and can oftentimes lack the freshness and potency of home-dried herbs. They could also contain potential additives or preservatives, which are typically not favorable.
The Best Methods for Drying Herbs

There are multiple methods for drying herbs. Certain herbs, however, require more care. Some herbs, such as sage, thyme, and winter savory, are less tender and easy to dry. However, tender-leaf herbs such as basil, tarragon, lemon balm, and mint should be dried quickly as they have a high moisture content.
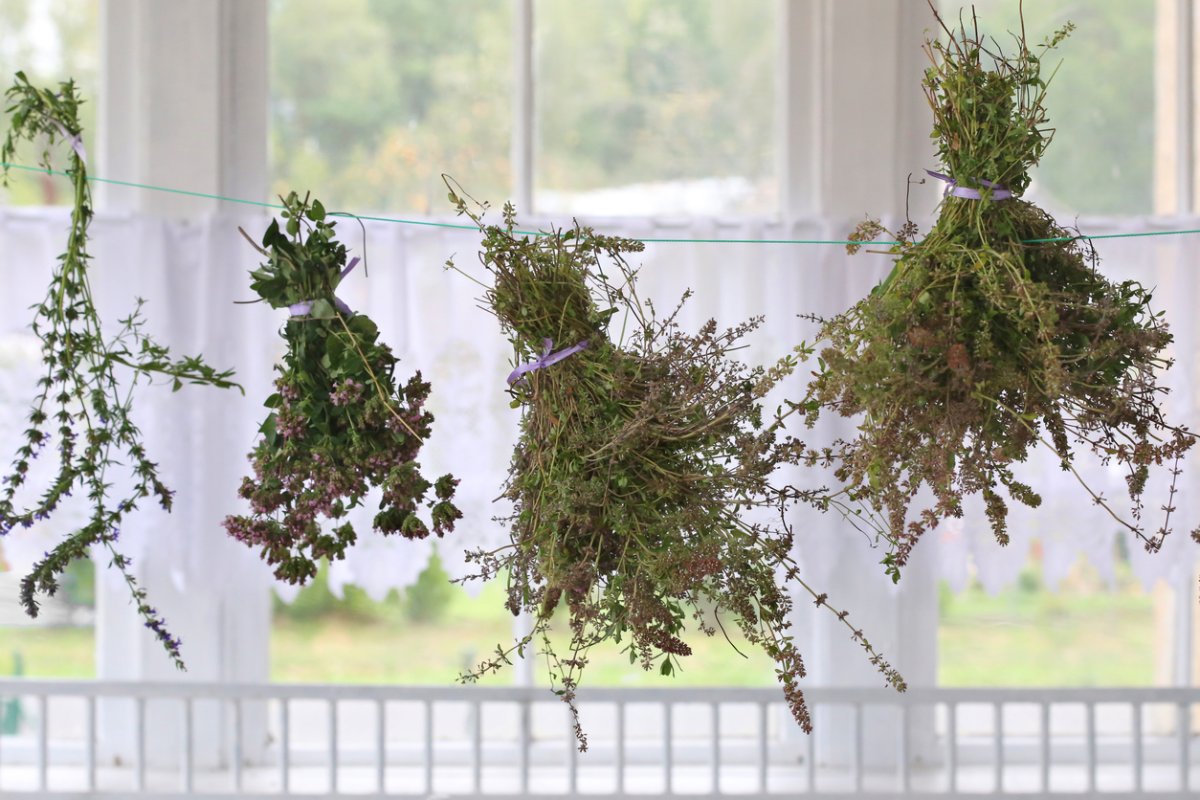
- Air-Drying. Air-drying is one of the most common methods for drying herbs. It involves tying them together and hanging them upside down out of direct sunlight. Once the leaves crumble easily, they’re ready.
- Dehydrating. When you dehydrate herbs, you’re providing them a controlled temperature environment for thorough and consistent drying. Arrange the herbs in a single layer in the dehydrator and set the temperature around 95 degrees Fahrenheit. Dry for 1 to 3 hours, checking the herbs for crispiness. Once they break off easily, they’re dried.
- Microwave Drying. Drying herbs in the microwave is a quick method, but it can be a tedious process. Place a layer of herbs between two paper towels. Microwave in 20- to 30-second intervals, being cautious not to overheat and scorch the herbs. Continue to check the herbs between intervals. Once they’re brittle, they’re completely dried.
- Oven Drying. If you’re curious about how to dry herbs in the oven, here are some tips. Preheat the oven to around 170 degrees Fahrenheit, or as low as it goes. Spread the herbs on a baking sheet and bake them for 1 to 2 hours. Check the herbs frequently to ensure they don’t burn.
How to Dry Herbs at Home

Step 1: Harvest your herbs.
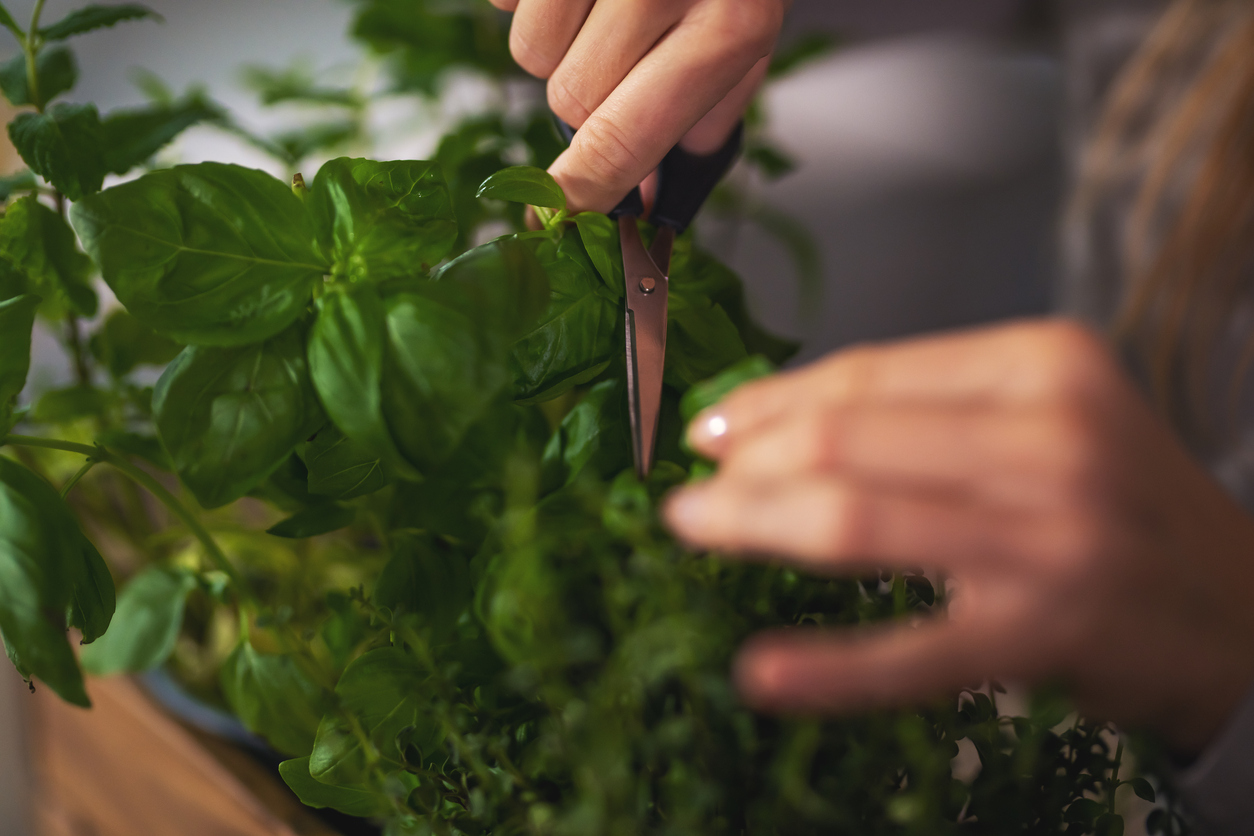
Use sharp scissors, a knife, or small pruners to snip stems from your plants you wish to dry. Cut when leaves are dry and free from dew (late morning or in the evening). Note: Do not cut more than ⅔ of the plant’s branches at once.
Step 2: Prepare the herbs for drying.
Carefully remove any damaged or discolored leaves from their stems, then gently rinse the herbs (while still on their stems) in cold water. Pat them dry thoroughly with a paper towel. Note: If herbs are left wet, they can mold and rot.
Step 3: Dry the herbs.
Air-Drying Method
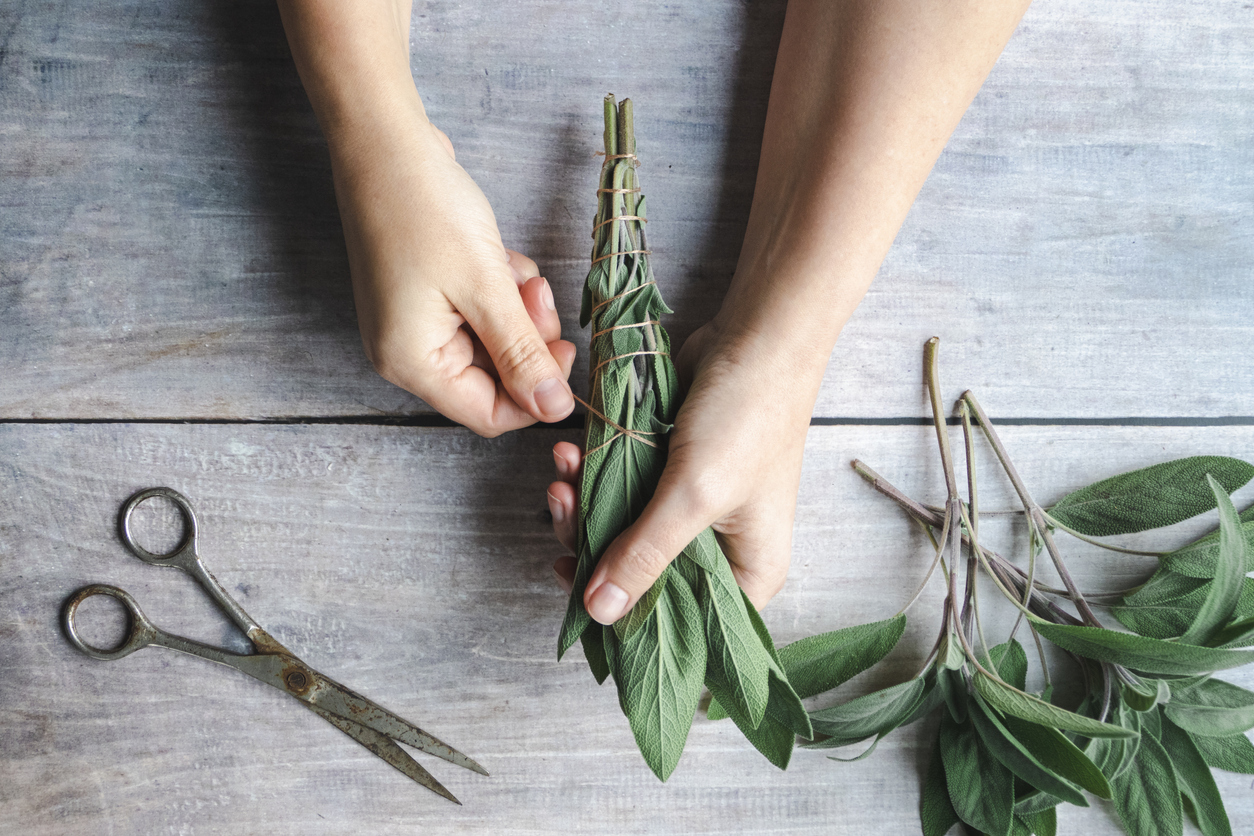
Using twine or string, tie the stems of your herbs into loose bunches. Make sure there is enough space for air to circulate around them. Turn your herbs upside down and hang them in a warm, dry place that is out of the sunlight—an attic, for example, or an empty closet. If you don’t have a dark place to hang herbs, you can place them upside down in a paper bag with a few holes cut for ventilation.
Wrap the opening of the bag around the stems, securing the closure with rubber bands or string (this will also help to keep dust off). Hanging upside down allows the essential oils to flow downward from the stems to the leaves.
Oven-Drying Method
Herbs with a higher moisture content (basil, tarragon, mint, lemon balm) need to be dried quickly so they won’t mold. You can try drying them with a dehydrator or oven. However, research shows that oven drying can destroy most of the flavor, oils, and color of the herbs. If you want to try this method, how to oven dry herbs properly involves removing the leaves from the stems and placing them on a cookie sheet or cooling rack.
Place the rack in an oven set for around 150 to 180 degrees Fahrenheit for 1 to 2 hours, checking frequently until they are dry. Note: Avoid drying herbs at temperatures higher than 180 degrees Fahrenheit.
Dehydrator Method
It’s possible that drying herbs in a dehydrator can preserve their flavor and overall quality. Remove the herb leaves from the stems. For herbs like rosemary or thyme, keep the leaves on the stems and remove the leaves after drying. Place the herbs in a single layer on the dehydrator trays, set the temperature between 95 degrees and 110 degrees Fahrenheit, and dry for 1 to 3 hours.
Microwave Method
Drying herbs in the microwave can be quick, but certain herbs will dry faster than others, so be careful not to scorch them. Place a single layer of herbs between two paper towels and microwave in 15- to 30-second intervals. Check on the herbs between intervals to ensure you don’t burn them. Once they’re dry, crumble them up and store them in airtight containers.
Step 4: Store your herbs.
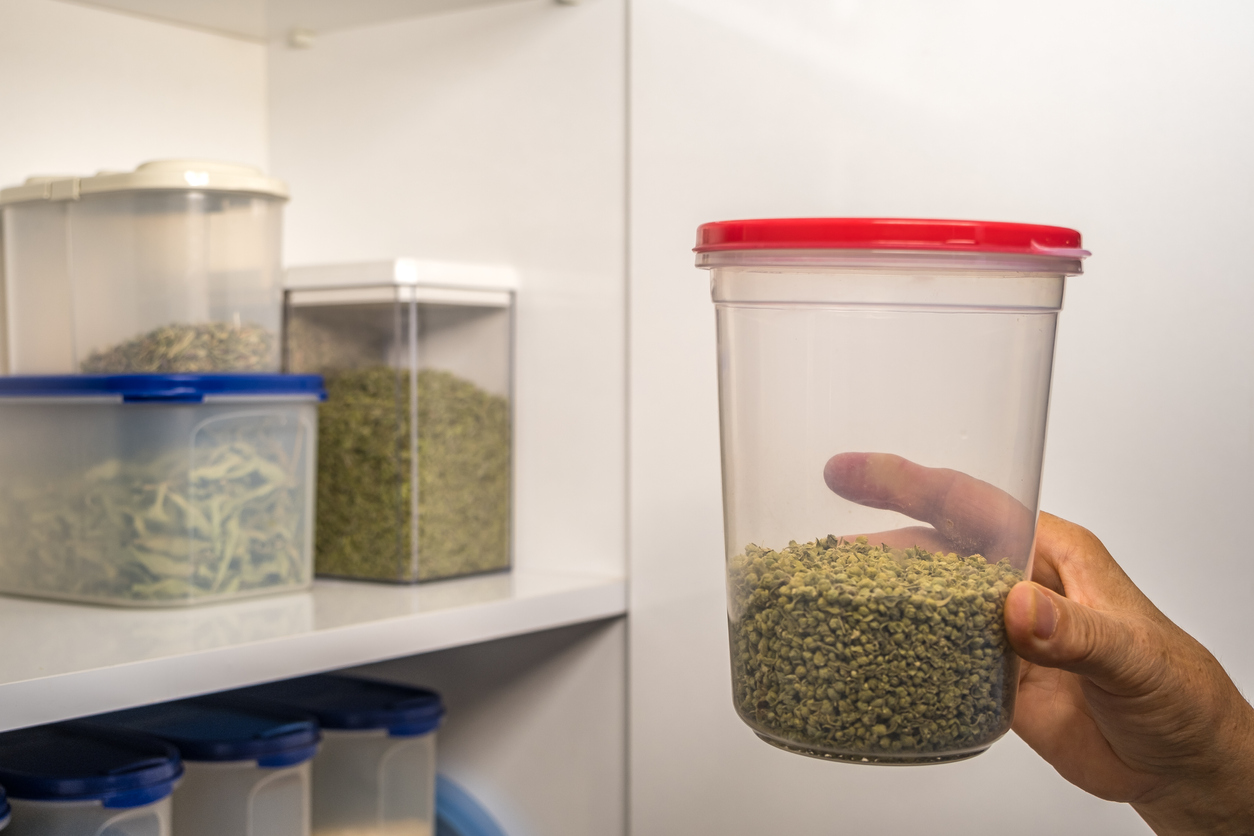
Put dried herbs in labeled, airtight containers (plastic baggies, resealable plastic containers, canning jars) stored in a cool, dry place. Glass jars with tight-fitting lids, like these from SPANLA airtight spice jars, are the best options for storage because they help preserve the herbs’ quality. Avoid plastic containers, which might not provide the same level of protection. Use labels or stickers to identify the herb name and the date it was dried. This information is useful to keep track of the freshness and potency of your spice collection.
For optimal flavor, store herb leaves whole, then crush them before using. (Leaves retain more oil when stored intact.) Your dried herbs will keep for a long time but they are best used within a year, at which point they start to lose flavor. If the color fades, you’ll know the flavor has faded, too.
Before that happens, you’ll have more herbs growing fresh in your garden to use, starting the process all over again.
RELATED: 15 Tips for Growing Kitchen Herb Gardens
Final Thoughts

Drying garden herbs is a simple and effective way to preserve their flavors and aromas. Whether you have an abundant herb garden or wish to prolong the lifespan of store-bought herbs, the art of drying ensures a steady supply of culinary delights throughout the year. By following the process outlined above, you can master the skill of drying garden herbs and enjoy their essence in your favorite dishes, teas, and remedies.
FAQs
While there are numerous methods to drying herbs, if you’re curious about how to dry fresh herbs, air-drying is likely the best. It is the least invasive and best preserves herbs’ flavors.
Herbs like rosemary, thyme, and sage are the easiest to dry at home as they have sturdy leaves and retain their potency when dried.
Delicate herbs such as dill, basil, and parsley are difficult to dry and easily lose flavor. These herbs are best used fresh.
Properly stored dried herbs can last anywhere from 1 to 3 years if stored properly. It’s best to use them within the first year, however, as their potency and flavor can diminish over time.
