
We may earn revenue from the products available on this page and participate in affiliate programs. Learn More ›
When you need to repair a sidewalk, create a space to store a trash can, or build a small storage shed, a few basic concrete skills come in handy. A small concrete slab doesn’t cost much to DIY, and the process is straightforward.
However, grading the soil, assembling concrete forms, and mixing and pouring concrete require a bit of planning. It is also no small amount of physical work. Properly finishing the concrete will ensure that the new slab looks great, resists cracking, and remains functional for many years to come.
After the concrete has been poured into the forms, it’s time to start finishing. The concrete finishing process transitions the freshly poured concrete into a strong, smooth surface before it fully sets. Doing it well calls for close attention to the condition of the wet concrete, and properly timing each step.
Read on to learn about the necessary tools, techniques, and timing for a strong, durable, and attractive finish on concrete. After reading this article, you will better know how to finish concrete.
Tools & Materials
Bobvila.com may earn a commission from purchases made through these links.
Project Overview
Working Time: 30 minutes
Total Time: 2 hours
Skill Level: Beginner
Estimated Cost: $15 or more, depending on tools that need to be purchased
Before You Begin
Wet concrete is highly alkaline, so the first order of business is to protect yourself from the risk of chemical burns. Whether you are mixing, pouring, or finishing concrete, be sure to wear rubber gloves to keep your hands safe, and safety glasses to protect your eyes.
Also wear long pants, a long sleeve shirt, and if you’ll be standing in the wet concrete, rubber boots. If your bare skin comes into contact with wet concrete, rinse it off with plain water right away.
Before beginning the essential job of finishing, bear in mind these helpful tips:
- Concrete projects are weather-sensitive. Hot (above 80 degrees) or cold (below 50 degrees) weather complicates the finishing process. For beginners, a cloudy day with moderate temperatures and no rain in the forecast is best for pouring and finishing concrete.
- Timing is critical. Each of the steps ahead is tied to the condition of the concrete. Steps 1 through 3 are done immediately after the pour, before water rises to the surface. Wait for “bleed water” to appear and evaporate before resuming steps 4 through 6. Step 7 is to be done after the concrete has completely cured.
- Avoid over-handling wet concrete. Doing so can cause the different sizes of aggregate within the concrete to separate, weakening the final slab.
- Use a flat shovel or trowel, if needed, to move and spread the concrete. Round point shovels do not spread concrete evenly.
Step-by-Step Guide to Finishing Concrete
Step 1: Spread the wet concrete evenly to completely fill the forms.
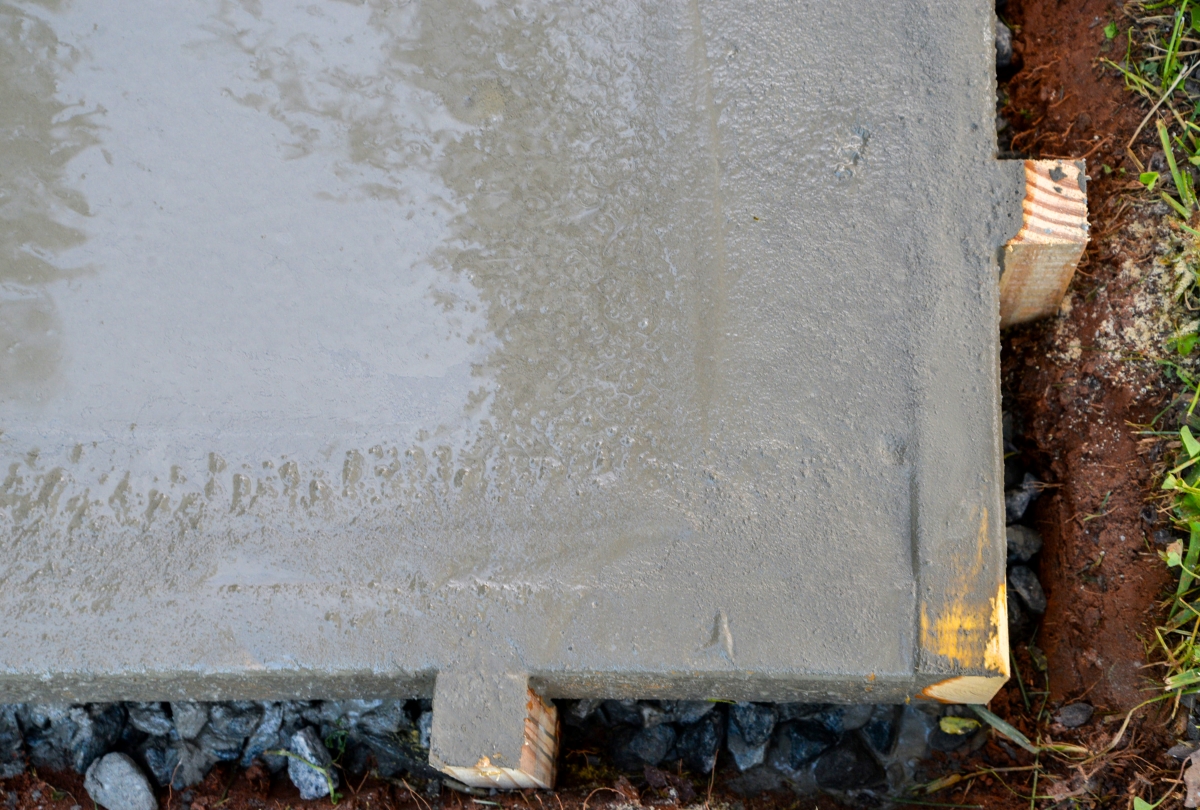
Immediately after pouring the concrete, make sure that the concrete form is completely and evenly filled. It may be necessary to move some of the wet mix from high spots, using a trowel or flat shovel, to fill voids.
If the form appears to be full and the surface is even, use a hammer to gently tap the form on all sides. This vibrates the wet concrete and helps it settle in place, preventing air pockets from forming in the face of the concrete.
Step 2: Screed the wet concrete level at the top of the form.
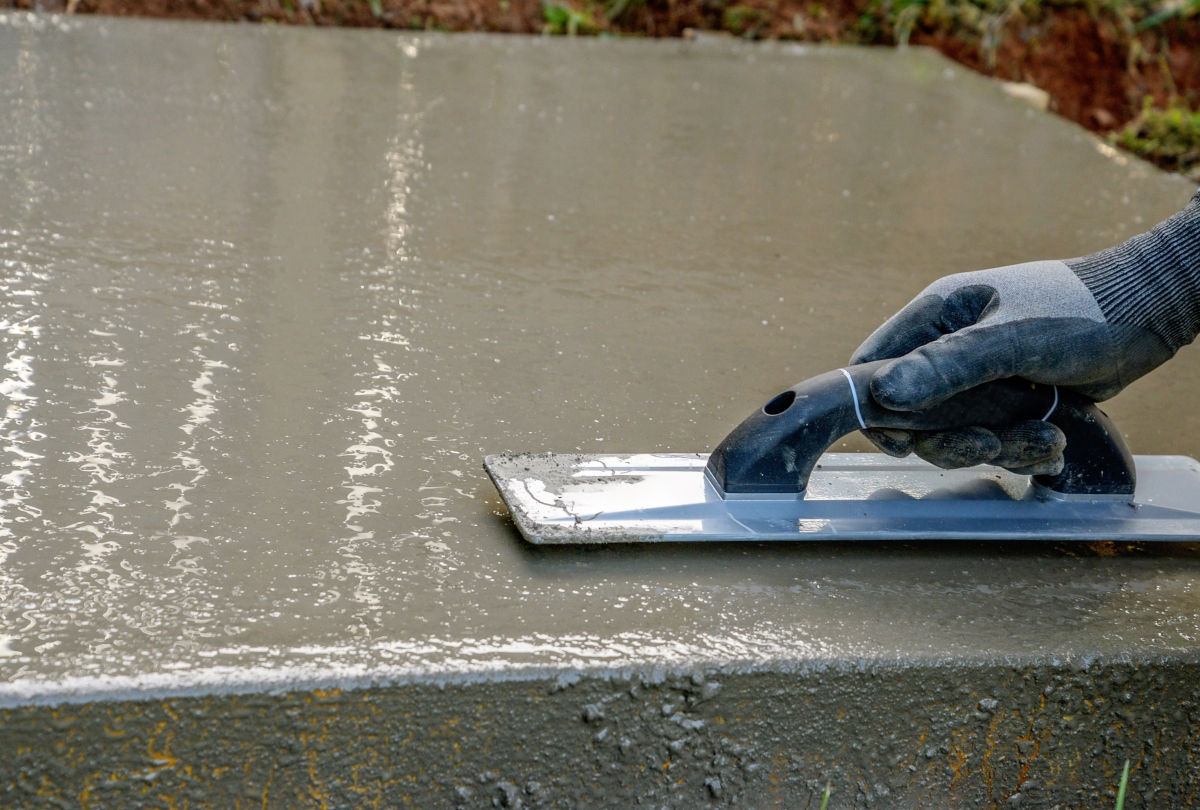
The purpose of screeding is to make the concrete surface perfectly flat and level with the top of the form. For all but the smallest projects, it helps to work with a partner on this step.
- Lay the narrow edge of a long, straight 2×4 board across one end of the form.
- Use a quick sawing motion to slide the screed board across the surface of the concrete from one end of the form to the other.
- Use a trowel to pick up excess concrete from high spots and fill in low spots.
- Screed 3 or four times, or more, until the whole surface is flat. Smoothing concrete at this point is not necessary.
Step 3: Float the surface of the concrete before bleed water appears.
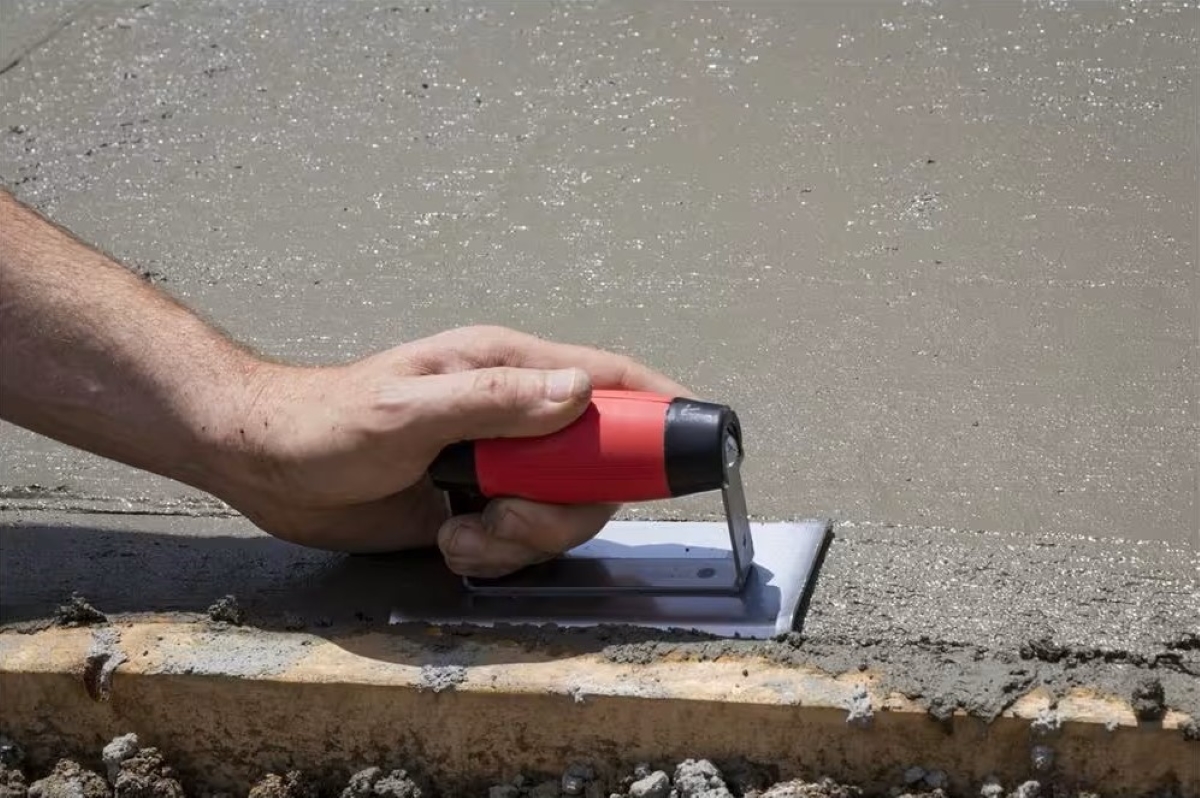
Floating concrete embeds the aggregate and begins to pull excess water to the top of the concrete. A handheld float or darby will suffice for smaller projects, but a bull float is a better option for large slabs. For best results, raise the leading edge of the tool slightly as you move it across the surface.
Use long sweeping strokes to smooth the entire surface of the concrete. Don’t worry about creating a perfect texture at this point. We will cover how to smooth concrete in step 6. After floating, allow the concrete to rest for at least 15 minutes before moving to the next step.
Step 4: Edge the concrete after the water evaporates from the surface.
You may only need to wait 15 minutes after floating the concrete, or it could take several hours. When the surface water disappears, it’s time to begin the finishing touches, starting with the edge. A rounded edge helps prevent breakage and chipping at the edges.
Use a handheld edging tool to shape the rounded edge all the way around the perimeter of the slab. As you move the edger along the form, keep the leading edge slightly raised and apply gentle downward pressure on the following edge.
Step 5: Add contraction joints at the proper depth and spacing.
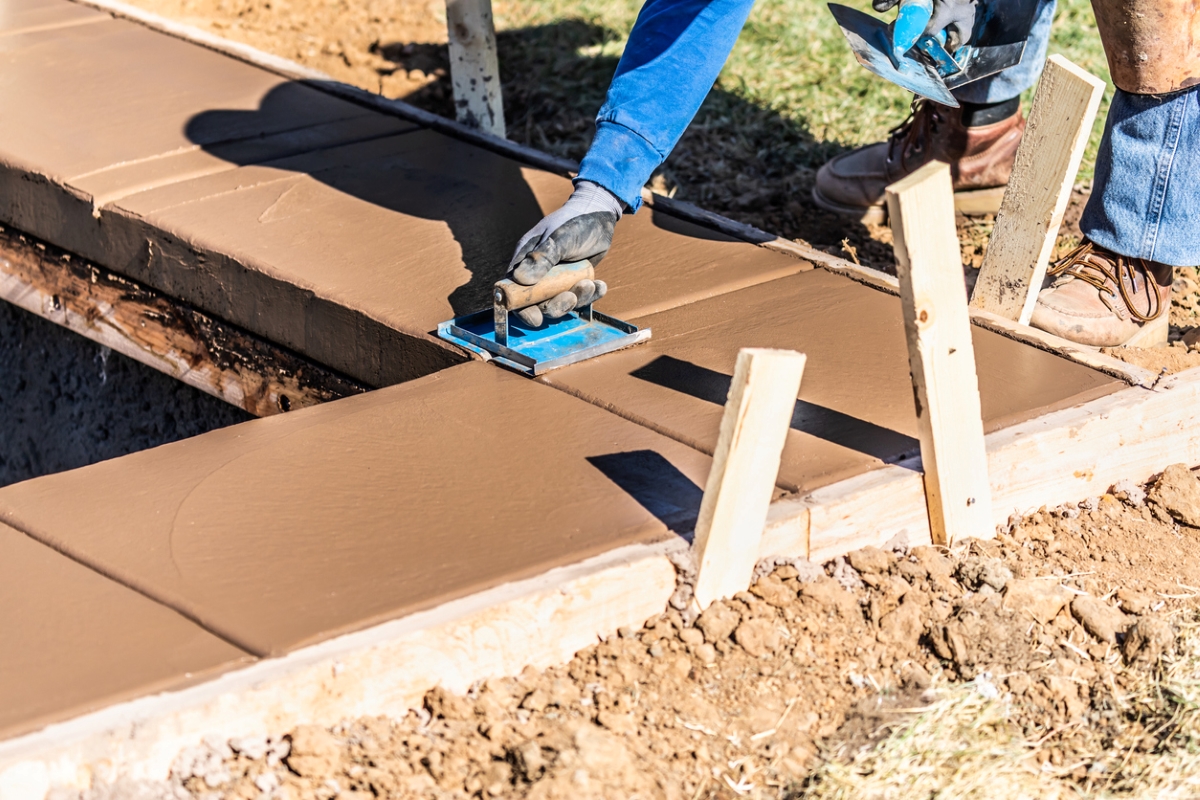
A flat concrete surface is subject to cracking that diminishes both the appearance and durability of the slab. Adding grooves, or joints, minimizes uncontrolled cracking by providing space for expansion.
With a clean 2×4 board as a guide, use a handheld groover to score expansion joints from edge to edge into the surface of the concrete. These joints should penetrate ¼ the depth of the concrete, or 1-inch deep for a slab that’s 4 inches thick. Space them between 2 and 3 feet apart for each inch of thickness, so every 8 to 12 feet for a 4-inch-thick slab.
Step 6: Broom the surface or refine it with a trowel.
The earlier stages of finishing concrete leave the surface flat and uniform but with an inconsistent texture. The final tooling depends on your project preferences. Brooming establishes an even textured surface, while troweling concrete at this stage makes the surface of the concrete smoother.
If you prefer smooth concrete you can trowel finish concrete immediately after adding the expansion joints. Begin at a distant edge and work backwards to avoid marring the finished work. Move the trowel across the surface in broad sweeping motions with moderate downward pressure, always with the leading edge slightly raised.
For all-weather functionality, a broom finish looks good, remains durable for years, and offers good walking or driving traction. Wait until the concrete has dried to the point that it no longer exhibits a wet sheen. Then, with a stiff bristle broom, applying just enough pressure to raise the texture of the concrete, brush across the surface in long straight lines.

Tried-and-True Advice
“The slab is something you will look at regularly so take the time to tamp out air, trowel everything evenly and edge for a perfect form. I love a smooth trowel finish for smaller slabs, but brooming is far more efficient while working larger surfaces. Spend as much time as needed to get the final surface evenly finished, and your project will look fantastic.”
—Zach Lazzari, Contributing Writer
Step 7: Protect the slab until it hardens, then seal it after curing.
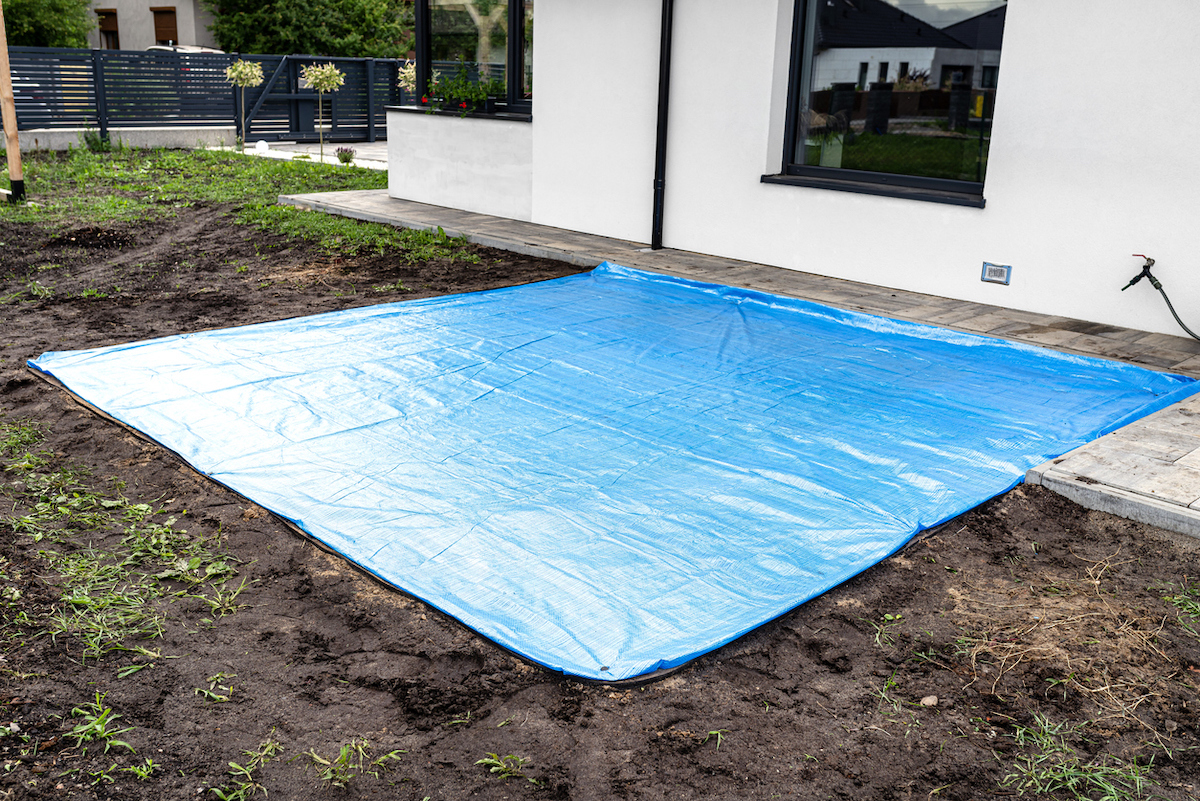
After all that hard work, protect the still-pliable concrete surface from foot traffic, falling debris, and rainfall for at least 24 hours or until the concrete is dry. Use scrap lumber laid across the forms to support a covering of tarps or plastic sheeting. This covering will also prevent the slab from drying too quickly which could cause cracking under certain conditions. Do not allow foot traffic for 3 to 4 days, and no automobiles for a week.
It takes about 4 weeks for a new slab to fully cure. After 28 days, it’s time to apply a protective concrete sealer. Concrete sealer prevents surface damage, corrosion, and staining, extending the life of the slab.
Final Thoughts
Some jobs call for the services of a professional contractor, but pouring and finishing a small concrete project does not have to be one of them. The timing of each step is critical and you’ll need to pay close attention to the moisture level of the concrete. With a good plan and the right tools, finishing concrete isn’t difficult. Following the steps outlined above, many DIYers can apply a durable and attractive finish on a freshly poured slab.
