
We may earn revenue from the products available on this page and participate in affiliate programs. Learn More ›
Trees can provide shade, privacy, and add a unique aesthetic to the home, but if a tree is diseased, damaged, showing signs of falling, or simply blocking a great view, DIYers can remove the issue by felling a tree. Though, it’s important to mention that in some areas, the homeowner will need to get a permit before cutting trees, even in their own yard.
For those with the right tools, skills, and enough relevant DIY experience, learning how to cut down a tree can help manage their property and eliminate potential risks before they can become a true hazard to structures or people. However, due to the sheer size and bulk of most trees, this job can be highly dangerous. Use this guide to learn how to fell a tree safely.
Tools & Materials
Bobvila.com may earn a commission from purchases made through these links.
Project Overview
Working Time: 2 hours
Total Time: 4 hours
Skill Level: Intermediate
Estimated Cost: $220 to $360
Before You Begin
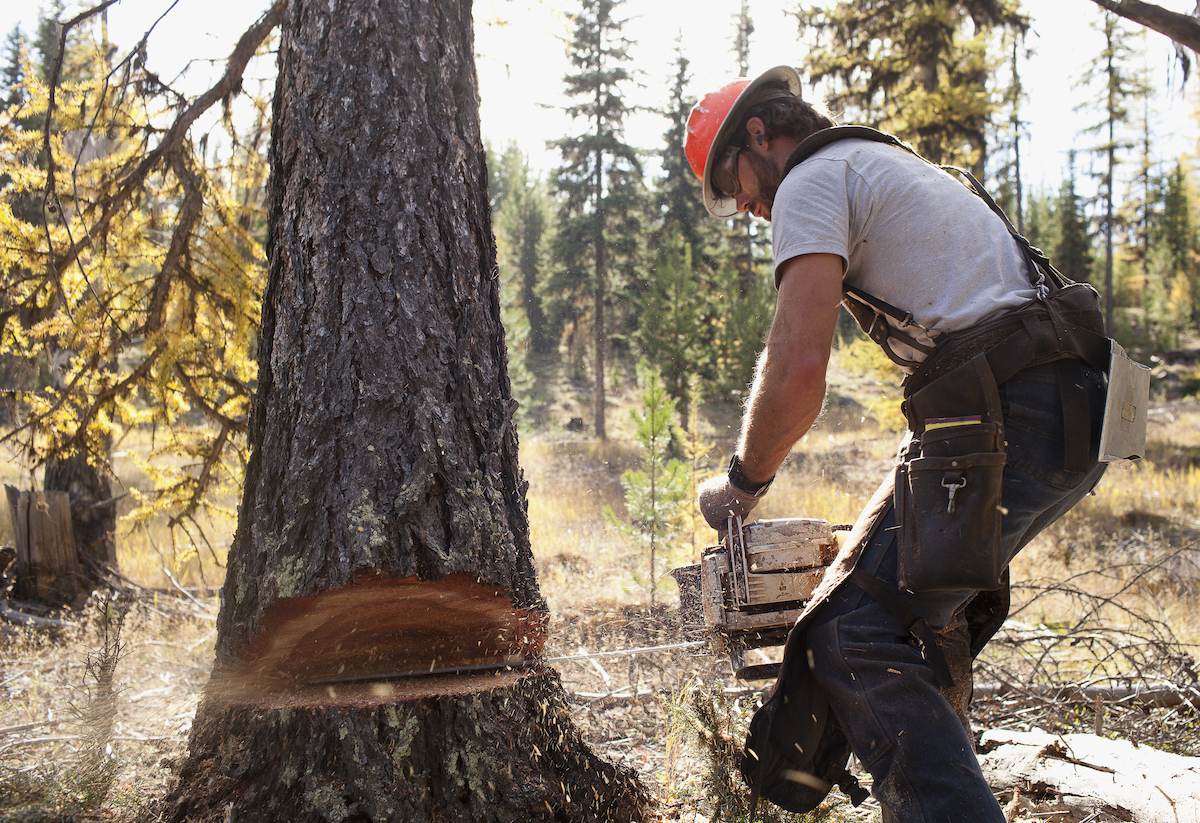
Protective equipment is necessary for a wide range of home DIY projects, and an important consideration when planning how to fell a tree. While it’s essential to avoid the falling trunk of the tree, falling branches also can pose a significant risk, so it’s recommended to have a quality chainsaw, wear a full chainsaw helmet, with a built-in face shield and hearing protection.
In addition, DIYers should wear some of the best work gloves to safeguard their hands while they fell a tree. It may be a good idea to invest in kevlar chaps, as well as a pair of durable work boots to protect their legs and feet from chainsaw grazes.
How to Cut Down a Tree
Learning how to fell a tree can help maintain the yard, but is also a useful skill for cutting down your own Christmas tree or splitting wood for the fireplace. Follow the steps provided below to find out how to inspect the condition of the tree, plan the felling zone, and safely fell a tree with wedges.
Step 1: Check whether it’s safe to cut down the tree.
Before cutting down a tree, it’s necessary to learn how to identify a dangerous tree to avoid injury to yourself, bystanders, and your surroundings. Start by examining the angle of the tree. If it is leaning significantly in one direction, it will be difficult to control the fall, so it’s best to call in the pros, who can manage the tree using specialized equipment.
Similarly, if the tree has dead branches still attached or that are being supported by other branches, they may fall on you while you are cutting the tree, another DIY safety consideration. Also, if the tree is located in a small backyard with nearby obstacles, like buildings, fences, or even power lines, this job should be handled by a crew of professionals. Otherwise, the tree may destroy the fence, get tangled in the power lines, or even fall on the house.
Step 2: Determine the felling zone.
After verifying whether it’s safe to cut down a tree, the next step is to determine the felling zone. The felling zone refers to the path where the tree will fall, and it needs to be free of structures, roads, and other trees to avoid causing any unnecessary damage or creating a domino-like effect in the area.
Estimate the height of the tree, then mark out a corresponding felling zone using a tape measure. The area from the base of the tree to where the top of the tree will land is the felling zone, though experts often recommend at least doubling the estimated height. You should also take this time to determine two escape routes on the opposite side of the felling direction that will allow you to safely retreat when the tree falls (at 45-degree angles from the trunk). Keep in mind that falling objects are one of the top reasons DIYers visit the E.R., so it’s necessary to take proper precautions before you begin.
Step 3: Clear the surrounding area.
Even if you are only cutting down a small tree, it’s important to clear the area as much as possible, including the felling zone and two escape routes. Cut away the brush from around the trunk of the tree, clear any shrubs, clear away items like outdoor furniture, and ensure that there aren’t any buildings or other structures that could be damaged while felling the tree. Additionally, it’s a good idea to pick up any sticks or stones that could become a tripping hazard while you are retreating from the falling tree.
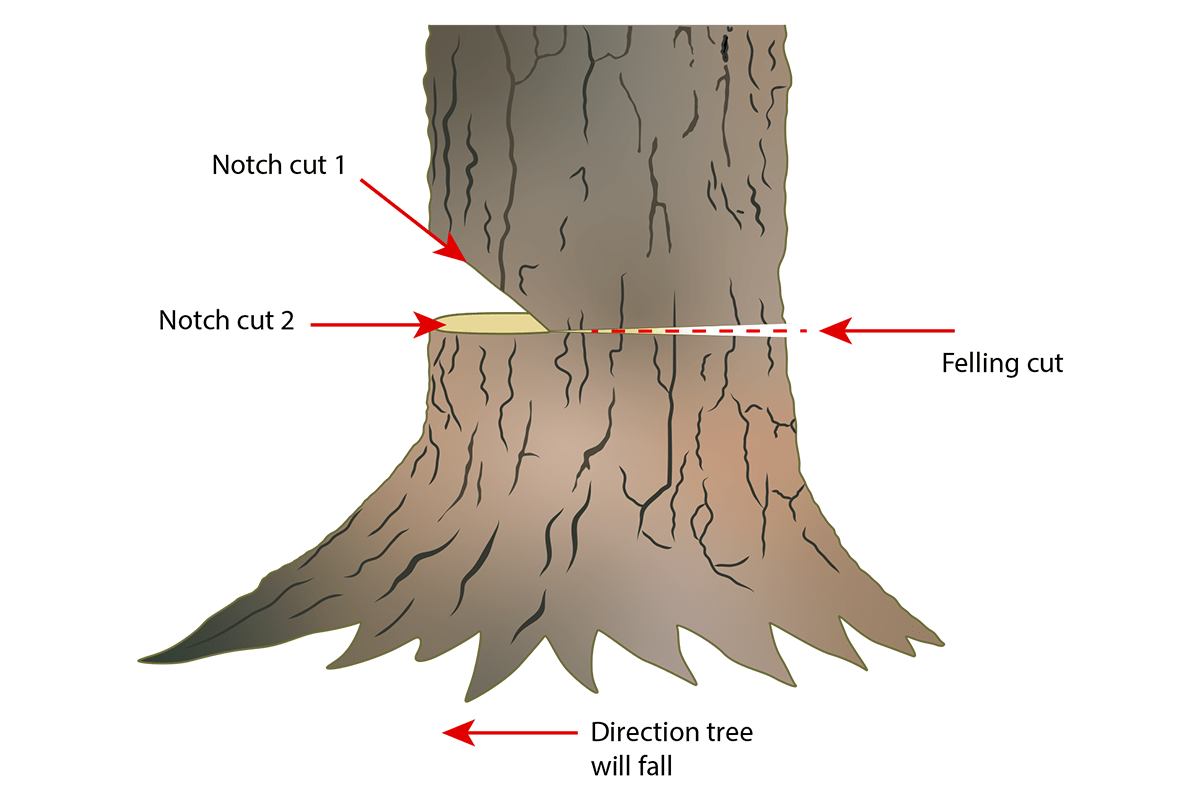
Step 4: Plan the notch.
A directional notch forms a weak point in the bottom of the trunk that determines which way the tree will fall when the felling cut is made. When done correctly, the tree will fall in line with the notch. Without a directional notch to direct which way the tree will fall, you will be left guessing where it will land.
For inexperienced DIYers, it can help to wrap a chalk line horizontally around the lower part of the tree where you plan to cut the notch in order to keep the cuts on track. Determine the best direction for the tree to fall and make a mark on the trunk facing that direction.
Step 5: Cut the notch.
Before cutting into the tree, make sure you sharpen the chainsaw and inspect the tool for any problems. When you are satisfied that the chainsaw is in good working condition, make the first notch cut starting a foot or so above the chalk line and cut downward at a 70-degree angle until reaching the chalk line. Aim for the first cut to end up about one-third of the way into the trunk.
Make the second cut of the notch along the horizontal chalk line until it meets the bottom edge of the first cut. Use a hammer, maul, or mallet to knock the cut piece of wood out of the tree trunk. If you are having difficulty, use the chainsaw to widen the horizontal cut until the chunk of wood falls out on its own.
Step 6: Add wedges, if necessary.
Wedges can be used to help prevent the chainsaw from getting pinched while you cut. They aren’t necessary for smaller trees, with less weight and girth, but if the diameter of the tree is more than 18 inches, it’s a good idea to use wedges.
If you are felling a tree that is greater than 18 inches in diameter, start by making the notch cut, then begin the felling cut, but stop cutting as soon as the blade is far enough into the tree to insert the wedges. Lock the chain brake and leave the chainsaw bar in the cut with the saw running while you use a hammer or maul to tap in the wedges.
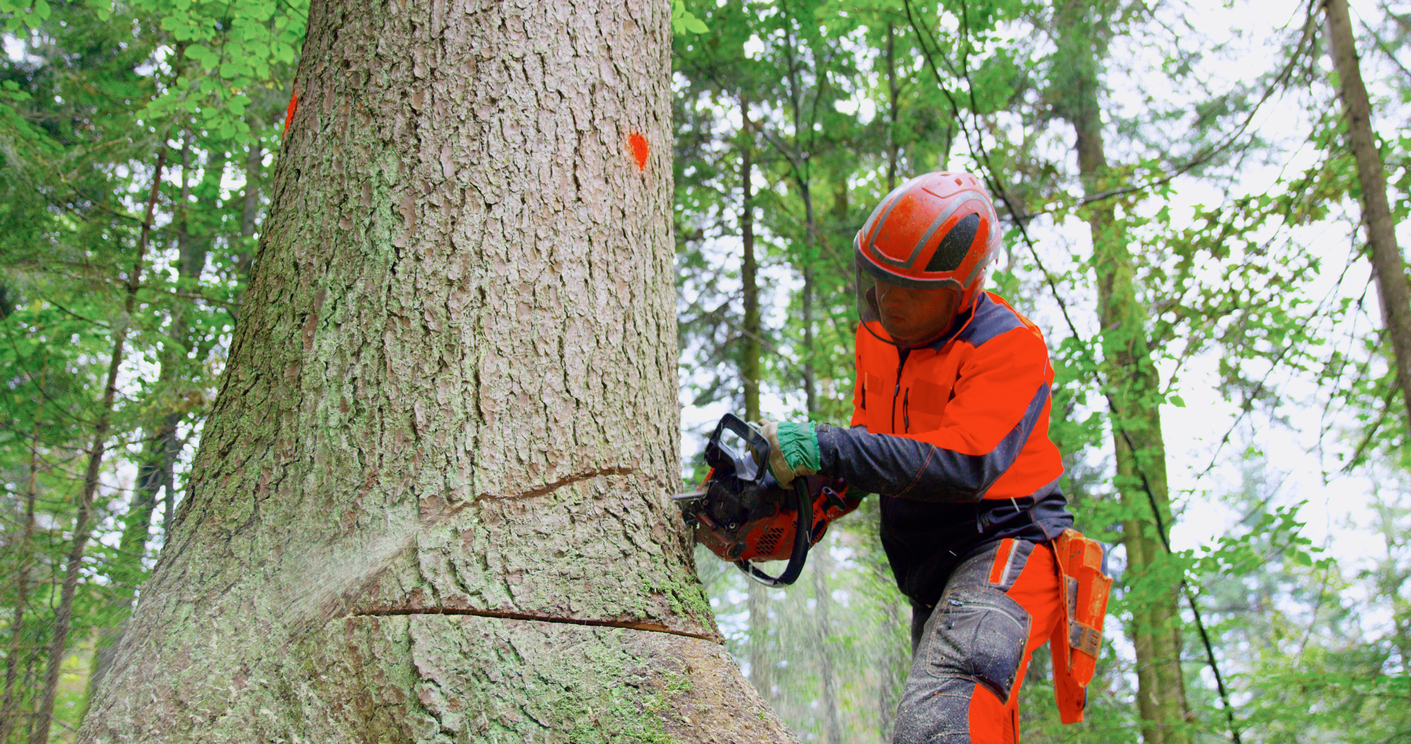
Step 7: Make the felling cut.
Felling a large tree is a task too big for a single person. The best way to ensure a safe fall is to have a reliable assistant known as a lookout. The lookout should stand a few feet behind the person who’s felling the tree and communicate emergencies using a pre-planned series of taps rather than verbal cues (which cannot be heard). If a problem occurs, the lookout should tap on the DIYer’s shoulders with a stick or broom handle to warn them.
When you are ready, get in position to cut the tree from the side opposite of where the direction notch is located. Begin cutting along the horizontal line indicated by the chalk marking. As the chainsaw blade gets closer to the notch, the tree will become unstable and may rock or lean slightly. This is normal.
Keep the chainsaw blade horizontal and continue cutting. When the tree begins to fall, stop cutting, lock the chain brake, and back up in the direction of the previously determined escape route. Make sure to keep your eyes on the tree until it lands to avoid any unfortunate surprises.
Step 8: Remove branches and saw the trunk Into firewood.
After felling the tree, you will need to cut it into pieces for proper storage, use, or disposal. Start by cutting the branches off the lower end of the trunk and work your way to the top. When possible, it’s recommended to stand on the uphill side of the tree to reduce the risk of it rolling on top of you.
Once the tree branches have been removed, you can begin cutting the trunk (and removed branches) into short pieces for use as firewood. Saw about three-fourths of the way through the log before rotating it to complete the cut.
FAQs
In some cases, landowners are allowed to cut down trees—in others; a professional tree-cutting service must perform the work. Similarly, in some states a permit is required before you can cut down a tree, while others do not have this regulation. Contact the local permit office or building authority to find out the rules in your area, and thoroughly assess the tree, felling area, and your skills and tools before proceeding.
The landowner of the property where the tree sits is responsible for any damage caused by the tree to the neighboring property. However, if the tree branches extend over a neighbor’s property, the neighbor can often legally cut off those branches.
It’s typically easiest to fell the tree in the direction of the lean, unless it’s leaning toward a home or other structure. In that case, the tree should be felled in the direction opposite of the lean. That may require the use of a crane, and it involves making cuts and inserting wedges to reverse the lean, and that’s best left to the pros.
Having a tree professionally cut down ranges from about $200 to $2,000, with $750 being the average. The final cost depends on the size of the tree and whether anything is in the way of the fall, such as a roof or power lines.