We may earn revenue from the products available on this page and participate in affiliate programs. Learn More ›
Whether you use it for parking your car, as a workshop, a storage hub, or all of the above, you need good lighting in your garage. Yet garages tend to be poorly lit, which makes them difficult to navigate, causes eye strain during DIY projects, and leaves you vulnerable to falls and injuries. Ahead, the secret formula to improving your garage lighting. Follow these 10 smart measures to better illuminate your garage, boosting the safety, visibility, efficiency, and even the beauty of the space.
1. Don’t just stop at overhead lighting.
Artificial lighting falls into one of three categories—ambient, task, and accent—and ideally your garage should have all forms.
- Ambient lighting is soft overhead light used to illuminate the floors and walls so you can safely walk around or park.
- Task lighting is brighter, intended for work and storage areas to lend increased visibility during detail-oriented projects and organizational tasks.
- Accent lighting, in between ambient and task lighting in brightness, shines on showpieces you want to emphasize, be it a foosball table or an old trophy collection.
Because the garage tends to be a multi-use space, it’s best to layer illumination so you’ll have the right light for parking, handiwork, storage, and display. Keep these categories in mind for selecting and positioning all garage lighting fixtures.
2. Choose fixtures based on function.
Shop for fixtures in each category of lighting so that you cover all of your bases.
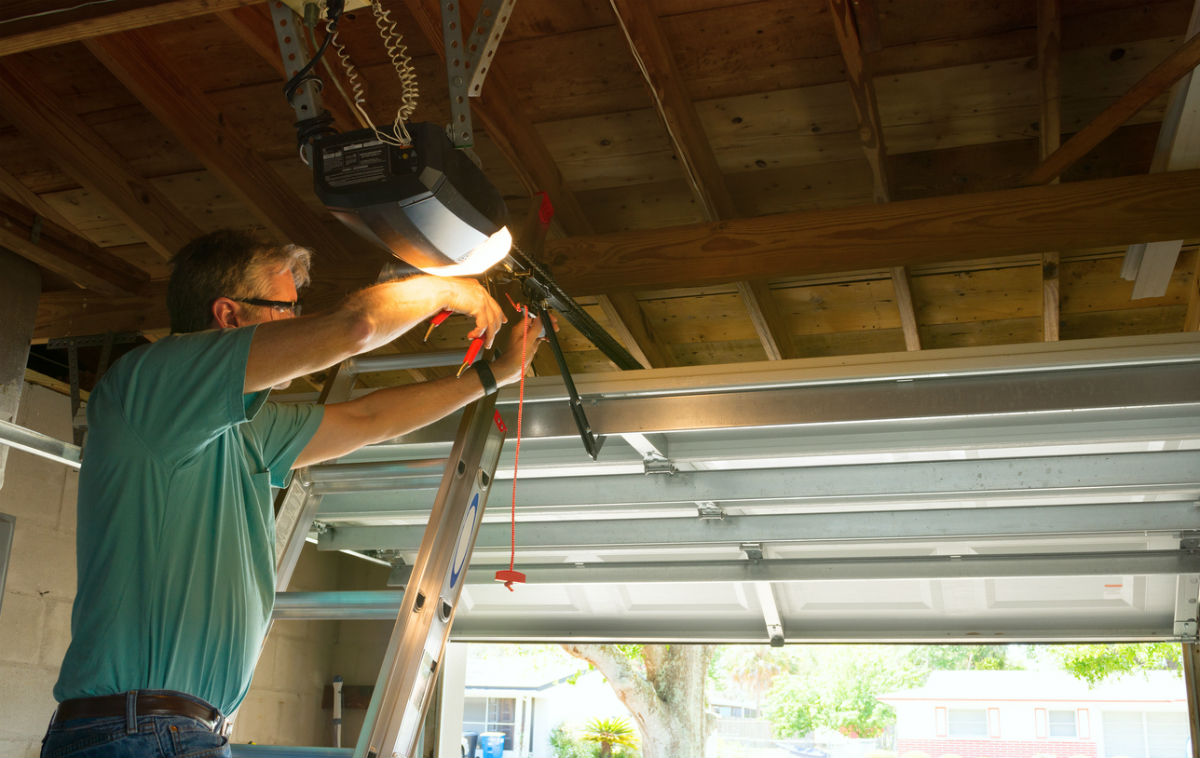
- Ambient lighting fixtures commonly include garage door openers with built-in lights, as well as round or linear flush-mount lights that affix to the ceiling.
- Task lighting fixtures include trouble lights (caged bulbs with an attached wire and a hook you can move and hang as needed) and shop lights, which are four- to eight-foot-long adjustable strips that hang from the ceiling by a chain.
- Accent lighting fixtures include pendants that extend from the ceiling and sconces that mount to walls—which also look great on either side of the garage door to afford easier nighttime entry.

3. Measure your garage to determine your true light output needs.
The Illuminating Engineering Society (IES) Lighting Handbook recommends 50 lumens (a measure of light output) per square foot in residential garages and 300 lumens per square foot in workshop areas. A good rule of thumb is to aim for 50 lumens per square foot for ambient lighting, 300 lumens per square foot in areas that require task lighting, and a moderate 75 lumens per square foot for accent lighting.
4. Buy bulbs with the appropriate wattage.
Multiply the lumens guideline by the square footage of the functional area to figure out how many light bulbs will meet your light output requirements. Let’s say you need 2,700 lumens to supply task lighting for an average nine-square-foot workbench (300 times 9). Using the Federal Trade Commission’s lumens-to-watts conversion chart to figure out the equivalent bulb wattage, you will see that buying one 75-Watt (1,100-lumen) and one 100-Watt (1,600-lumen) incandescent bulb will together supply the 2,700 lumens of light output you need.
5. Swap out incandescent bulbs for LED or fluorescent equivalents.
For lower electric bills, light your garage with energy-efficient LED or fluorescent bulbs that deliver the same light output as incandescent bulbs at a lower wattage. For example, a 10-Watt LED or a 14-Watt fluorescent bulb can deliver around the same light output as a 60-Watt incandescent bulb.

6. Choose T5 or T8 fluorescent or LED tubes.
Outside of the classic pear-shaped bulb, fluorescent and LED bulbs also come as tubes to cast light over a wider area of the garage than regular bulbs. Tube-shaped bulbs come in different diameters: T5 (5/8”), T8 (8/8”), and T12 (12/8”). If you opt for tube-shaped bulbs, go with T5 or T8 bulbs, which are more energy-efficient than the older T12 bulbs. Plus, T5 and T8 bulbs come with electronic ballasts (i.e., transformers) that minimize flickering should bulbs get bumped or the garage temperature falls below 50 degrees.
7. Arrange fixtures based on type and function.
- Ambient lighting should cast light evenly across the garage floor. So position garage door openers with built-in lights at the center of the ceiling; if using multiple flush-mount fixtures, install them at an equal distance from each other on the ceiling.
- Task lighting should cast down onto the work surface or storage area in a way that reduces glare. At a minimum, you need to mount shop lights on the ceiling so that they hang a few inches behind where you stand or sit while working so that light reflects away from you rather than into your eyes.
- Accent lighting should be positioned so that the light shines directly on the details you want to showcase; for example, a pendant light should be placed directly above a decorative display.
8. Choose bulbs with a high CRI.
To ensure that your garage lighting realistically renders the color of woodworks, paint, and other items you work on here, look for bulbs with a Color Rendering Index (a measure of how well a bulb can faithfully render the full spectrum of colors) of 85 to 100, where a value of 100 represents the CRI of daylight at midday.

9. Install motion sensors.
Motion sensors connected to garage lighting can lower electricity consumption and save money by automatically shutting off the lights after a certain time if they can’t detect movement in the space. Purchase a motion sensor compatible with the light bulbs you plan to use, and then wire it to a garage light fixture by running electrical cables from an electrical box to the motion sensor and then to the light fixture.
10. Incorporate natural light.
If you have the budget and time to remodel your garage, consider installing a window or skylight. Natural light can boost the overall warmth and brightness of the space, and help reduce electric bills a bit when using the garage while the sun shines in.

