We may earn revenue from the products available on this page and participate in affiliate programs. Learn More ›
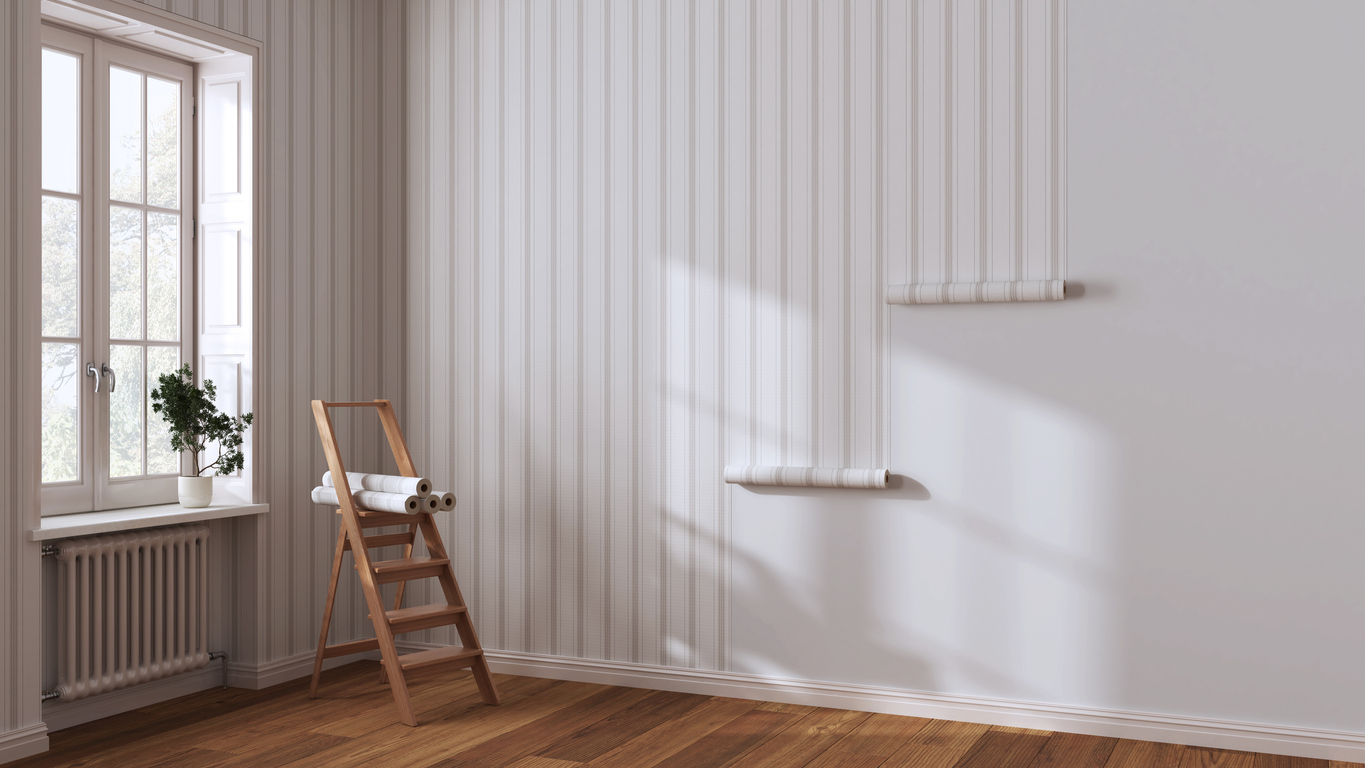
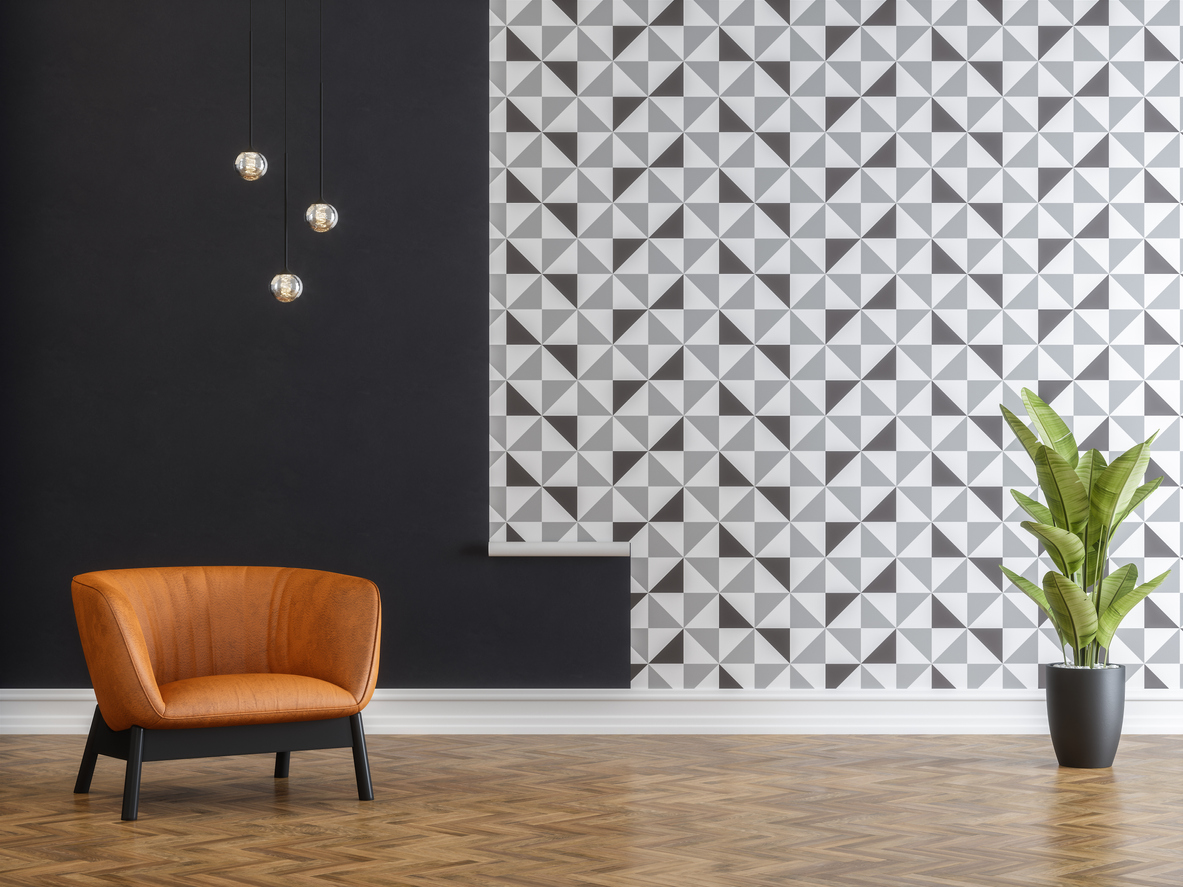
Wallpaper adds character and dimension to any space, but hanging it can be difficult, messy, and time-consuming. Not to mention, traditional wallpaper is a pain to remove. That’s where peel-and-stick wallpaper comes in. This modern innovation uses adhesive backing, so the application process doesn’t require any wallpaper paste.
Peel-and-stick wallpaper is semi-permanent, so it can be easily removed as desired, making it perfect for renters and those who like to redecorate often. These peel-and-stick wallpaper tips should make the application process a breeze.
Tools & Materials
Bobvila.com may earn a commission from purchases made through these links.
Project Overview
Working Time: 2 to 4 hours
Total Time: 2 to 4 hours
Skill Level: Beginner
Estimated Cost: $20 to $45 per roll
BEFORE YOU BEGIN

Before getting started, it’s important to determine how much peel-and-stick wallpaper you need. Take measurements of each wall, and calculate the square footage of wallpaper required for the project. You can also take advantage of wallpaper calculator tools like this one by The Home Depot.
It’s important to note that wallpaper applies best to smooth walls, and it may peel off if applied to textured walls.
RELATED: The Best Peel-and-Stick Backsplashes Today
STEP 1: Prepare the walls.
Before applying peel-and-stick wallpaper, prepare the walls. Start by cleaning the surface of the wall with a sponge and an all-purpose cleaning solution, then allow it to dry completely. This will help ensure that any dirt and debris are removed so that they won’t interfere with the installation of the new peel-and-stick wallpaper. Then, remove any light switch or electrical outlet covers so that you can apply the wallpaper underneath them.
STEP 2: Create a guide.
In order to ensure that the first strip of wallpaper is straight, start by creating a guide on the wall. Measure the strip of wallpaper to determine its width. Then, start in a corner of the room, and create a straight line using a ruler and a level that will act as a guideline for the first strip. If the first strip is perfectly straight, it will, in turn, help act as a guideline for each additional strip.
STEP 3: Hang the first strip.
Cut the first strip of wallpaper to size using a utility knife. Ensure each strip is slightly longer than the height of the wall, allowing for some overhang at the ceiling and baseboards which will be trimmed at the end of the process.
Line up the first strip of wallpaper with the guideline, and, starting at the ceiling, peel off about 12 inches of the backing, applying the wallpaper to the wall. Working downwards, continue to peel back the backing and apply the rest of the strip to the wall. Use a smoothing tool as you work to ensure there are no wrinkles or air pockets remaining.

STEP 4: Apply each additional strip.
Cut the next strips down to size using a utility knife. Using the first strip as a guide, apply each additional strip using the process outlined in Step 3. Allow each strip to overlap by about ¼ inch to ensure there are no gaps, making sure the pattern is aligned.
Leave an overhang over any objects like window and door frames. This can be trimmed later. Repeat the process until the whole room has been wallpapered.
STEP 5: Trim the excess wallpaper
Once the entire room has been covered, it’s time to trim the excess wallpaper at the ceiling, baseboards, window frames, and doorframes. Using a utility knife, cut the wallpaper in a straight line along each edge so that it sits perfectly flush.
Then, reinstall the faceplates that were removed at the beginning of the process. Now it’s time to enjoy your completely transformed room!
Final Thoughts
Learning how to hang wallpaper may seem intimidating, but these peel-and-stick wallpaper instructions help make the process quick and easy. Revitalize a space by using peel-and-stick wallpaper to add color, texture, and pattern.
RELATED: I Transformed My Living Space Without Picking Up a Paint Brush Thanks to This Easy-to-Use Product


