
We may earn revenue from the products available on this page and participate in affiliate programs. Learn More ›
More than a mere shine, polyurethane sealer protects and preserves the finish you’ve chosen for your furniture or flooring. To apply polyurethane in such a way that it actually performs its intended role, precision is key. If you’re going to cut corners, then you may as well skip the sealer. It’s an optional coating, after all.
Perhaps the first thing to know is that there are two types of polyurethane: oil-based and water-based. Both work equally well, but oil-based polyurethane imparts an amber glow that many people find pleasing. The downside? It takes longer to dry and smells quite strongly. Water-based polyurethane, meanwhile, goes on clear, dries faster, and has almost no odor. It usually costs about twice as much as the other option, though, and some say it’s not as tough.
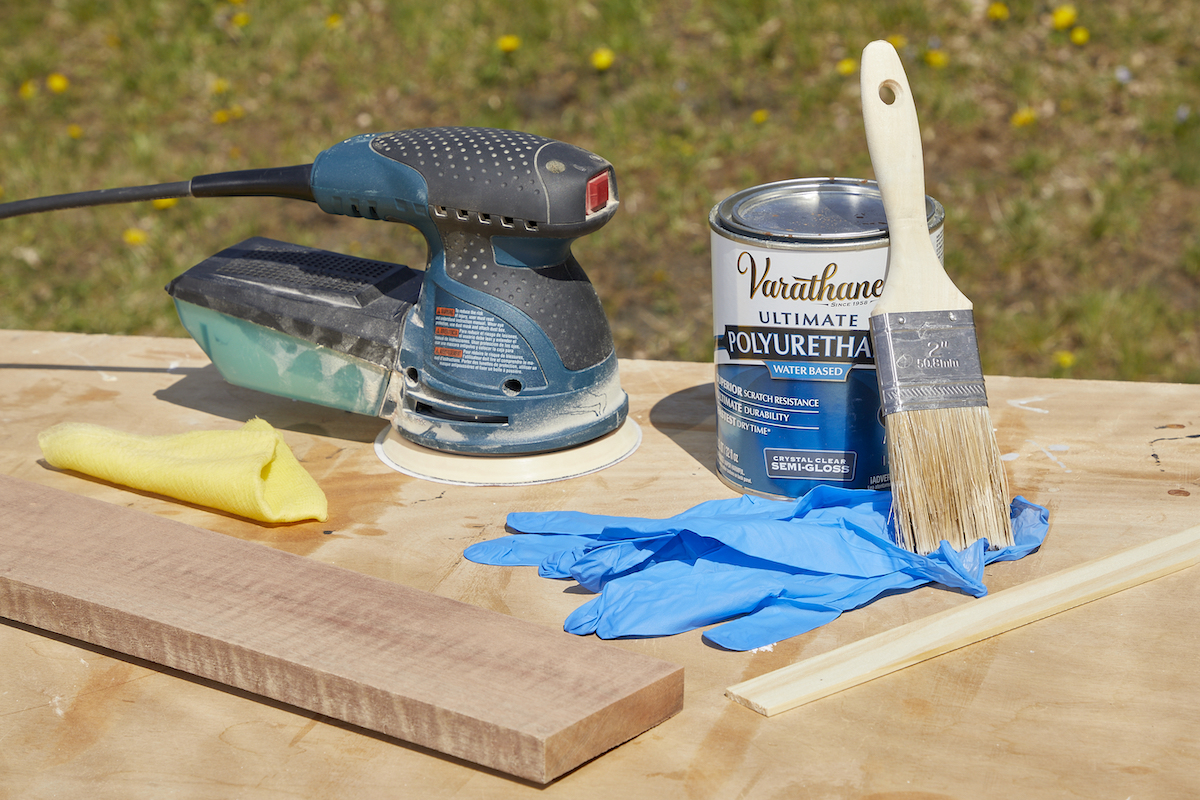
Tools & Materials
Bobvila.com may earn a commission from purchases made through these links.
Step 1: Sand the workpiece.
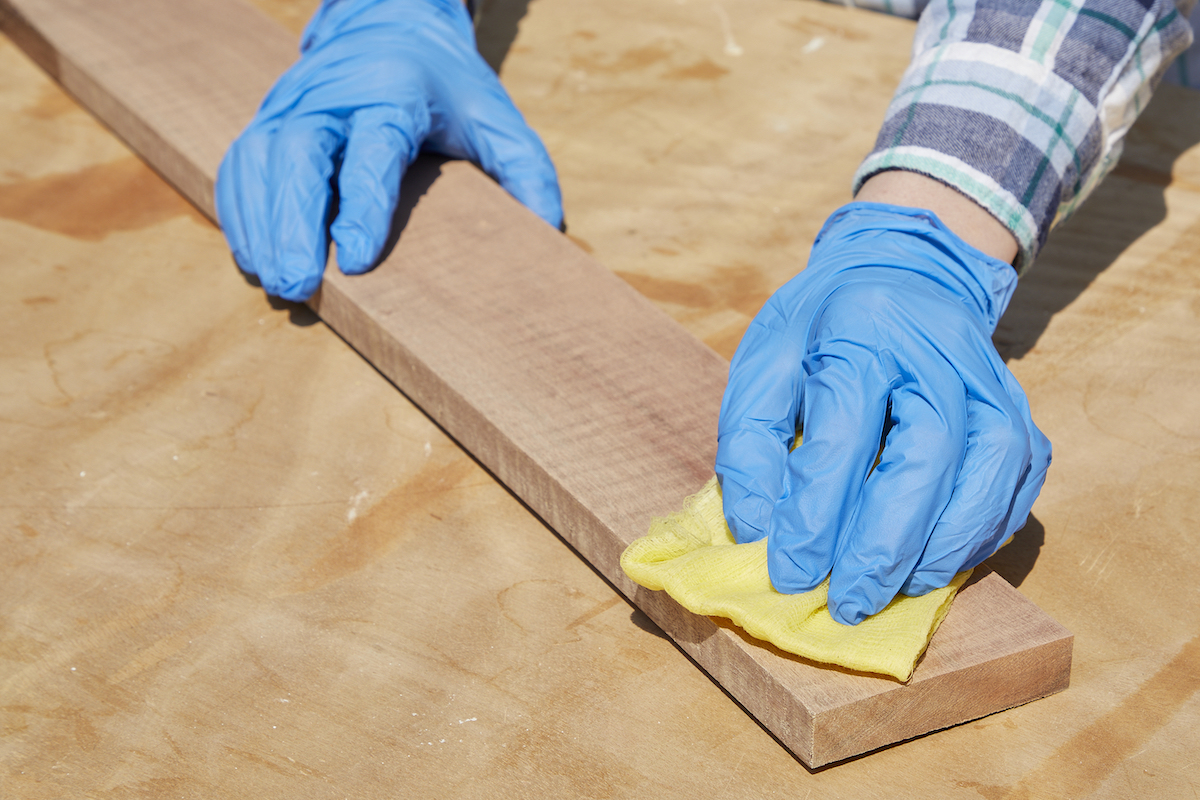
Polyurethane is going to accentuate the workpiece’s surface inconsistencies. Before applying the coating, take pains to properly sand the surface you are sealing. After, remove all dust and debris with tack cloth.
Step 2: Stir the polyurethane.
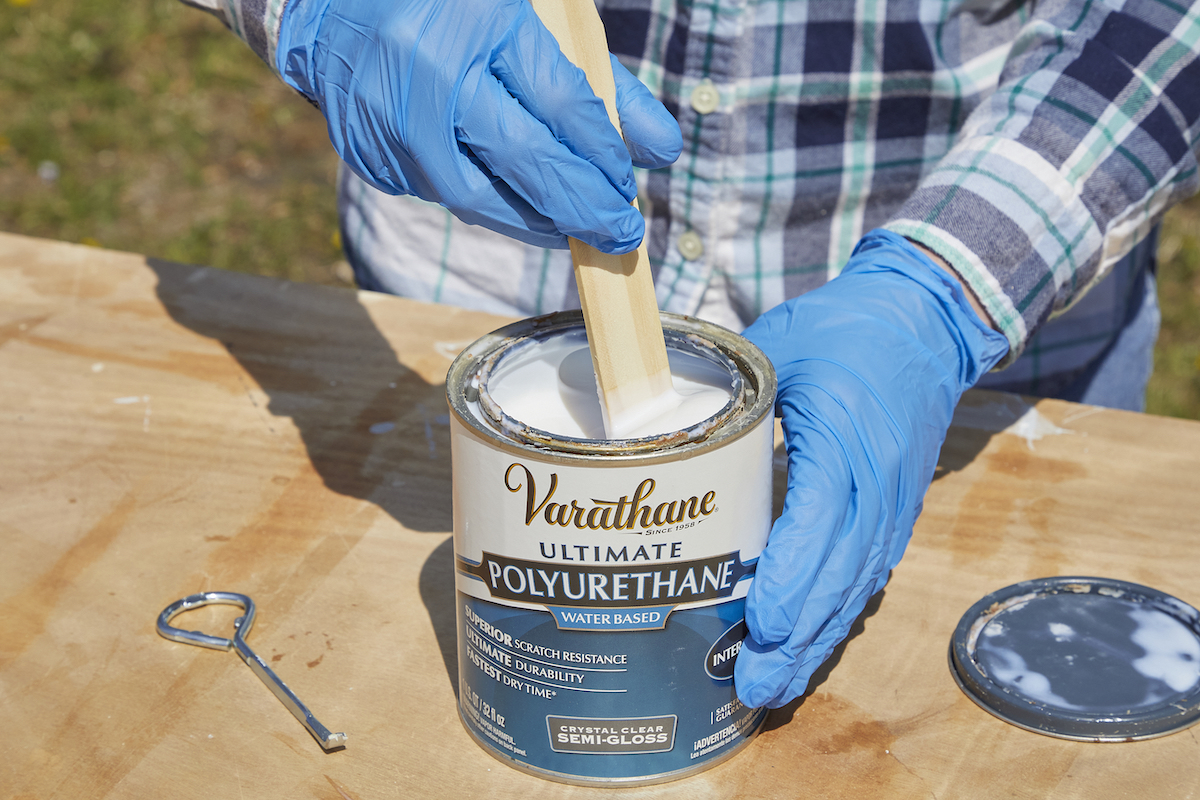
Stir, don’t shake, the can of polyurethane. Shaking creates air bubbles, which in turn leave bumps on the surface. While stirring, if you notice that the polyurethane has an overly thick consistency, thin it out with mineral spirits.
Step 3: Apply the polyurethane.
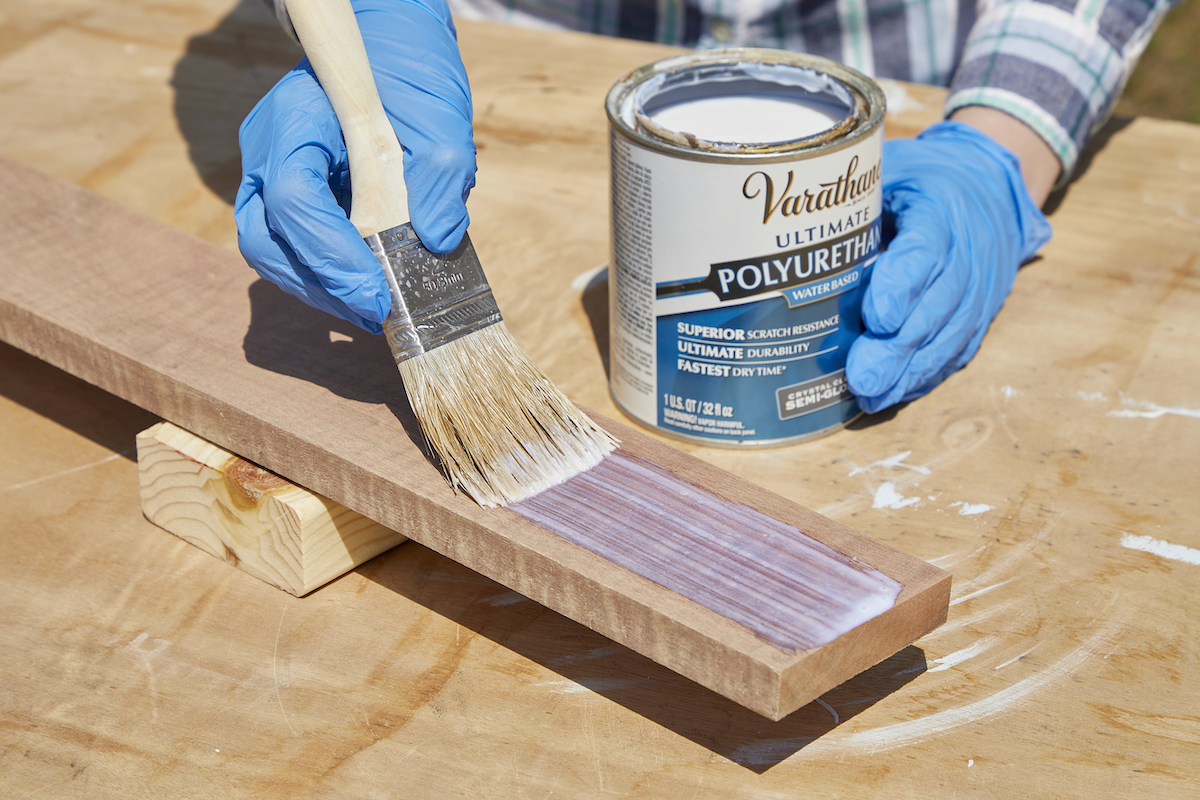
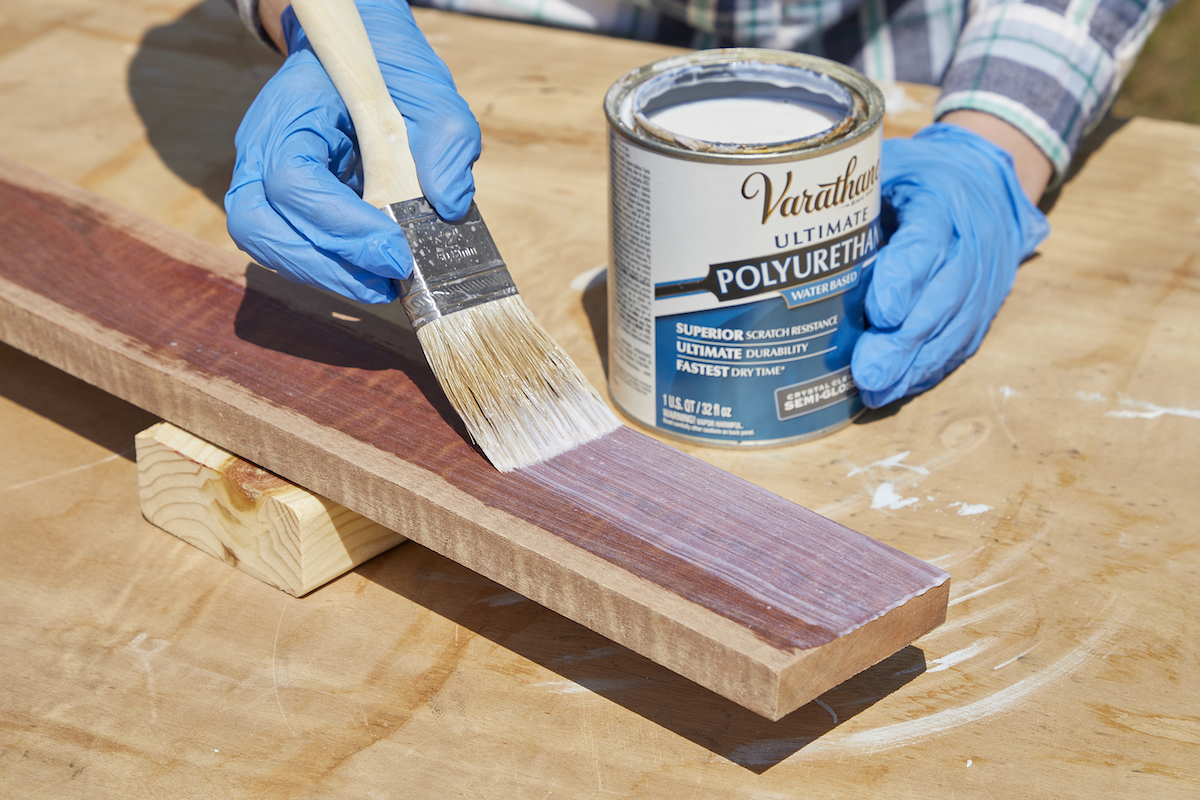
Using a bristle brush, apply the first coat of polyurethane in long, broad strokes. Keep the application thin, so it goes on evenly and neither pools nor drips. Coat the entire surface. Once finished, wait for the polyurethane to dry. Allow 24 hours for oil-based polyurethane and 4 to 6 hours for a water-based product.
Step 4: Lightly sand and shave the workpiece.
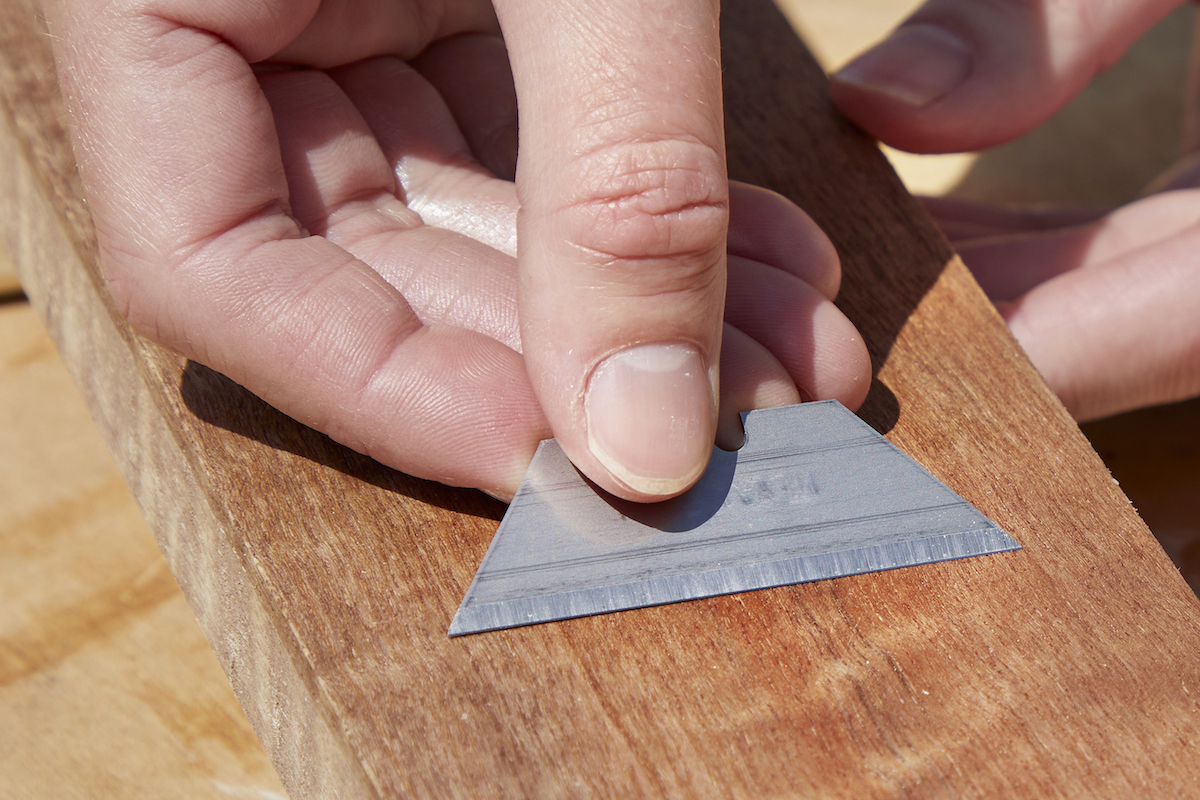
Having allowed sufficient dry time, test to see if first coat is dry. Do so by lightly sanding an inconspicuous area. If the polyurethane remains wet, stop sanding and wait another hour or so. Once you’re certain the surface is dry, remove any dust or debris that may have stuck to the surface during the drying process. If sanding doesn’t cut it, you can use a razor to remove imperfections that wouldn’t otherwise budge. When working with the razor, be careful not to scuff the wood.
Step 5: Apply another coat of polyurethane.
Apply the second coat just as you did the first, with long, careful strokes. Spread the polyurethane evenly over the surface and let it dry completely.
Step 6: Polish the surface.
Once the second coat has dried, sand or shave off any imperfections as you did in step 4. With many oil-based polyurethanes, two coats will be enough. If you’re happy with how the job looks, wait a few days, then finish by polishing the surface with a polishing compound. If it seems necessary to apply a third coat of sealer, simply follow the process you’re familiar with by now. Note that you should never need to apply more than three coats of oil-based polyurethane. Sometimes water-based poly requires more than a few (up to a dozen) coats. Thankfully, it dries quickly enough for this not to become a weeks-long saga!
