We may earn revenue from the products available on this page and participate in affiliate programs. Learn More ›
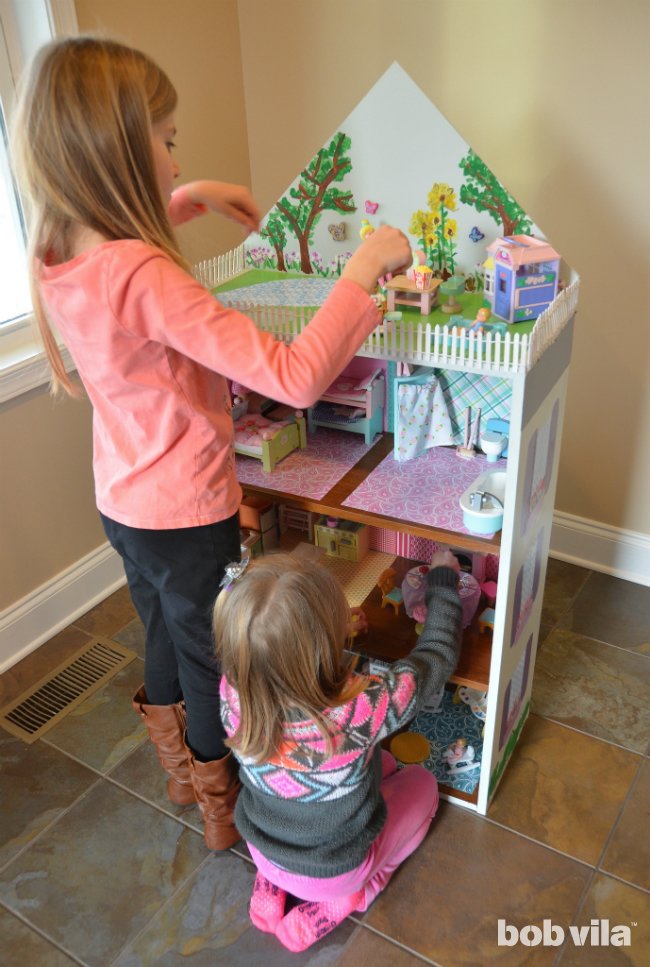
Though they’re growing up fast, my girls still love to play with a dollhouse—so much so that we needed to upgrade from our small, plastic set to something bigger. Rather than purchasing a wooden dollhouse (which can get pricey), we made our own from a small bookcase. This hands-on conversion offers total customization, right down to a roof deck with a pool! Read on for our guide to creating your own ultimate doll-size dream home below.
SKILL LEVEL: EASY
There’s hardly any construction if you start with an appropriately sized bookcase that you happen to have on hand. Even if you need to buy a ready-to-assemble one, the instructions and skills required are still very basic. To forgo having to cut any wood altogether, you can even skip the traditional look of a pitched roof, covered in Steps 2 through 4.
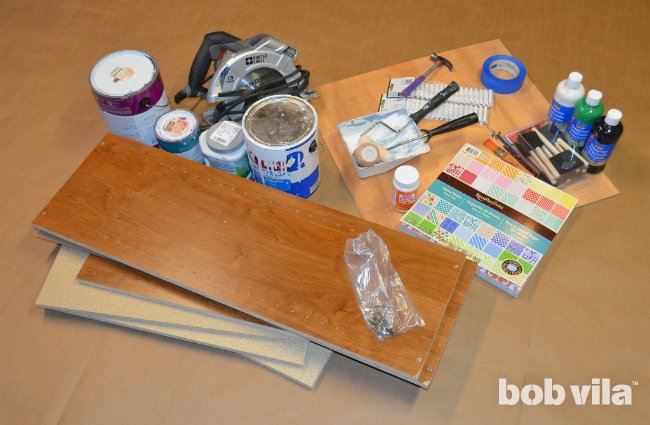
Tools & Materials
Bobvila.com may earn a commission from purchases made through these links.
- Screwdriver
- Carpenter's pencil
- Tape measure
- 2-foot lauan project panel
- Circular saw
- Hammer
- Paint roller
- 2-inch paintbrush
- 4-inch paintbrush
- Scissors
- Hot glue gun
- Sandpaper
- 2-inch wood nails
- Paint primer
- Acrylic paint
- Scrapbook paper
- Decoupage glue
- Poster paint
Step 1
If you start with a bookcase you happen to have sitting around, your structure is almost entirely ready to go. Walls? Check. Floors? Check. Roof? Check—but we added a pitch in Steps 2 through 4.
If you don’t have an old bookcase ready to repurpose, check out your nearest thrift store or big-box retailer for a small unit. (Ours is only 24 1/2 inches wide by 35 inches high.) For a ready-to-assemble bookcase, grab a screwdriver (or allen wrench) and put it together according to the manufacturer’s instructions.
Note: When we built our prefab bookcase, we put the backing on backwards. This tweak positions the unfinished side of the particle board facing in, so the scrapbook “wallpaper” sticks better and the back of the bookcase (which is the house’s facade) accepts paint like the rest of the exterior.
Step 2
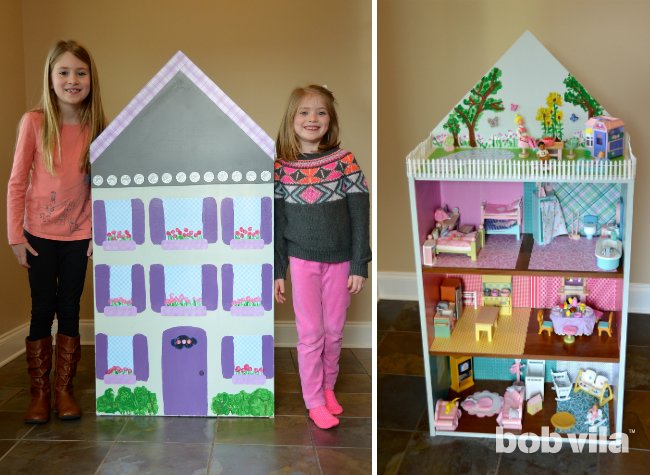
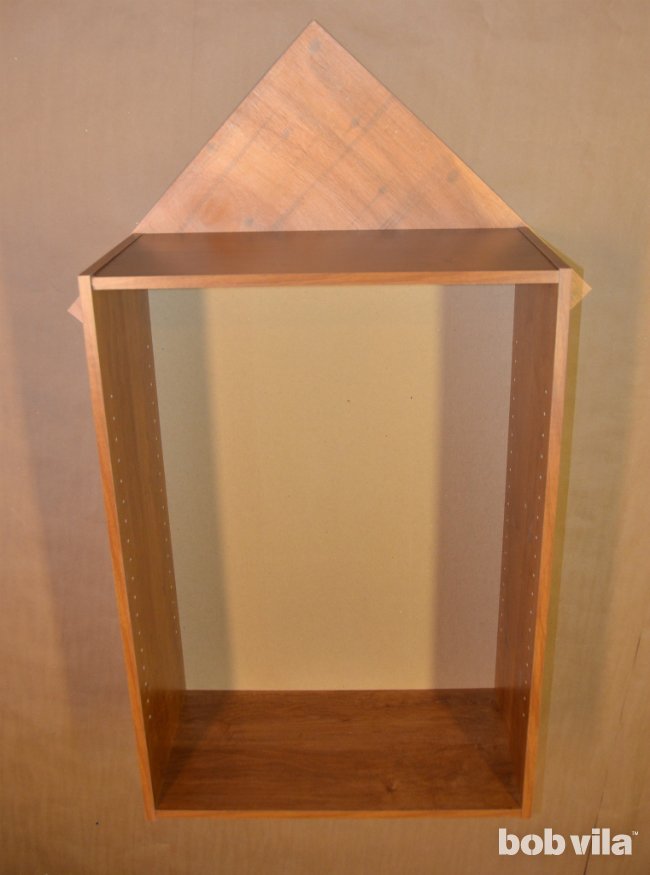
Faking a pitched roofline will really turn your boxy bookshelf into a whimsical playhouse. It’s simple: Just attach a roof cutout! Seen from the front of the house (which is the back of the bookcase), the structure appears to have a pitched roof; turn it around, though, and your dollhouse has space for a luxury roof deck, complete with pool and miniature fence. This is a dream house, after all.
Lay your 2-foot square of lauan project panel on the ground, and rotate it to look like a diamond. Draw a line directly through the middle, from the top to the bottom corner. Lay your bookcase on its back, then use your tape measure to find the exact middle of your bookcase and mark it. Position the bookshelf on top of the panel so that its center aligns with the line drawn through the panel and its corners meet the edges of the panel.
Step 3
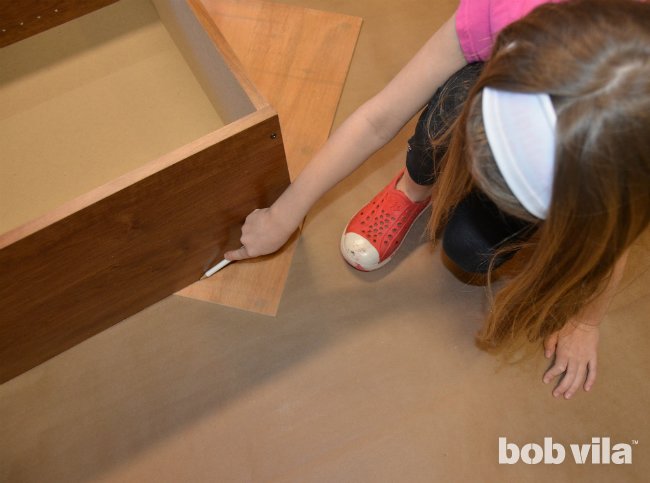
Next, you’ll mark where the lauan panel extends beyond the sides of the bookcase so you can make the necessary cuts. Trace the outline of the bookshelf onto the back of the lauan panel. Lift off the bookcase, and use your tape measure to draw a straight line across the bottom. Once you cut off the two side triangles and the wider triangle from the bottom, you’ll be left with something that looks like a slightly misshapen home plate, giving you a pointed roof and a few inches of overlap to secure the board to the back of the bookcase. Cut out your roof using a circular saw, and sand the edges smooth.


Step 4
Measure the height of your miniature fence and mark that distance down from each roofline corner, along the straight portion of the roof piece. This marks the point where the roof panel will attach to the bookcase. (The roof’s pitch will begin just above the fence.) Pencil a line straight line across the panel connecting the two marks, and use it as a guide to attach the panel to the bookcase with 2-inch nails.

Step 5
Time to add some color! Rough up your bookcase’s finish using sandpaper to ensure that your paint adheres well. Wipe the dust away with a slightly damp cloth, and let it dry afterward.
If you can, remove any shelves to make painting easier. Then, apply one to two coats of primer, followed by the base coat of paint. When you’re ready to tackle the shelves, paint one side white to serve as the ceilings, and leave the other side unpainted to simulate hardwood floors.
Step 6
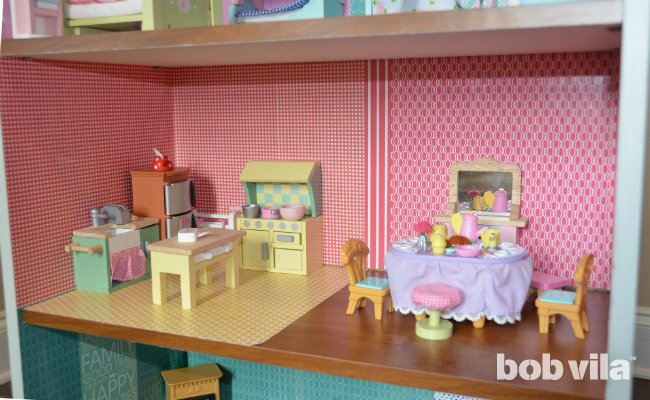
We cut scrapbook paper into wallpaper and rugs for our interiors, but you could substitute any other decorative paper you have on hand, such as wrapping paper or actual wallpaper, or simply stick with paint.
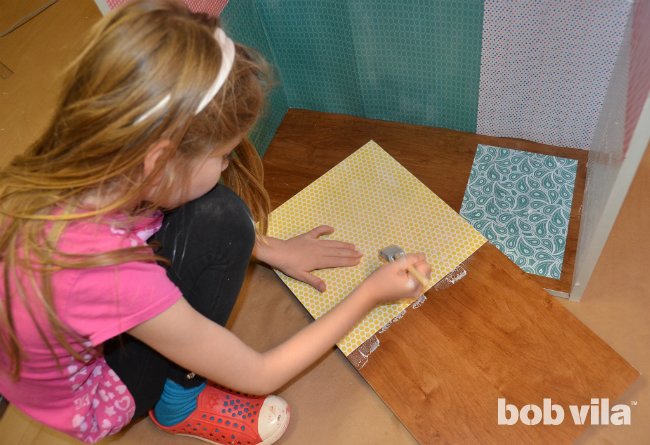
Take measurements of your dollhouse’s walls and floors, and cut the paper to fit. Wallpaper and flooring can span a whole “floor,” or shelf, or, as you can see here, you can use wallpaper patterns to designate different rooms—a much easier way to define spaces than adding a room divider.
Apply decoupage glue to the back of your paper, stick it to the wall or floor, and adjust it until you’re happy. Apply a second layer of decoupage glue on top, pushing out air bubbles out as you go.
Step 7
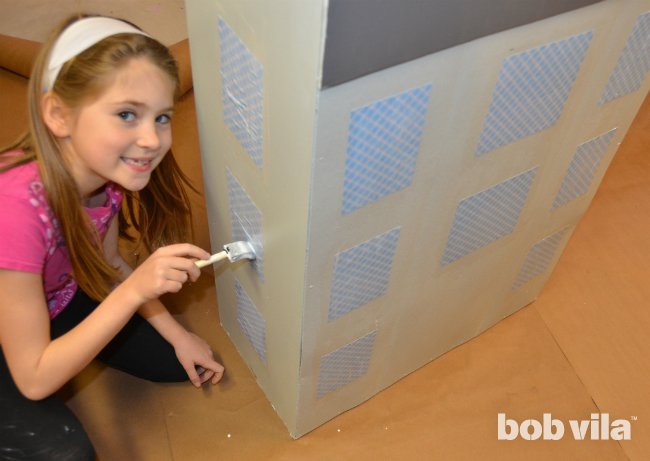
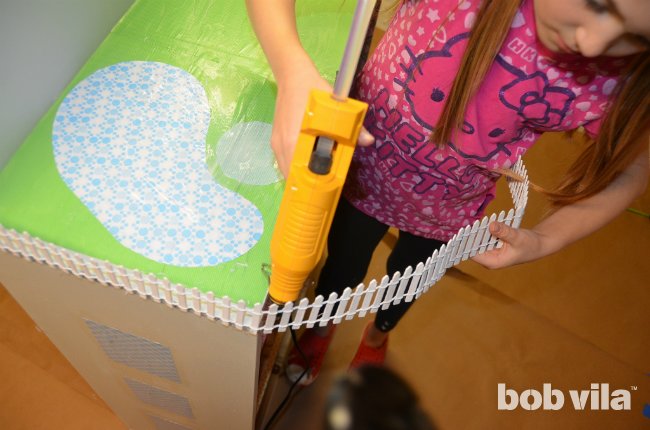
While the inside dries, you can get to work on the home’s exterior. We used the same decoupage method to adhere windows (and window boxes) to the front of the house, and to outfit the top deck with a grassy roof garden and pool.
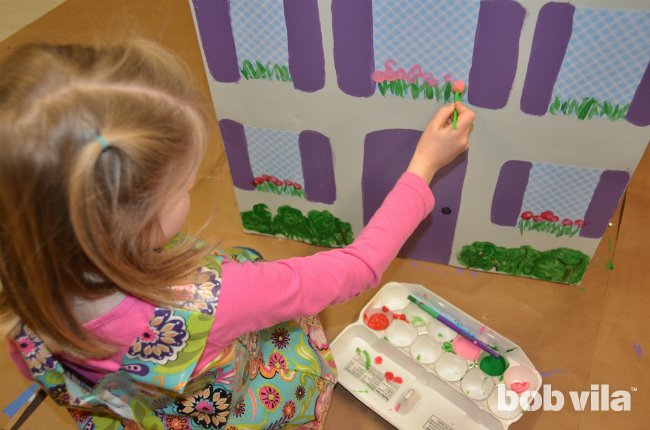
When the glue dries, you can go in with poster paint to create finer details of cottage shutters, flowering window boxes, and a leafy top-level garden.
Step 8
What’s a dream home without a white picket fence? We added this last touch around the roof deck by applying a small dab of hot glue to every other fence picket, with the first and last pickets glued completely to either side of the roof cutout. When all the glues—hot and decoupage—have dried, your DIY dollhouse will be officially ready for move-in day.
