We may earn revenue from the products available on this page and participate in affiliate programs. Learn More ›
A shed in a side yard or backyard can make a world of difference when it comes to organization. These stand-alone structures can hold lots of garden equipment, tools, bikes, and other storage items, all while leaving a main garage open for vehicles. These backyard structures can even make great workshops.
But buying a shed can be expensive, and the thinner construction lumber that shed manufacturers use isn’t always ideal. There’s good news: Building a shed isn’t rocket science. Keep reading to learn how to build a shed.
Check with the building department.
Before you build a shed, contact the local building department for some information about local requirements. Almost all municipalities will have “setback” requirements. The setback distance dictates how close a shed can be placed to the property line.
There also are some municipalities that might have building permit requirements that homeowners must meet. For example, a building permit is rarely required if the shed doesn’t have a permanent foundation (such as sitting directly on concrete or gravel). But, if you plan to dig footings and pour concrete or add water or electricity to the shed, you’re probably going to need a permit of some sort.
Prepare all the supplies in advance.
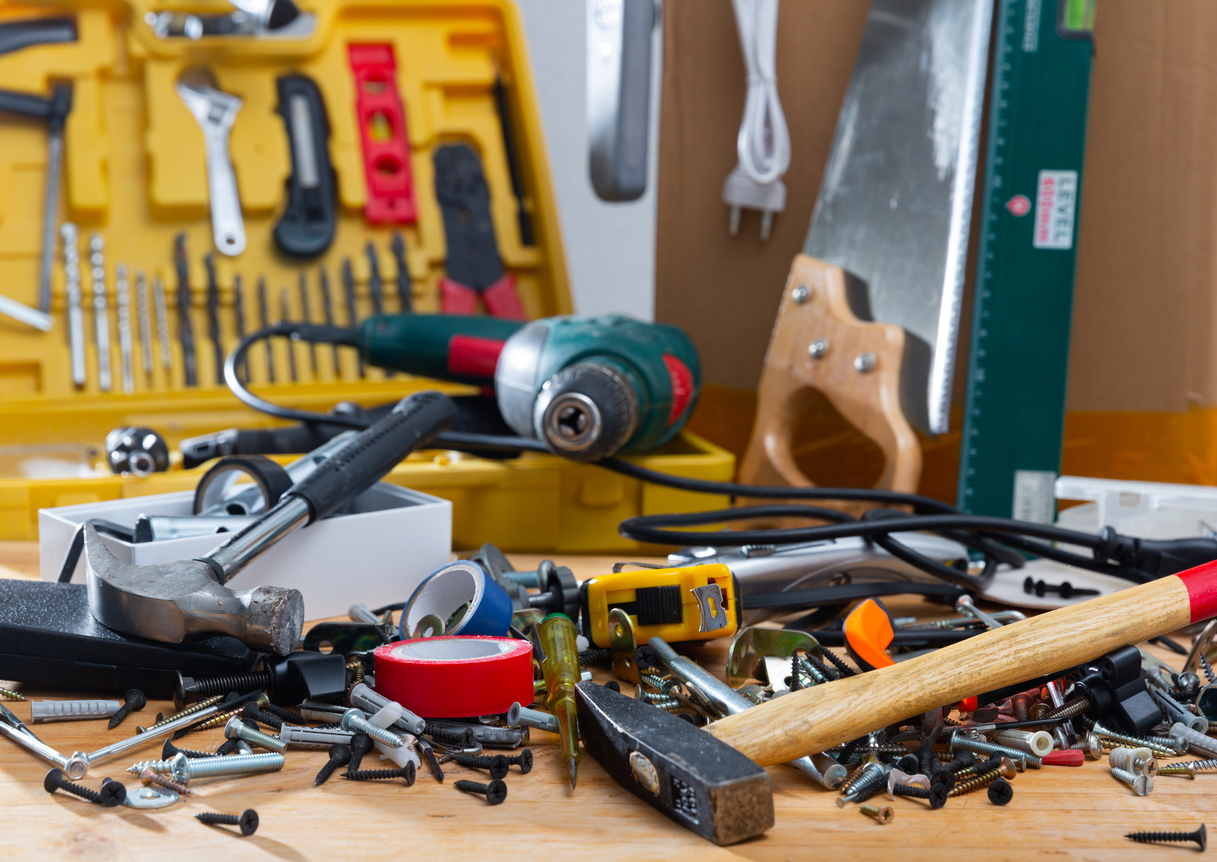
Before you start a shed building project, you should collect all the tools, lumber, hardware, and other supplies. Some tools you might need include the following.
- Framing hammer
- Framing nail gun
- Air compressor
- Miter saw
- Speed square
- Carpenter’s pencil
- Circular saw
- Screw gun
- Shovel
- Posthole digger
And, most typical shed projects require many of the following materials.
- 2×4 lumber for the walls (2×6 if you’re adding a second floor) and roof framing
- Pressure-treated 2×6 lumber for the flooring (2×8 if you’re not building on-grade)
- OSB sheathing for the walls (T-111 paneling, if you don’t want to add siding), roof, and floors
- Caulk
- Rubber flashing tape
- Siding, including corner trim, soffit material, J-channel, starting strips, under-sill trim, and F-channel
- Roofing shingles and felt underlayment
- Roofing drip edge
- Doors and windows
- Nails and screws for framing, siding, roofing, window and door installation, etc.
- Gravel, concrete pavers, or concrete mix, depending on the foundation type
Lay the foundation.
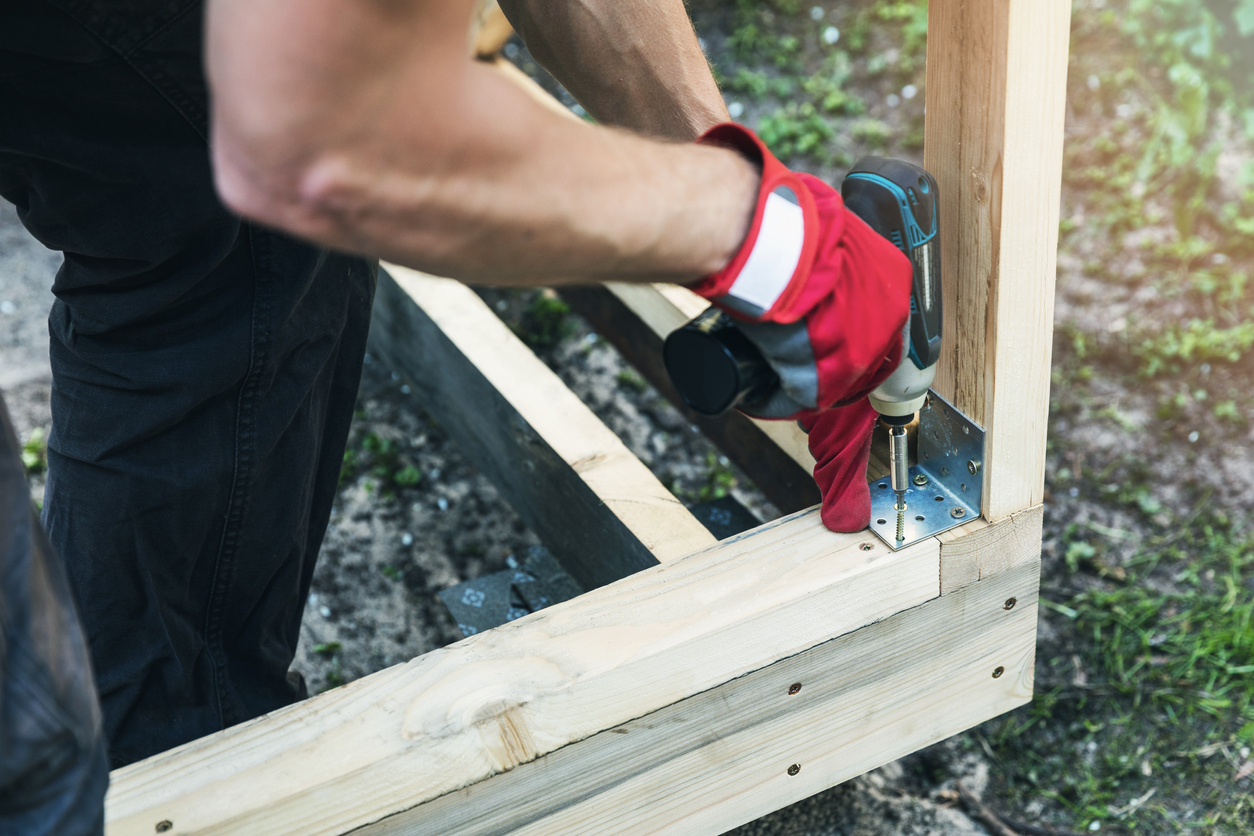
The first step on the road to build a shed is building the foundation. There are two basic types of foundations, and both have pros and cons.
On-grade foundations are built, as the name would imply, on top of the ground. These foundations can be gravel, a mix of gravel and pavers, or concrete slabs. This method is the easiest and fastest to build, and it’s usually the least expensive. But, these foundations are only suitable for smaller sheds that are under 160 square feet.
For a more permanent structure, a frost-proof installation might be better. These foundations feature concrete footings dug into the ground a depth below the frost line. This keeps the foundation from heaving upward during freeze-thaw cycles. The footings often have 6×6 posts attached that will support the flooring, and they’re suitable for larger sheds.
Build the floor.
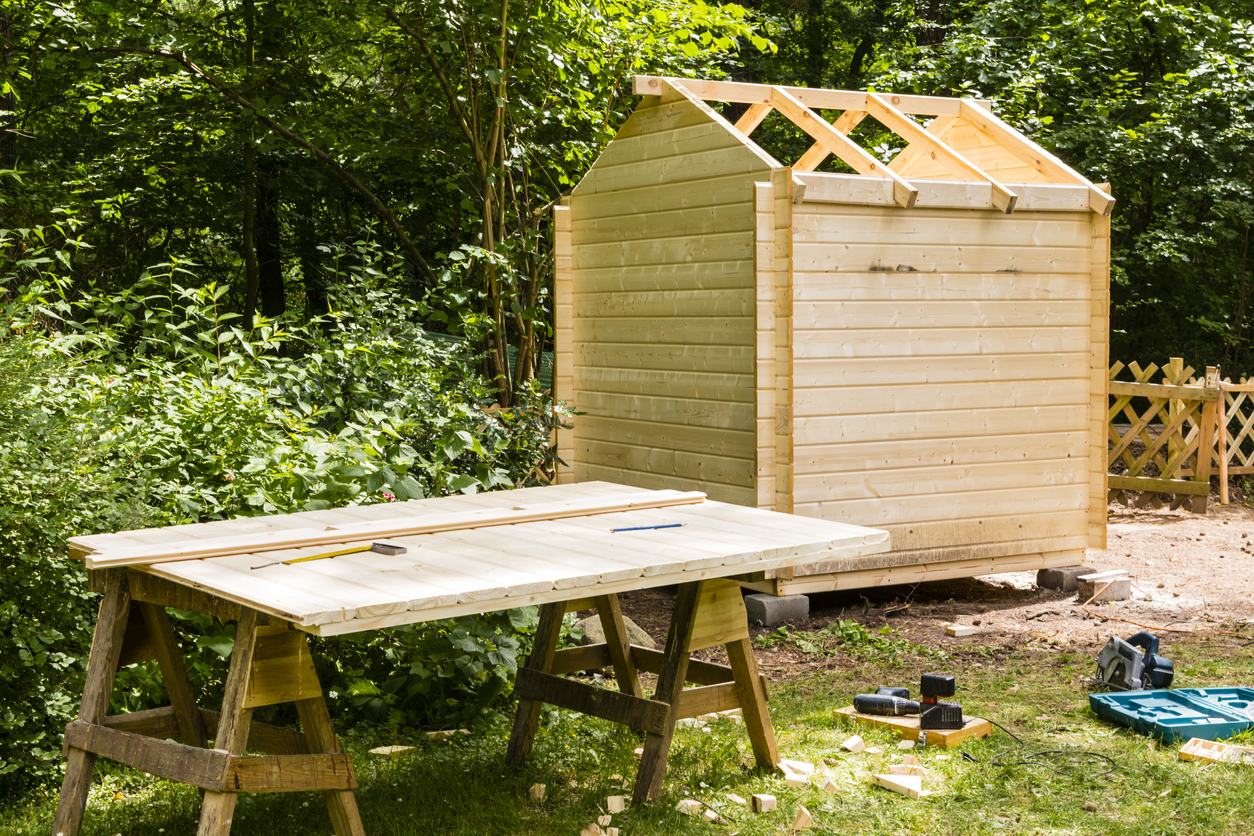
Once the foundation is set, the next step is building the floor. The best boards for a shed floor are pressure-treated 2×8, as they’re likely to have less bounce than 2×6 and last longer. However, the larger boards aren’t always necessary, especially if the entire flooring structure sits on grade.
In many cases, you can get away with spacing 2×8 lumber 24 inches on-center, meaning each of the boards that make up the floor will be 24 inches from each other. With 2×6 lumber, it’s often better to go with a 16-inch on-center design.
Once the floor is installed, sheath it with the OSB (oriented strand board) and nail it down. OSB is strong and durable, and as long as it’s kept dry, it should last for a long time.
Build the walls separately.
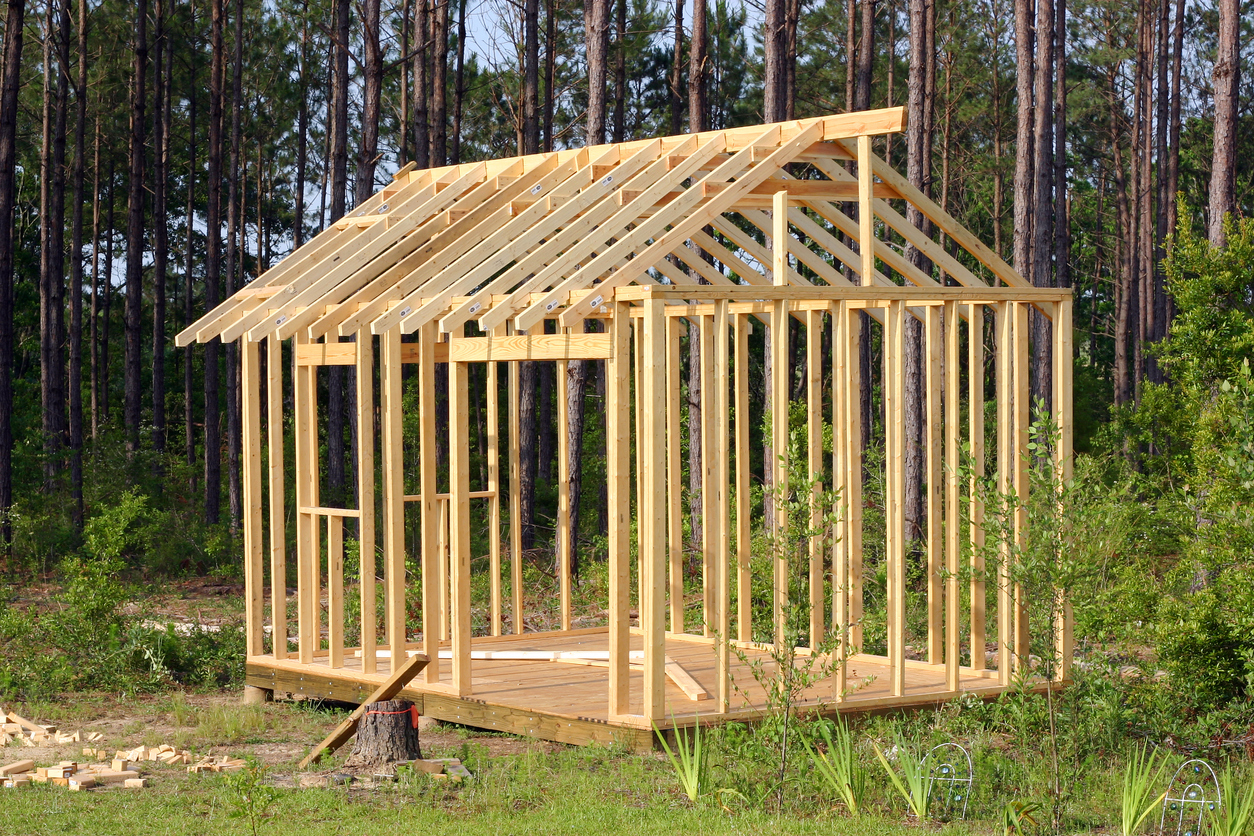
Build each wall one at a time on the floor deck. Begin with the two longest walls, the “through walls.” Start by laying out your top and bottom plates: the 2×4 or 2×6 boards that are used on the top and bottom of the wall. Mark out all of your stud locations on both plates and place the studs between the plates at the marks. Nail through the plates and into the studs with at least two nails. Be sure to leave rough openings for windows and doors.
It’s typically easier to square the walls and sheath them with the OSB while they’re still on the deck. Once you’ve sheathed them, carefully tip them up and nail through the bottom plate and into the framing in the floor. Next, plumb the walls and use scrap lumber tacked to the deck to hold them in place.
Continue moving to the “butt walls,” which install between the two through walls. In most shed designs, these walls also are gabled, meaning they come to a high peak in the middle.
Build the roof frame separately.
The roof style that you choose will determine how you build your roof, and there are plenty of choices, such as gable, gambrel, and shed (or slanted). Shed roofs can be built from 2×4 or 2×6 lumber.
Gable roofs are the most common shed roof type, and they consist of a ridge beam running down the center of the structure and rafter boards stretching from the ridge to the top plates. Typically, these rafters feature “birdsmouth” cut-outs to allow them to sit securely on the wall plate.
It’s best to install the ridge beam and then measure, mark, and cut one rafter perfectly. Use that rafter as a template to cut the others. Experienced professional roofers can “gang cut” all their rafters at one time with a circular saw, but DIYers would be better off cutting each piece one at a time.
Secure the roof frame to the shed walls.
To secure the roof framing, nail the end of each rafter to the ridge beam and then nail through the rafter and into the top plate. Next, install collar ties (horizontal boards nailed to pairs of opposing rafters) to prevent the walls from pushing outward.
After the framing is complete, sheath the roof with OSB. This layer will add lateral strength to the rafters as well as provide a surface to which you can tack the underlayment and nail the shingles.
Nail the drip edge around the perimeter of the roof (except for the peak). Then, add the felt paper, starting at the bottom and working toward the peak. Start the bottom-most course of shingles upside down, and then nail another layer of properly-oriented shingles above it before continuing upward. Once you reach the peak, cut the shingles in thirds and nail them across the peak to form a “ridge cap.”
Install the windows, doors, siding, and trim
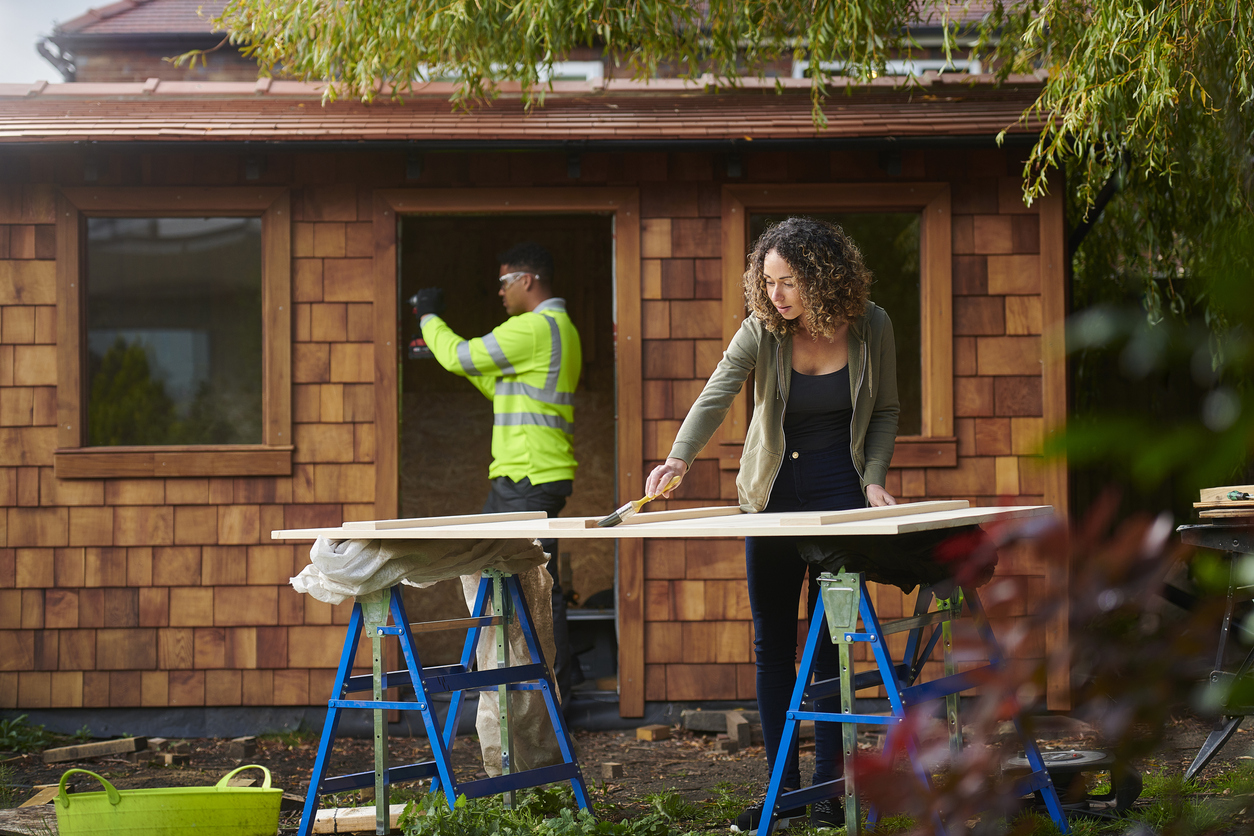
The last step in building a shed is installing the windows, doors, and trim. Start by flashing the bottom of the rough openings. Then lay a thick bead of silicone caulk around them. Place the window or door in the opening and nail it in place through the nailing flange. Flash around the window one more time with the membrane, starting at the bottom, then both sides, and then the top.
At this point, you can install the trim around the windows and doors as well as the drip edge over top of each to create a watertight seal. Finish the job by installing corner trim, the F-channel, the siding, and the soffit material.

