We may earn revenue from the products available on this page and participate in affiliate programs. Learn More ›
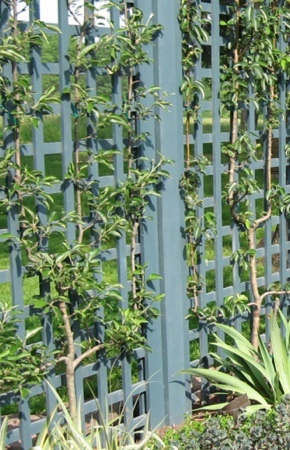
Low-cost additions to any landscape, easy-to-make garden trellises can be used to introduce shade or privacy, or to support climbing vegetables or flowering vines.
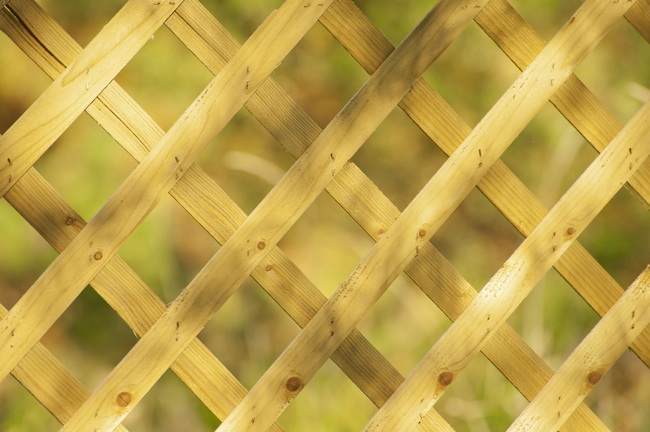
Typically, a trellis consists of a square or rectangular frame with an inset grid. While the frame is usually constructed of wood, the grid can be created from a wide variety of materials, including chain link or wire mesh, nylon string or natural twine, interwoven sticks or bamboo stalks. A trellis can stand alone or connect to an existing structure, be it a wall, fence, arbor, or pergola.
Tools & Materials
Bobvila.com may earn a commission from purchases made through these links.
- Spiked post holders
- Galvanized nails
- Galvanized screws
- 4' x 4' lattice
- Outdoor wood stain
- 1" x 3" or 1" x 4" boards
Step 1
The process of building a trellis begins by securing two vertical posts. The quickest way to do this, assuming your soil isn’t too stony, is to drive spiked post holders (for instance, Simpson’s E-Z Spike) into the ground by means of a sledgehammer. Then use nails or screws to attach your posts to the base of the holders.
For a more permanent installation, use a posthole digger to excavate holes to a depth of 30 to 36 inches, keeping the diameter as small as possible. Fill each hole with about six inches of gravel, then tamp it down. Set a post into the center of each hole and add concrete. Don’t pour the concrete all the way to grade level; leave a few inches to be filled in with soil. If you think you might want to move the trellis in the future, skip the concrete and instead fill the hole with a mix of soil and gravel, tamping down after every few shovelfuls.
Step 2
Once the posts have been erected, frame a 4′ x 4′ sheet of lattice with 1″ x 3″ or 1″ x 4″ boards.
Step 3
Next, nail cleats—that is, 1″ x 1″ boards—to the inside edge of each post.
Step 3
Now, as a final step, screw the latticework to the cleats. (Use galvanized nails and screws throughout to minimize the risk of rust stains.)
Step 4
Coat the trellis with either a translucent or solid-color stain, not only to improve its appearance, but also to protect the wood from the weather.
TIP: Build the lattice panel first so that you can space your posts the proper distance apart.