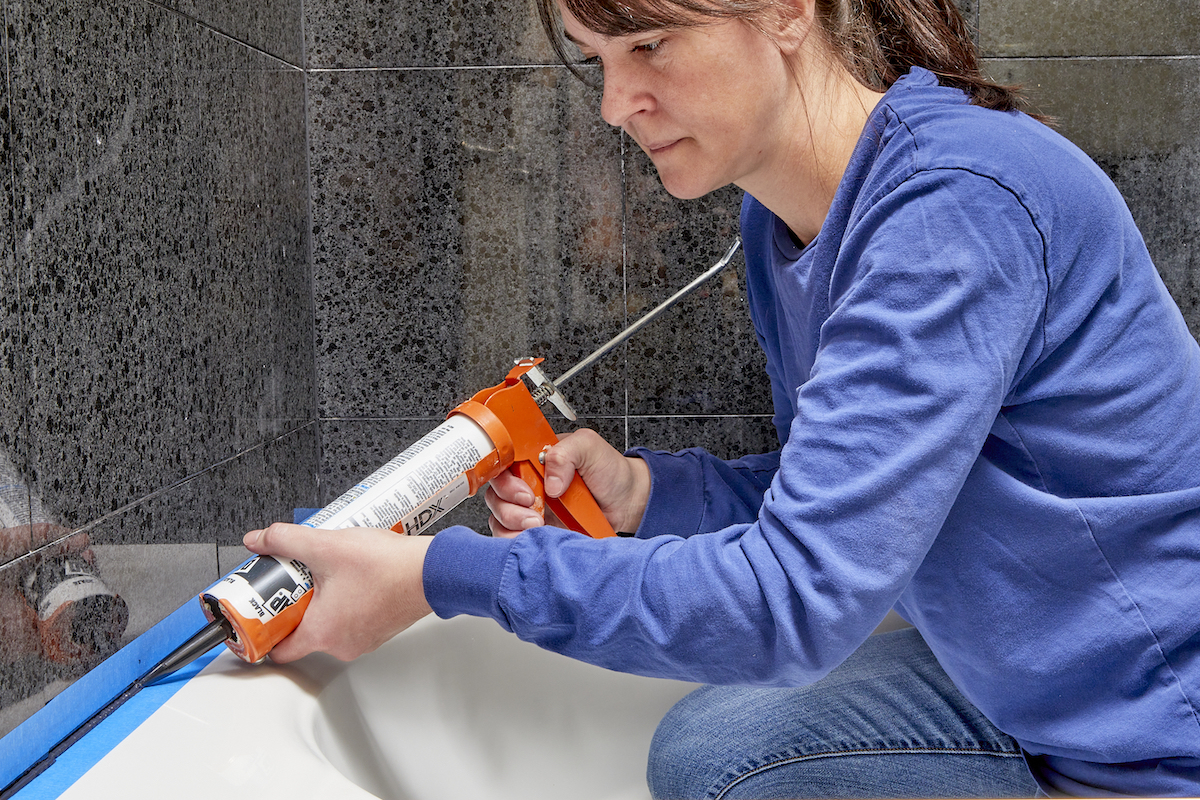

We may earn revenue from the products available on this page and participate in affiliate programs. Learn More ›
There’s nothing quite like a steamy shower to rejuvenate your mind, body, and spirit after a good night’s sleep or a long, hard day. But when the caulk around your enclosure begins to crack and crumble, it’s not you that needs reviving—it’s your shower. Replacing caulk on shower doors or around your tub, tiles, and drain is a relatively simple do-it-yourself fix that takes only a few hours from start to finish. Follow these step for caulking a shower to get a good, tight seal.
Tools & Materials
Bobvila.com may earn a commission from purchases made through these links.
Project Overview
Working Time: 2.5 hours
Total Time: 26.5 hours
Skill Level: Beginner
Estimated Cost: $50
Before You Begin
Some DIYers choose to wear disposable gloves when recaulking a shower or bathtub to save themselves the trouble of cleaning the sticky stuff off of their hands after the job is done. To lay the perfect bead and avoid common caulking mistakes, apply consistent pressure at a steady pace, and mind that the gaps you seal should be no deeper than a half inch and no wider than a quarter inch.
Step 1: Choose the best caulk for your needs.
A quality caulking job begins with selecting a quality product. The two main types of shower caulk are silicone caulk and latex caulk. While silicone forms the stronger seal, latex is easier to work with, especially if you’re a beginner. Many DIYers compromise by choosing a sealant like DAP Kwik Seal Plus, which is the best of both worlds because it has both silicone and latex in its formula.
Before purchasing caulk for your project, double-check the label to make sure that the product has been designated for use in kitchens and baths. Clear shower caulk contains special inhibitors that protect against mold and mildew, a quality that you certainly want when sealing a tile shower.
RELATED: The Best Caulk for Perfectly Sealed Showers and Tubs
Step 2: Remove any old caulk and clean the work area.
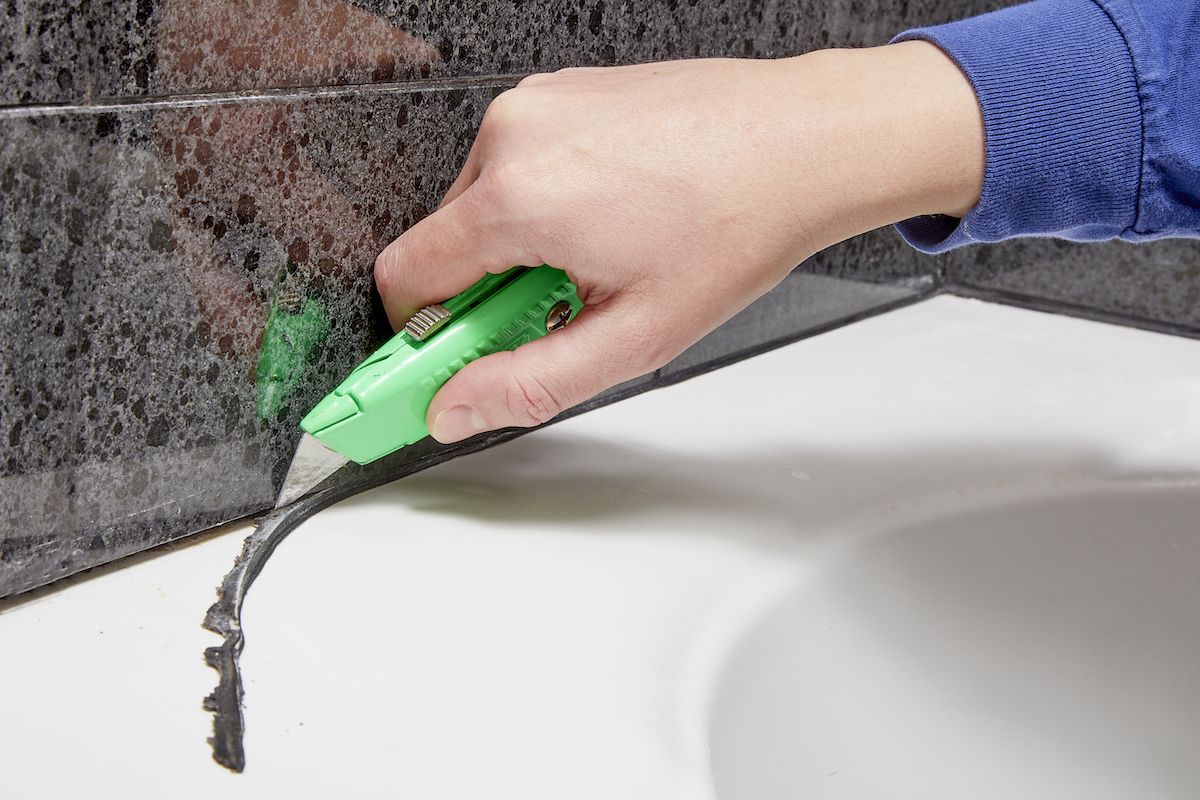
Before you apply latex or silicone sealant to the shower, be sure to remove any caulk that’s already there, otherwise your fresh bead won’t bond well. Caulking over old caulk isn’t usually advised—you just won’t get optimal results if you do so.
Using a utility knife or oscillating tool, cut through the strips of old caulk in every gap you plan to recaulk. Scrape off as much as possible, and then apply a specialized remover to any stubborn spots. If you discover any mold in your path, eradicate it with a commercial cleaner or a homemade solution of one part bleach to two parts water. After you remove the old caulk, wipe down the area and allow it to dry thoroughly before moving on; caulk won’t adhere to a wet surface.
Step 3: Mask the gap.
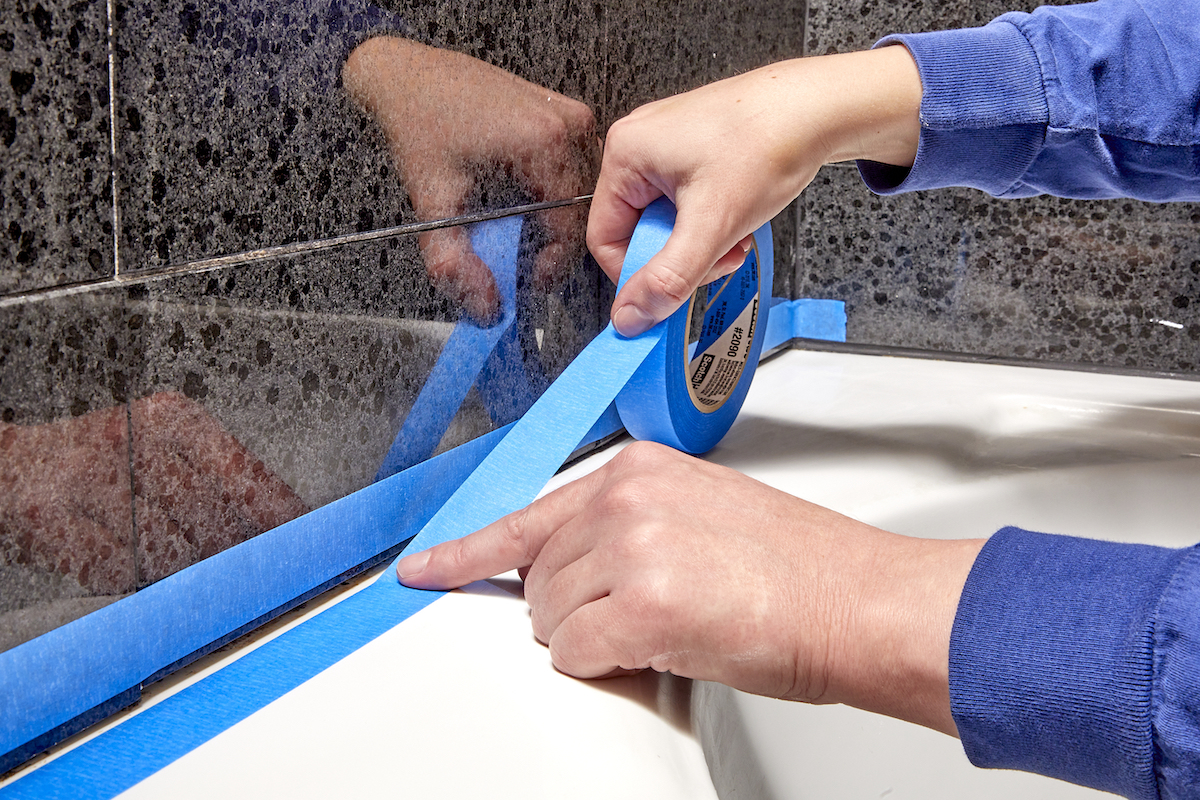
Painter’s tape makes a great guide to ensure a clean bead. Use long strips of tape to mask off the surface on either side of the line where you’ll be applying caulk, whether that’s along the wall, shower door, or tub.
Step 4: Load the caulking gun and cut the tube tip.

While you can apply caulk to a shower by simply squeezing it out of the tube, it’s best to invest in a quality caulking gun. Using a caulking gun will let you better manage the flow of the caulk, and will produce more accurate results. Since these are relatively straightforward tools, even the industry’s best models typically don’t cost much. Newborn caulk guns, for example, are quality, affordable tools that retail for less than $20 or $30.
With any caulk gun worth its salt, however, you get a sturdy plunging mechanism that allows for precise and even distribution of bead, and you get a pressure release that lets you quickly pause or stop application. When loading the caulk gun, just remember to not cut off too much of the tip from the caulk tube. A wide opening will yield a thick bead, which may lead to sloppy results. Cut the tip just above the indentation point that is usually marked on the tube.
RELATED: This Was the Only Caulking Gun I Could Use One-Handed Comfortably
Step 5: Caulk the shower or tub joint.
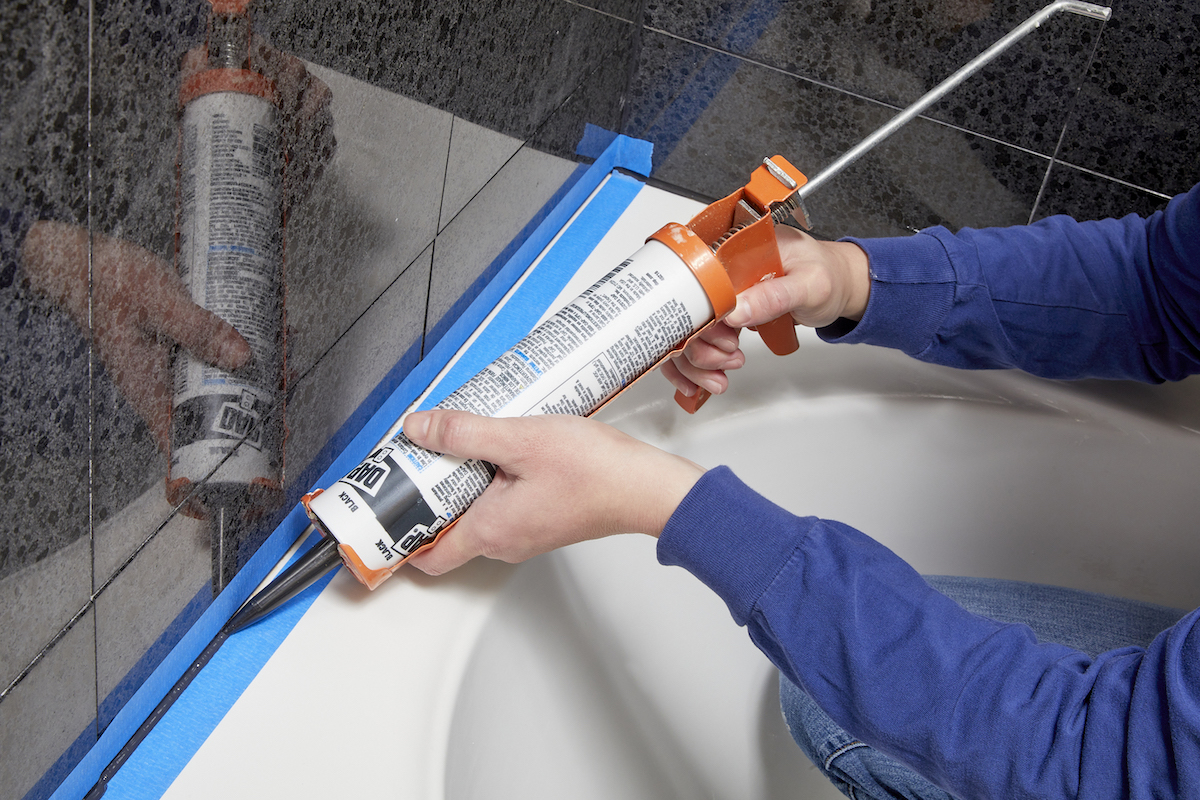
To begin caulking the shower, apply pressure to the caulk gun or tube and either pull the gun away from your starting point or, holding the gun at a 90-degree angle, push the caulk in a forward motion. There is no right or wrong technique, so choose the approach that works best for you and proceed accordingly.
Step 6: Tool the joint.
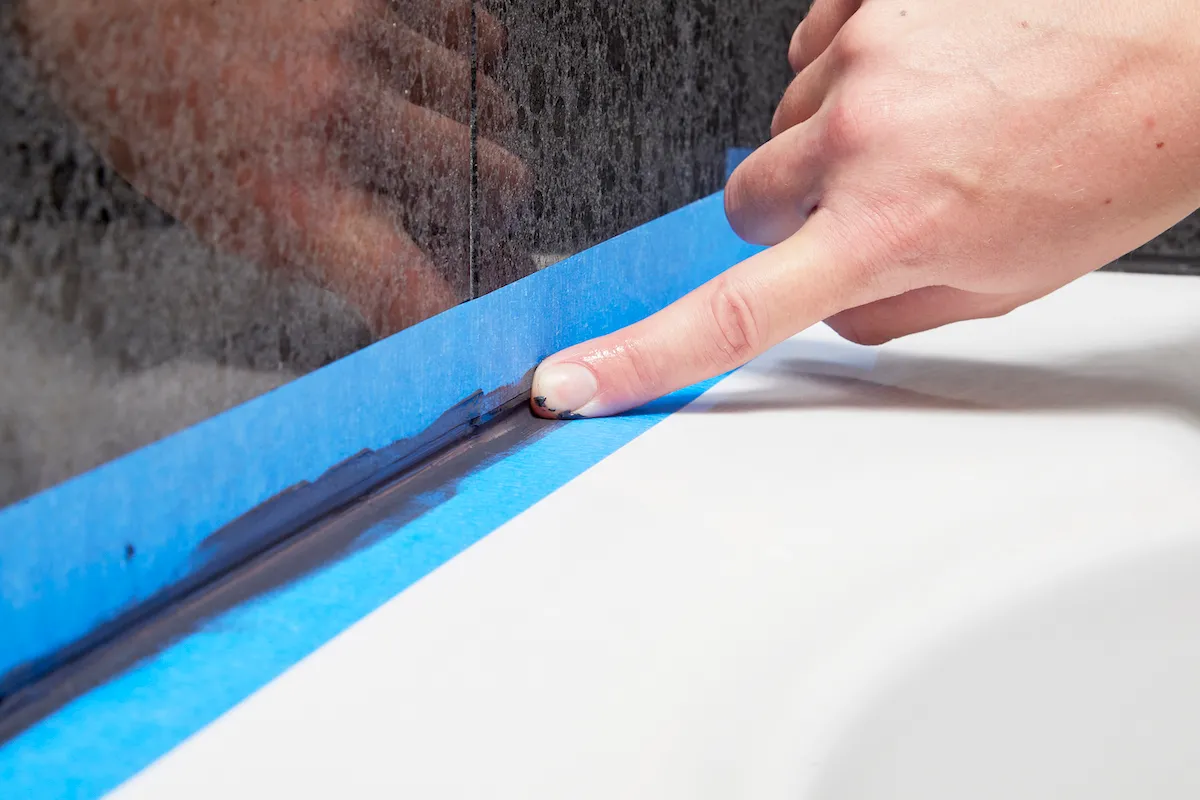
Once the gap is full of bathroom caulk, wet your finger and wipe it along the line to remove the excess caulk and create a smooth, rounded bead (a process also known as tooling).
Step 7: Remove the painter’s tape.
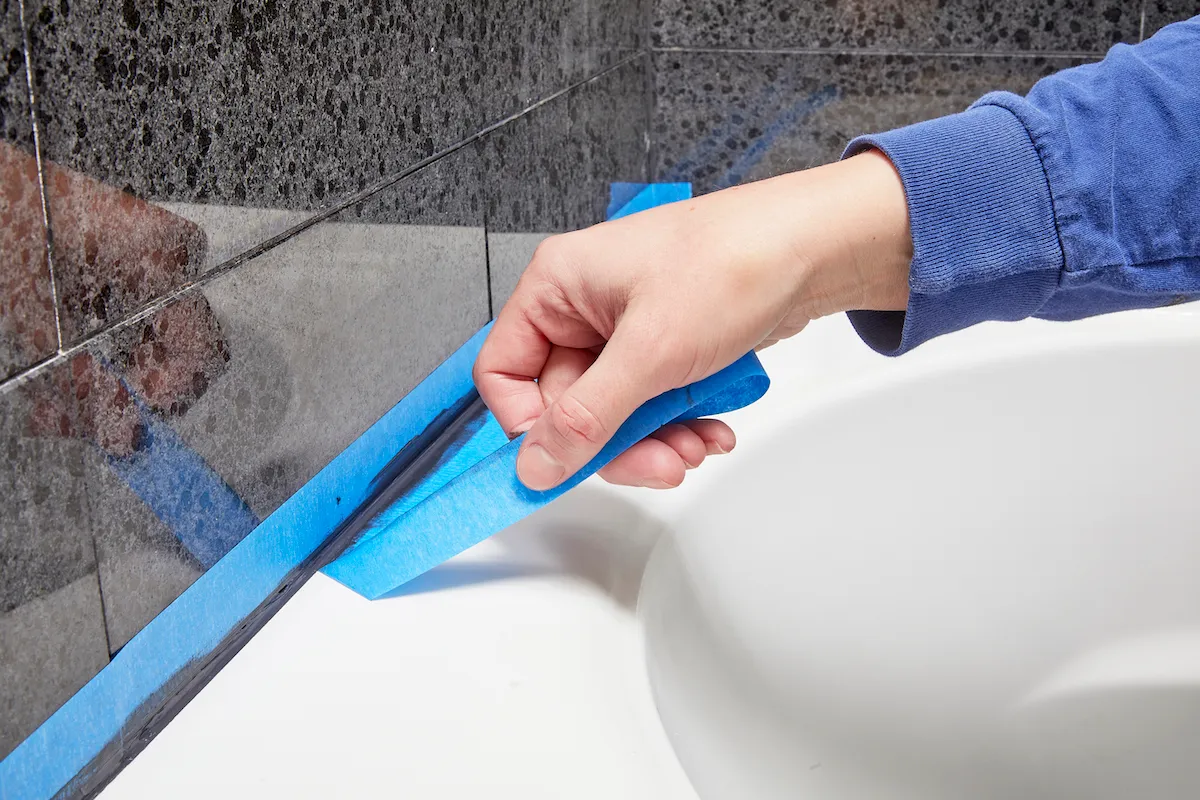
Peel off the painter’s tape while the caulk is still wet, and then continue on to the next section to be caulked. Repeat steps 5 and 6 until every gap has been caulked.
Step 7: Allow the caulk to cure.
When you’re done, allow the caulk to dry and cure for at least 24 hours before returning to regular use of the shower. A thorough caulking job should last at least a year, which means you have about 364 more opportunities to belt out your favorite show tunes while you bathe before you’ll have to repeat the process and caulk the shower again.
Final Thoughts
Caulking the bathroom is a necessary part of a complete home maintenance routine; it’s important to know how to apply caulk to a shower properly. The above steps will help novice and expert DIY-ers alike create a fresh, watertight seal in their shower or bathtub. Throughout the process, DIYers alike should keep the essentials of caulking in mind: Ensure you have the right sealant and tools on hand, only apply caulk to clean, caulk-free gaps, and let the caulk fully cure before exposing it to moisture.
