We may earn revenue from the products available on this page and participate in affiliate programs. Learn More ›
Prepping to paint your walls a new shade? While you may understand how essential priming is when it comes to hiding the imperfections in the wall, an oft-forgotten step of equal importance is caulking the baseboard.
Caulk is basically a do-it-yourselfer’s best friend, the way it closes little cracks in wood and drywall alike created by uneven walls and misjudged cuts. In addition to filling gaps and making the joinery look flawless, this sealant serves as an important barrier to keep both critters and drafts out of spaces where they shouldn’t be. Plus, caulk fills in dust-collecting crevices, making baseboards easier to clean.
Once you get the hang of using a caulking gun, the process for caulking baseboards couldn’t be any simpler. We’ve broken it down into six easy steps, from choosing the proper caulk at the home center to getting a perfectly smooth finish.
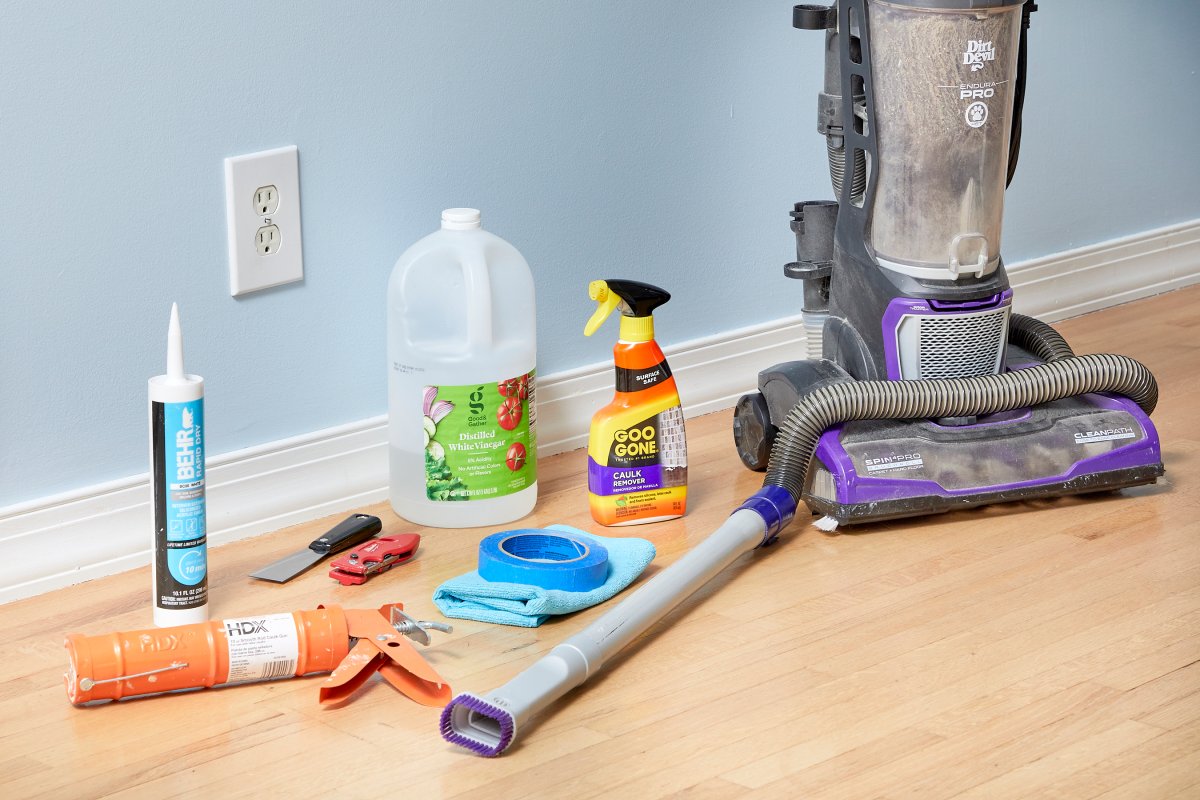
Tools & Materials
Bobvila.com may earn a commission from purchases made through these links.
- Putty knife
- 5-in-1 tool
- Wire brush
- Vacuum with attachments
- Microfiber cloth
- Painter's tape
- Caulking gun
Baseboard Caulking in 6 Steps
Step 1: Choose the right caulk.
There’s a number of types of caulk available, each tailored to the type of job you’re doing. While bathrooms or kitchens—the “splash zones” of the home—may require a waterproof caulk like silicone around the baseboards, most molding in the house benefits from latex caulks (sometimes referred to as “acrylic latex” or “painter’s caulk”). Latex caulk dries quickly, expands slightly to fill cracks better, exists in a variety of colors, and even comes in a paintable formula. It’s safe to say that, as long you use a caulking gun properly and follow these next steps, you won’t know where your woodwork stops and the caulk begins.
Step 2: Prep the baseboards with painter’s tape.
If there’s any existing caulk, remove as much of it as possible; a putty knife, 5-in-1 tool, or wire brush can help dislodge the old stuff. Run a vacuum attachment over the area to get the last of the dust, then finish by wiping it down with vinegar, liquid caulk remover, or bleach and let the area completely dry. Any crumbs of caulk or dust could compromise the seal.
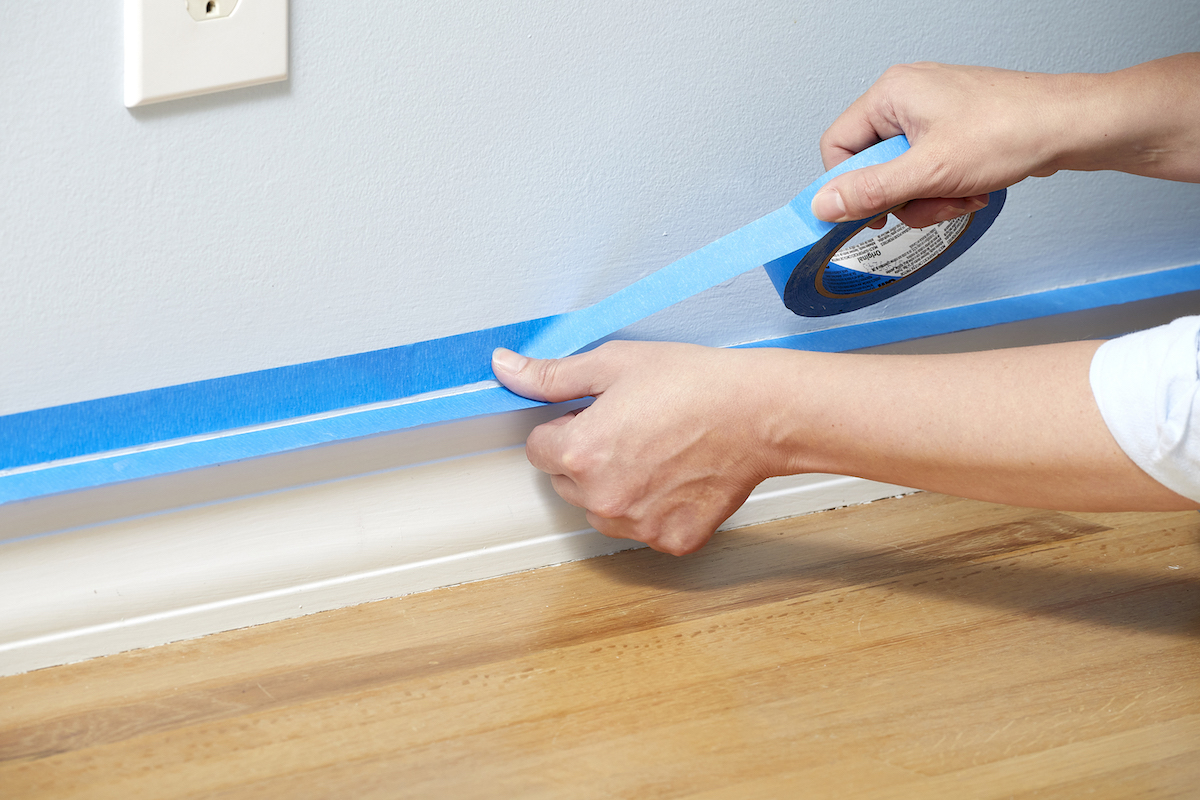
For best results, take the time to apply painters tape to the area above and below the line you want to caulk to help guide a perfectly straight, clean bead.
Step 3: Load the caulk gun.
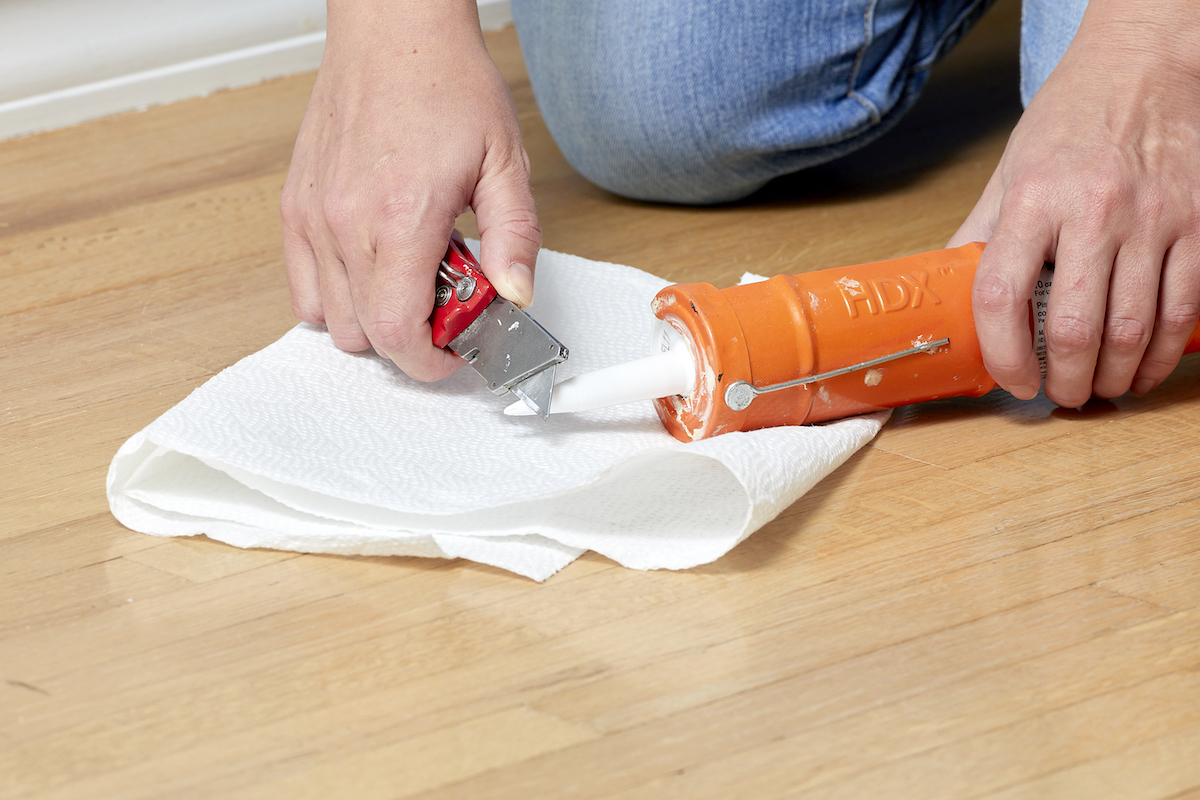
Most types of caulk either come in a squeezable tube or, more commonly, a cartridge that requires a caulk gun. If you purchase the latter, cut the nozzle of the tube at a 45-degree angle to the desired bead size (usually 1/8- to 1/4-inch from the tip is best for baseboards, depending on how small or large the gap you’re filling is) using a utility knife, then pierce the inner seal. Insert the cartridge into the caulk gun following the manufacturer’s instructions.
Step 4: Apply the caulk.
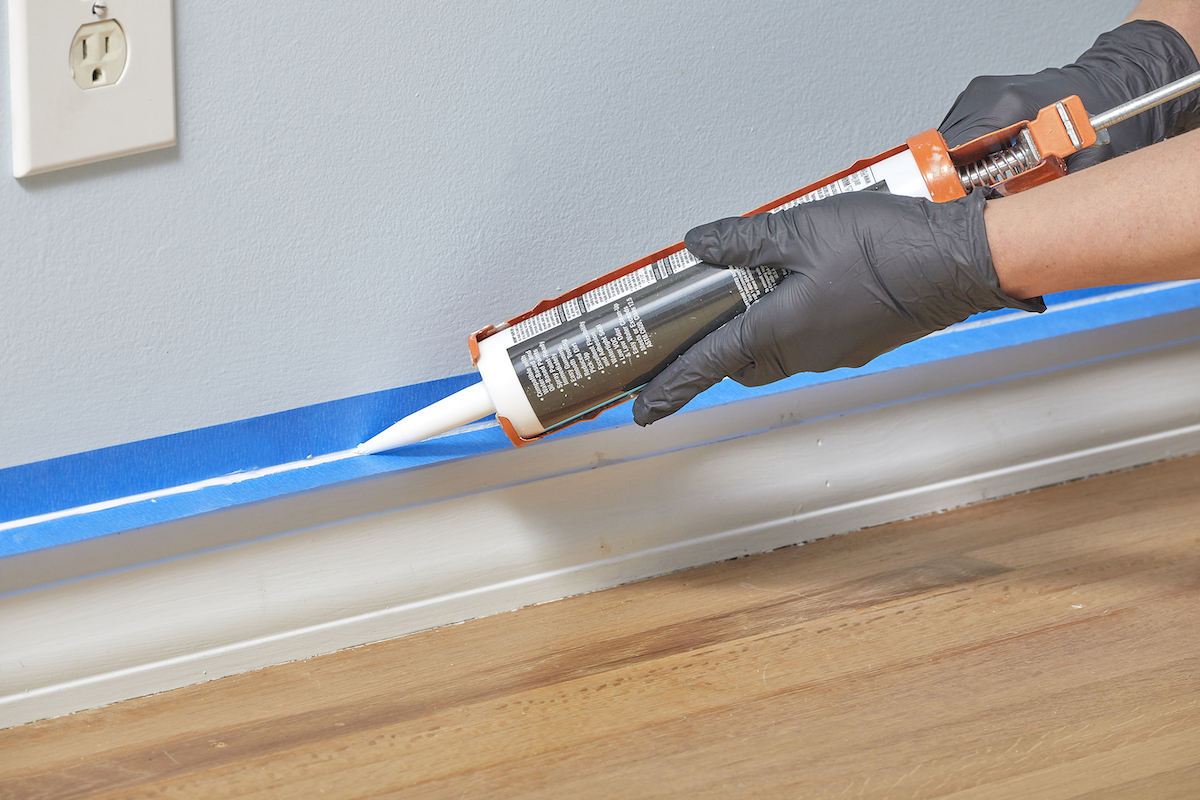
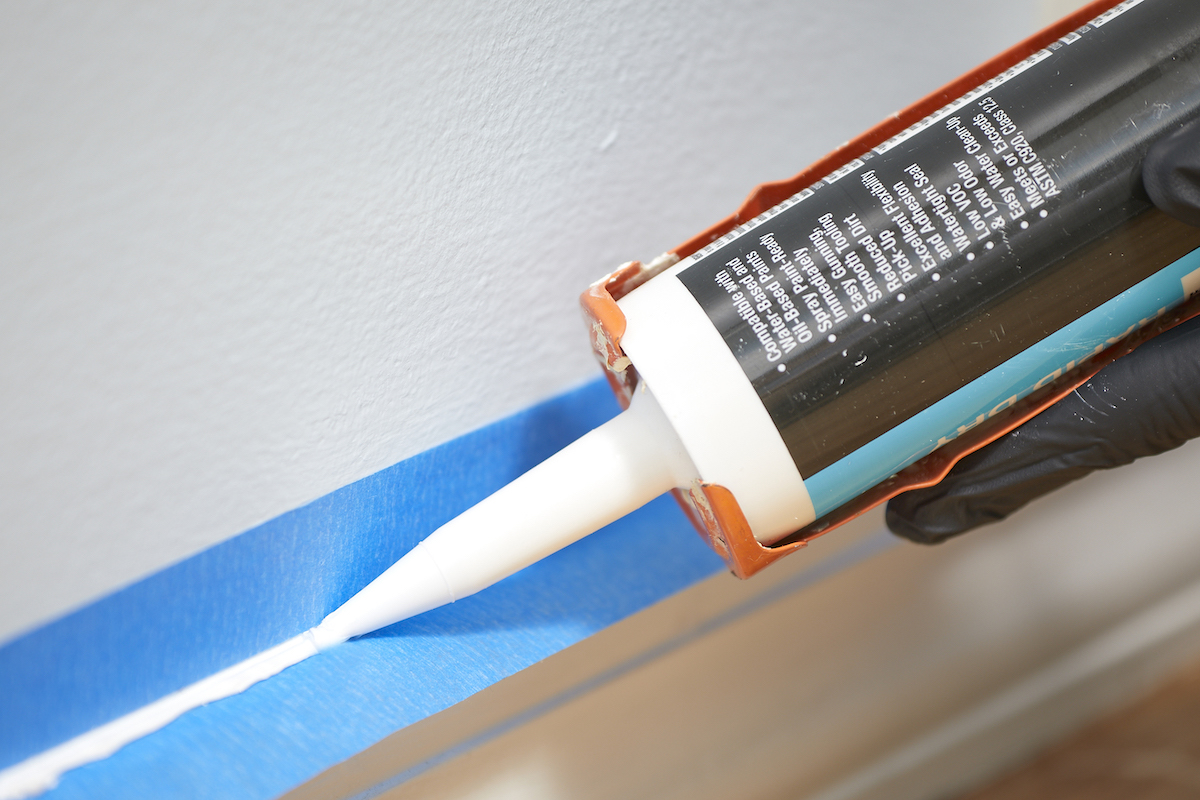
Hold the caulk gun at a 45-degree angle and do a few practice runs on a piece of paper first to get a feel for how much pressure to apply. You’ll find you have to gently and repeatedly squeeze the trigger in order to dispense the caulk. Move at a steady pace, so you don’t end up with beads of caulk that are too thin or too thick. When you’ve got the hang of it, move on to the baseboards and fill the space between the lines of tape.
Step 5: Smooth the bead before it dries.
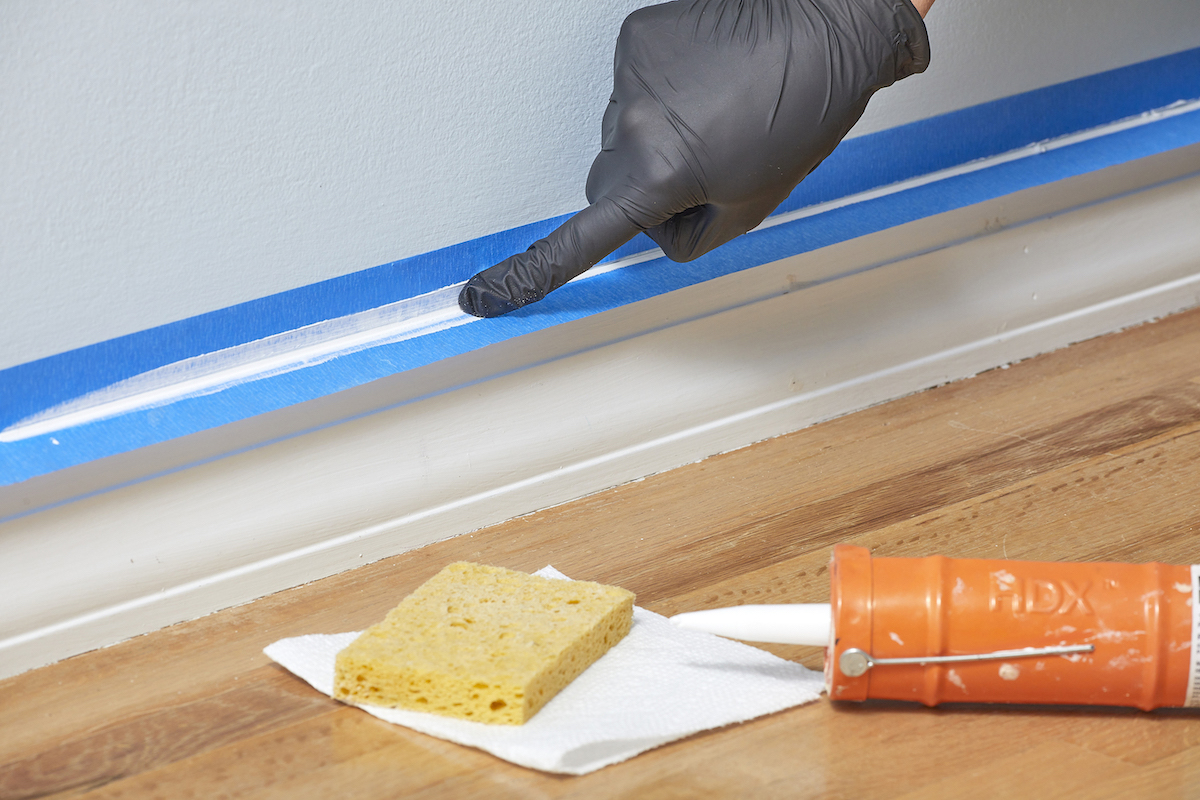
When you’ve finished the area you’re working on, flatten the bumps in the caulk for a more professional appearance. You can use a gloved finger dipped in a bit of water or an ice cube to create an even, smooth line.
Step 6: Remove the painter’s tape.
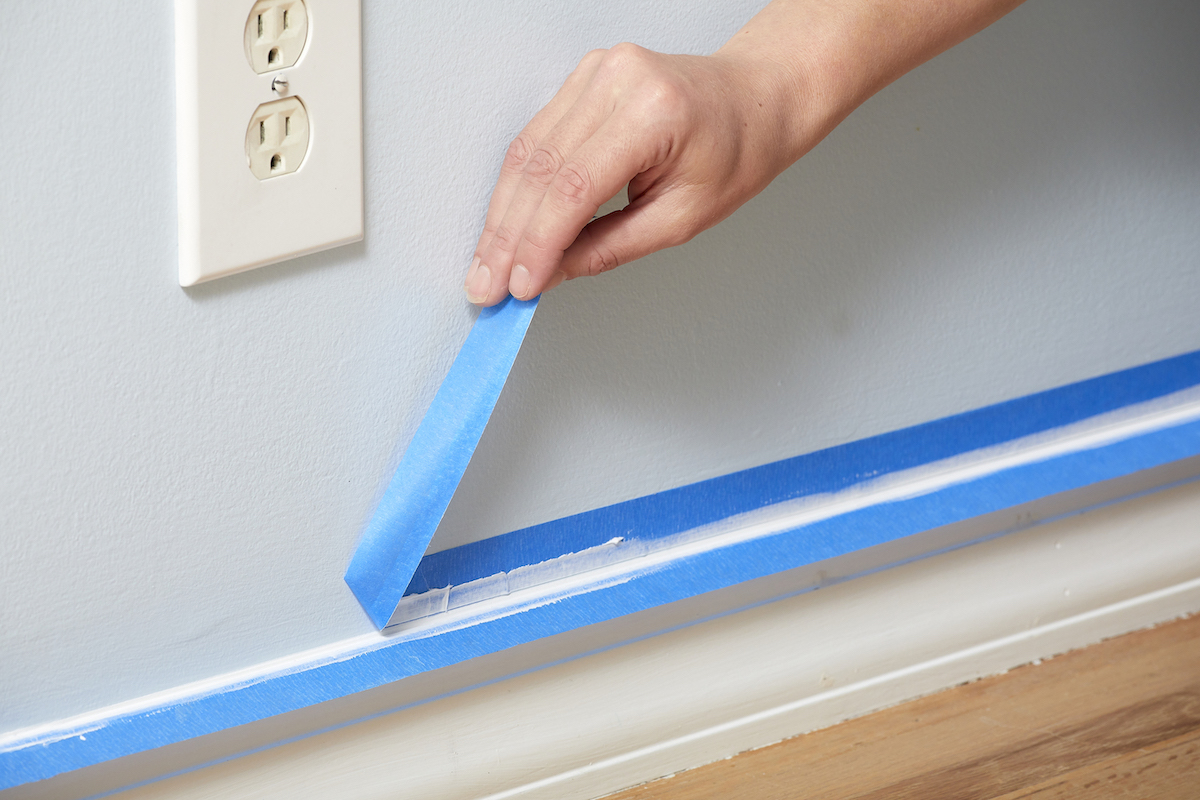
Peel off the tape right away before the caulk dries (so that it doesn’t get stuck behind the caulk or rip the new bead off with it). Then let the caulking completely dry according to the manufacturer’s recommendations before painting it to match the baseboards, if necessary.
