We may earn revenue from the products available on this page and participate in affiliate programs. Learn More ›
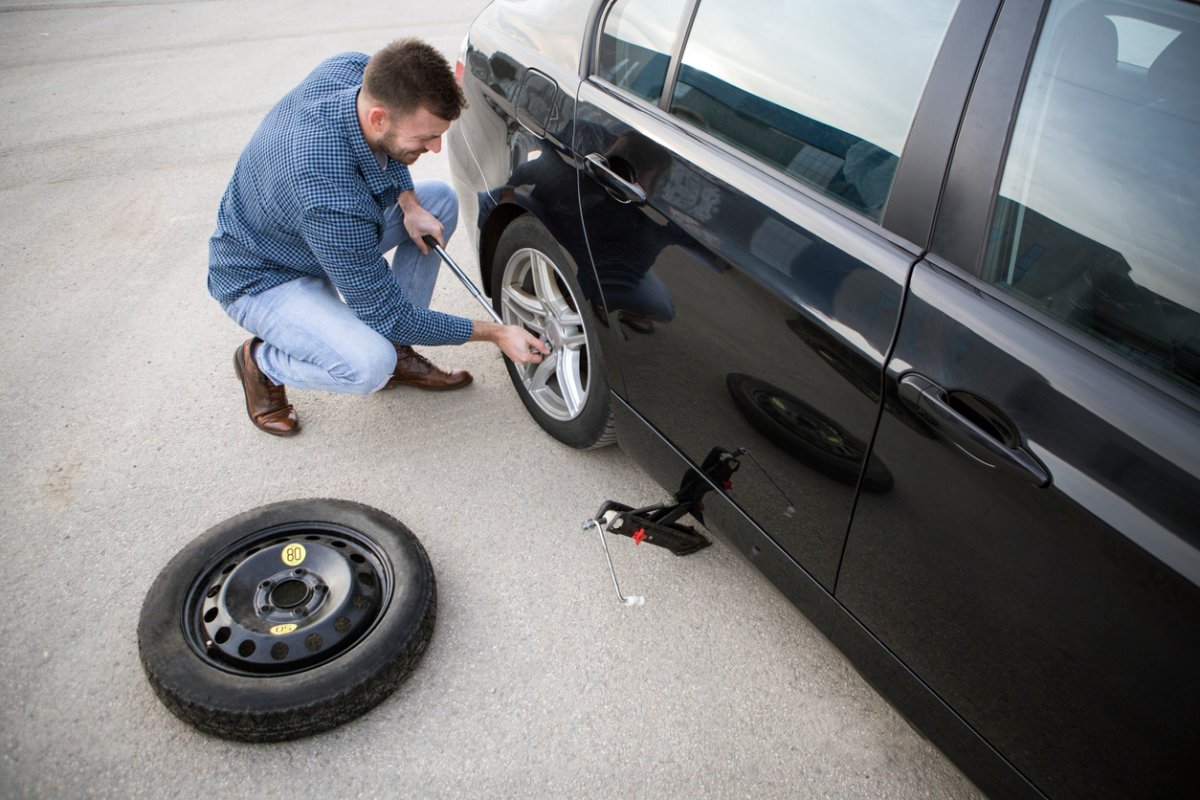
Waking up to a flat tire or having to pull over on the side of the road can ruin a great day, but with practice and by following eight straightforward steps, you can replace the tire quickly and efficiently and get on with your day. Learning how to change a flat tire doesn’t need to be difficult, especially with the right tools, including wheel chocks or wedges, a jack, a tire iron, a tire pressure gauge, and traffic cones to help other drivers see your vehicle pulled over on the side of the road.
Just keep in mind that it isn’t always a good idea to figure out how to change a tire by hand under dangerous circumstances like on the side of a busy highway, at night, orduring a storm. If the road or weather conditions would put you at risk, consider waiting for a tow truck instead of getting hurt just to deal with a tire change.
Tools & Materials
Bobvila.com may earn a commission from purchases made through these links.
Related: 13 Hacks Every Car Owner Should Know
BEFORE YOU BEGIN
Learning how to change a tire on a car is a relatively easy DIY task that most people can accomplish. However, there are some situations in which figuring out how to replace a tire or how to put on a spare tire becomes too dangerous. Some examples include the side of a hazardous highway, late at night when travel-weary drivers are prone to losing focus, during winter storms that can freeze your hands before you can replace the tire, and severe weather conditions like a tornado, hurricane, ice storm, earthquake, or flood.
In these instances, it’s better to call a tow truck or have someone pick you up to take you to a safe location until the vehicle can be retrieved. When it’s safe where you are parked, you can change a tire by following these steps.

Tool Tip
Supported by Craftsman
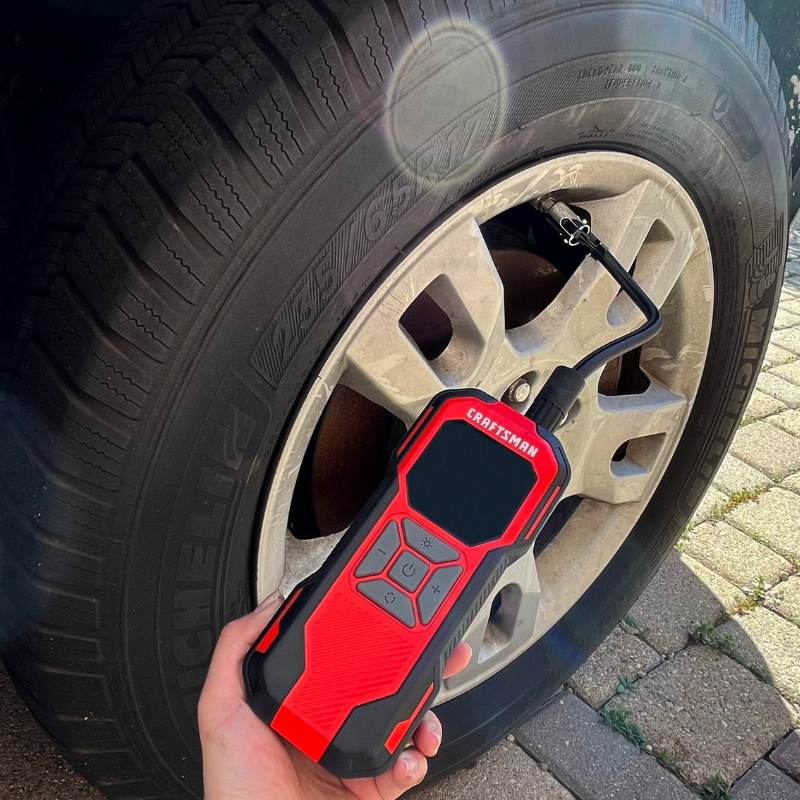
Prepare for a flat or low tire emergency by keeping Craftsman’s Mini Digital Inflator in your vehicle at all times. Its five preset inflation modes and easy-to-read digital display make tasks straightforward—even after dark, thanks to built-in LED lights. Plus, you can recharge the 150 max PSI inflator at home or in the car via a cigarette lighter adapter.
Get the Craftsman Mini Digital Inflator on sale at Lowe’s for $29.98 (save $20)
STEP 1: Apply the parking brake, flip the hazard lights on, and add wheel wedges appropriately.

New and existing drivers should learn how to change a car tire as soon as they start learning how to drive because knowing how to change a spare tire is a necessary skill to deal with roadside emergencies. When you notice that you have a flat tire, it’s important to pull over to the side of the road carefully, ensuring that there is enough space between the car and oncoming traffic to safely reach and change the tire.
Turn off the car, put it in park, apply the parking brake, and turn on the hazard lights before exiting the vehicle. Place a set of wheel wedges or wheel chocks behind the tires to help prevent the car from rolling or shifting while you work. It’s also a good idea to set up multiple traffic cones around the car to ensure that it is visible to oncoming traffic.
Note: Safety is the most important priority here. You may need to either stay in the vehicle or exit the vehicle from the passenger side.
STEP 2: Remove the hubcap and loosen the lug nuts.
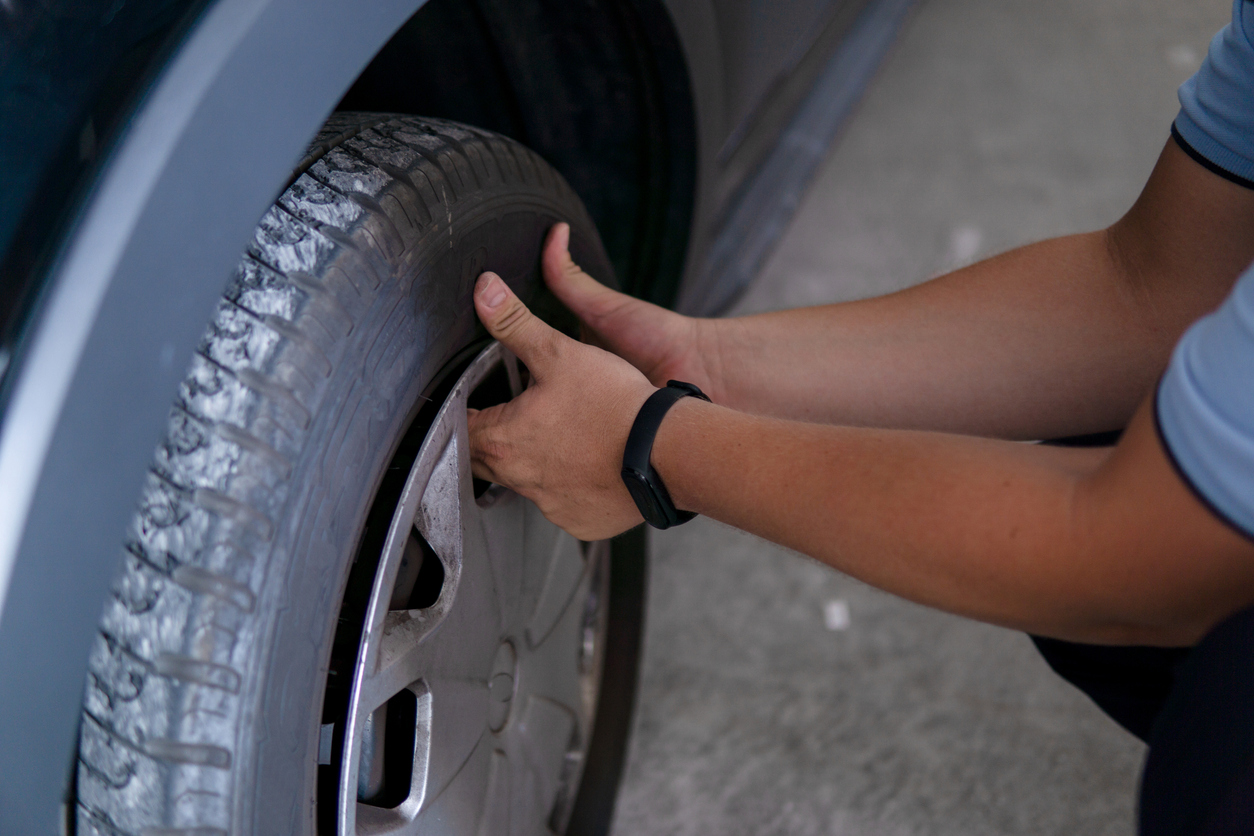
With the car pulled safely over to the side of the road and appropriately marked with pylons and hazard lights, you can start the process of changing the tire. Take the hubcap off the tire to gain access to the lug nuts, then use a tire iron to begin loosening the lug nuts. The reason for loosening the lug nuts before jacking up the vehicle is that the weight of the vehicle on the tire prevents it from spinning, which makes it easier to loosen seized and overtightened lug nuts.
Similarly, loosen the nuts in a cross- or star-shaped pattern instead of proceeding in a clockwise or counterclockwise pattern. This is so that the tire remains balanced, reducing the strain on the remaining nuts and making them easier to loosen.
Related: The Best Jump Starters With Air Compressors, Tested
STEP 3: Jack up the vehicle near the flat tire.

Slide the jack under the vehicle, near the flat tire. Make sure to line it up so that when you crank the jack, it will come in contact with the metal portion of the vehicle’s frame instead of the molded plastic that runs along the bottom of the car.
If the jack is not placed in the correct position under the metal frame, it will simply crack the plastic. Therefore, it’s important to get down on the ground and verify that you have the right placement. If you aren’t sure where the jack should go on your car, check the owner’s manual.
With the floor jack in place, begin raising up the vehicle until the flat tire is completely off the ground. It’s a good idea to crank the jack up a few additional inches to provide enough clearance for the inflated spare tire to slide into position. However, you can increase the height at any time before or after removing the flat tire, if necessary.
STEP 4: Remove the lug nuts and flat tire.
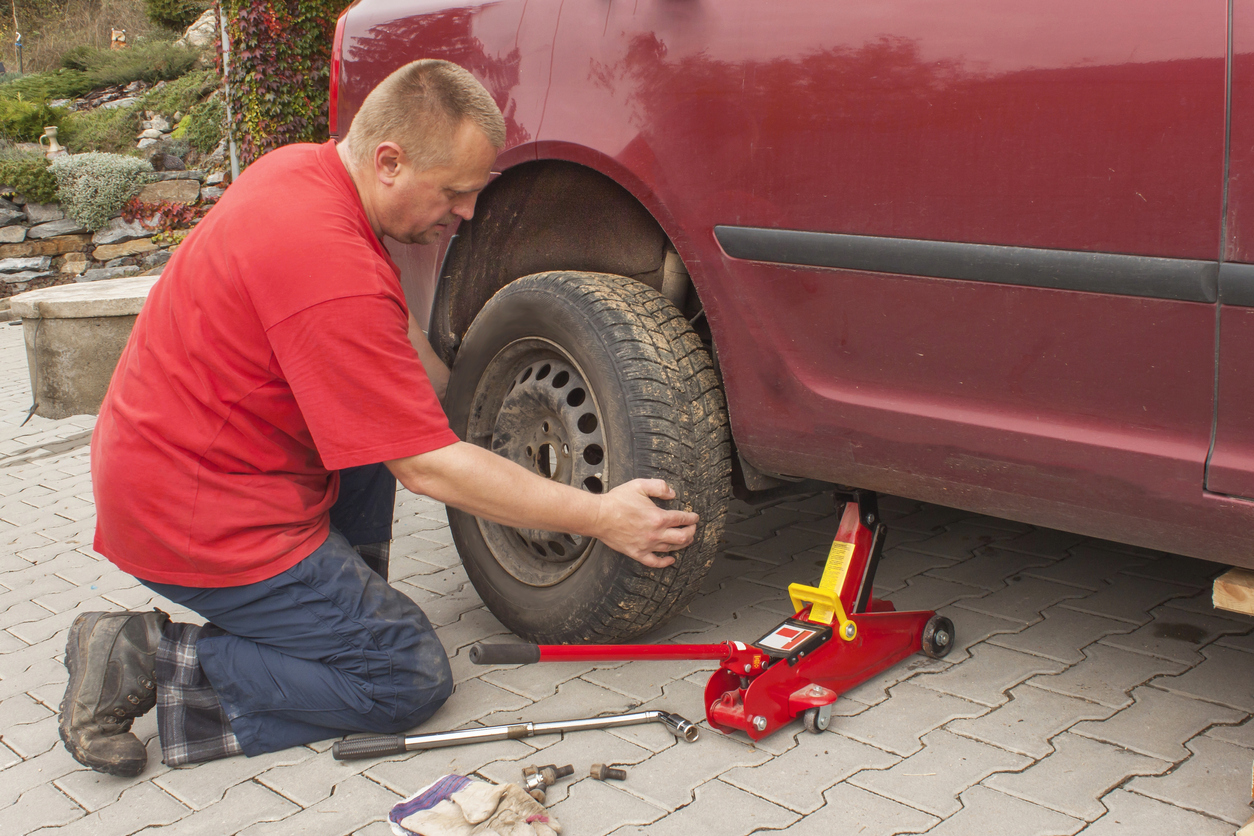
At this point, the vehicle should be jacked up so that the flat tire is completely off the ground and the nuts are loosened, allowing you to remove them completely with the tire iron. Follow a cross-pattern for wheels with four lug nuts and follow a star-pattern for wheels with five lug nuts to help keep the wheel balanced while you work.
Once you have removed the lug nuts, you should be able to grab the tire and slide it off of the bolts. Put the flat tire to the side of where you are working so that it won’t get in the way during the replacement process.
STEP 5: Mount the spare tire on the lug bolts and hand-tighten the lug nuts.

Grab the spare tire and align it with the lug bolts. Keep in mind that the vehicle might need to be jacked up a few inches higher to have enough clearance for the inflated spare tire to slide onto the lug bolts. With the tire sitting on the lug bolts, you can begin to put the lug nuts back on. Hand-tighten the nuts, following the same cross- or star-pattern to help balance the weight of the wheel on the bolts and reduce pressure on the nuts.
STEP 6: Lower the jack slightly and wrench-tighten the lug nuts.
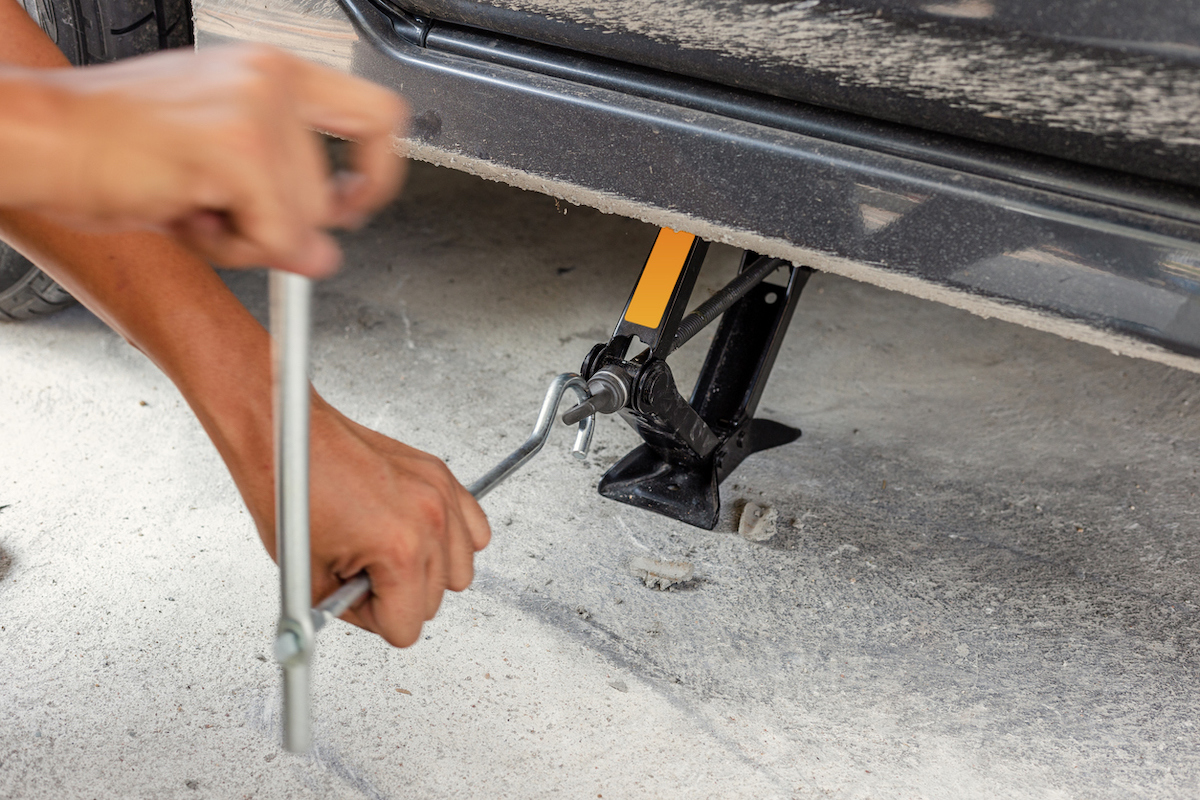
Crank the jack in the opposite direction to lower the car and spare tire to the ground. When the tire is touching the ground with enough weight to prevent the wheel from turning, use the tire iron to tighten each lug nut. You should be tightening the nuts to the point where the wheel is secure on the lug bolts, but not with such excessive force that you cause the vehicle to rock, shift, or slide off the jack.
Related: 5 Interior Car Detailing Tricks You Can Do at Home
STEP 7: Lower the jack completely and fully tighten the lug nuts.
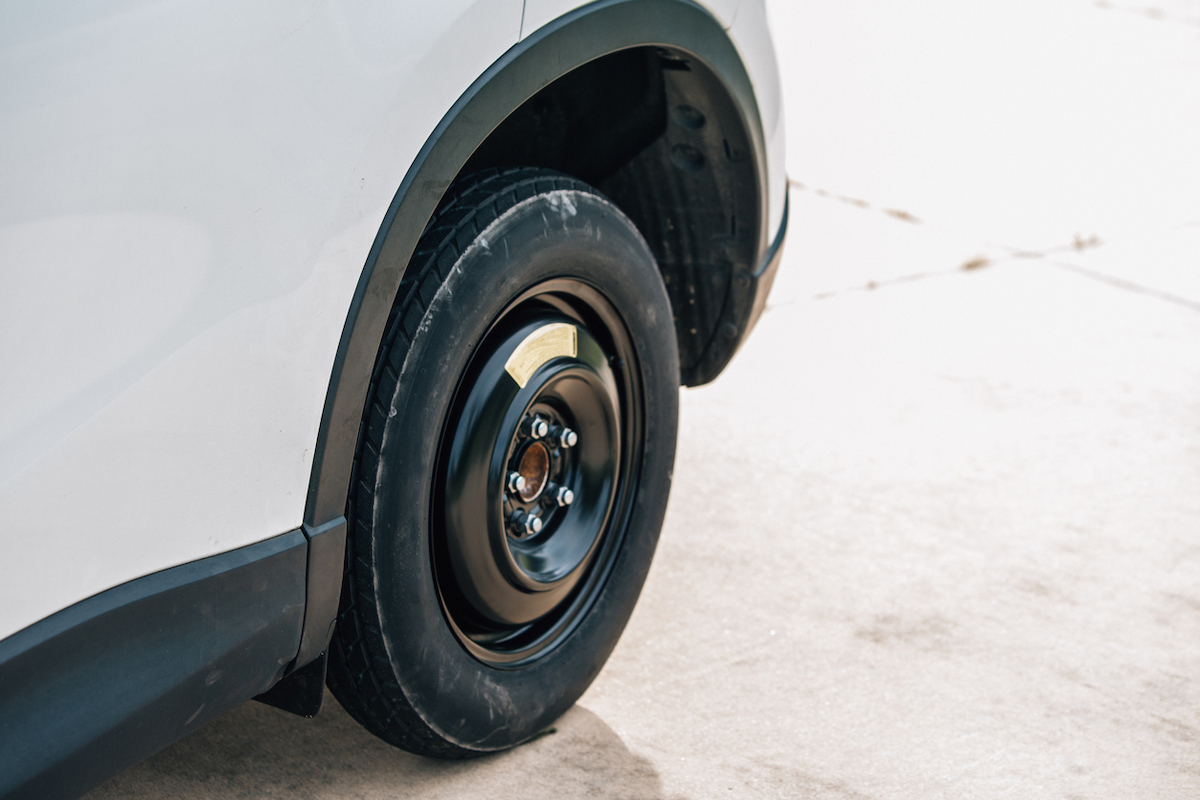
When the spare tire has been adequately secured to the car, lower the jack completely so that the entire weight of the car is sitting on the ground. Use the tire iron to fully tighten the lug nuts, ensuring that the tire will not come loose during the car’s operation. When you are satisfied with the tightness of the lug nuts, put the jack, tire iron, and flat tire into the back of the vehicle and out of the way.
STEP 8: Check the tire pressure and drive carefully on the spare until you can repair or replace your vehicle’s flat tire.
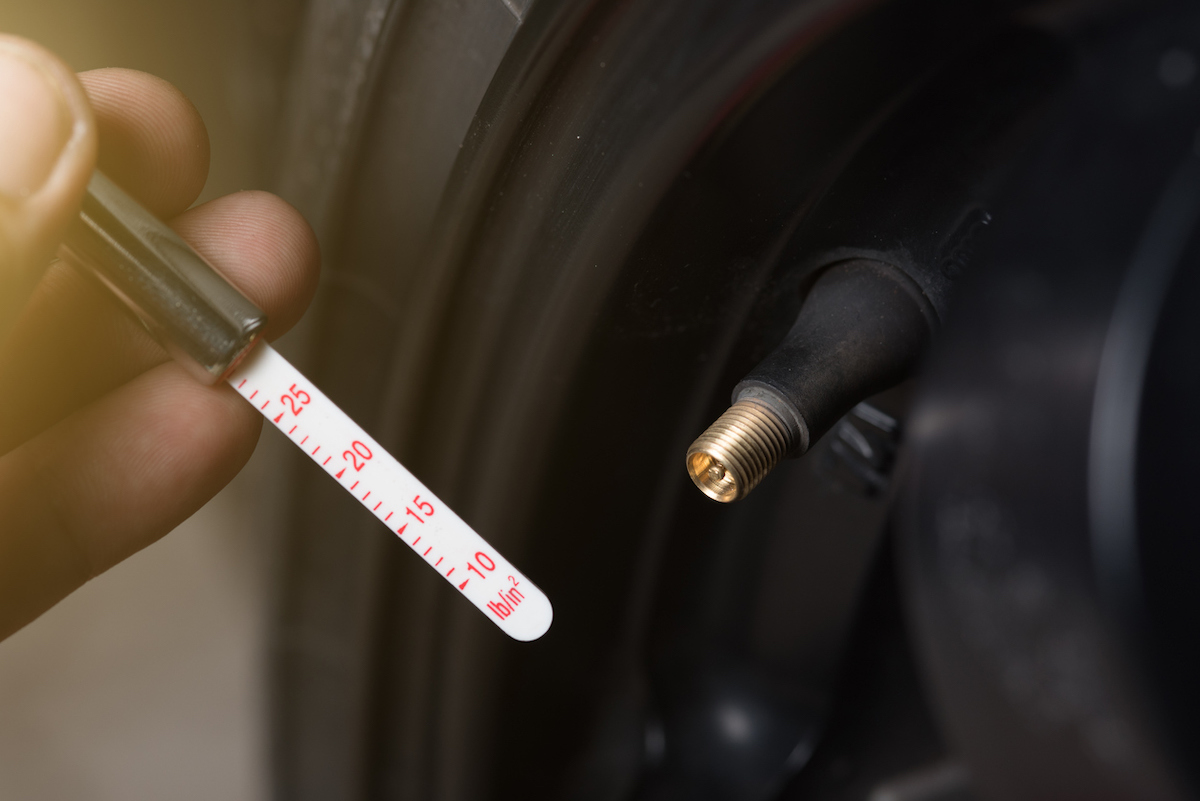
Use a tire pressure gauge to check the pressure of the spare tire and add air to the tire if you have a tire inflator. Or consider driving to a nearby gas station to fill the tire with air, if necessary. Keep in mind that an emergency donut tire isn’t designed for normal driving.
- If the spare is an actual tire that can work as a true replacement for the flat tire, then there is no rush in getting the flat tire repaired or replaced.
- If the spare is an emergency donut tire that should only be used at a reduced speed, then you need to head to a local mechanic to have the flat tire repaired or replaced with a new tire.
Proper tire maintenance can reduce flat tires.
There are many steps that a driver can take to help reduce the chance of getting a flat tire, such as regularly checking the pressure of the tires, filling them with air when necessary, and replacing all-season tires with winter tires when the temperature drops below 45 degrees. In addition to these simple steps, keep an eye on the tread of the tire and look for any signs of stress.
If a tire looks worn or damaged, consider taking the vehicle to a local mechanic to have the tire repaired or replaced before you end up on the side of the road, changing the tire yourself. The mechanic should be able to repair minor exterior damage. However, if the damage is to the tube, they usually recommend replacing the entire tire instead of having to replace tire tubes.

