We may earn revenue from the products available on this page and participate in affiliate programs. Learn More ›
Dryer cleaning probably isn’t at the top of your list of fun things to do, but it’s actually pretty simple and can make your dryer last much longer. When bits of fluff and fuzz from clothes and linens accumulate in the dryer’s components, the appliance can malfunction. A gunked-up dryer and vent also make the dryer expend more energy to get the job done, increasing monthly energy bills. To avoid these problems, learn how to clean a dryer with these simple steps.
Tools & Materials
Bobvila.com may earn a commission from purchases made through these links.
Project Overview
Working Time: 30 minutes
Total Time: 30 minutes
Skill Level: Beginner
Estimated Cost: $0–$25
Before You Begin
Before getting started, make sure to have all of your tools and supplies at the ready. You’ll use them to clean the dryer vent, duct, drum, and lint trap. It’s best to clean the lint trap after every drying cycle for optimal performance, but you should only need to clean the rest of the dryer a few times per year.
Step 1: Clean the lint trap.

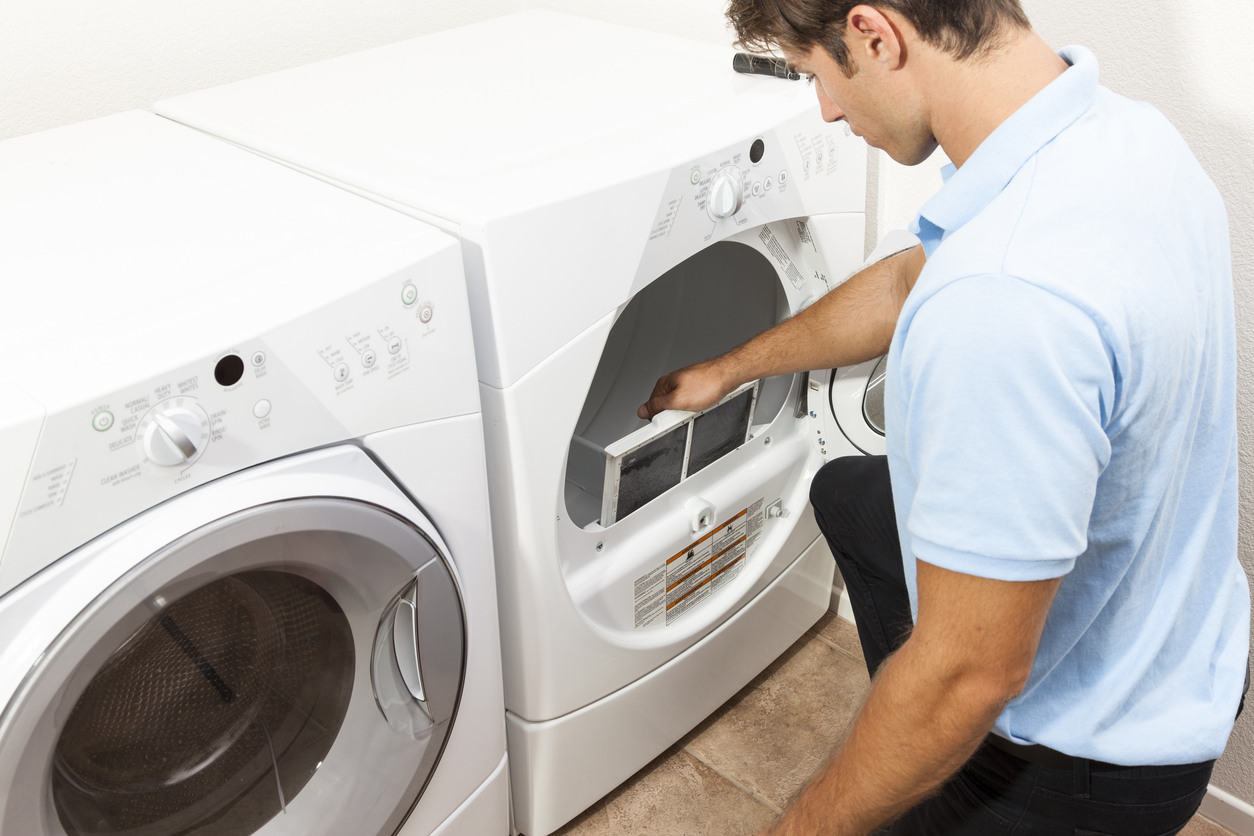
Just as the name implies, dryer lint traps capture lint from clothes and linens to prevent it from blocking the dryer vent. Cleaning it out is pretty easy. First, locate the lint trap, which is likely either on top of the dryer near the controls or just inside the dryer door, near the bottom of the unit.
Remove the entire lint trip from the dryer, then use your hands to grab the bulk of the lint and throw it in the garbage. The lint often comes out as one or two large clumps, so this step is easier than it might seem.
Occasionally, follow up with a vacuum to clear any remaining loose lint in the trap and holder. You can then wash the lint trap as well. You don’t need to do this every time, but doing so after every few washes or after the last load on laundry day is a good idea, especially if you use dryer sheets, which can leave residue on the trap, making it less effective. To wash the lint trap, simply rinse it under warm water, then use a toothbrush with a dab of dish soap and scrub the screen gently to remove any residue. Allow the trap to dry completely before placing it back into the dryer.
Step 2: Unplug the dryer.
After cleaning the lint trap, it might be time to give the clothes dryer a deeper cleaning. If it’s been 3 months or more since your last dryer cleaning, set aside 30 minutes to tackle this important task. Start by turning off and unplugging the dryer to protect yourself, your dryer and your home from any potential electrical hazards. If you have a gas appliance, turn the gas line off behind the dryer before proceeding to cleaning the drum and vent.
Step 3: Clean the dryer drum.
Over time, it’s common for the dryer drum to accumulate residue from dryer sheets, fabric softeners, and even clothes or rags. Knowing how to clean the inside of a dryer drum periodically will help avoid stains on delicates. Create a cleaning solution by mixing a dab of dish soap in a warm bucket of water. You can also mix one part white vinegar and one part water as an alternative cleaning solution. Avoid using any flammable cleaners inside gas dryers.
Then dip a microfiber cloth into the solution, wring out excess water, and wipe the cloth around the entire surface of the drum. Dry it with a fresh microfiber cloth, then leave the dryer door open for at least 30 minutes to allow it to dry fully.
Step 4: Remove the dryer vent duct.

Cleaning a vent duct regularly can help lower the dust in your home. Plus, when lint builds up in the vent duct, it can lead to fires, so it’s important to know how to clean out a dryer vent duct. The vent duct is located behind the dryer, so pull the dryer out a foot or so away from the wall to access the duct. Look for a large tube that connects your dryer to an exterior vent—that’s the vent duct. You’ll need to remove it to clean it.
Most vent ducts are attached with clamps, which will likely require use of a screwdriver to remove the clamp’s screws. However, some ducts use tape attachments, which you can just peel off. Remove the vent duct using the appropriate method.
RELATED: The Best Dryer Vent Cleaning Kits, Tested
Step 5: Clean the dryer vent duct.
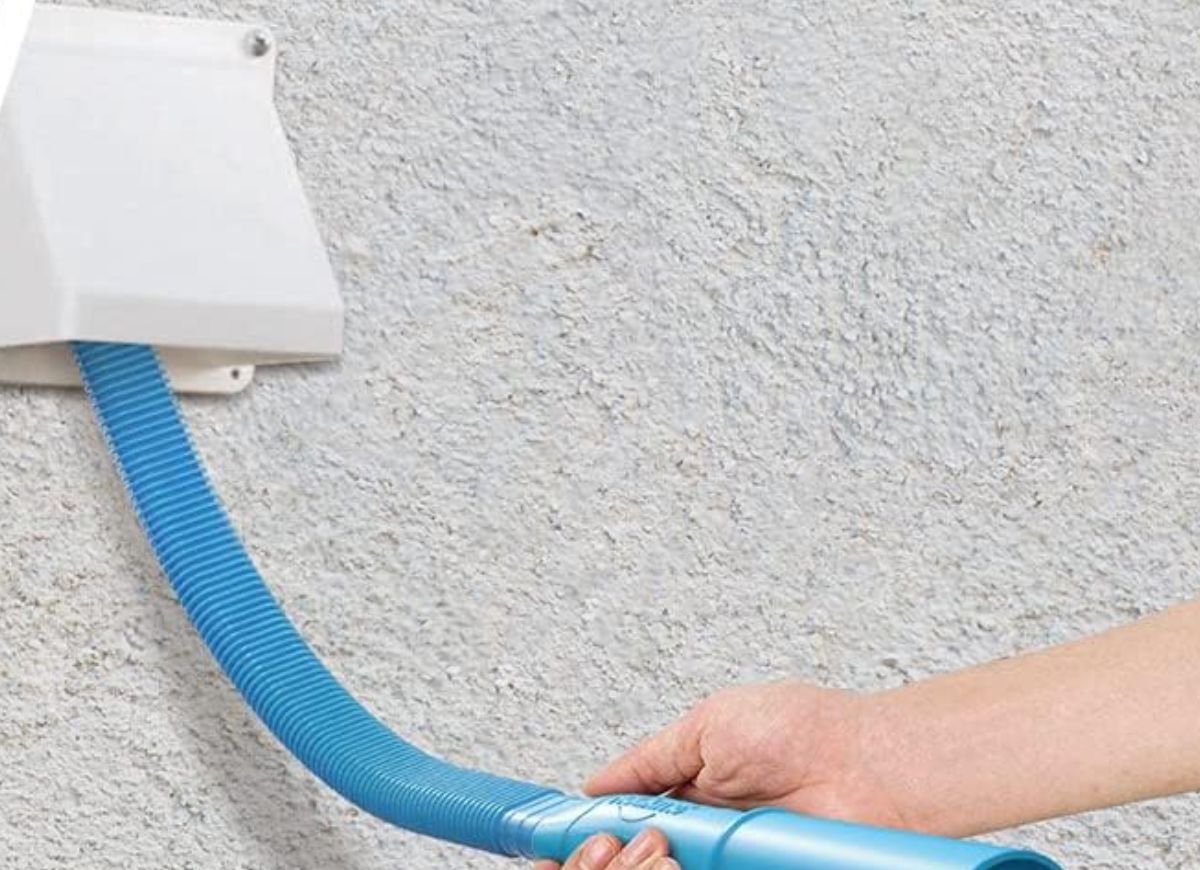
Once you remove the vent duct, remove any large lint pieces inside by hand, then insert a long dryer lint brush into it to remove smaller lint pieces and other debris. Finally, use a vacuum with a hose attachment to suck out any remaining lint and dust. Don’t reattach the dryer vent duct until the end of the next step.
Step 6: Clean the exterior dryer vent.

The exterior dryer vent is located outside of your home. It’s likely on the home’s siding outside the laundry room, but it could also be on the roof. Either way, it won’t be too far from where your dryer is located inside the home.
Once you find the exterior vent, open up the vent cover and remove any large pieces of lint or debris with your hands. Then use the dryer lint brush you used in Step 5 to clean out smaller lint pieces. Finally, grab a vacuum with a hose attachment and suck out remaining dust and lint. When you’re done, replace the vent cover and reattach the vent duct you removed in step five with the same screws or tape.
RELATED: Dryer Vent Cleaning Cost: What to Know and How Much You’ll Pay
Step 7: Run the dryer.
You did it! Now all you need to do is plug the dryer back in (or turn the gas lever back on), push the dryer back to its spot on the wall, and run an empty dryer cycle for 10 to 15 minutes to get rid of any excess dust left over from the cleaning process.
FAQs
Now that you know the dryer cleaning basics, here are some answers to remaining questions you might have.
Q: How often should you clean your dryer?
It’s best to clean the dryer’s lint trap after every drying cycle. But deep cleaning, which involves knowing how to clean a dryer drum, along with its duct and vent, only needs to be done a few times per year. So whenever the seasons change, or every 2 to 3 months, make a point to spend 30 minutes providing a little TLC to this hard-working machine.
Q: How do I clean ink out of a dryer?
Start with a more concentrated soapy water that is still hot or warm, rubbing it on the stain with the microfiber cloth. If that doesn’t work, apply a bit of rubbing alcohol to a microfiber cloth, then use it to wipe away the ink. Continue wiping until all the ink is removed. Just remember that alcohol is flammable, so leave the dryer door open and avoid running the dryer for at least an hour after applying the alcohol.
Q: How do I clean a dryer that smells?
Cleaning a smelly dryer usually involves the same steps outlined above, including cleaning the lint trap, drum, vent duct, and vent. However, if you can pinpoint where the odor is coming from, such as the lint trap, then you should only need to clean that area.
Final Thoughts

The simple steps above should tell you everything you need to know about how to clean a dryer vent, duct, drum, and lint trap. Regular lint trap emptying and deeper cleaning a few times a year should keep the dryer running effectively and efficiently. If the unit still isn’t working as you’d hoped, you can learn what to do when the dryer isn’t drying or when the dryer is squeaking.

